PowerPoint is a powerful tool for creating engaging presentations, and one of the ways to make your slides visually appealing is through animation. Among various animation options, zoom animations help introduce text and shapes dynamically. However, the default zoom animations in PowerPoint often end abruptly, giving a jarring effect that can distract your audience.
In this comprehensive guide, we’ll explore how to create a smooth zoom animation in PowerPoint by cleverly combining existing animation effects. Whether you want to animate logos, slide titles, or any shape, this technique will help you achieve a polished and professional look with a soft, elegant finish.
This article covers everything you need to know about creating smooth zoom animations, including:
- Understanding the default zoom animations and their limitations
- The secret behind creating smooth zoom effects using multiple animations
- A detailed, step-by-step tutorial to apply these animations
- Tips to save time by reusing animations across your slides
- Recommended resources to master PowerPoint animations
Table of Contents
- Understanding Default Zoom Animations in PowerPoint
- Why a Smooth Zoom Animation Matters
- Creating a Smooth Zoom Animation: Step-by-Step
- Applying the Smooth Zoom Animation to Multiple Elements
- Additional Tips and Resources for PowerPoint Animation
- Frequently Asked Questions (FAQ)
- Conclusion
Understanding Default Zoom Animations in PowerPoint
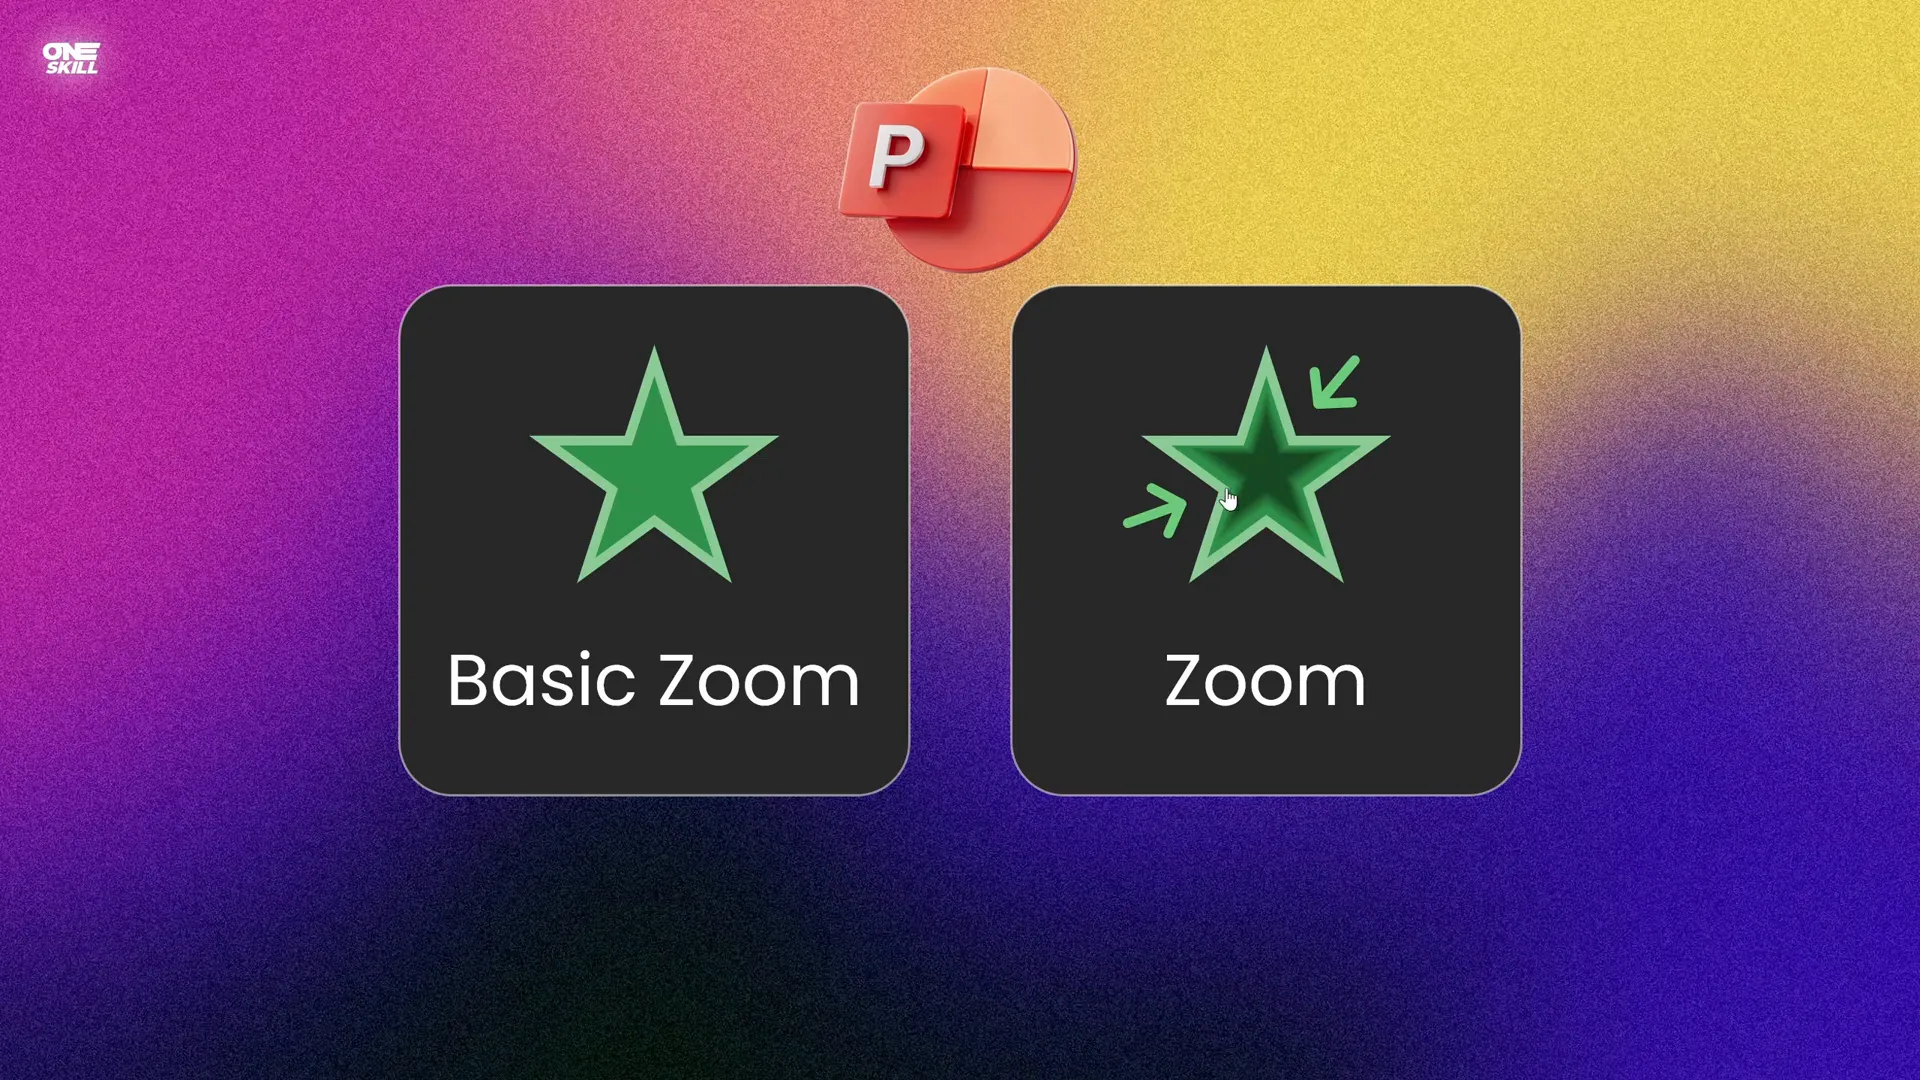
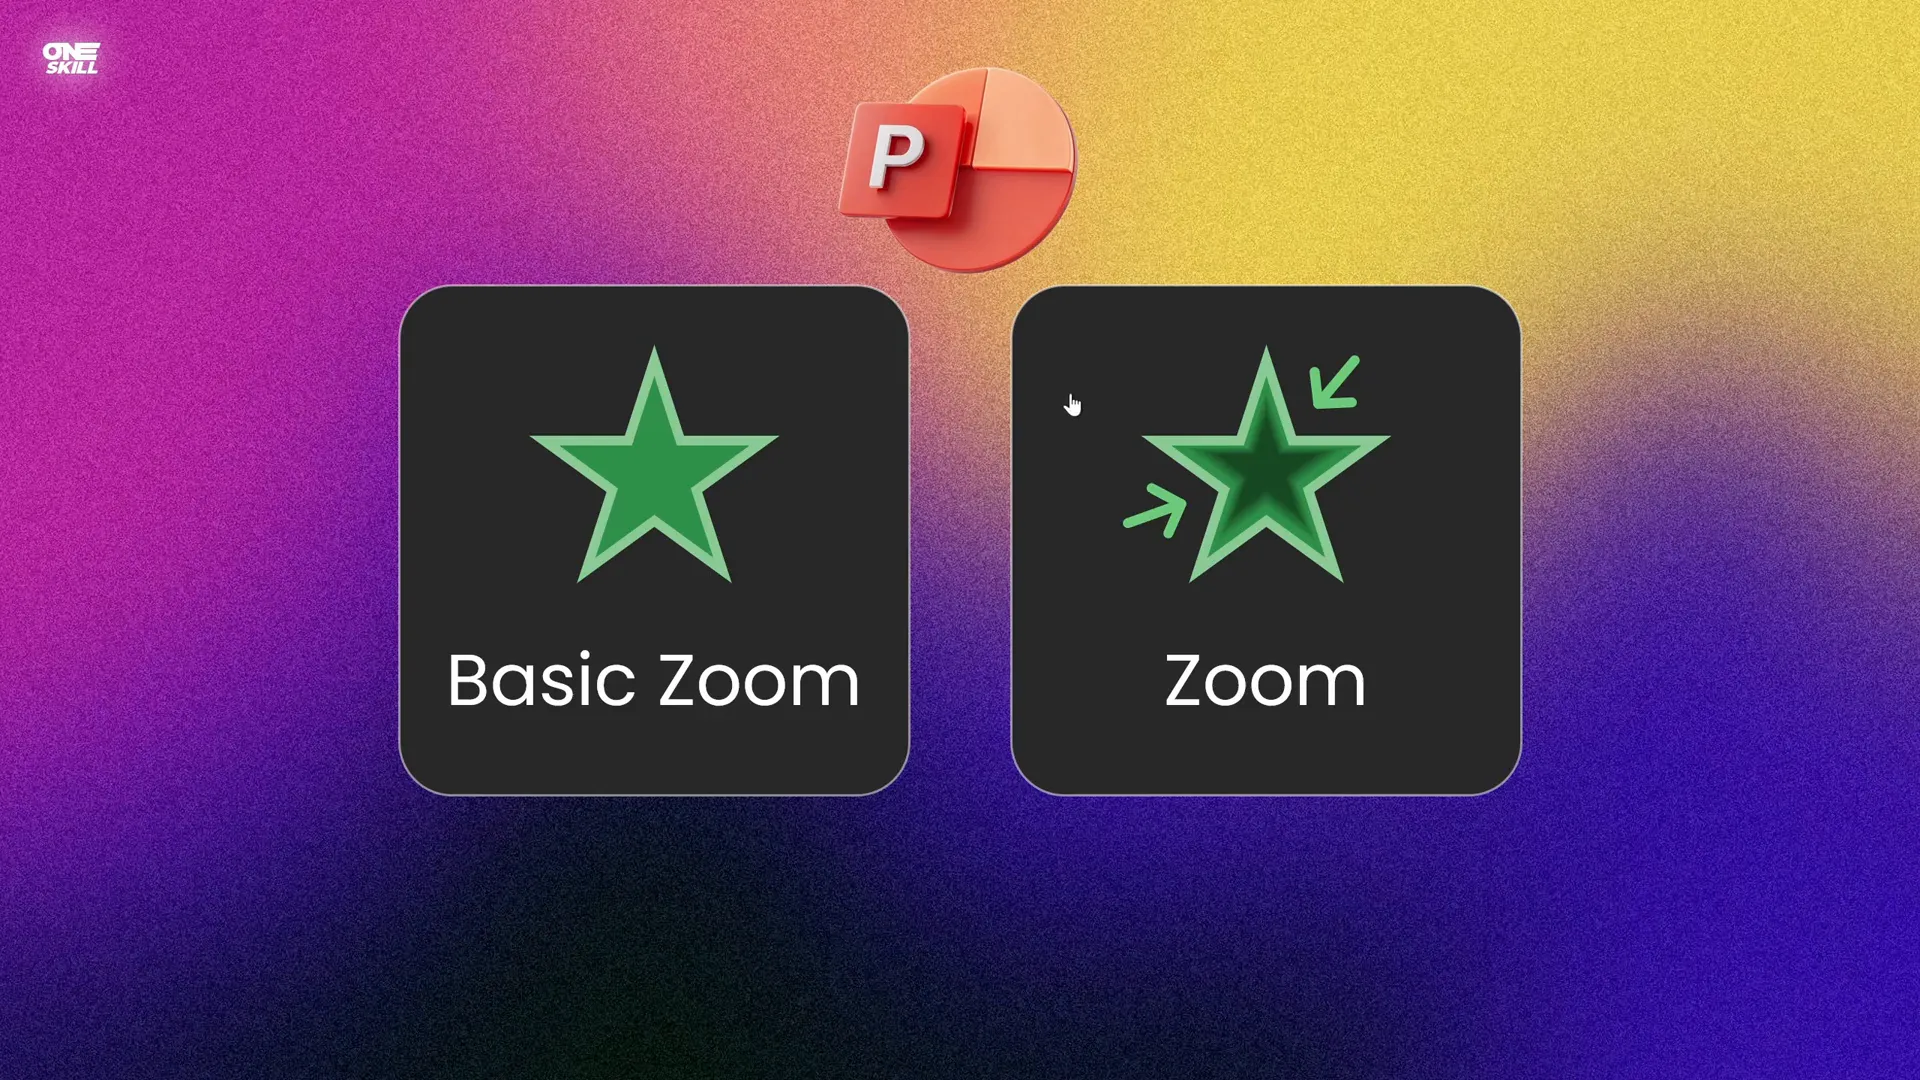
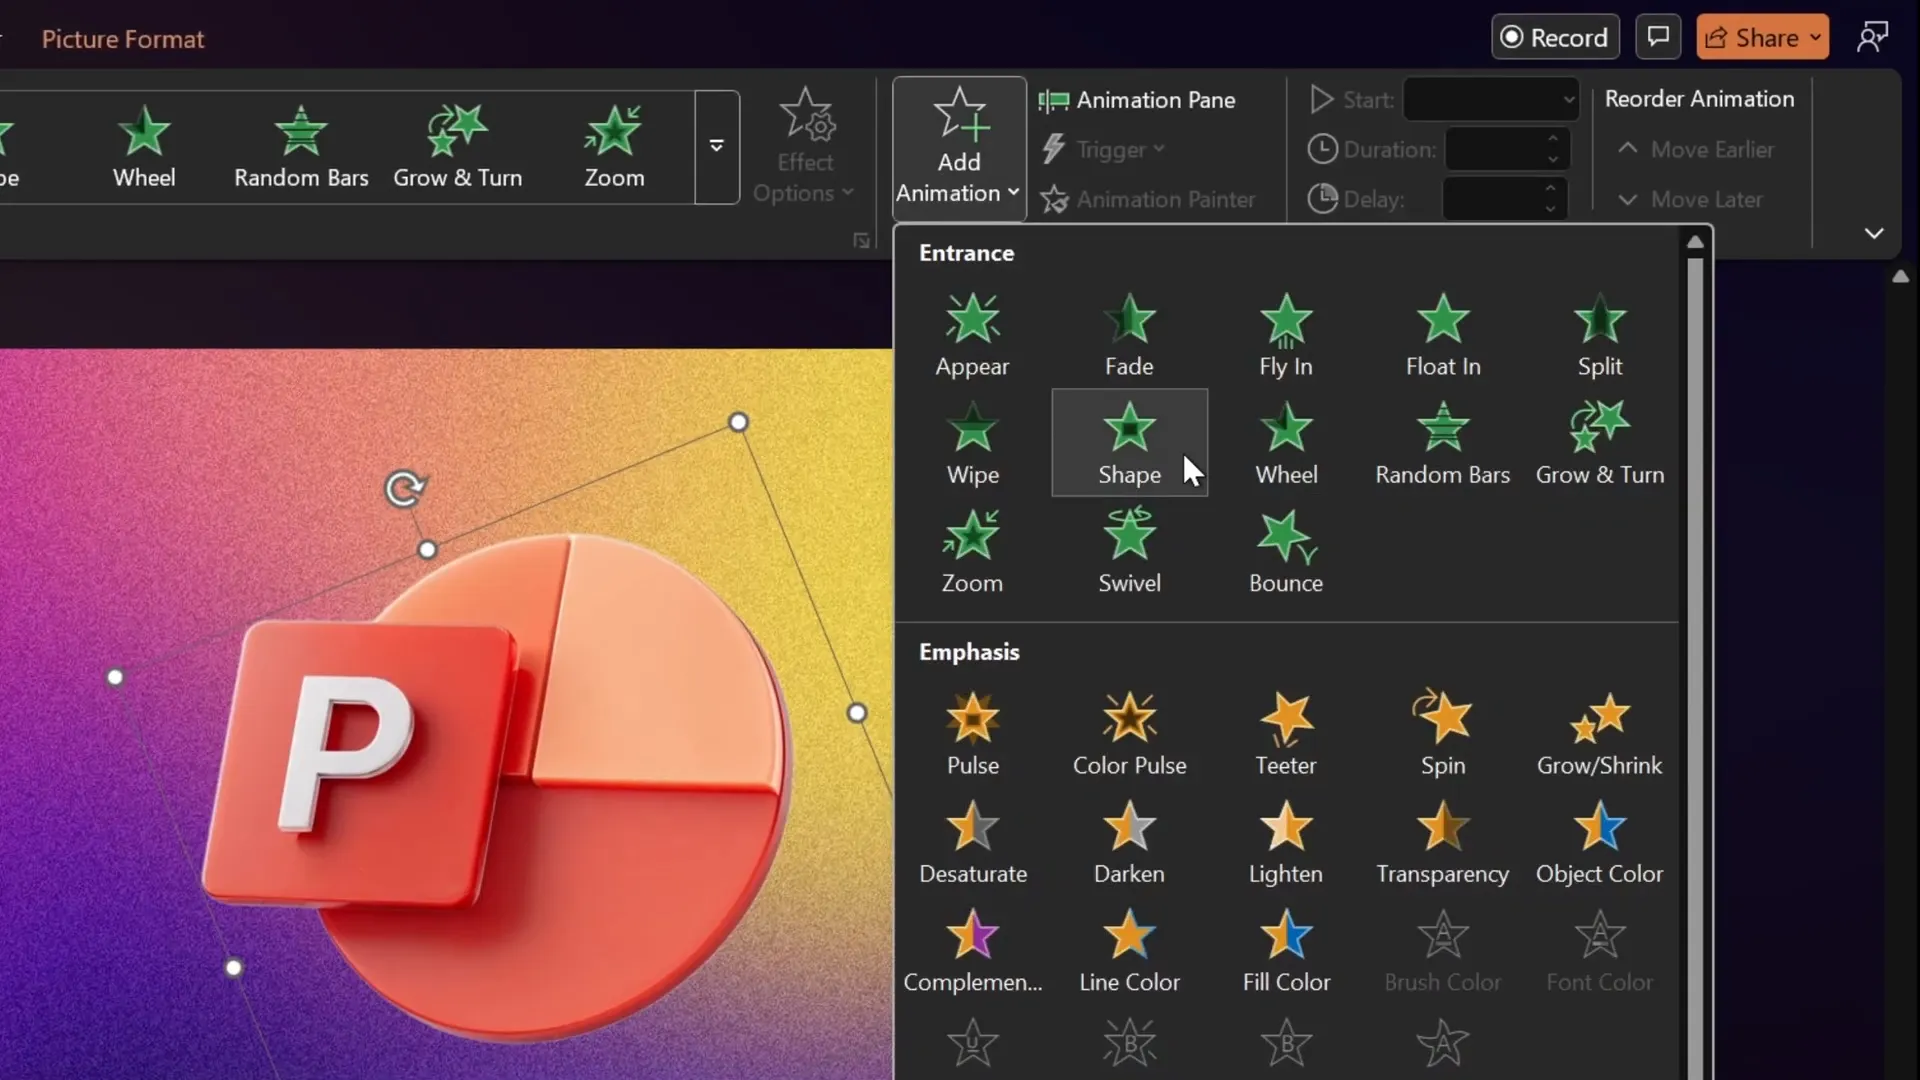
PowerPoint offers two main types of zoom animations to introduce text or shapes:
- Zoom Animation: This effect first fades the object in and then zooms it to full size.
- Basic Zoom Animation: This effect zooms the object in without any fade.
While both animations look similar at first glance, the key difference is the fade component built into the standard Zoom Animation. However, a common drawback with both is that they end abruptly—what the creator calls a “hard landing.”
This abrupt ending can make your presentation feel less smooth and professional. The animation zooms in quickly and then stops suddenly, which can be visually jarring.
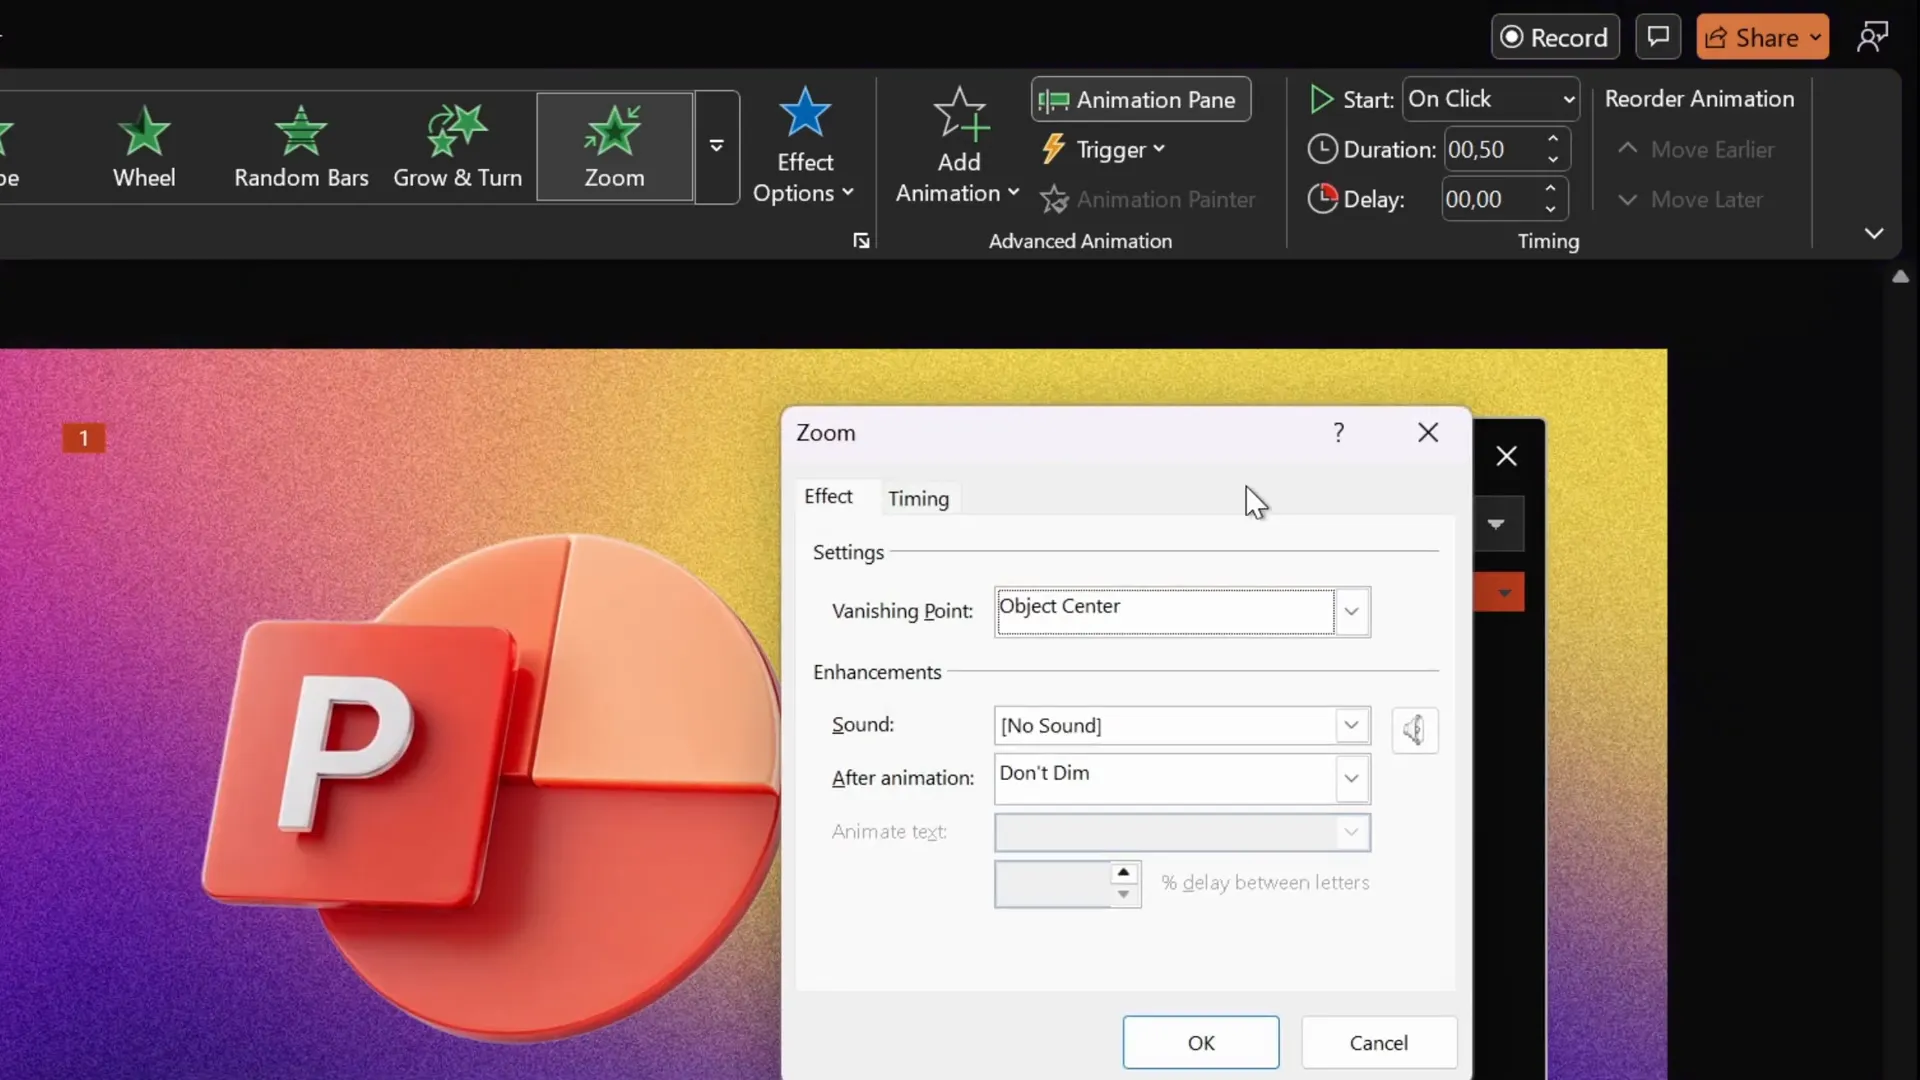
Why Do Default Zoom Animations End Abruptly?
By default, the zoom animations in PowerPoint lack a feature to control the smoothness of the animation’s end. This means the object finishes its zoom instantly without any easing or deceleration, leading to that sharp stop.
Unfortunately, neither the Zoom Animation nor the Basic Zoom Animation offers an option to adjust the smoothness or easing of the zoom effect.
Why a Smooth Zoom Animation Matters
Animations are more than just eye candy—they guide your audience’s attention and create a flow that enhances comprehension. Abrupt animation endings can disrupt the viewer’s experience, making your presentation look less polished.
A smooth zoom animation provides a graceful and natural feel to your slides. Instead of the object snapping into place, it gently settles, making transitions seamless and engaging.
Imagine zooming in on a logo or title that softly comes into focus and settles into its position. This subtlety can make a big difference in how your audience perceives your professionalism and attention to detail.
Creating a Smooth Zoom Animation: Step-by-Step
Despite the lack of a built-in smooth zoom animation in PowerPoint, you can create one by combining multiple existing animations that do have smooth end options. This clever workaround uses:
- Grow/Shrink animations: These allow you to scale objects up or down with smooth easing options.
- Fade animation: To add a nice fade-in effect at the beginning.
Here’s how to combine these effects to create your own smooth zoom animation.
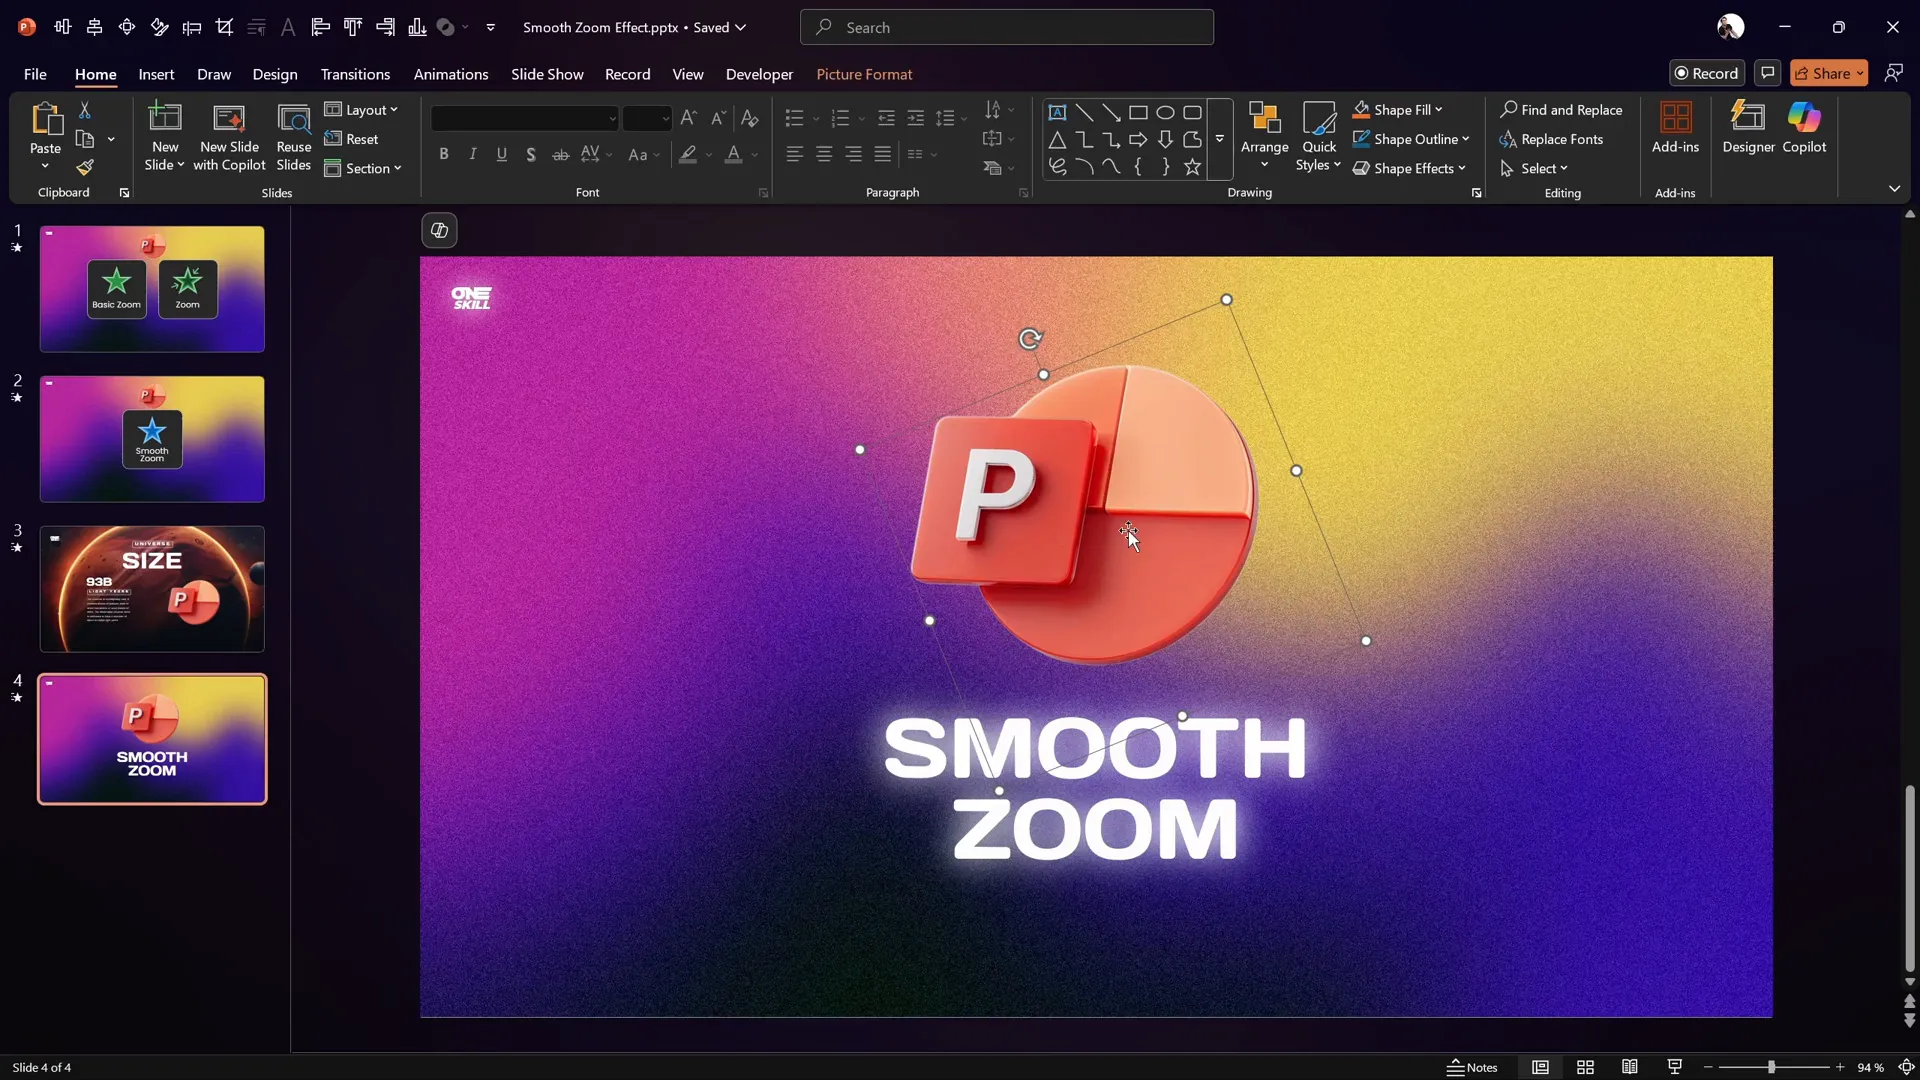
Step 1: Prepare Your Object
First, select the object you want to animate. This could be a logo, text box, or any shape on your slide.
Step 2: Remove Default Zoom Animations
If your object already has a zoom animation applied, remove it to avoid conflicts. You can do this by opening the Animation Pane, selecting the animation, and pressing Delete.
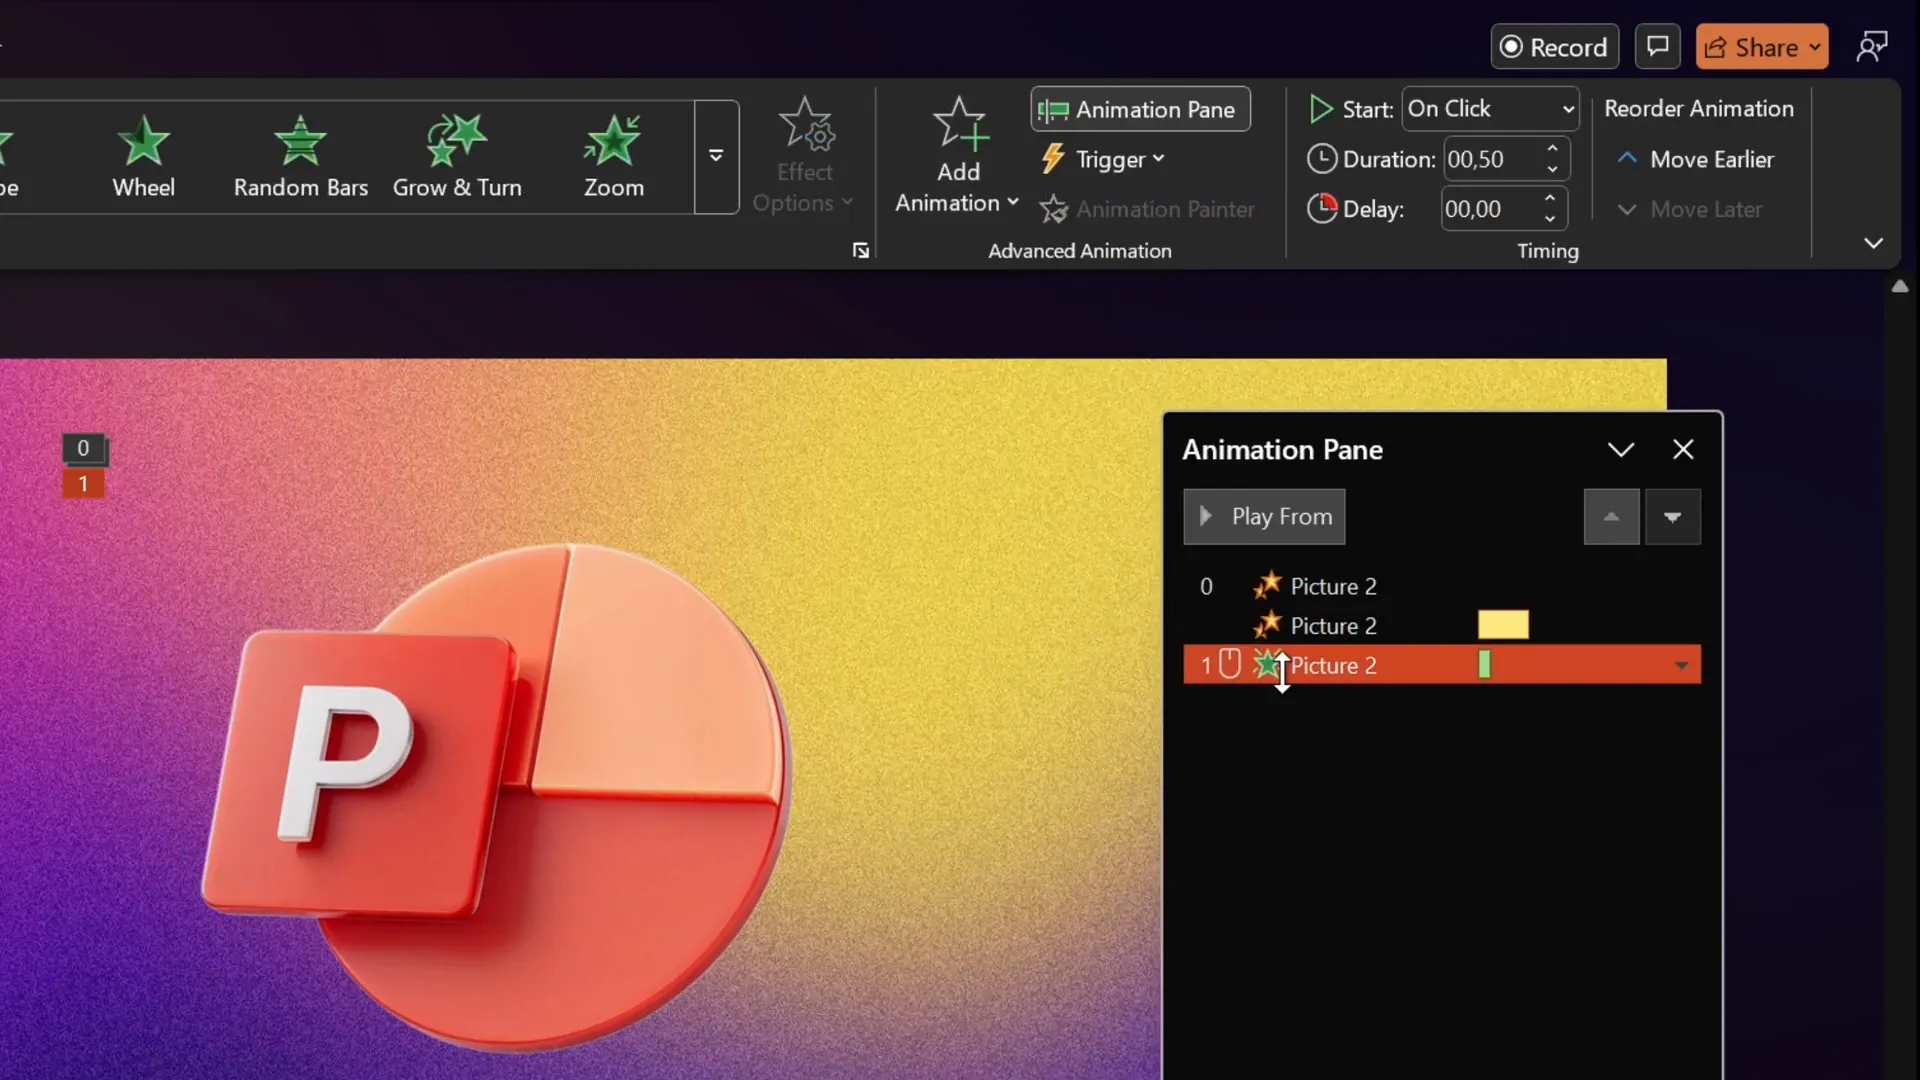
Step 3: Add the First Grow/Shrink Animation (Shrink)
- Go to the Animations tab and add a Grow/Shrink animation.
- In the Animation Pane, set this animation to Start With Previous so it runs automatically.
- Set the duration to the shortest possible time: 0.01 seconds.
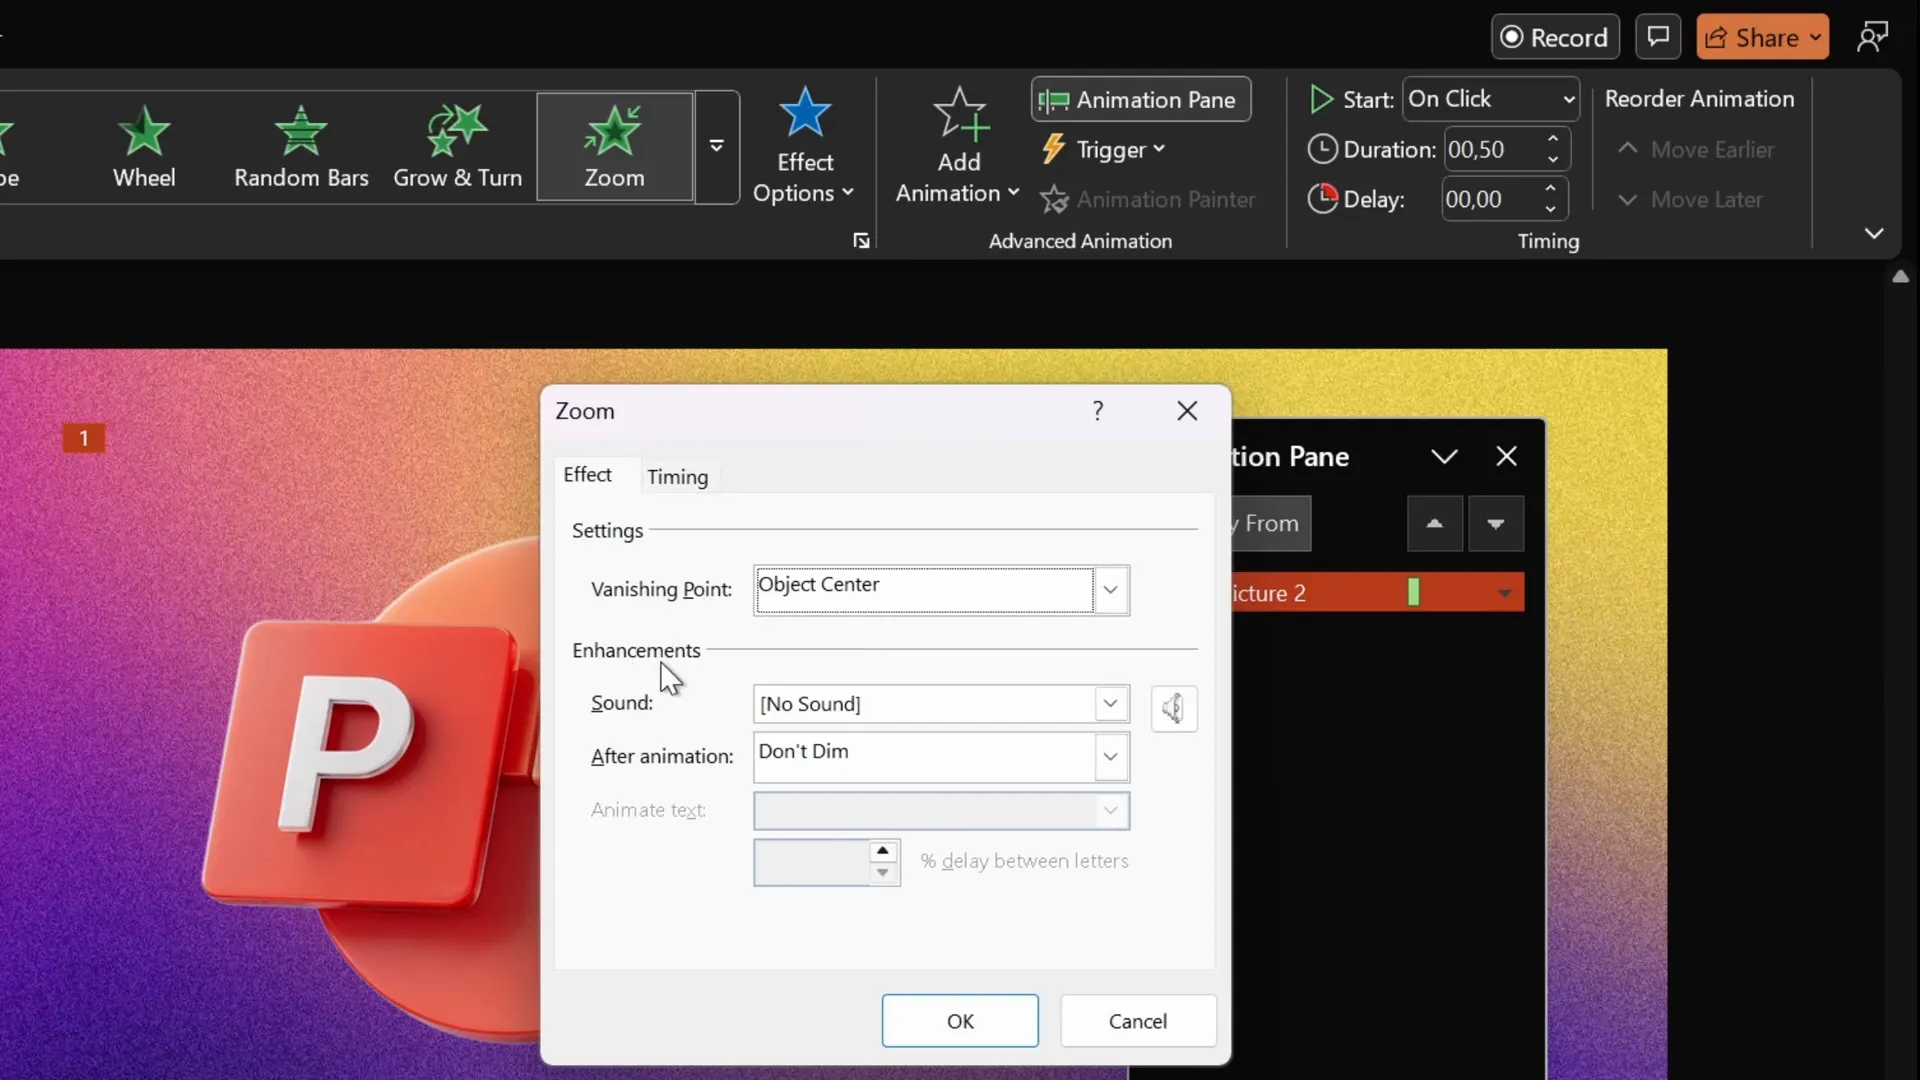
- Open the animation options by double-clicking the animation in the pane.
- Set the size to 10%, which means the object will shrink to 10% of its original size instantly.
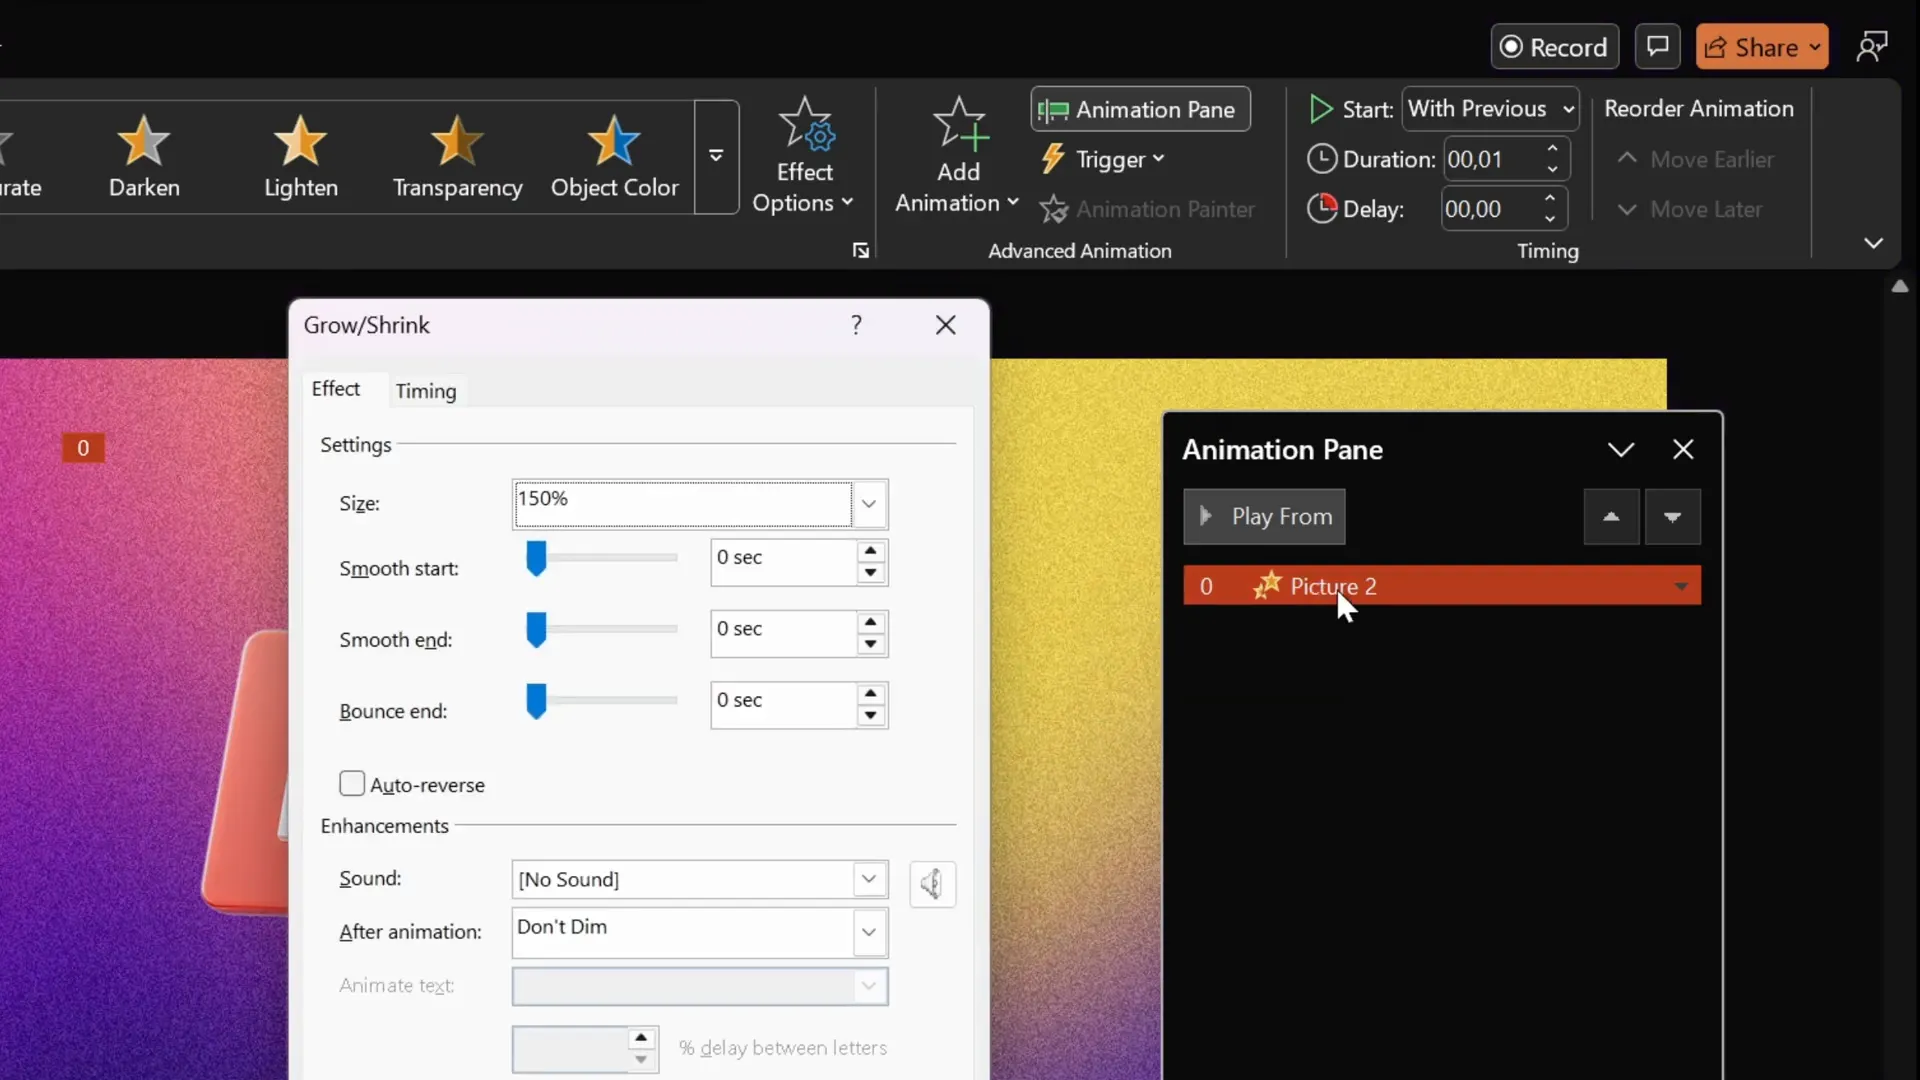
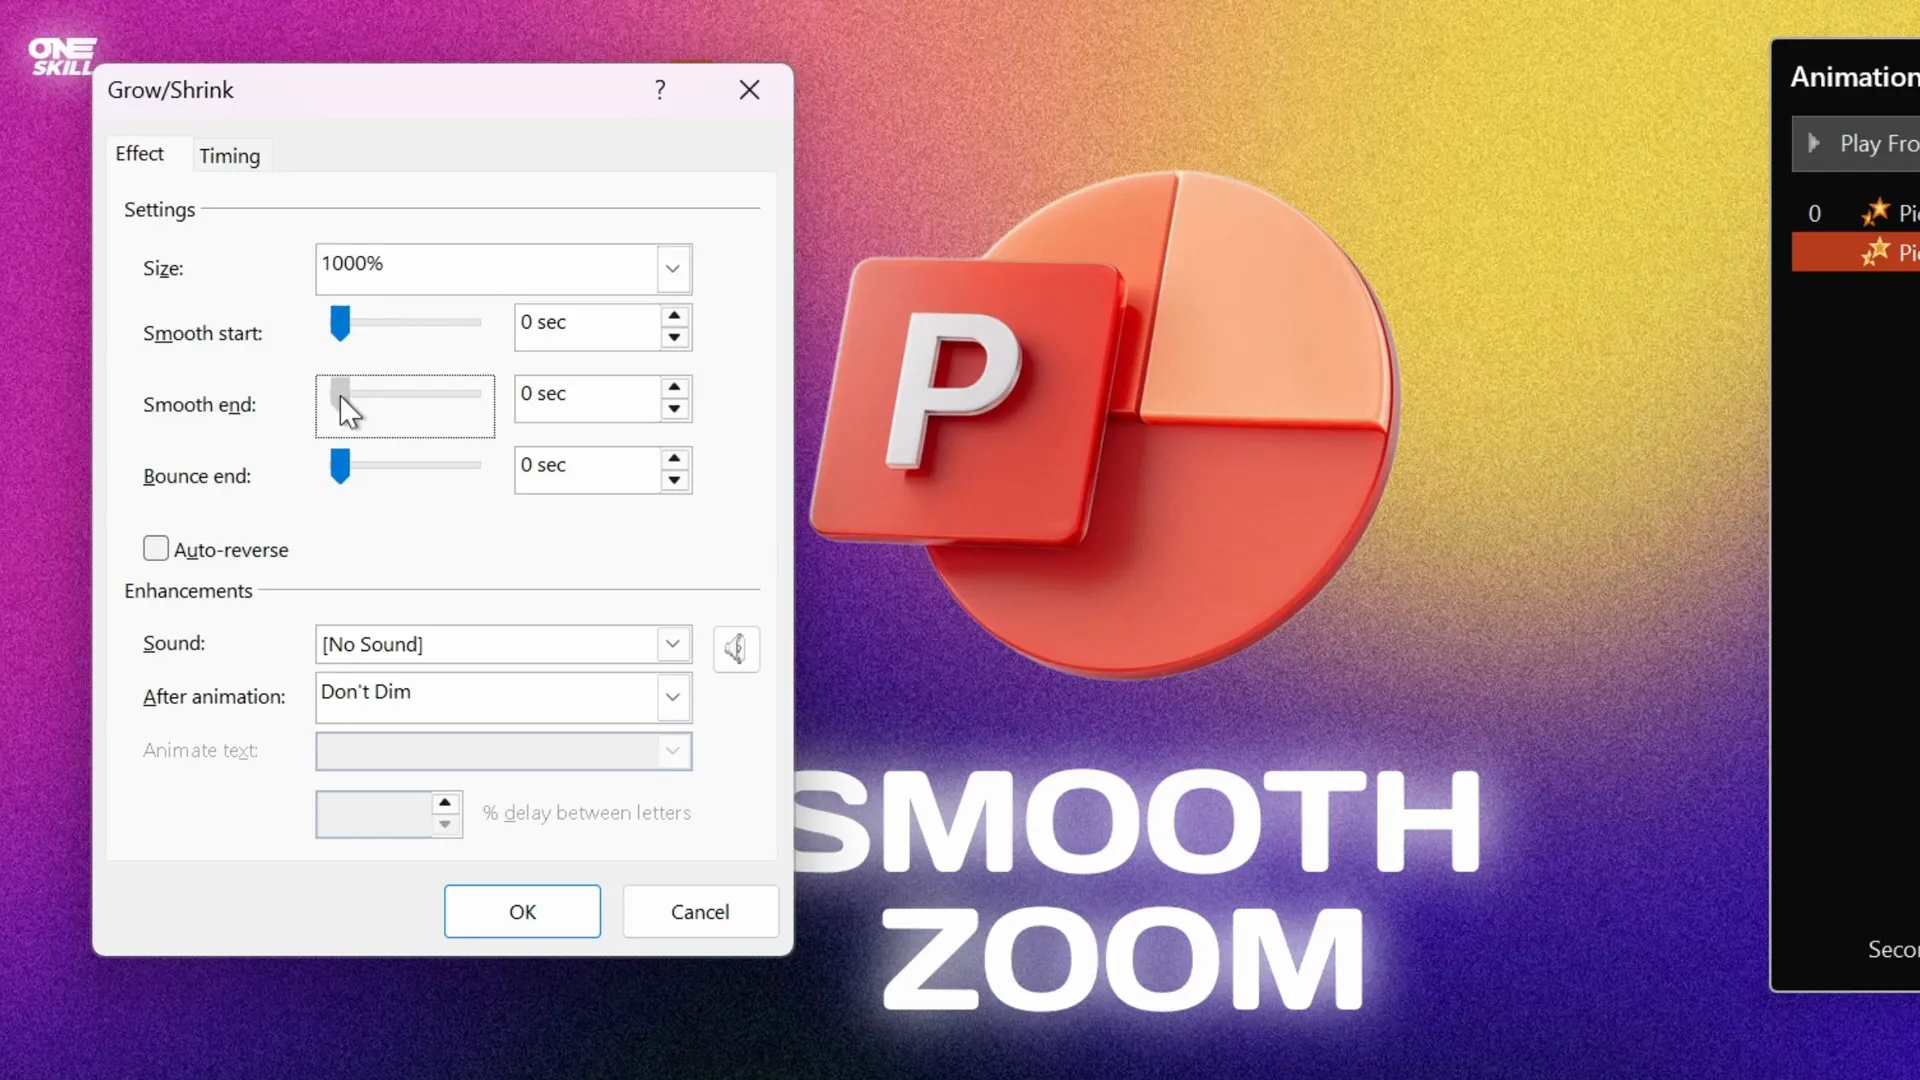
Step 4: Add the Second Grow/Shrink Animation (Grow)
- Add another Grow/Shrink animation to the same object.
- Set this animation to Start With Previous as well, so it starts immediately after the first.
- Set the duration to 2 seconds for a smooth zoom.
- Open the animation options and set the size to 1000%. This grows the object back to its original size.
- Most importantly, adjust the Smooth End slider to the maximum value to create a soft landing effect.
Note: The math behind the 1000% size is because after shrinking to 10%, growing back by 1000% returns the object to its original scale (10% × 1000% = 100%).
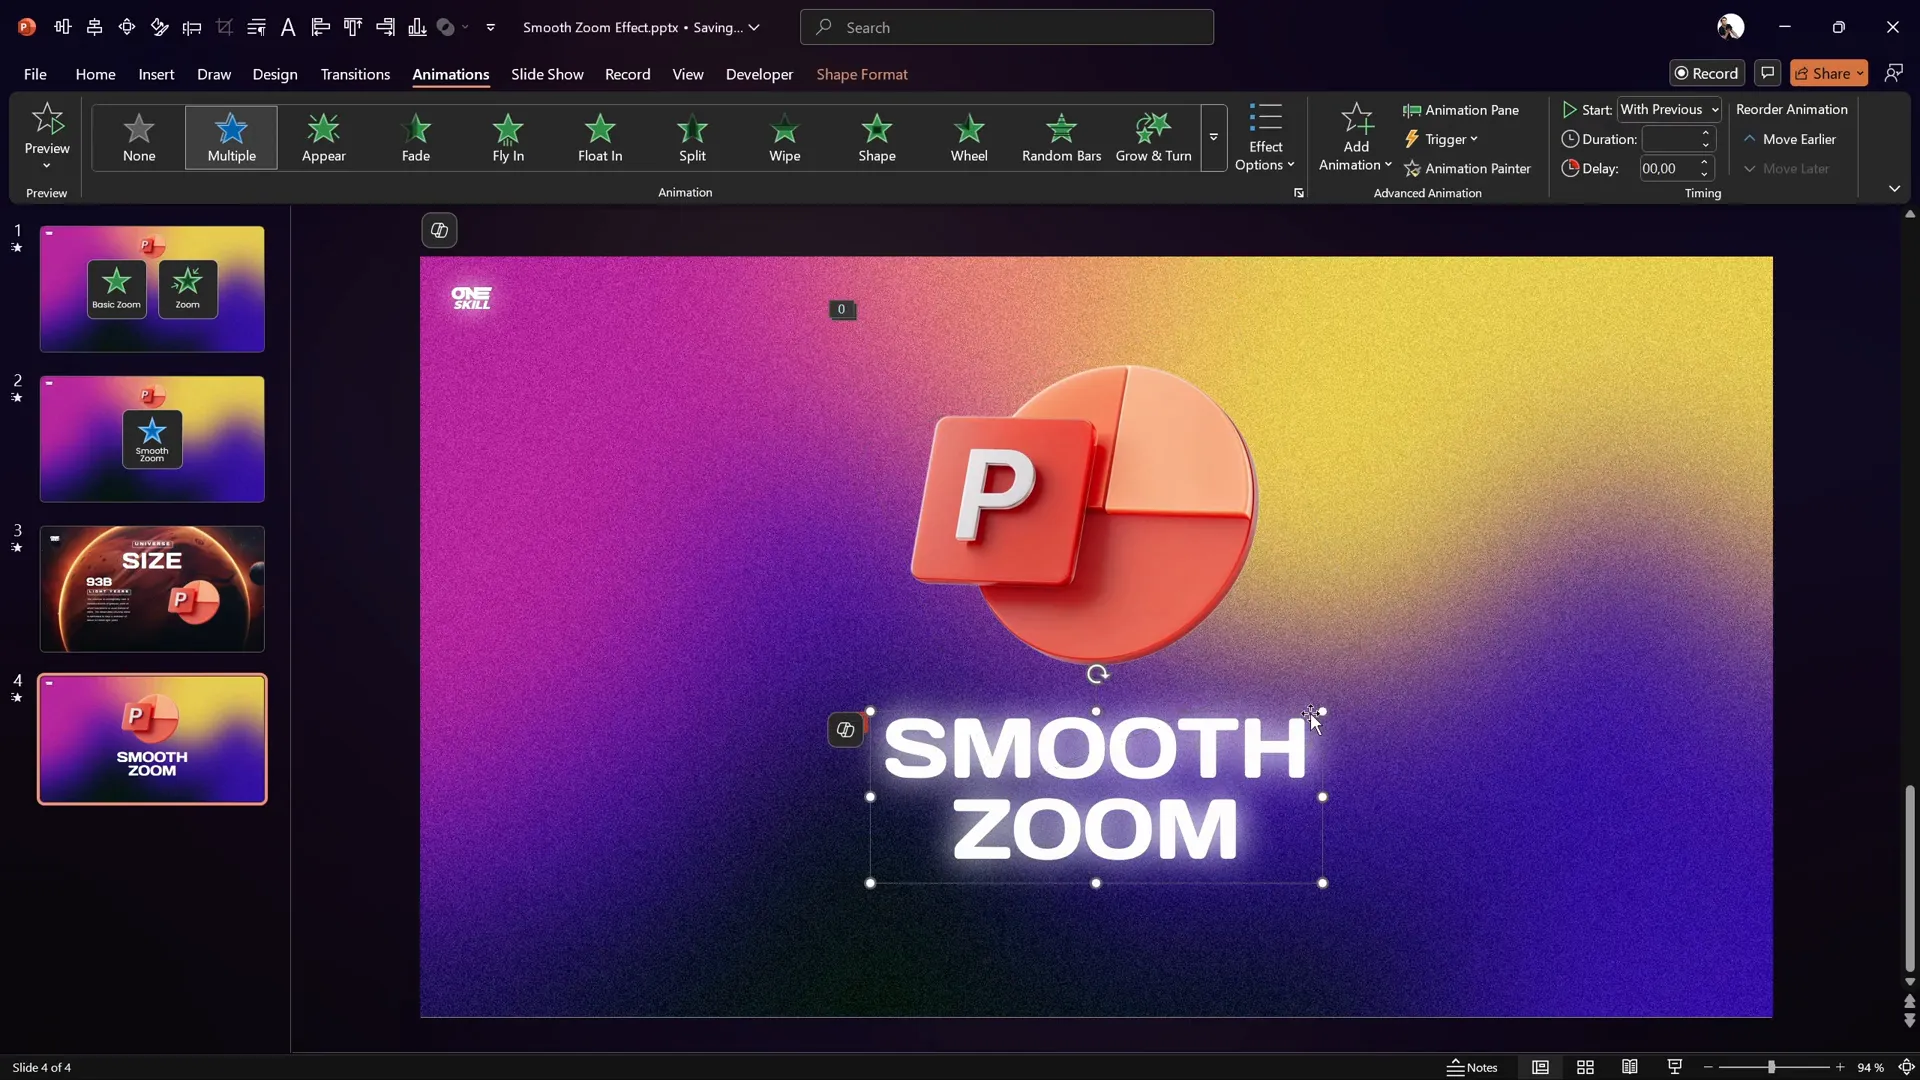
Step 5: Add a Fade Animation (Optional)
To enhance the effect, add a Fade animation at the start:
- Select the object, then go to Add Animation and choose Fade.
- In the Animation Pane, drag the fade animation to the top of the list so it happens first.
- Set it to Start With Previous and set the duration to about 0.5 seconds.
Step 6: Preview the Animation
Play the slide in full screen to see the smooth zoom animation in action. You should see your object fade in gently and zoom smoothly to its original size with a soft landing.
Applying the Smooth Zoom Animation to Multiple Elements
Once you’ve created this smooth zoom animation on one object (like a logo), you can easily apply it to other elements on your slides, such as:
- Slide titles
- Subtitles
- Paragraph text
- Other shapes or images
Use PowerPoint’s Animation Painter to quickly copy and paste the animation settings to other objects:
- Select the object with the smooth zoom animation.
- Click the Animation Painter button on the Animations tab.
- Click on the target object to apply the same animation sequence.
This saves you time and ensures visual consistency across your presentation.

Additional Tips and Resources for PowerPoint Animation
If some of these PowerPoint animation concepts seem complex or if you want to dive deeper into mastering animations, consider these tips and resources:
- Practice: Spend time experimenting with different animation settings to get comfortable with the tools.
- PowerPoint Animation Mastery Course: For a structured learning path, check out the PowerPoint Animation Mastery course. It offers step-by-step guidance from a seasoned PowerPoint expert with 15+ years of experience.
- Animation Presets: Save time by using ready-made animation presets like the PowerPoint Animation Pack, which includes the smooth zoom animation and many other effects.
- Keep it Simple: While animations can enhance your presentation, avoid overusing them. Too many effects can distract from your message.
Summary Table: Animation Settings for Smooth Zoom
| Animation | Start | Duration | Size/Effect | Additional Settings |
|---|---|---|---|---|
| Fade | With Previous | 0.5 seconds | Fade In | None |
| Grow/Shrink (Shrink) | With Previous | 0.01 seconds | 10% | Instant shrink |
| Grow/Shrink (Grow) | With Previous | 2 seconds | 1000% | Smooth End set to max |
Frequently Asked Questions (FAQ)
Q1: Why can’t I find a smooth zoom animation preset in PowerPoint?
PowerPoint does not have a built-in smooth zoom animation with easing options for zoom effects. The default zoom animations end abruptly without a smooth finish. To achieve a smooth zoom effect, you need to combine Grow/Shrink animations with smooth end settings, as explained in this guide.
Q2: Can I apply the smooth zoom animation to text?
Yes! The smooth zoom animation technique works on any object, including text boxes, titles, logos, or shapes. Use the Animation Painter to quickly apply the effect to multiple elements.
Q3: What versions of PowerPoint support these animation options?
Grow/Shrink and Fade animations with smooth end options are available in most modern versions of PowerPoint, including Office 365 and PowerPoint 2016 and later. If you’re using an older version, some features may be limited.
Q4: Can I adjust the speed of the smooth zoom animation?
Absolutely. You can change the duration of the Grow/Shrink animations to make the zoom faster or slower. Just remember that the first shrink animation should remain very short (around 0.01 seconds) to avoid a visible shrinking effect.
Q5: Is it possible to save this smooth zoom animation for future use?
Yes. You can save your presentation as a template or create custom animation presets using PowerPoint’s animation painter and save them in your slide master or animation library for reuse.
Conclusion
Creating a smooth zoom animation in PowerPoint can elevate the professionalism and visual appeal of your presentations. While PowerPoint’s default zoom animations lack a smooth ending, combining Grow/Shrink and Fade animations with smooth end settings allows you to craft a seamless and elegant zoom effect.
This technique is versatile and can be applied to logos, titles, text, and any other slide elements to create a consistent and polished look throughout your presentation. Plus, using tools like the Animation Painter can save you valuable time by applying the effect across multiple objects.
If you’re new to PowerPoint animations or want to sharpen your skills further, consider exploring dedicated courses and animation packs that can accelerate your learning and creativity.
Try out this smooth zoom animation method in your next presentation and watch your slides come alive with fluidity and style!
Happy animating!


