
Creating an engaging and visually striking PowerPoint slide can truly elevate your presentation, capturing your audience’s attention and conveying your message effectively. In this comprehensive tutorial, I will guide you through the process of designing a compelling animated PowerPoint slide using just the built-in tools in Microsoft PowerPoint. This tutorial is inspired by the best work I have done so far, and I am confident you will love the results.
This tutorial breaks down each step, from setting up your slide background and shapes to adding animations and transitions that bring your slide to life. Whether you are a beginner or an experienced PowerPoint user, this guide will help you create a professional, multipurpose slide that can fit any presentation style.
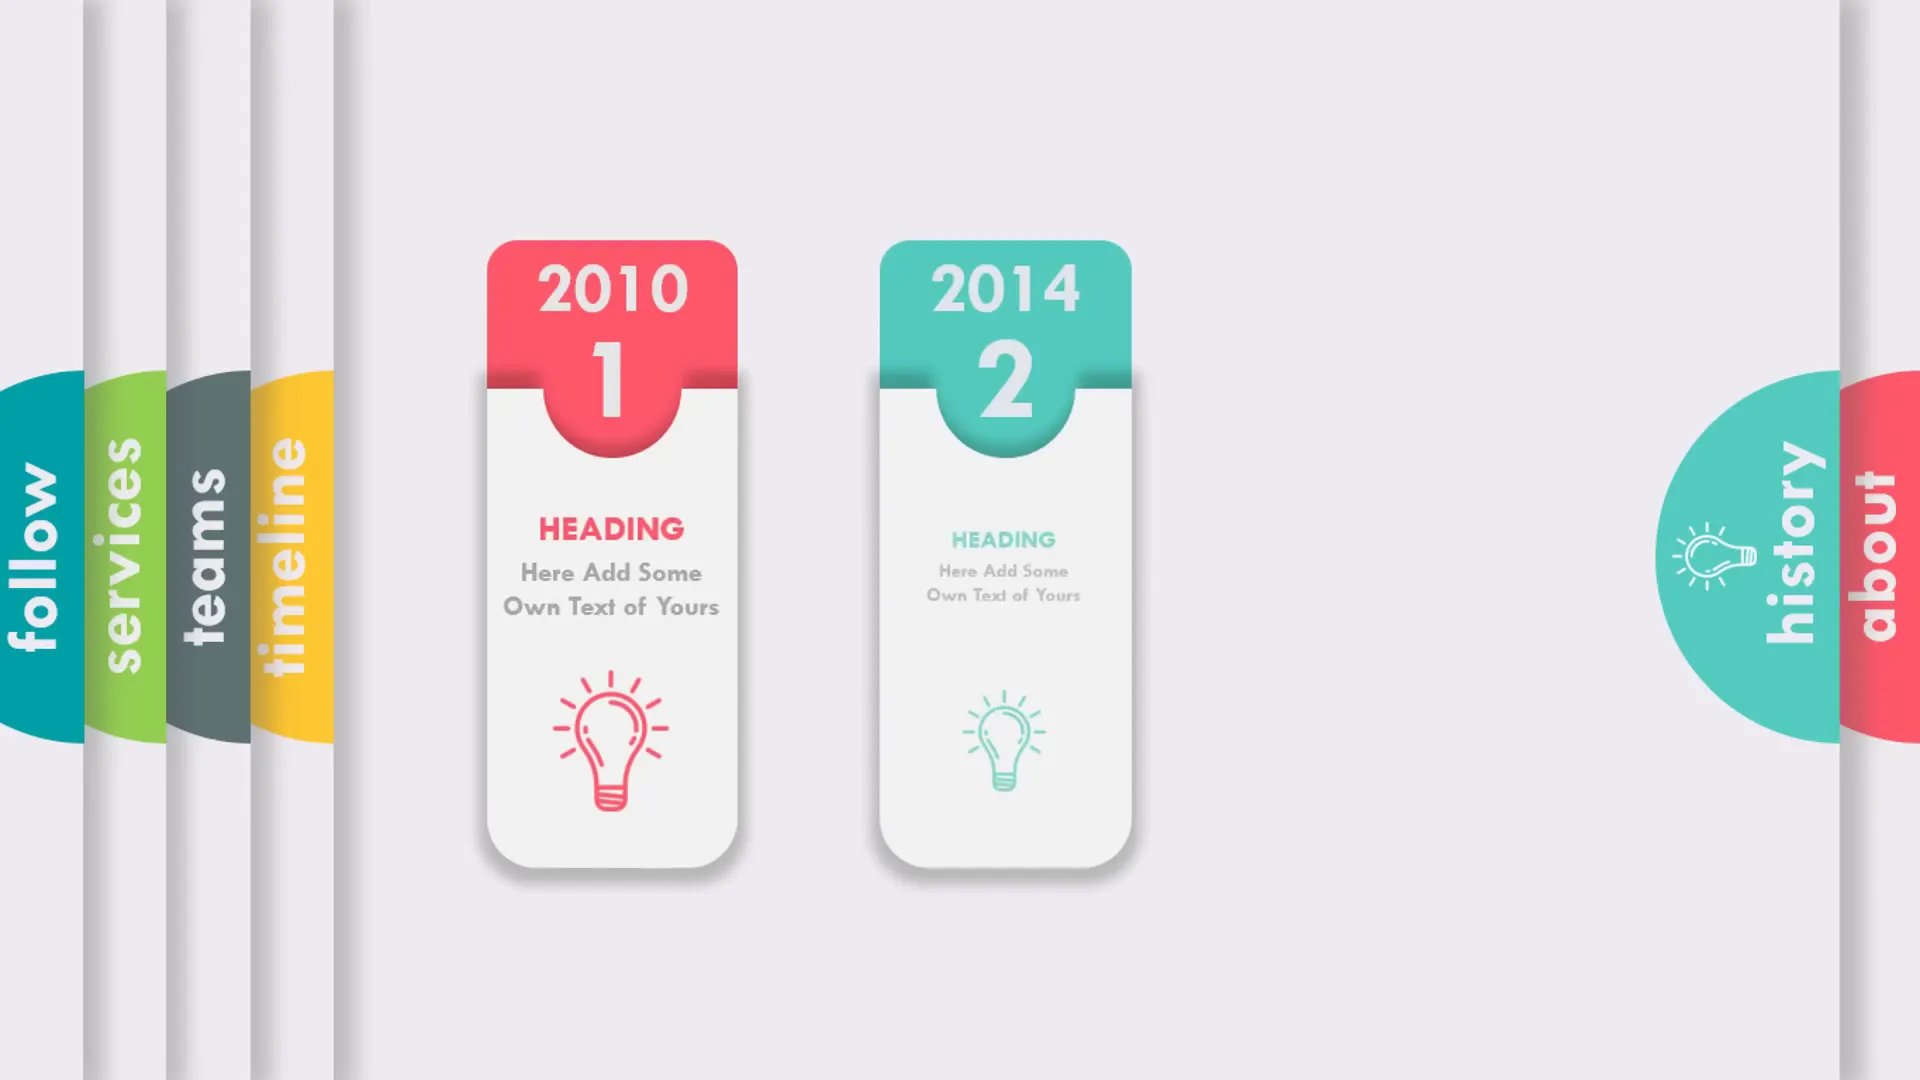
Table of Contents
- Why Choose Animated PowerPoint Slides?
- Getting Started: Setting Up Your Slide Background
- Creating the Base Shape with Shadows
- Designing the Half-Circle Accent Shape
- Adding and Styling Text
- Inserting an Icon for Visual Interest
- Grouping and Duplicating for Multiple Slides
- Arranging and Finalizing Slide Layout
- Creating Multiple Slides for Dynamic Animation
- Adding Animated Content for Enhanced Visuals
- Applying the Morph Transition for Smooth Slide Changes
- Why This Template Stands Out
- Additional Tips for PowerPoint Slide Design
- Frequently Asked Questions (FAQ)
- Final Thoughts
Why Choose Animated PowerPoint Slides?
Animations in PowerPoint slides do more than just add flair—they help guide your audience’s focus, make complex information easier to digest, and keep viewers engaged throughout your presentation. However, many users shy away from animations because they seem complicated or time-consuming to create.
This tutorial demonstrates that with just a few simple steps and the right techniques, you can create animations that look sophisticated and professional, without the need for external software or advanced skills. Plus, an animated slide that appears to have seamless movement on a single slide can impress your audience and make your presentation memorable.
Getting Started: Setting Up Your Slide Background
First, you need a clean, appealing backdrop for your slide that will serve as the canvas for your design elements. Follow these steps:
- Start with a blank PowerPoint slide.
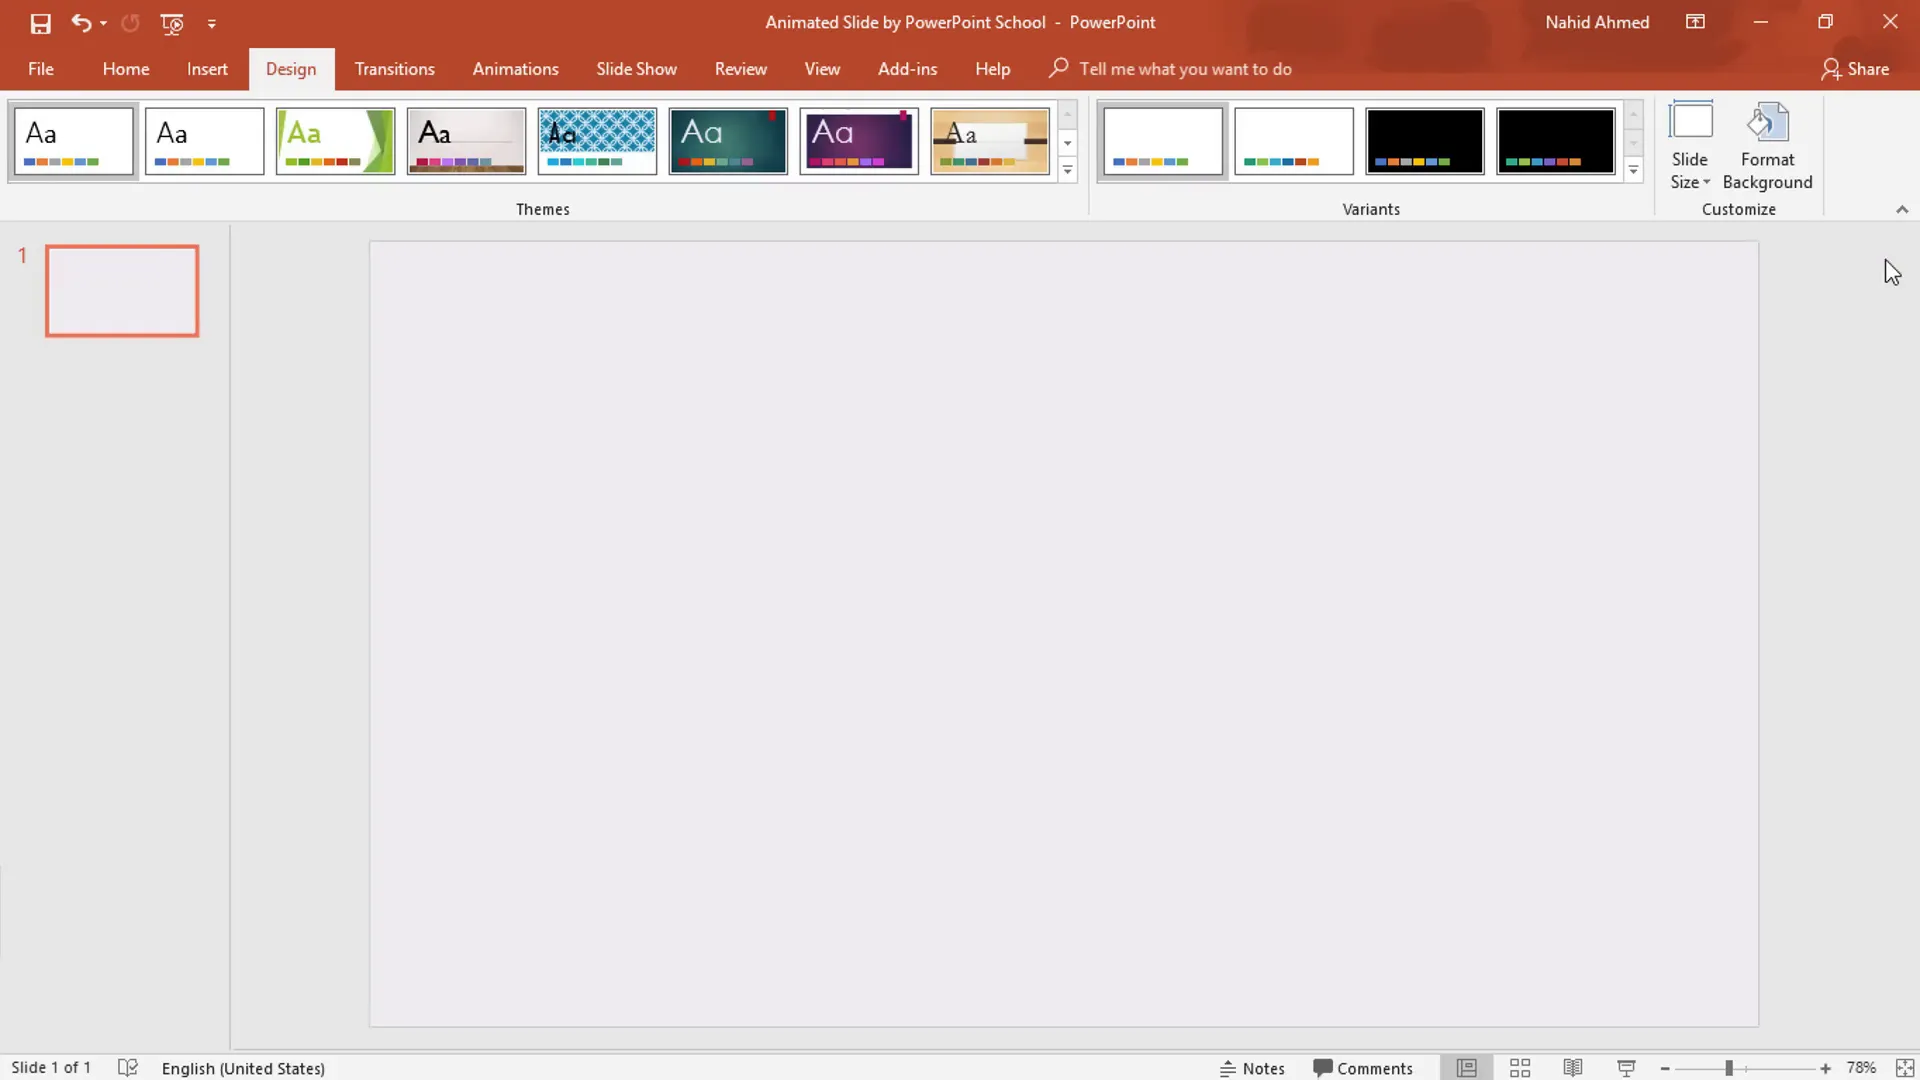
- Navigate to the Design tab.
- Click on Format Background.
- Choose a light gray color to keep the background subtle and professional.
- Close the background formatting pane.
Using a light gray background sets a neutral tone that allows your content and design elements to stand out without overwhelming the viewer.
Creating the Base Shape with Shadows
Next, we will add a rectangle shape as the base of our design, enhanced with a subtle shadow effect:
- Go to the Home tab and insert a Rectangle shape.
- Drag the rectangle to cover an appropriate portion of your slide (position it as you like).
- Under the Format tab, set the Shape Fill color to light gray to match your background.
- Set the Shape Outline to No Outline for a clean look.
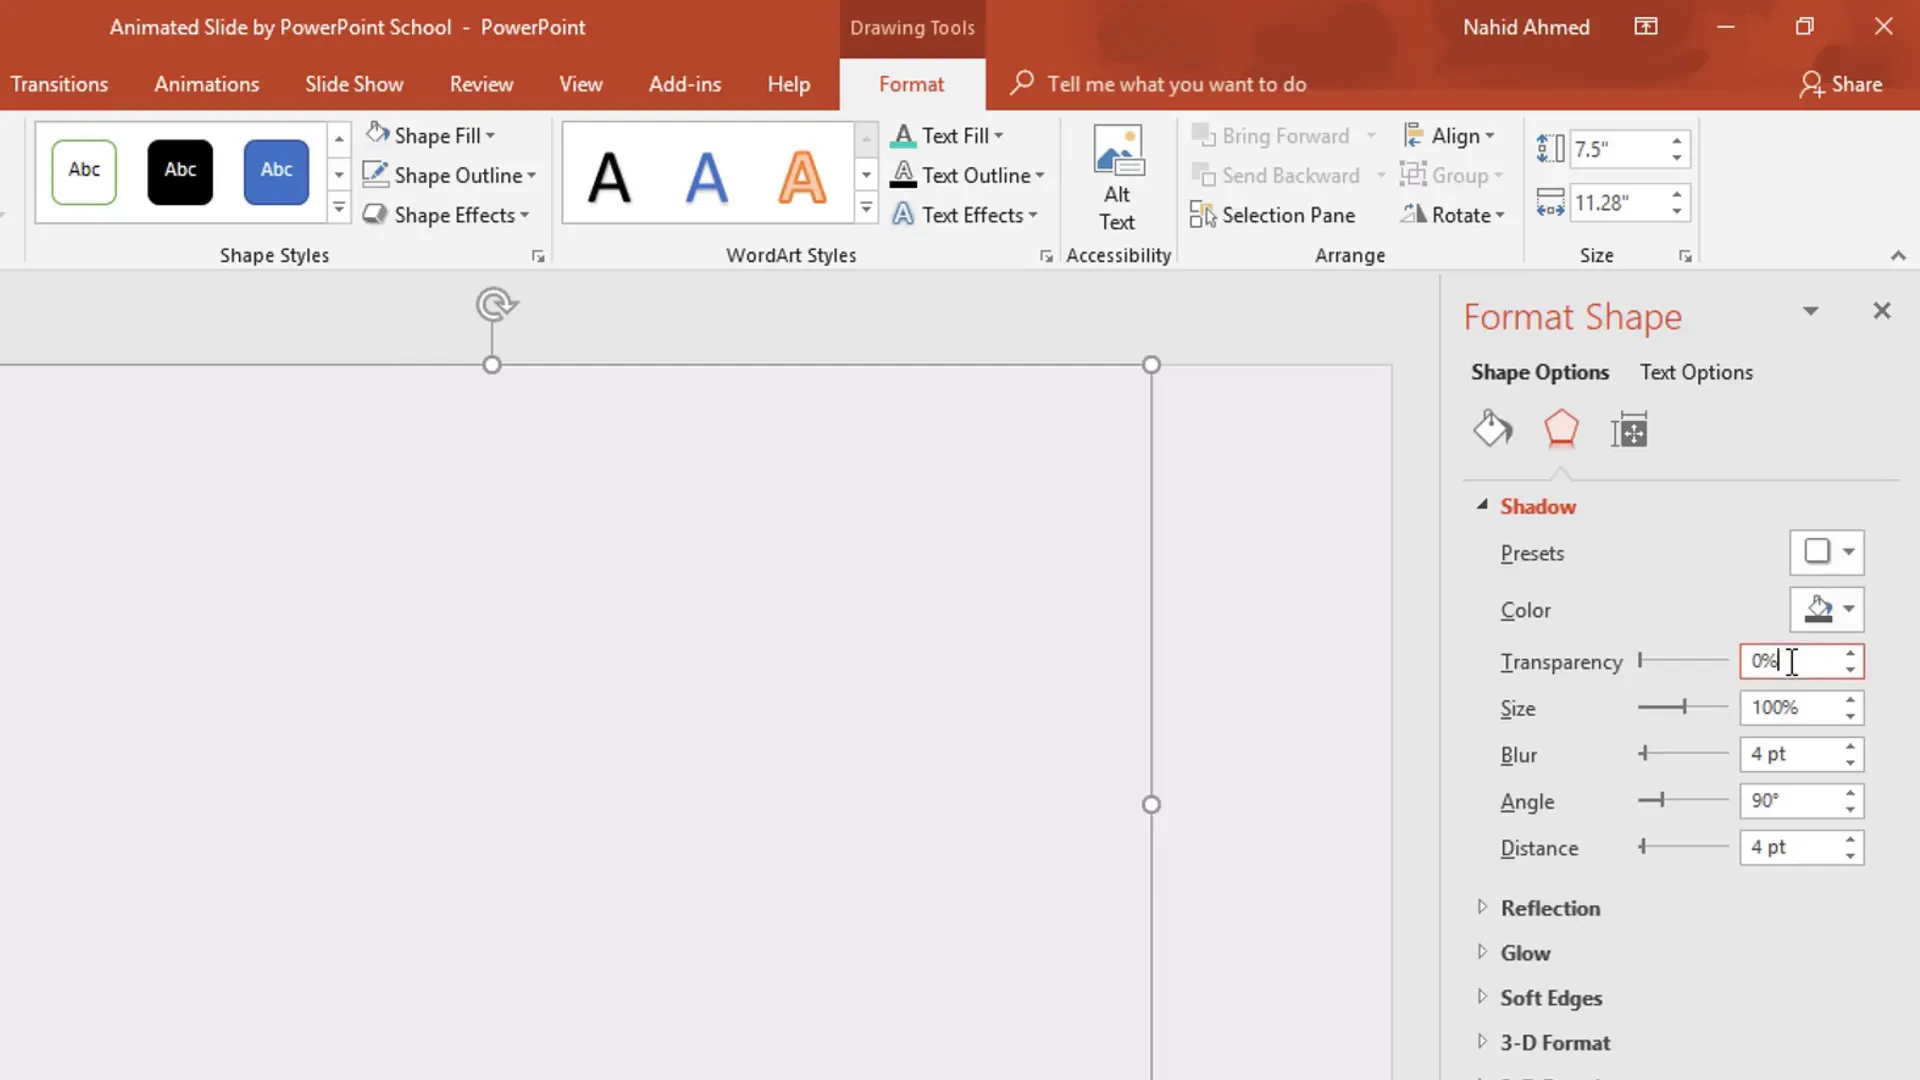
- Open the Shape Effects menu by clicking the small arrow next to the shadow icon.
- Under the Shadow options, customize the shadow as follows:
- Shadow color: black
- Transparency: 65%
- Size: 101%
- Blur: 17 points
- Angle: 0 degrees
- Distance: 3 points
- Close the effects menu.
This shadow adds depth and dimension to your base shape, making it visually appealing and helping it stand out from the background.
Designing the Half-Circle Accent Shape
For an eye-catching detail, we will create a half-circle shape with a custom color that will serve as a focal point on the slide:
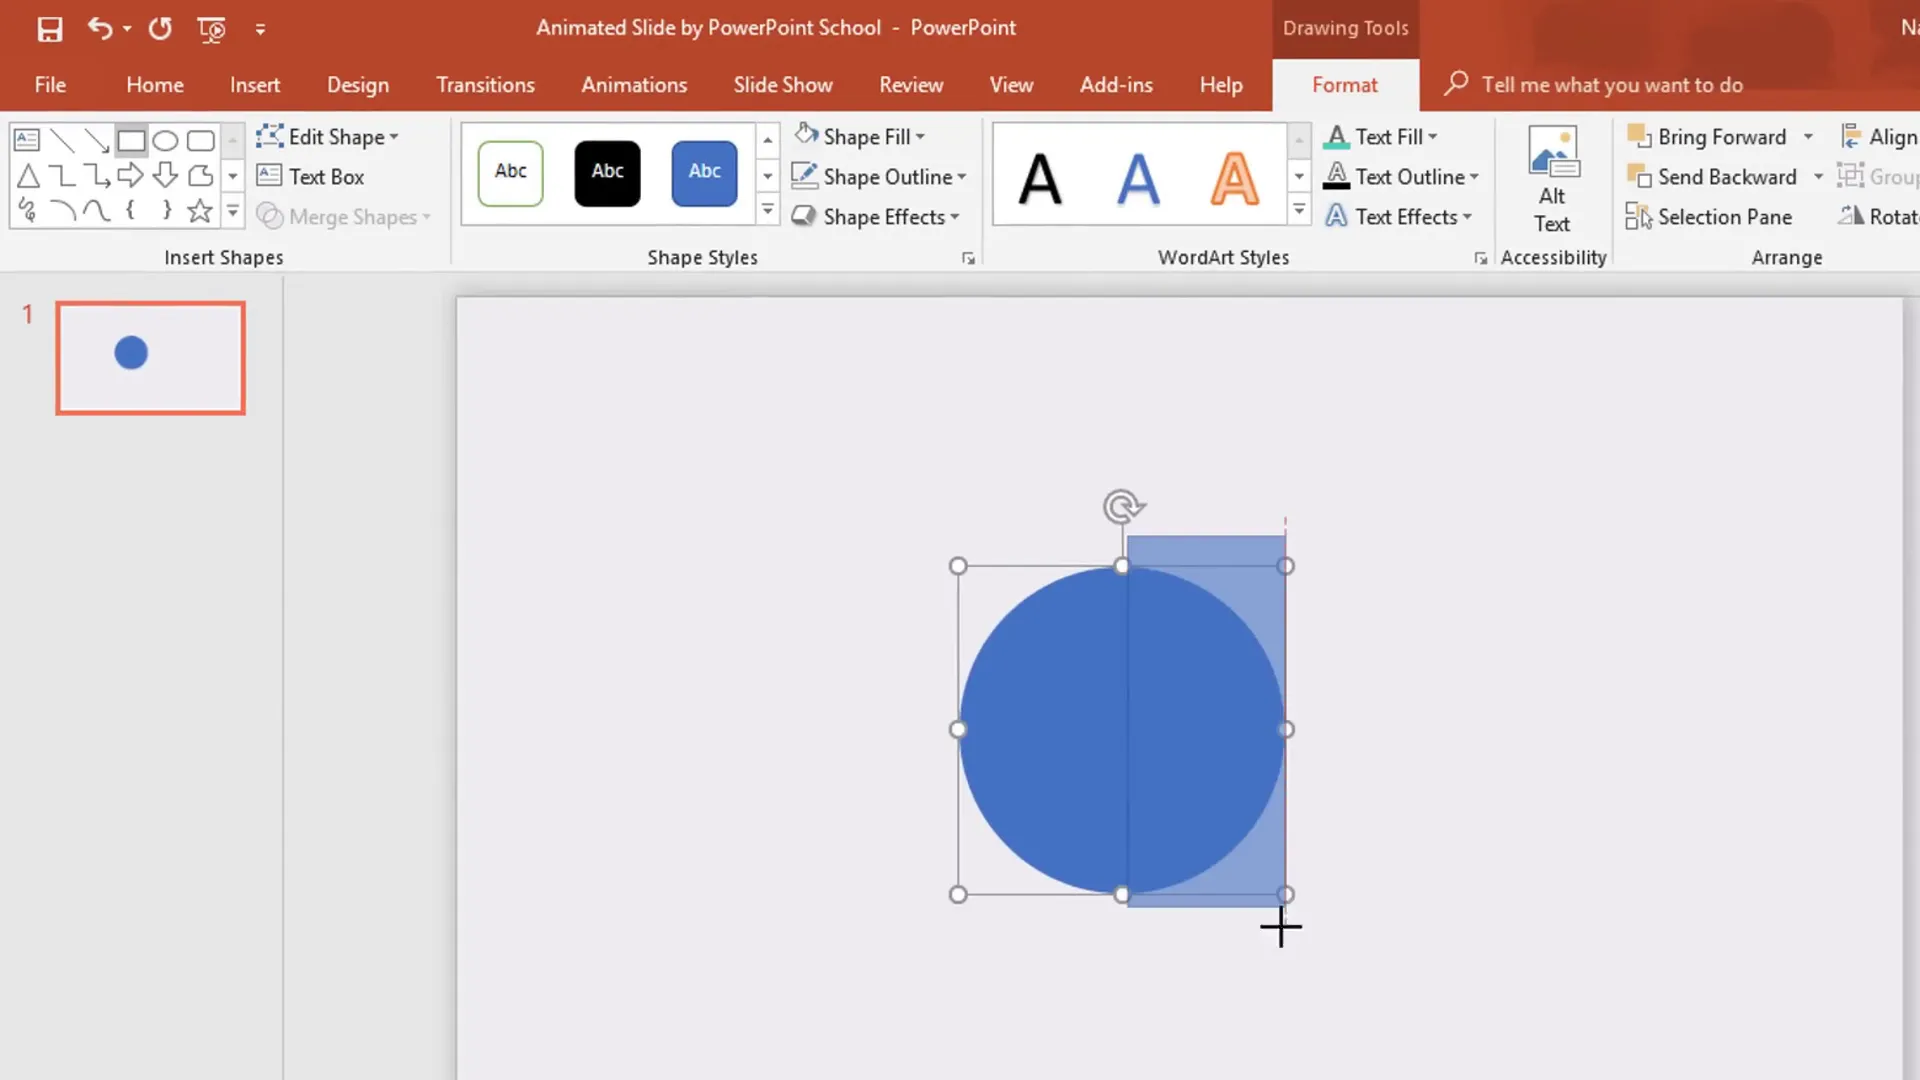
- Insert an Oval shape by holding Ctrl + Shift and dragging to create a perfect circle.
- Set the Shape Outline to No Outline.
- Insert a Rectangle shape and place it over half of the circle, covering exactly 50% of it.
- Hold the Ctrl key and select both the rectangle and the circle.
- Under the Format tab, use the Merge Shapes dropdown and select Subtract. This will cut the rectangle portion out of the circle, leaving a perfect half-circle.
- Fill this half-circle with your desired color.
- Drag and position the half-circle over the middle portion of the rectangle base shape.
This half-circle adds a modern and dynamic feel to your slide design and serves as a background for your icon and text.
Adding and Styling Text
Text is essential for communicating your message clearly. Here’s how to add and style text for maximum impact:
- Insert a Text Box near the half-circle shape.
- Type your desired title or content.
- Select the text and change the font to TWCN Empty (or a similar clean, bold font).
- Adjust the font size to ensure readability and prominence.
- Make the text bold and center it.
- Go to the Arrange menu, click Rotate, and select Rotate Left 90° to align the text vertically.
- Position the rotated text box over the half-circle.
- Change the font color to light gray for contrast and cohesion with the background.
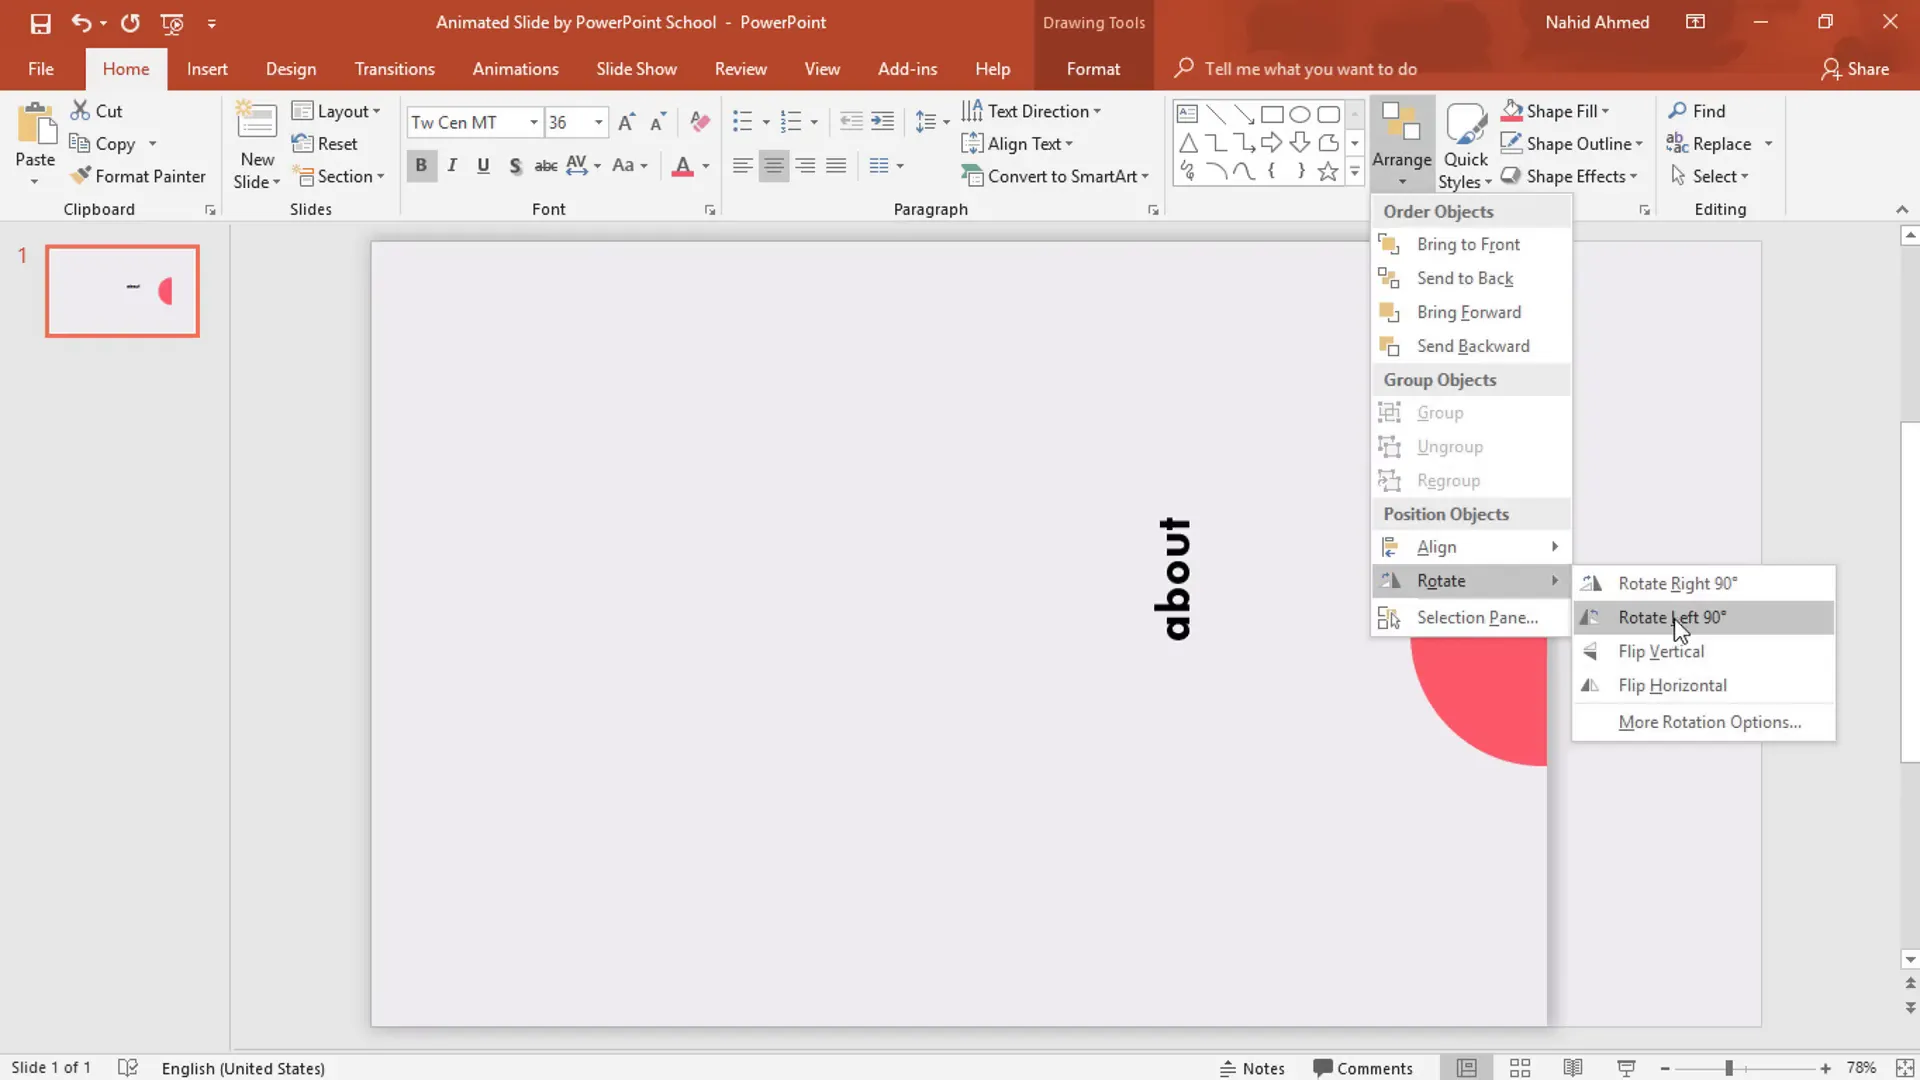
Vertical text adds a unique aesthetic and complements the half-circle design element, enhancing the overall slide look.
Inserting an Icon for Visual Interest
Icons can visually communicate ideas quickly and add polish to your slide. Follow these steps:
- Go to the Insert tab and select Picture.
- Choose an icon image you have downloaded (for example, a light icon from flaticon.com).
- Insert the icon onto the slide and rotate it left 90° to align with the text.
- Position the icon in the center of the half-circle shape.
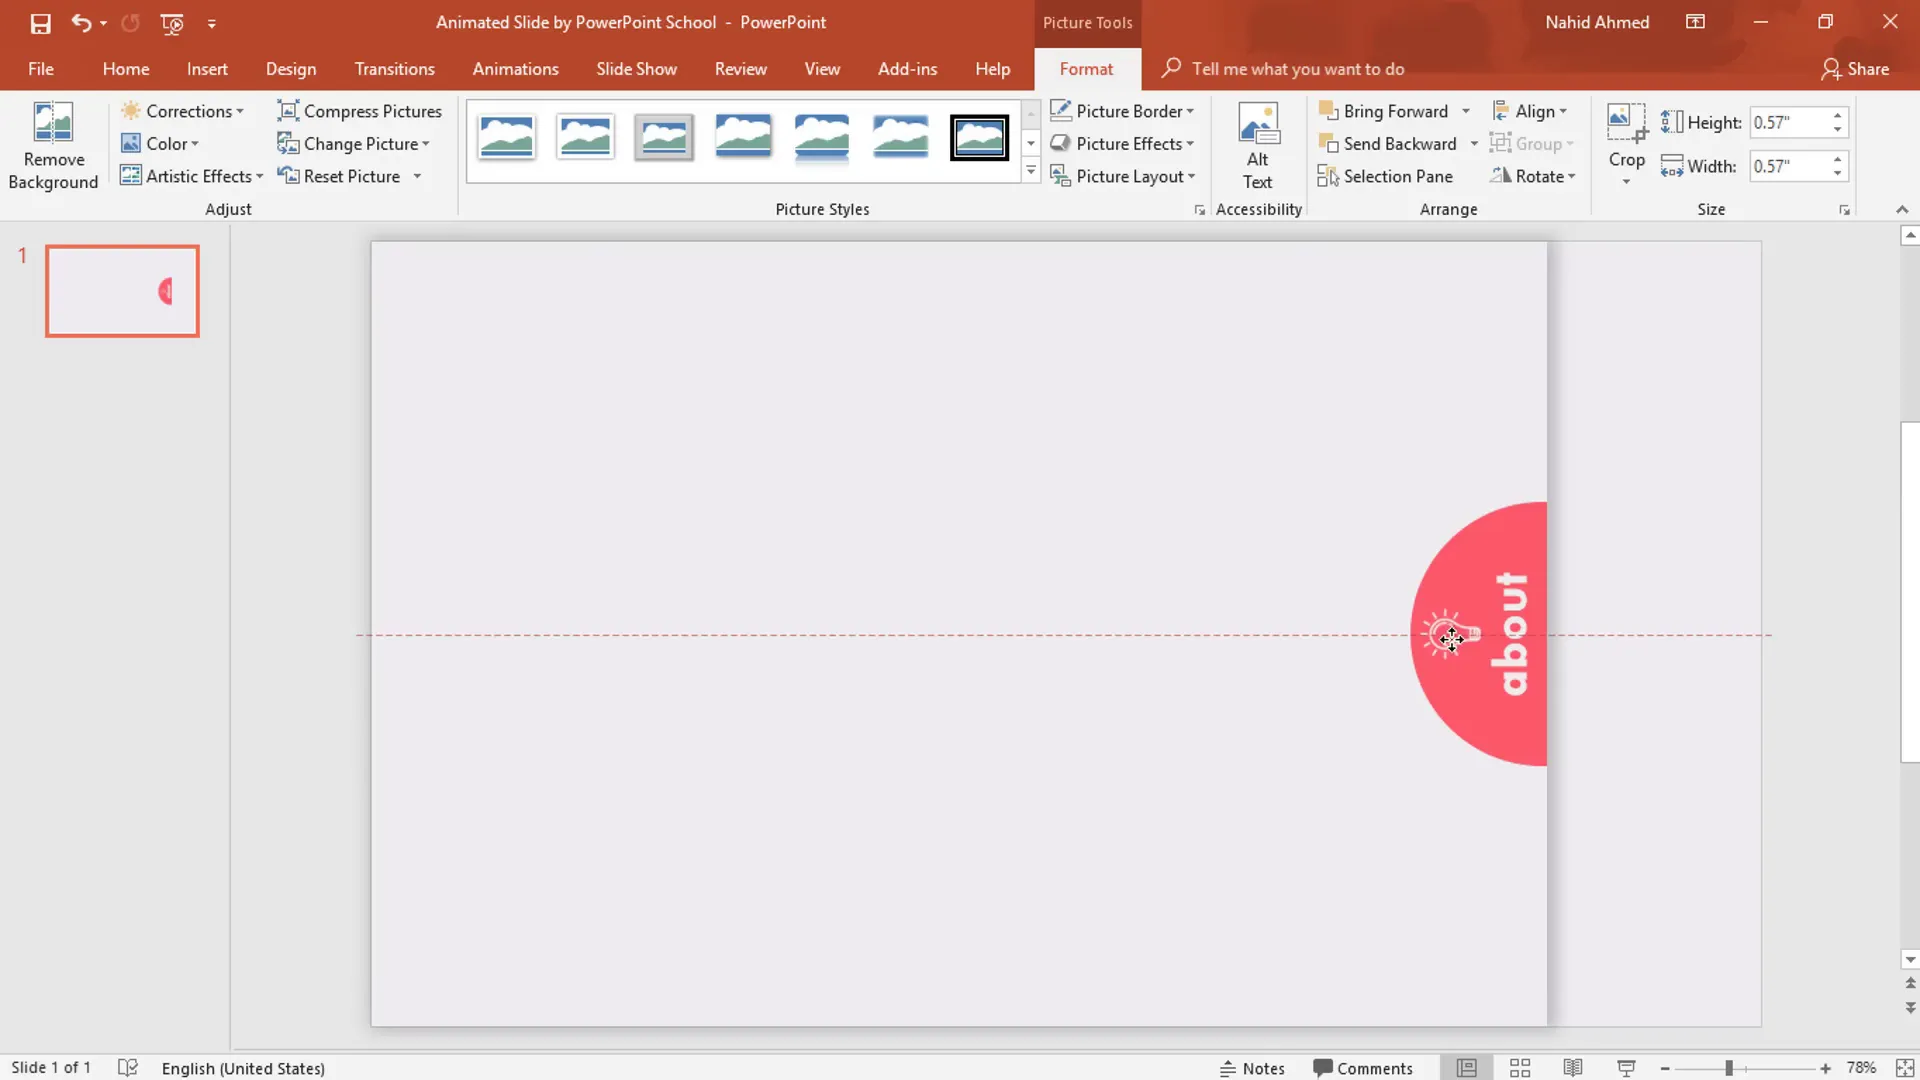
Using high-quality icons adds professionalism and helps reinforce your message visually.
Grouping and Duplicating for Multiple Slides
Once you have your base design ready, you can duplicate and customize it to create multiple slides with different color schemes and content:
- Select all the design elements (rectangle, half-circle, text box, icon) and press Ctrl + G to group them.
- Right-click the slide and select Duplicate Slide, or press Ctrl + D to create copies.
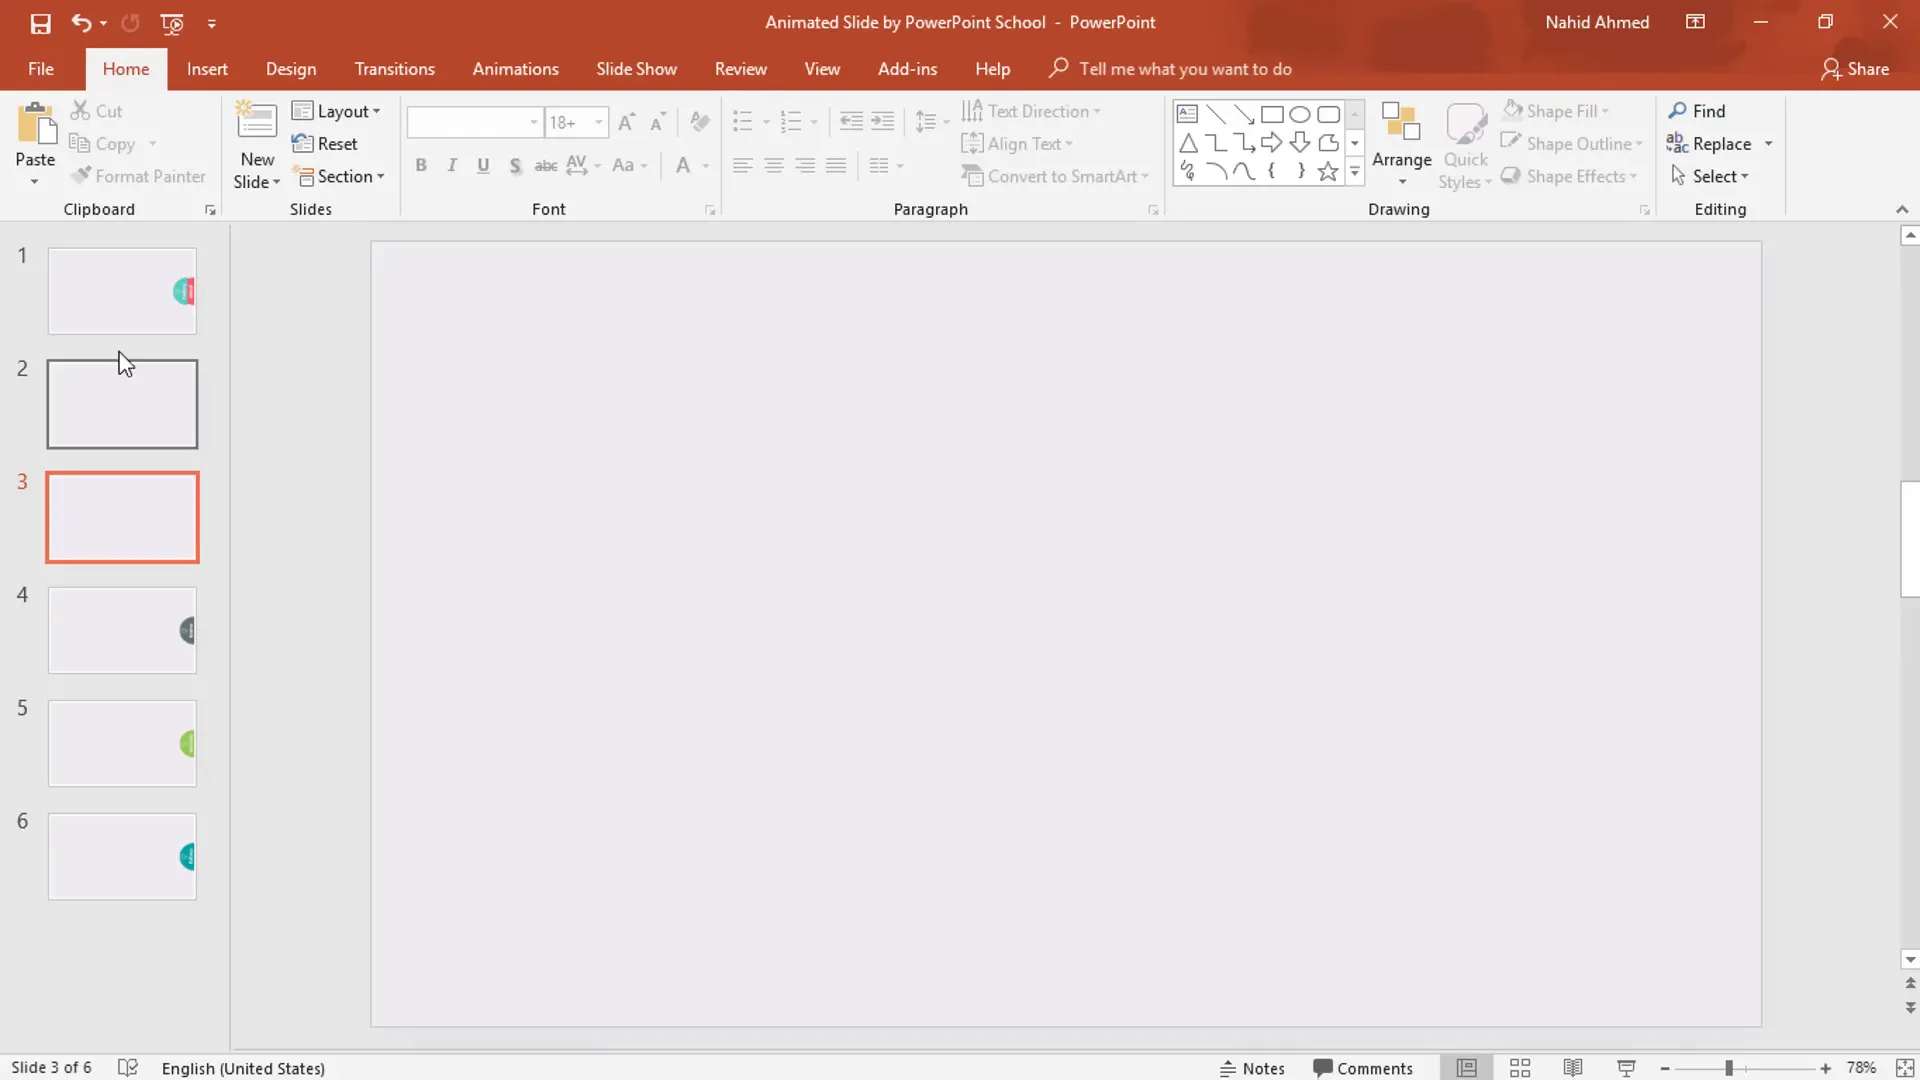
- Create a total of six slides to have multiple color options.
- On each duplicated slide, select the half-circle shape and change its fill color to a new custom color.
- Update the text box title to match the new theme or content.
Using grouped elements makes it easy to maintain consistent design while allowing for quick customization across multiple slides.
Arranging and Finalizing Slide Layout
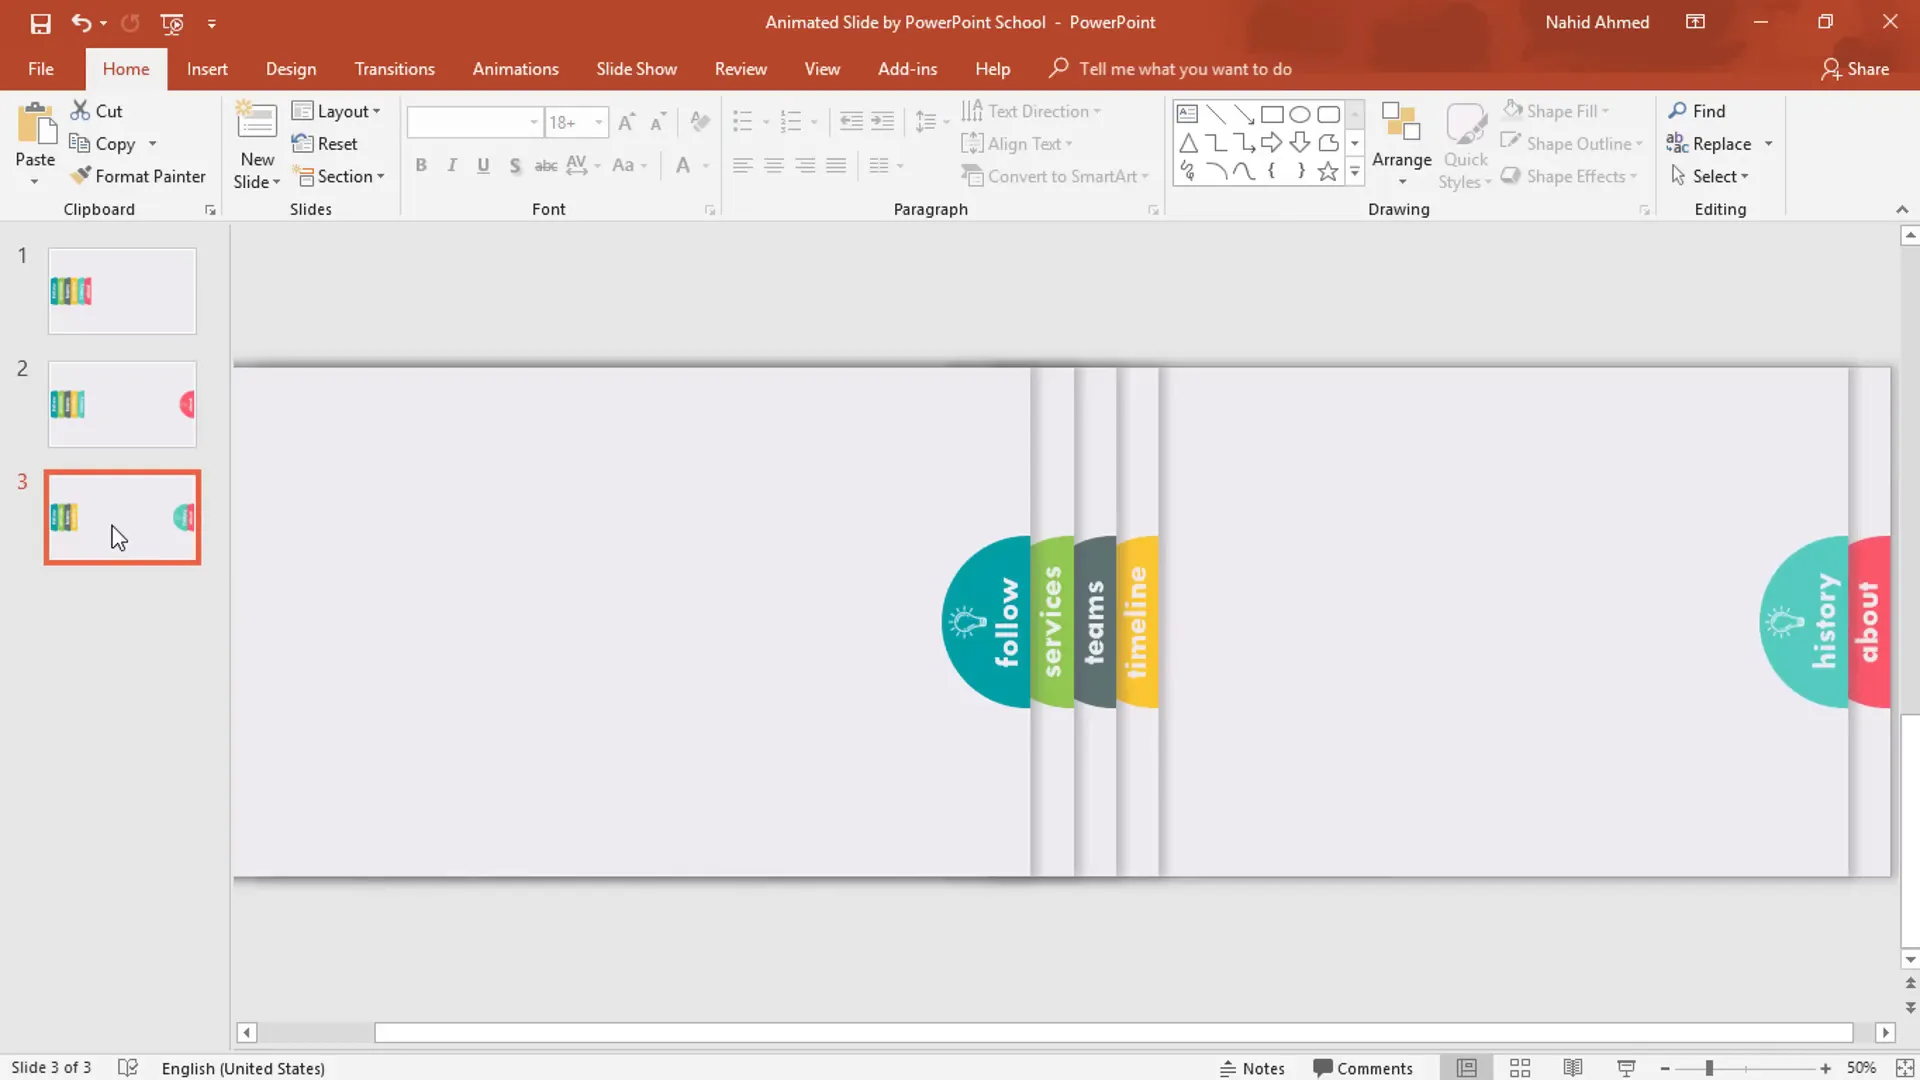
To create a cohesive presentation, arrange all your grouped shapes on one slide and delete unnecessary duplicates:
- Cut the grouped shapes from each slide using Ctrl + X.
- Paste them back onto the first slide with Ctrl + V, positioning them evenly with consistent spacing.
- Select all grouped shapes and adjust their alignment to the left or right as needed.
- Remove the extra slides by selecting them and pressing Delete.
This approach consolidates your slide elements for easier management and smoother animations.
Creating Multiple Slides for Dynamic Animation
To simulate movement and dynamic changes within your presentation, duplicate your slide multiple times and shift the grouped shapes across the slides:
- Duplicate the first slide multiple times.
- On each subsequent slide, select one group of shapes and drag it to the right, creating a progressive movement effect.
- Repeat this process for all grouped shapes across the slides.
- Ensure spacing is consistent for smooth transitions.
This step lays the foundation for a polished animation sequence using PowerPoint‘s morph transition.

Adding Animated Content for Enhanced Visuals
Animations bring your slide to life, making it more engaging and professional. If you don’t know how to create these animations, you can use pre-made animated content or follow tutorials to learn.
Here’s how to add animated elements to your slides:
- Copy the animated content from prepared slides (press Ctrl + C).
- Paste the content onto your original slides (Ctrl + V).
- Position the animations in the middle of the slide for balanced design.
- Repeat this process for all slides where you want animated content.
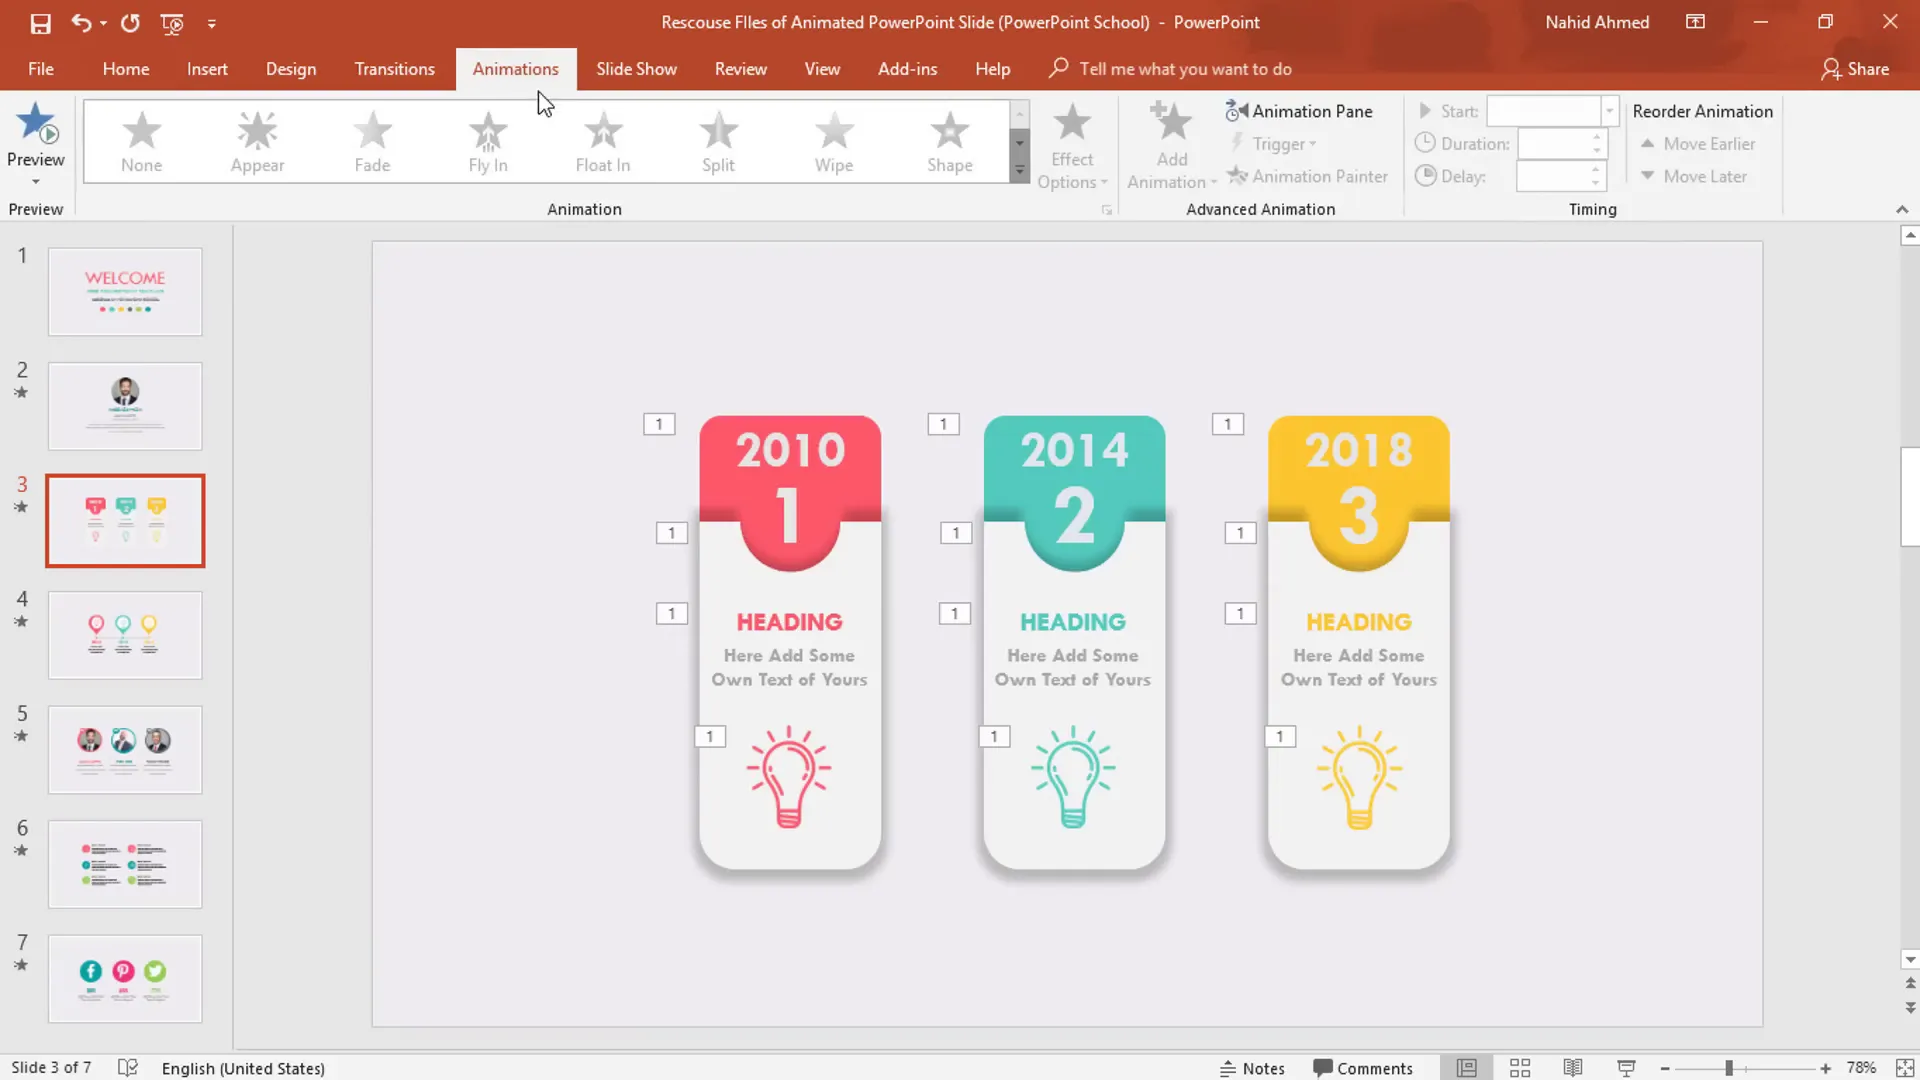
The animations can include text fades, icon movements, or other effects that complement the slide design. If you want to create your own animations, check out tutorials on PowerPoint animation techniques.
Applying the Morph Transition for Smooth Slide Changes
The final step to create a seamless animated slide is to apply the Morph transition between slides:
- Go to the Transitions tab.
- Select the first slide.
- Choose the Morph transition.
- Set the duration to 0.75 seconds for smooth movement.
- Apply the transition to all slides in the sequence.
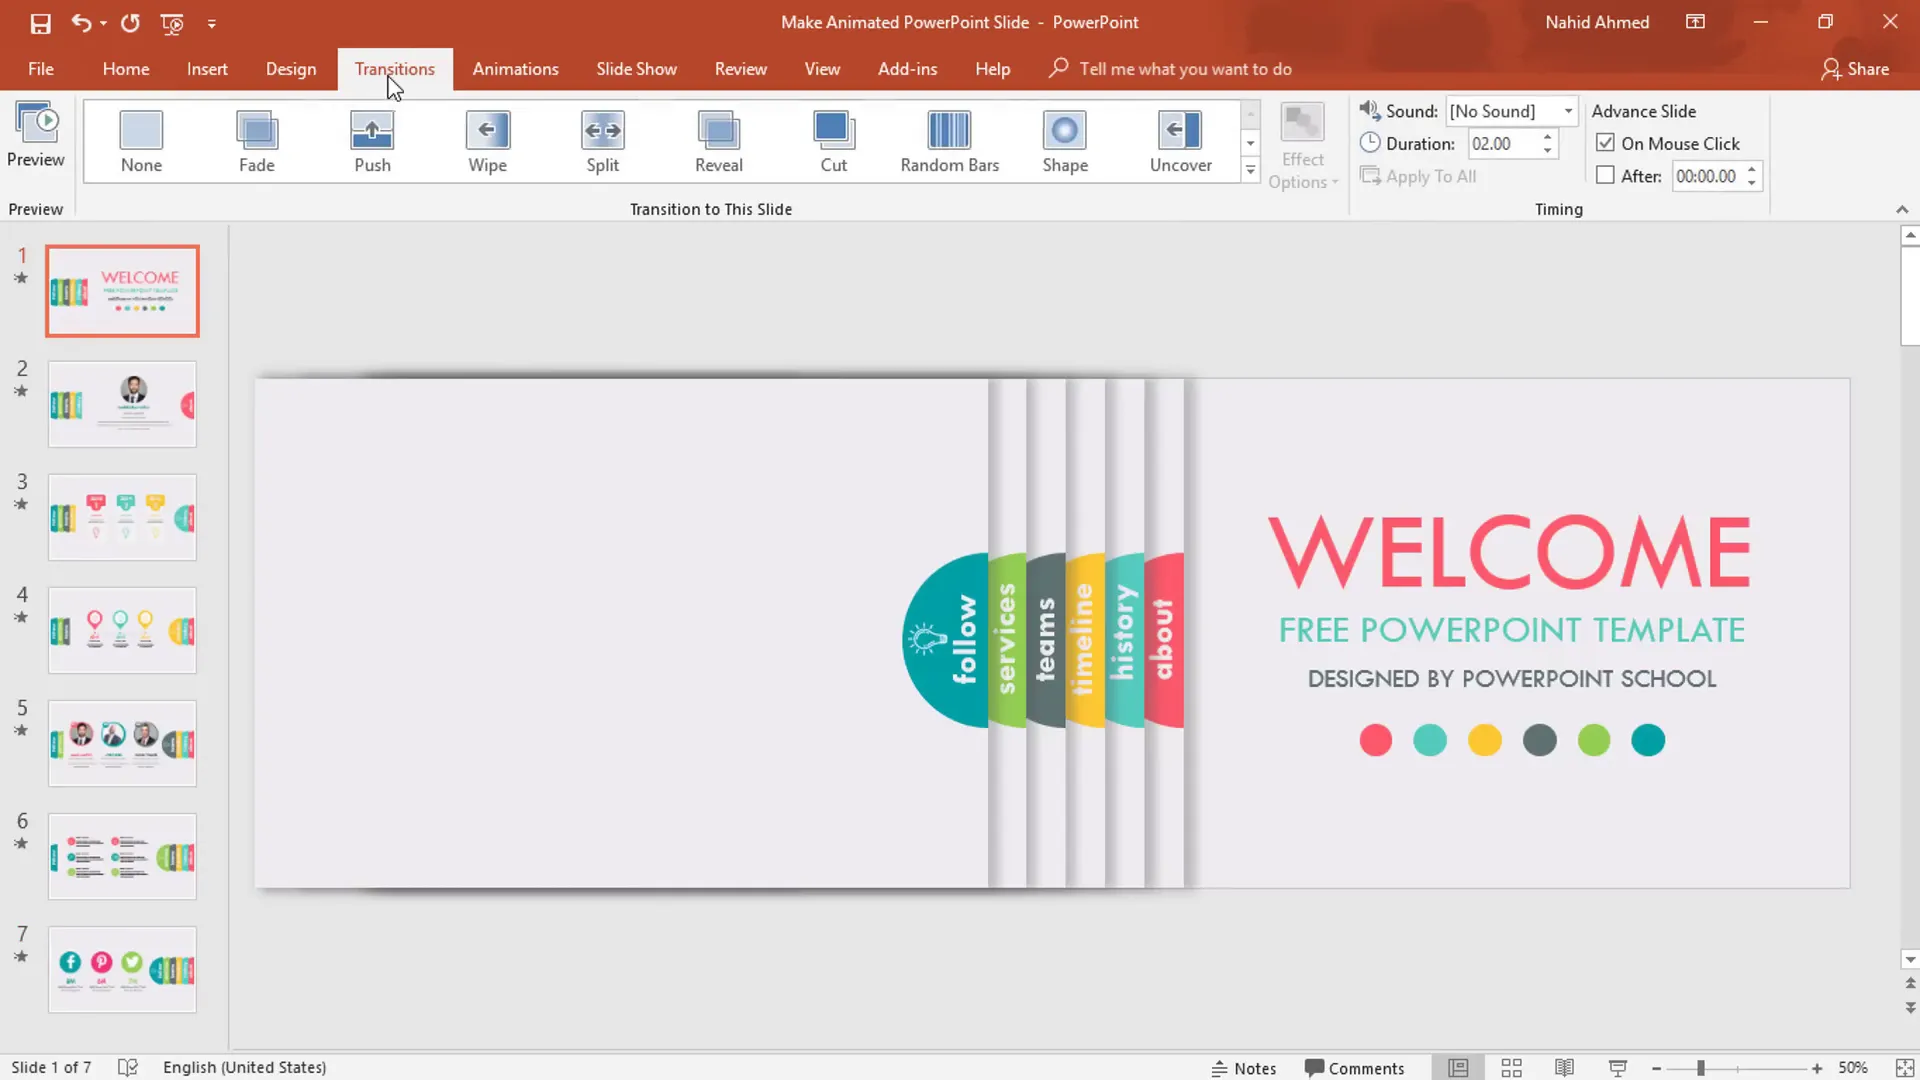
The Morph transition animates the movement of shapes and objects between slides, creating the illusion of continuous animation on a single slide. If your version of PowerPoint doesn’t support Morph, don’t worry—you can download the template file with Morph already applied and use it directly.
Why This Template Stands Out
Many marketplaces sell PowerPoint templates for around $20 or more, but here you can get a high-quality animated slide template free of cost. This template is multipurpose, meaning you can easily adapt it to any topic or presentation style.
The design’s elegance and smooth animation make it suitable for business presentations, educational materials, marketing pitches, and more. Plus, the tutorial and resource files ensure you can customize it fully to your needs.
Additional Tips for PowerPoint Slide Design
- Keep your design simple and consistent: Use a limited color palette and consistent fonts to maintain a professional look.
- Use animations sparingly: Overusing animations can distract your audience. Use them to emphasize key points.
- Test your presentation: Run your slideshow multiple times to ensure animations and transitions run smoothly.
- Use high-quality icons and images: Avoid pixelated or low-resolution visuals to maintain a polished appearance.
- Practice your delivery: A great slide is only effective if paired with confident and clear presentation skills.
Frequently Asked Questions (FAQ)
Q: Do I need advanced PowerPoint skills to create this animated slide?
A: No, this tutorial is designed for users of all skill levels. Each step is explained clearly, and you can use the provided template and resource files if you want to skip the design process.
Q: Which version of PowerPoint is required for the Morph transition?
A: Morph is available in PowerPoint 2016 and later versions. If you don’t have Morph, you can still use the template with pre-applied transitions or download the template from the provided link.
Q: Can I customize the colors and text in the template?
A: Absolutely! The template is fully customizable. You can change colors using RGB values provided, edit text boxes, and insert your own icons and images.
Q: Where can I find the icons used in this tutorial?
A: The icons are sourced from flaticon.com. You can download similar icons for free or purchase premium sets.
Q: Is this slide suitable for all types of presentations?
A: Yes, the multipurpose design makes it adaptable for business, education, marketing, and other presentation types.
Q: How can I learn more about PowerPoint animations?
A: There are many tutorials available online, including previous videos from PowerPoint School. You can also check out the PowerPoint animation course on Udemy for in-depth learning.
Q: Can I get the template and resource files for free?
A: Yes! The template and resource files are available for free download at PowerPoint School’s website.
Final Thoughts
Mastering the art of animated PowerPoint slides can transform your presentations from mundane to memorable. By following this step-by-step guide, you can create professional-quality animated slides that will captivate your audience and effectively communicate your message.
Remember, the key to great slide design is balancing creativity with clarity. Use animations to enhance—not overwhelm—your content. Experiment with colors, shapes, and transitions until you find a style that suits your presentation’s tone.
With practice and the right resources, you can produce stunning slides that make your presentations stand out. Download the free template, try out these techniques, and start impressing your audience today!
Good luck, and happy presenting!
Check out the full video: Make Animated PowerPoint Slide


