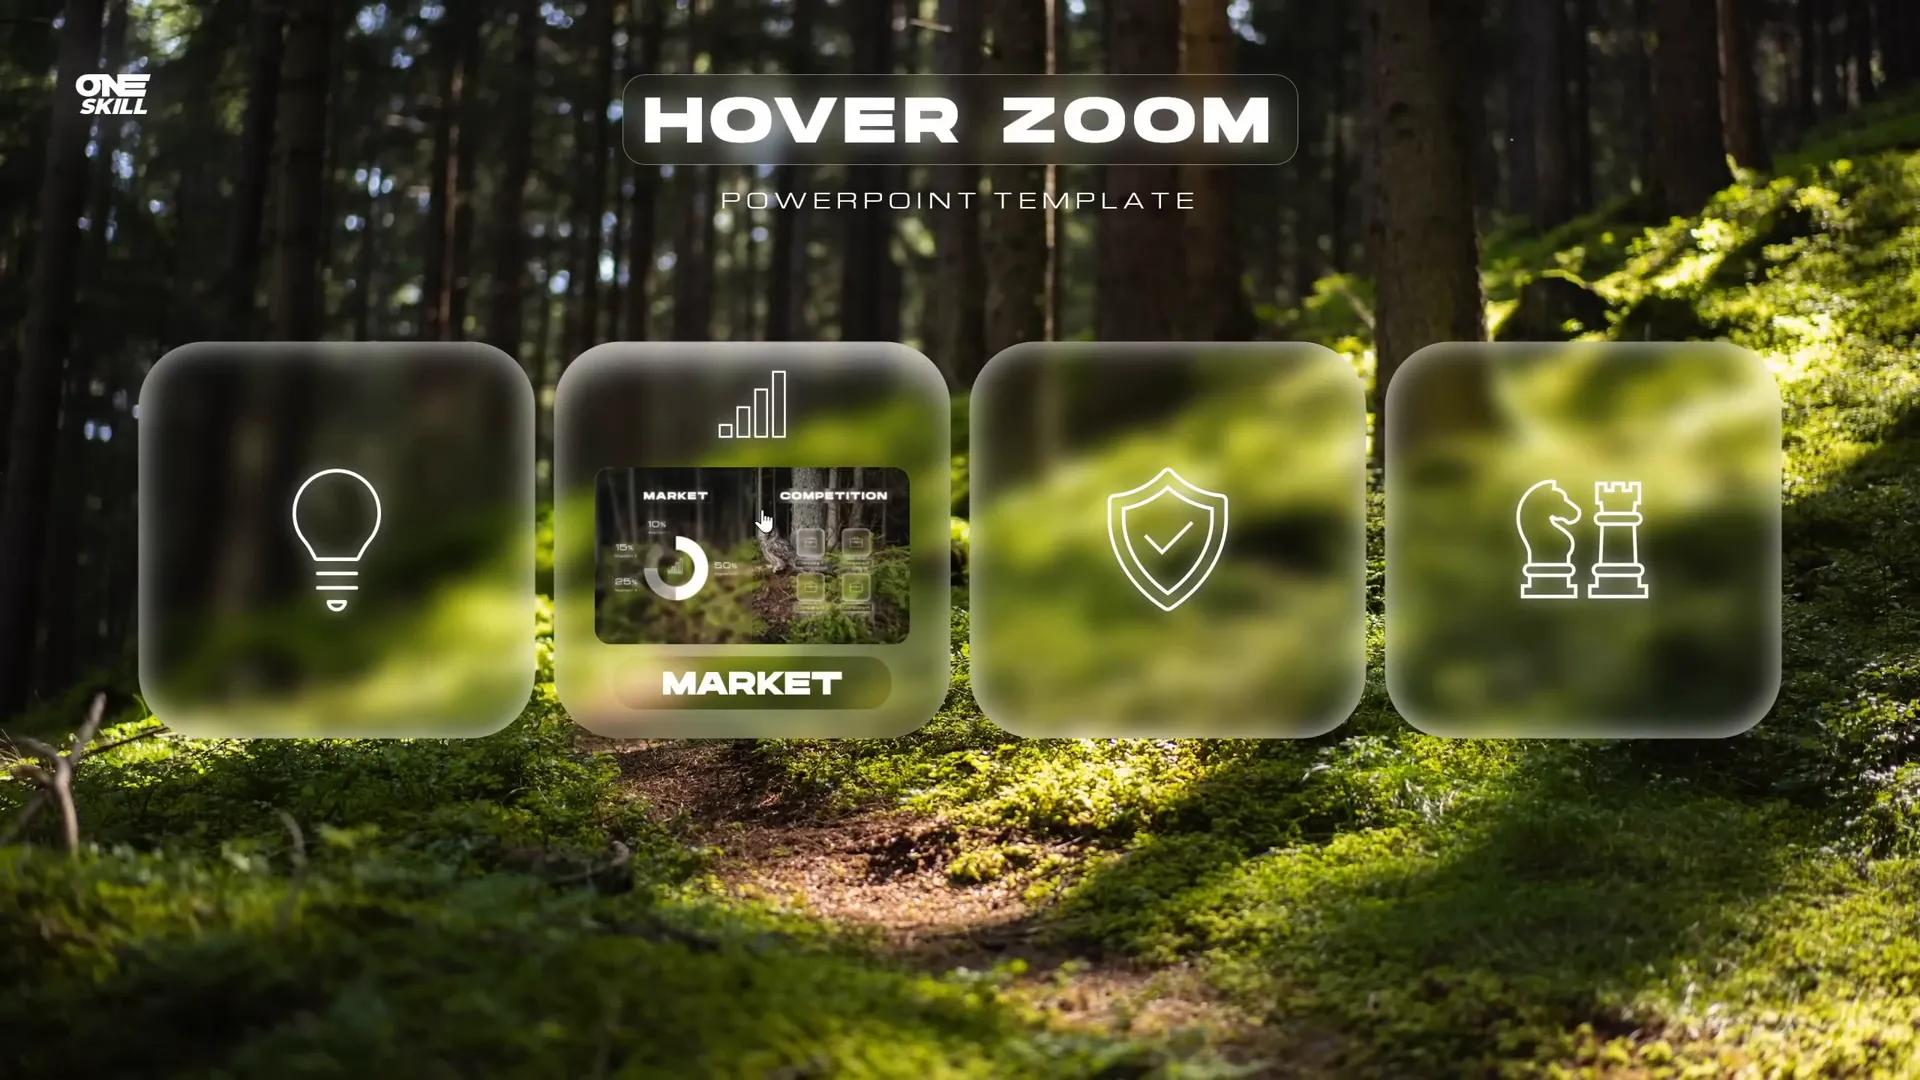
If you’re looking to elevate your PowerPoint presentations with engaging and interactive animation effects, you’ve come to the right place. In this comprehensive guide, we’ll dive deep into creating an innovative “Hover Zoom” effect using PowerPoint’s slide zoom and section zoom features. This technique not only adds a modern, dynamic feel to your slides but also enhances audience engagement through interactive animations triggered by mouse hover actions.
Originally inspired by the popular slide zoom tutorial from One Skill PPT, this updated tutorial celebrates a milestone of 700,000 subscribers by introducing a fresh take on slide zooms, called the Hover Zoom. You’ll learn step-by-step how to create glassmorphic effects, design hover animations, and integrate slide and section zooms to craft a polished, professional PowerPoint presentation.
Table of Contents
- Getting Started: Setting Up Your Slide Background
- Creating the Glassmorphic Effect in PowerPoint
- Building the Hover Animation
- Organizing Your Presentation with Slide Sections
- Enhancing Hover Animation with Slide Zooms
- Using Masks to Control Slide Zoom Visibility
- Adding Highlight Effects to Hover Cards
- Using Section Zooms for Multi-Slide Zooms
- Frequently Asked Questions (FAQ)
- Conclusion
Getting Started: Setting Up Your Slide Background
Before diving into complex animations, it’s essential to set a strong foundation for your presentation by preparing a visually appealing background. This creates the stage for your interactive hover zoom cards.
Step 1: Create a Blank Slide
Start with a fresh, blank slide layout to avoid default placeholders interfering with your design.
- Go to the Home tab, click Layout, and select Blank.
Step 2: Insert a Fullscreen Background Image
Choose a high-quality image to fill the entire slide background. For this tutorial, images from Unsplash are recommended due to their free usage and beautiful aesthetics.
- Go to Insert > Pictures and select your background photo.
- If the image doesn’t cover the whole slide, hold
Ctrl + Shiftand drag the corner handles to resize proportionally. - Use the Crop tool under the Picture Format tab, select Aspect Ratio, and choose 16:9 to fit perfectly.
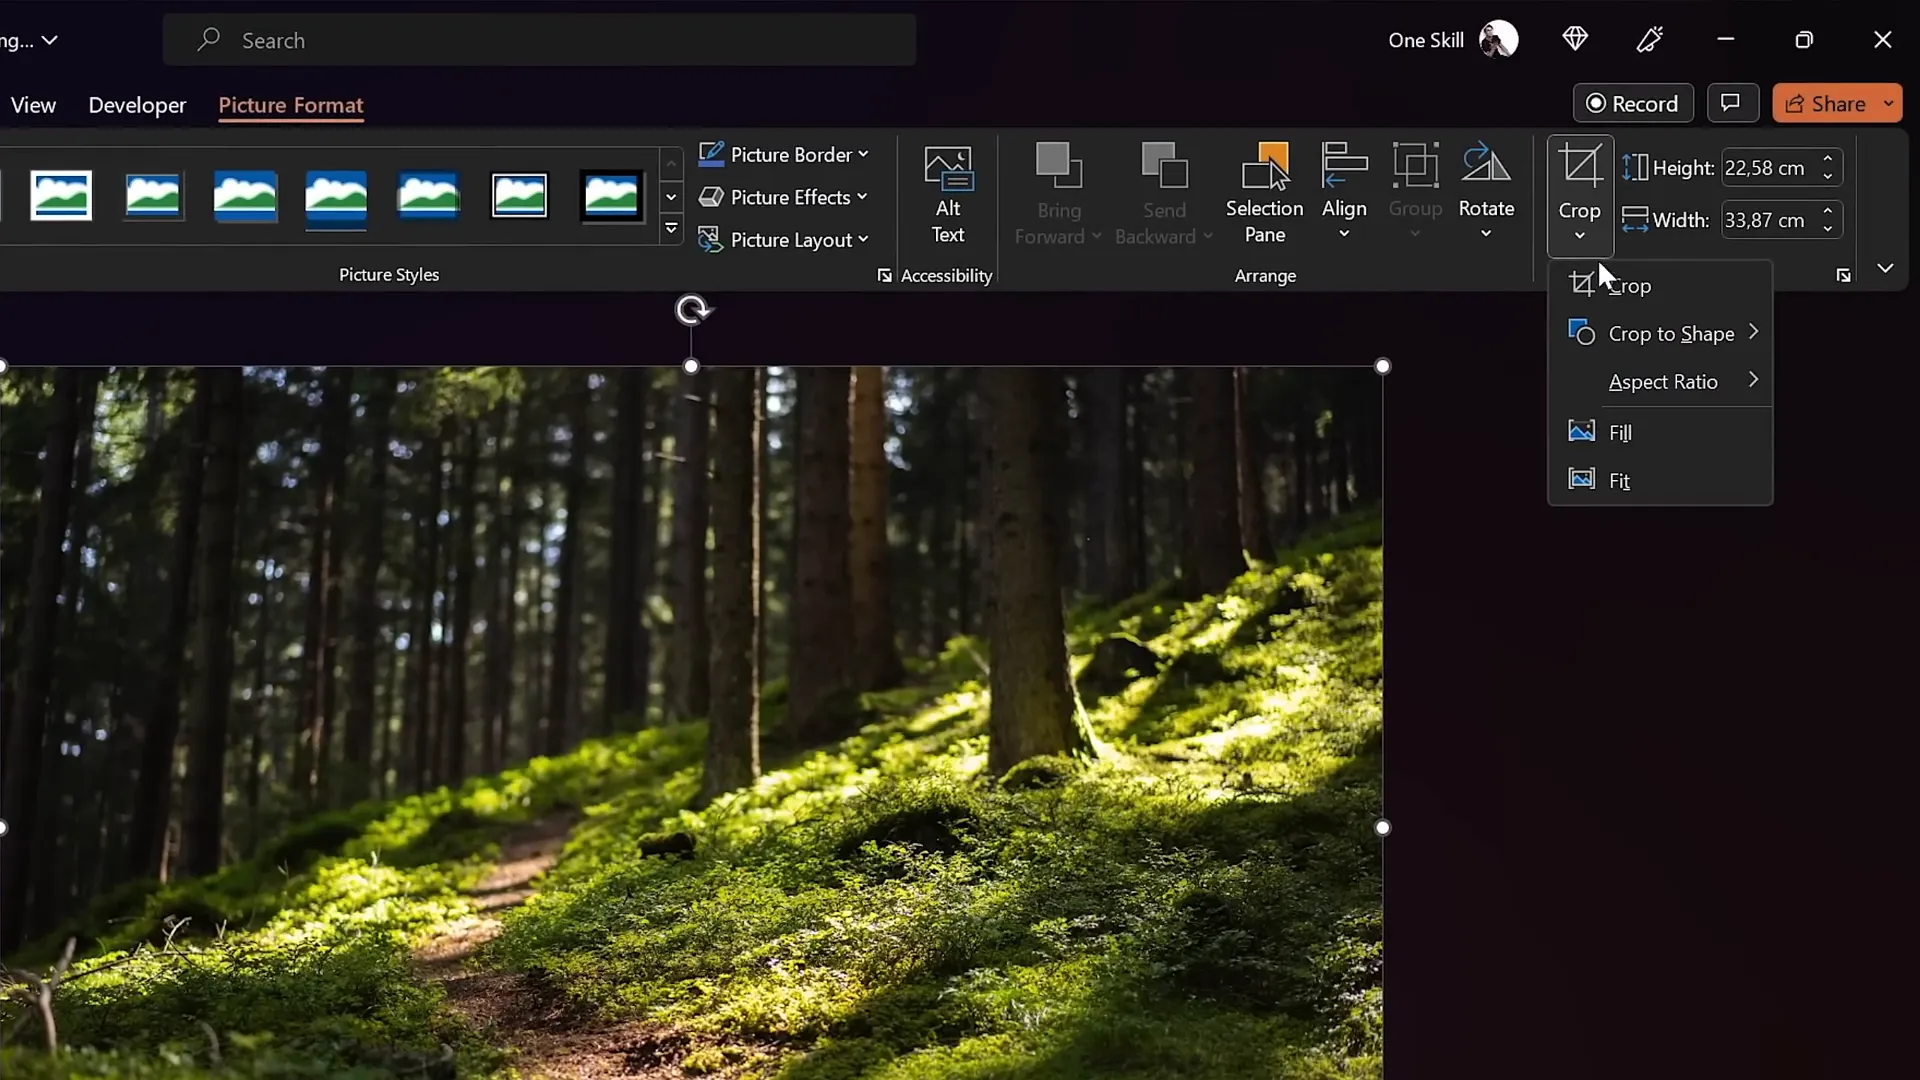
This fullscreen background image sets a compelling visual context for your interactive cards.
Creating the Glassmorphic Effect in PowerPoint
One of the signature design elements in the Hover Zoom template is the glassmorphic effect—a modern UI style that mimics frosted glass with blurred backgrounds and frosty edges. This effect lends sophistication and depth to your cards.
Step 1: Duplicate and Blur the Background Photo
- Make a copy of your background photo by holding
Ctrland dragging it. - Right-click the copy, select Artistic Effects, and apply the Blur effect.
- Adjust the blur intensity; a value around 30 works well.
- Copy the blurred photo (right-click > Copy), then delete the blurred image from the slide.
Step 2: Set Blurred Image as Slide Background Fill
- Go to Format Background and choose Picture or texture fill.
- Click Clipboard to paste the blurred image as your background fill.
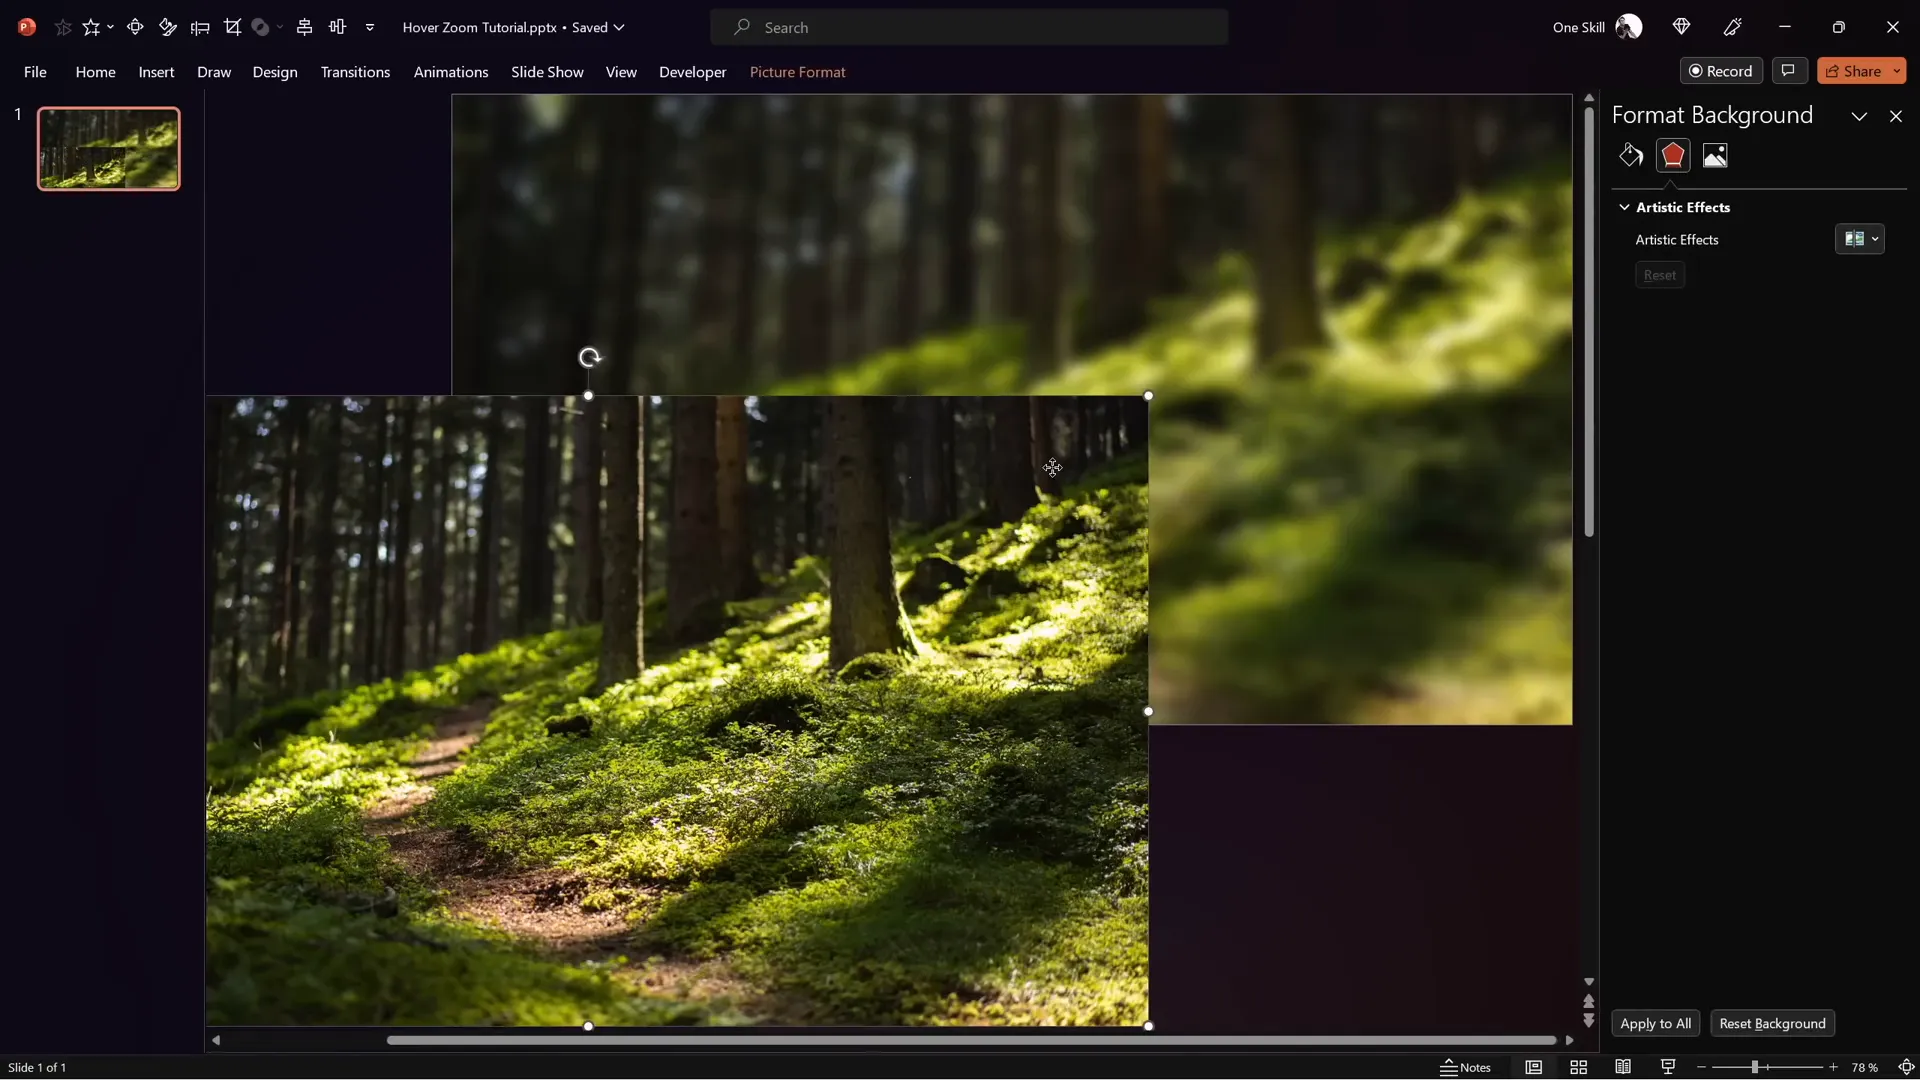
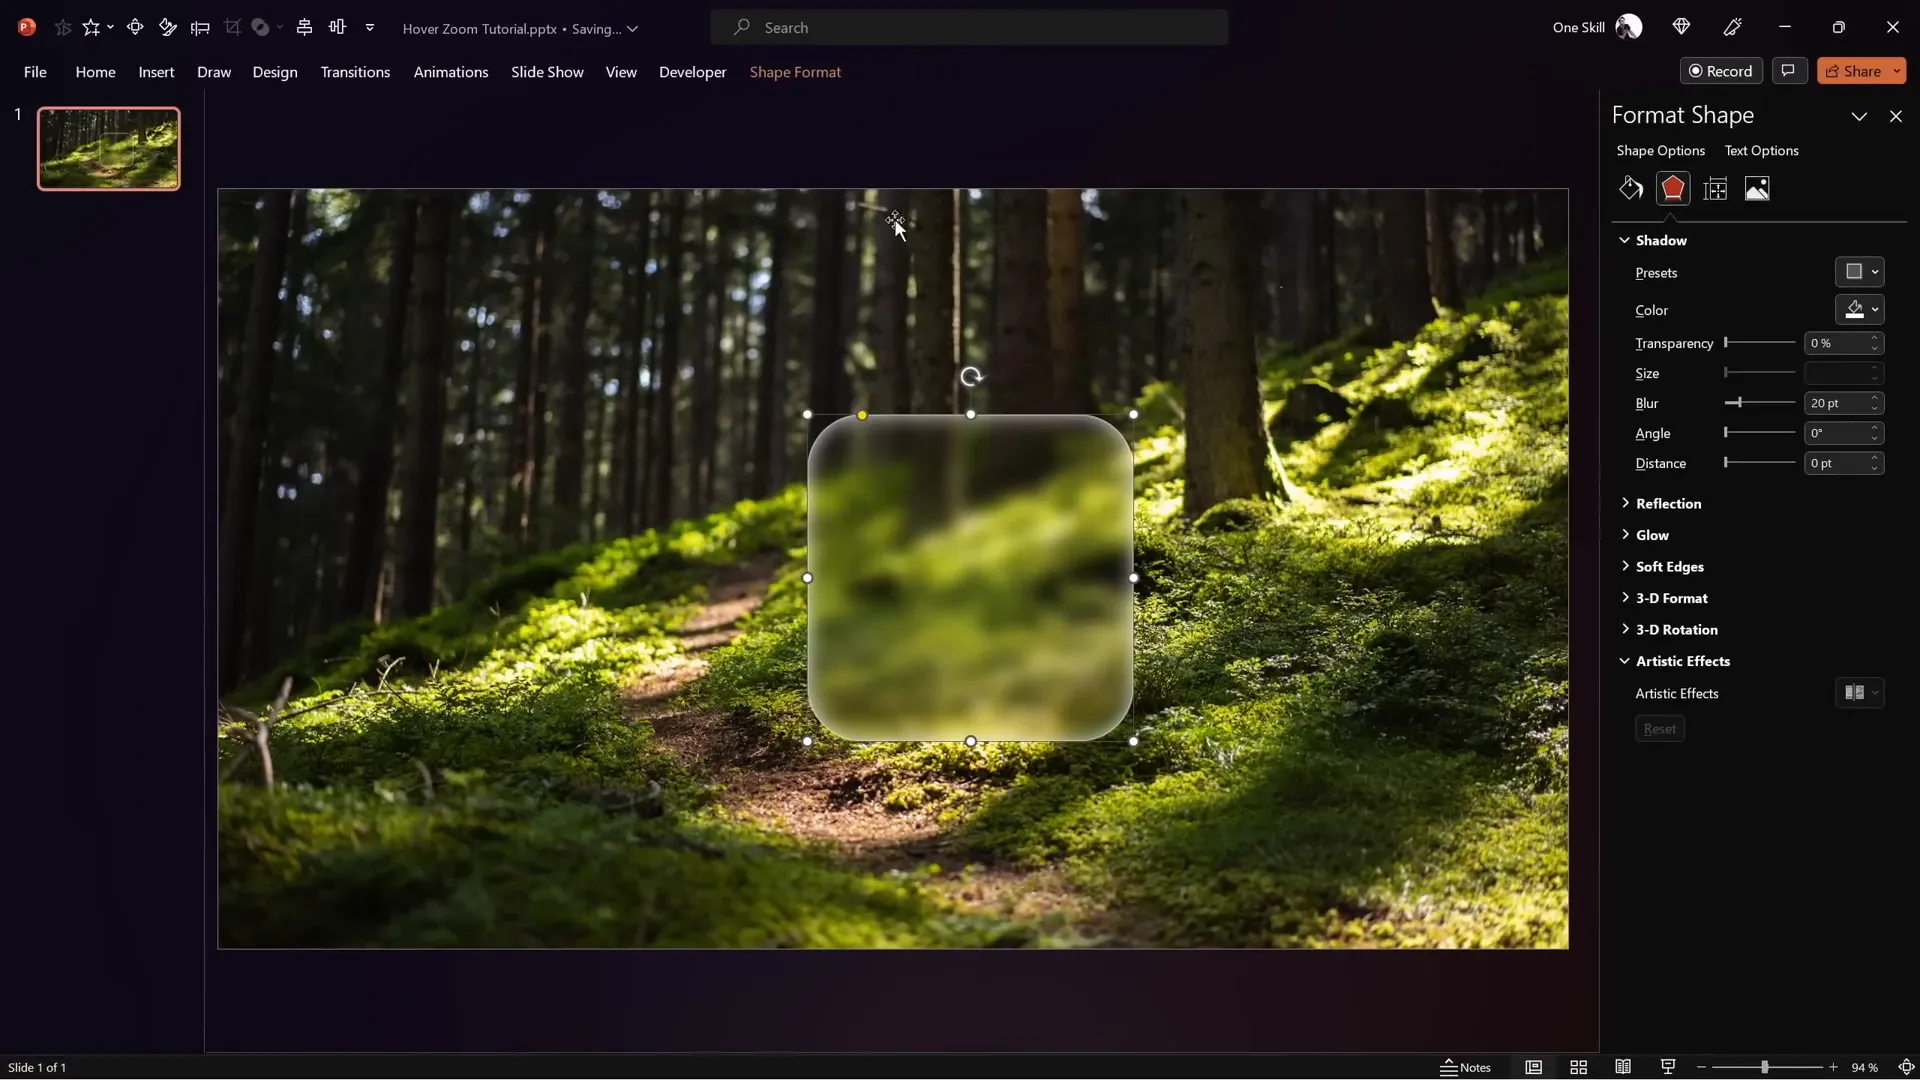
Step 3: Create the Glassmorphic Card Shape
- Insert a shape (e.g., rounded rectangle) from Insert > Shapes.
- Right-click the shape, select Format Shape, and under Fill options, choose Slide Background Fill.
- This fills the shape with the blurred background, creating a frosted glass effect that adapts dynamically when moved.
Step 4: Add Frosty Edges with White Inside Shadow
- Under Format Shape > Effects > Shadow, select Inside Shadow.
- Set the shadow color to white, blur amount to 20 points, and adjust softness to create frosty edges.
Step 5: Position and Size Your Card
- Set the height and width of the card shape to 7 cm (or your preferred size).
- Align the card perfectly to the center of the slide for balanced composition.
With the glassmorphic card ready, you have a stylish container for your hover zoom animation.
Building the Hover Animation
The hover animation is what brings your slide to life. It allows dynamic interaction by enlarging icons and displaying slide zooms when the mouse hovers over a card.
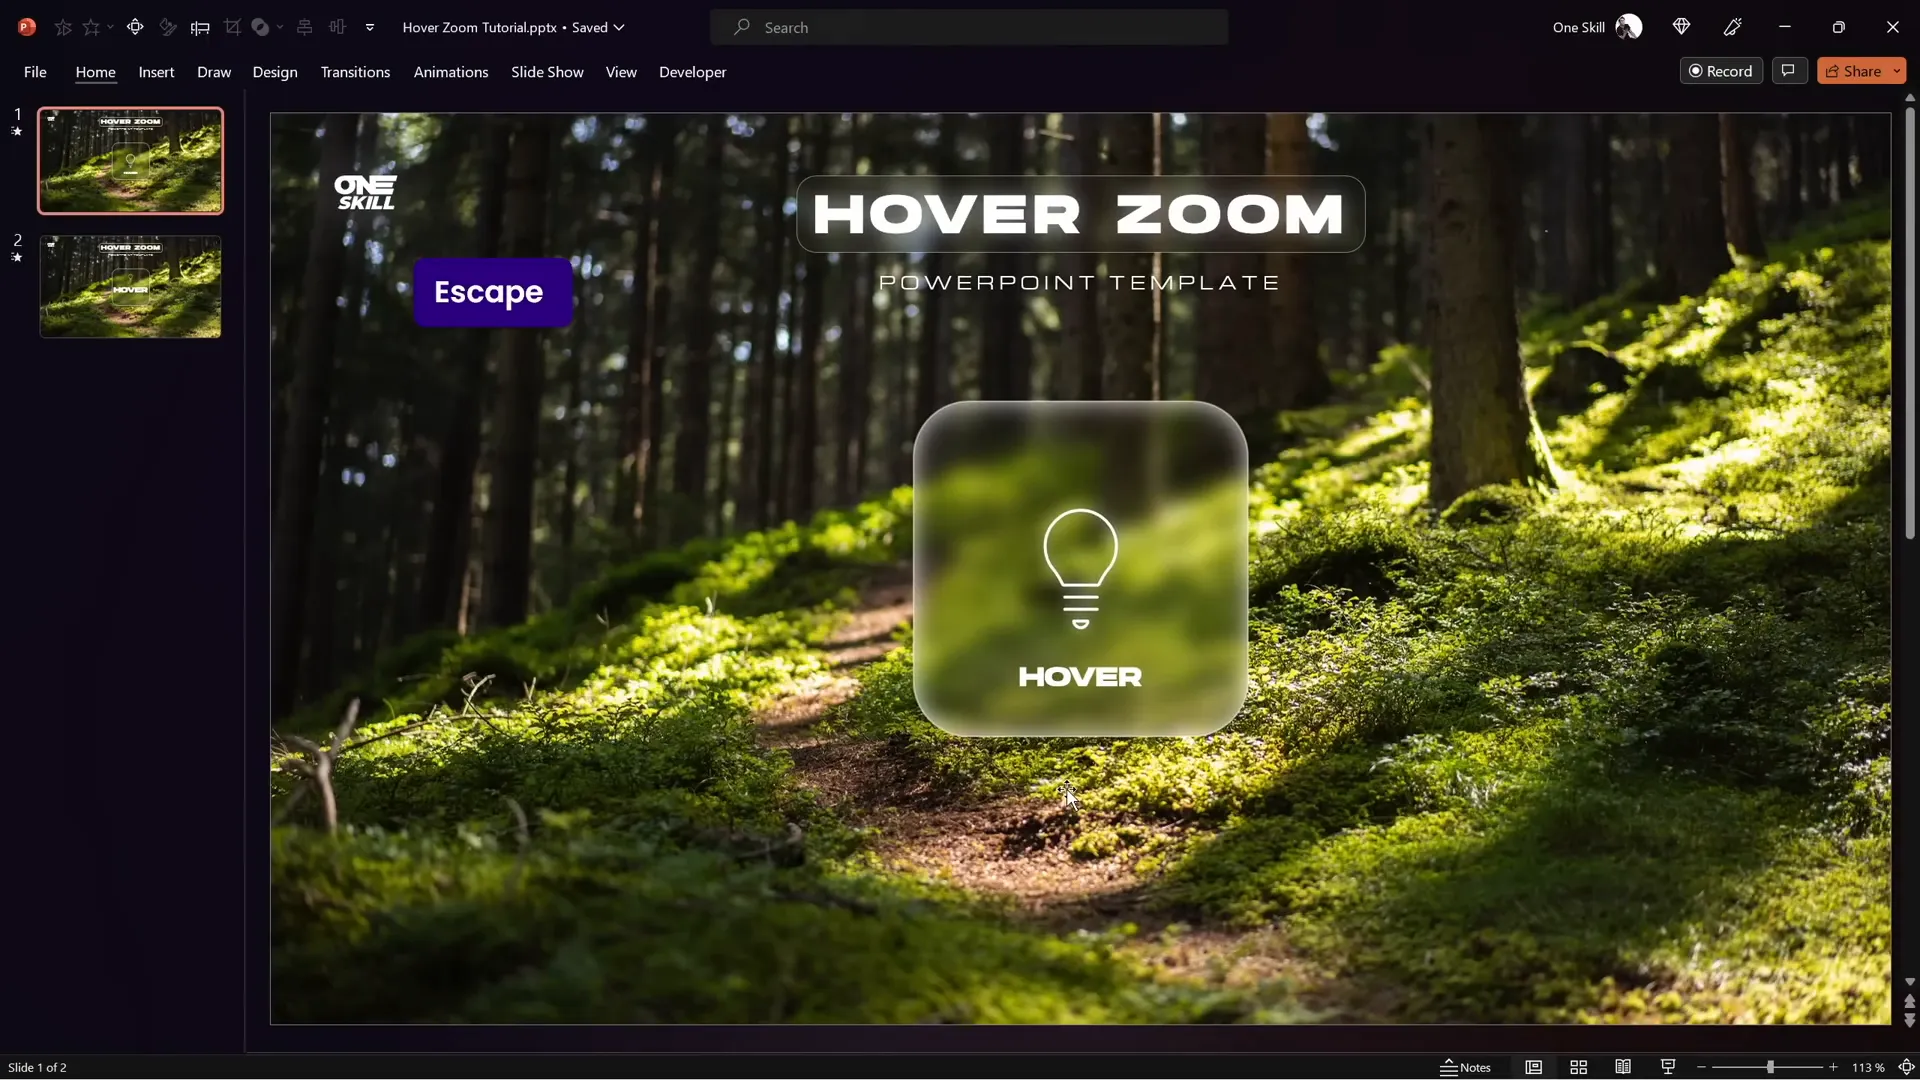
Step 1: Prepare Hover Elements
- Copy the icon, logo, slide title, and subtitle from your previous design or create new ones.
- Use fonts like Hansoon for titles and My Chroma for subtitles for a modern look.
- Apply the glassmorphic effect to text boxes to maintain design consistency.
Step 2: Insert and Align Icon and Text
- Place the icon centered on the glassmorphic card.
- Add a text box below the icon with placeholder text like “Hover” (which you will later update).
Step 3: Duplicate Slide and Adjust for Hover State
- Duplicate the slide to create the hover state.
- On the duplicate, shrink the icon slightly and move it upwards.
- Increase the font size of the text box and reposition it appropriately.
Step 4: Apply Morph Transition
- Select both slides.
- Go to the Transitions tab and apply the Morph transition.
- Set the transition duration to a fast speed like 0.135 seconds for smooth animation.

Step 5: Set Up Mouse Over Actions
- Select the glassmorphic card (rounded rectangle) on the first slide.
- Go to Insert > Action, select the Mouse Over tab.
- Choose Hyperlink to Next Slide to trigger the hover animation.
- On the second slide, select the background photo and set its mouse over action to hyperlink back to the previous slide.
This setup creates an interactive hover experience without clicking, simply by moving the mouse.
Organizing Your Presentation with Slide Sections
For complex presentations with multiple hover cards and zoom targets, organizing slides into sections enhances manageability and workflow.
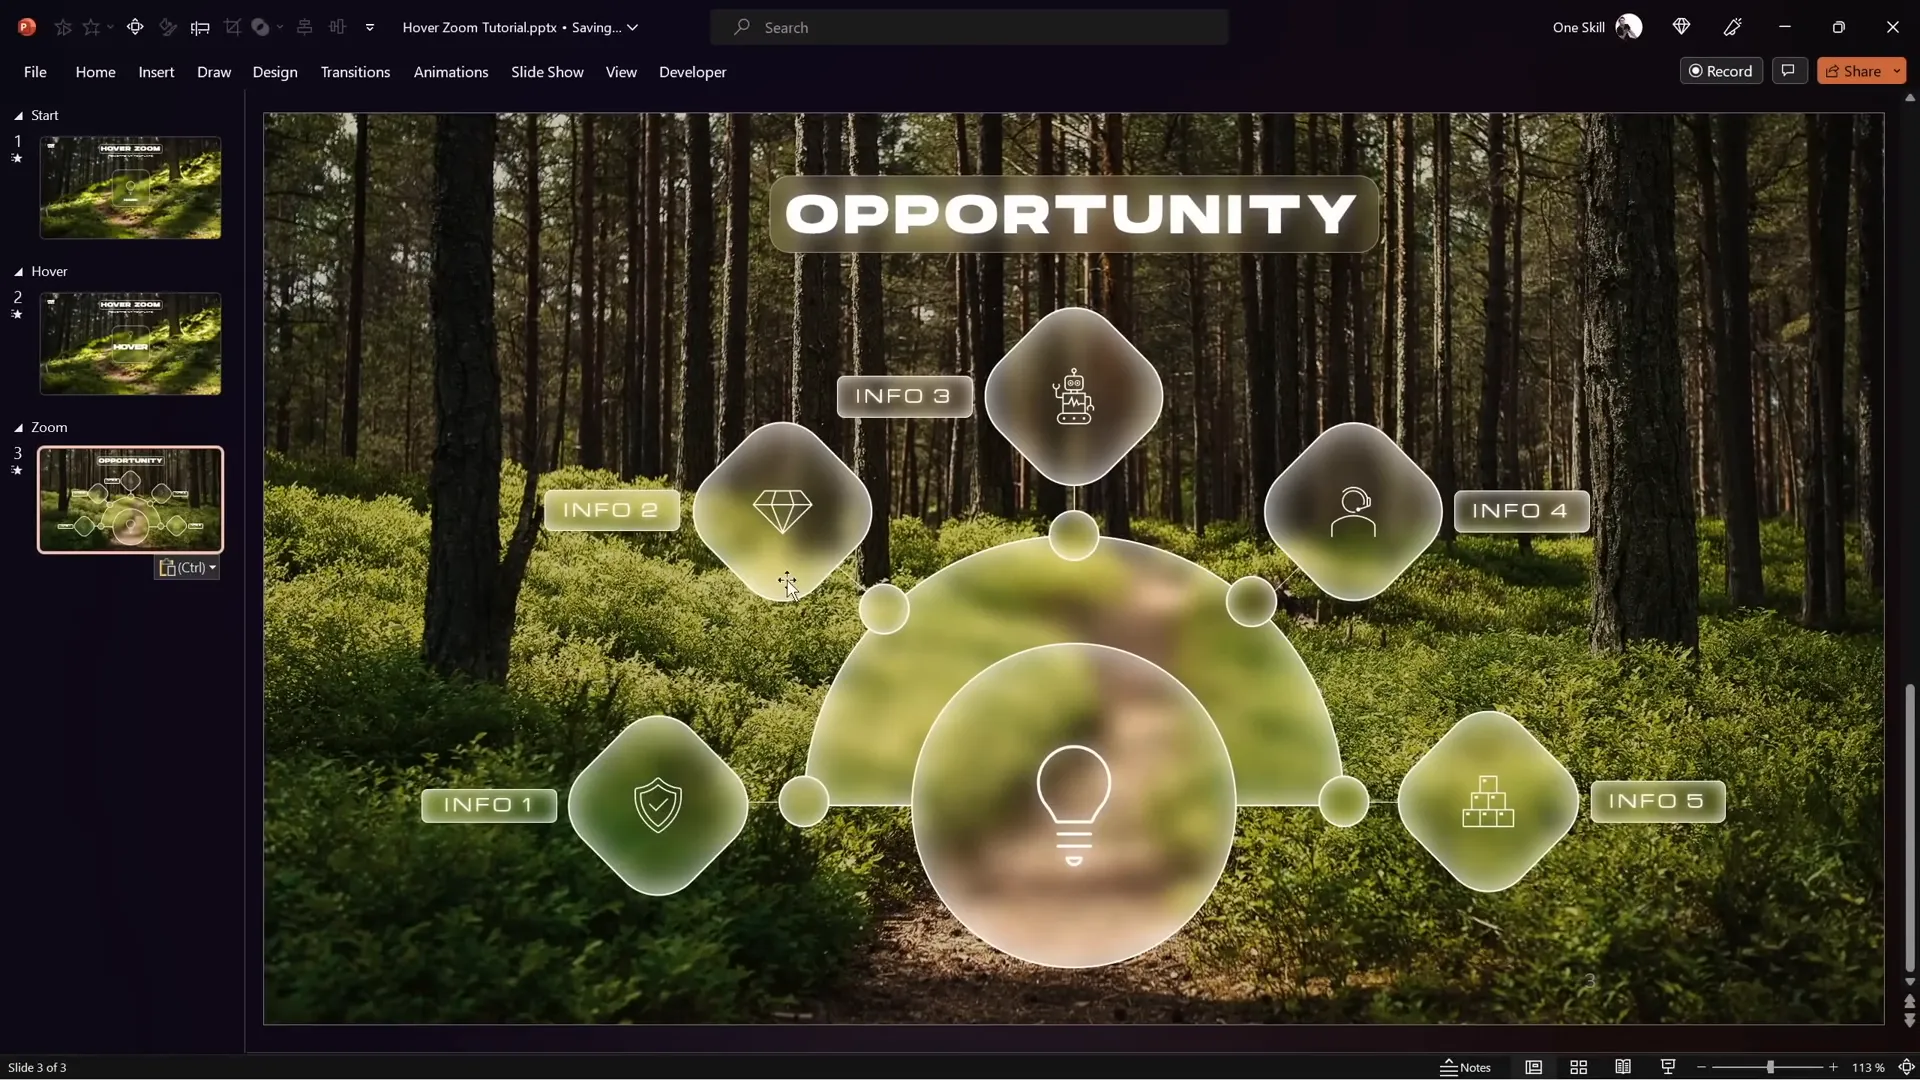
Step 1: Insert Sections
- Divide your presentation into logical sections such as Start, Hover, and Zoom.
- The Start section contains your home or landing slide.
- The Hover section contains multiple hover state slides (one per card).
- The Zoom section contains slides you want to zoom into.
Step 2: Copy Zoom Slides into Zoom Section
- Copy any slides you want to zoom into and paste them into the Zoom section.
- Choose Keep Source Formatting when pasting to preserve design.
Enhancing Hover Animation with Slide Zooms
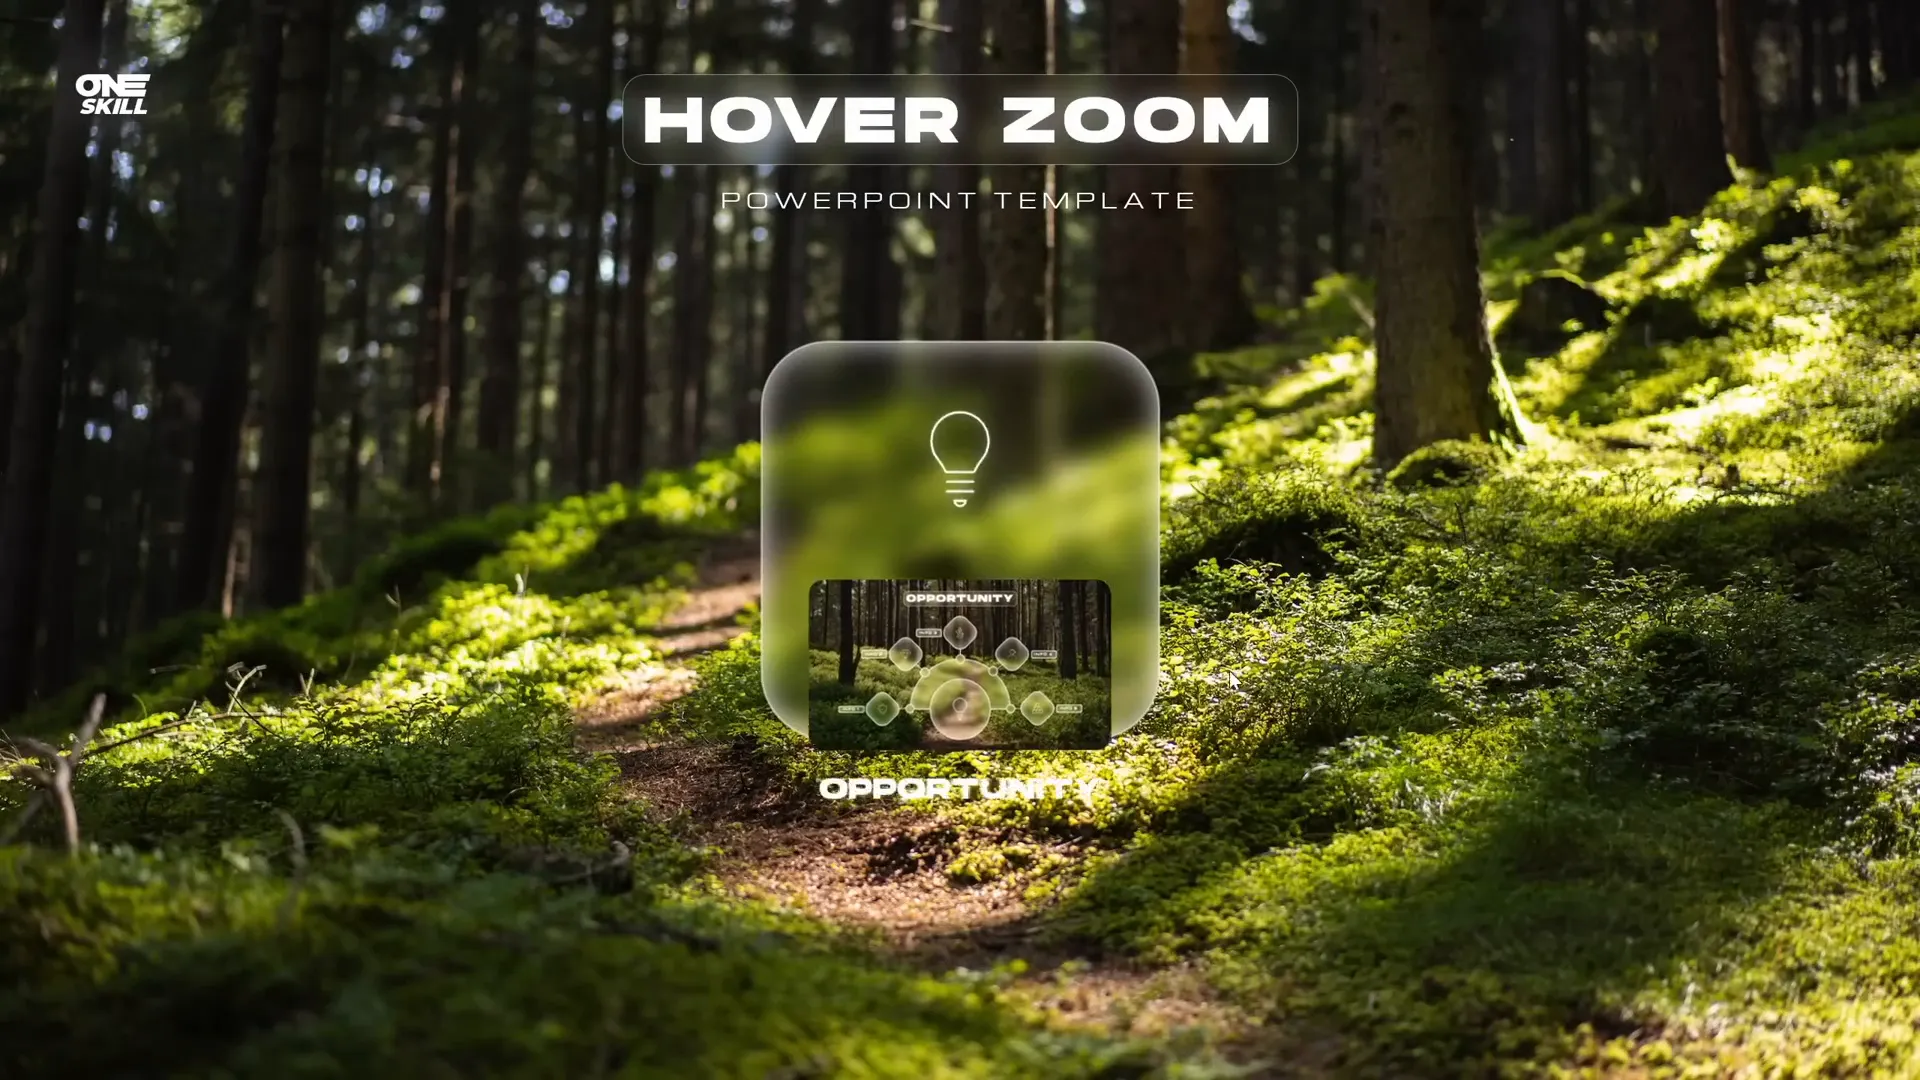
Slide zooms allow you to embed a preview of another slide within your current slide, which can be clicked to zoom into the detailed content.
Step 1: Insert Slide Zoom
- Drag a slide from the slide sorter (left panel) onto your hover card slide, or
- Go to Insert > Zoom > Slide Zoom and select the desired slide.
Step 2: Format Slide Zoom
- Resize and position the slide zoom within the hover card.
- Enable Return to Zoom to allow returning to the original slide after zooming in.
- Set the zoom duration to a fast speed (e.g., 0.5 seconds).
- Apply a style such as Reflected Rounded Rectangle, then remove reflection if preferred.
Step 3: Synchronize Slide Zoom on Start and Hover Slides
- Copy the slide zoom from the hover slide and paste it on the start slide.
- Adjust size and layering to fit under the card on both slides for consistency.
Using Masks to Control Slide Zoom Visibility
To maintain a clean design, it’s important to hide the slide zoom and associated text on the start slide until the user hovers over a card. This is achieved using a masking technique.
Step 1: Create a Mask Shape
- Duplicate the glassmorphic card shape and fill it with a solid color (e.g., blue) for visibility.
Step 2: Punch a Hole in Background Image
- Select the background photo and the mask shape.
- Use Merge Shapes > Subtract to punch a hole in the photo where the mask shape overlaps.
Step 3: Organize Layers
- Rename the new shape to “Mask” and bring it to the top of the selection pane.
- Ensure slide zoom and opportunity text box stay behind the mask, while title, subtitle, and logo are brought to the front.
Step 4: Apply Mouse Over Action to Mask
- On the hover slide, set the mask’s mouse over action to hyperlink back to the previous slide to allow returning to the start slide.
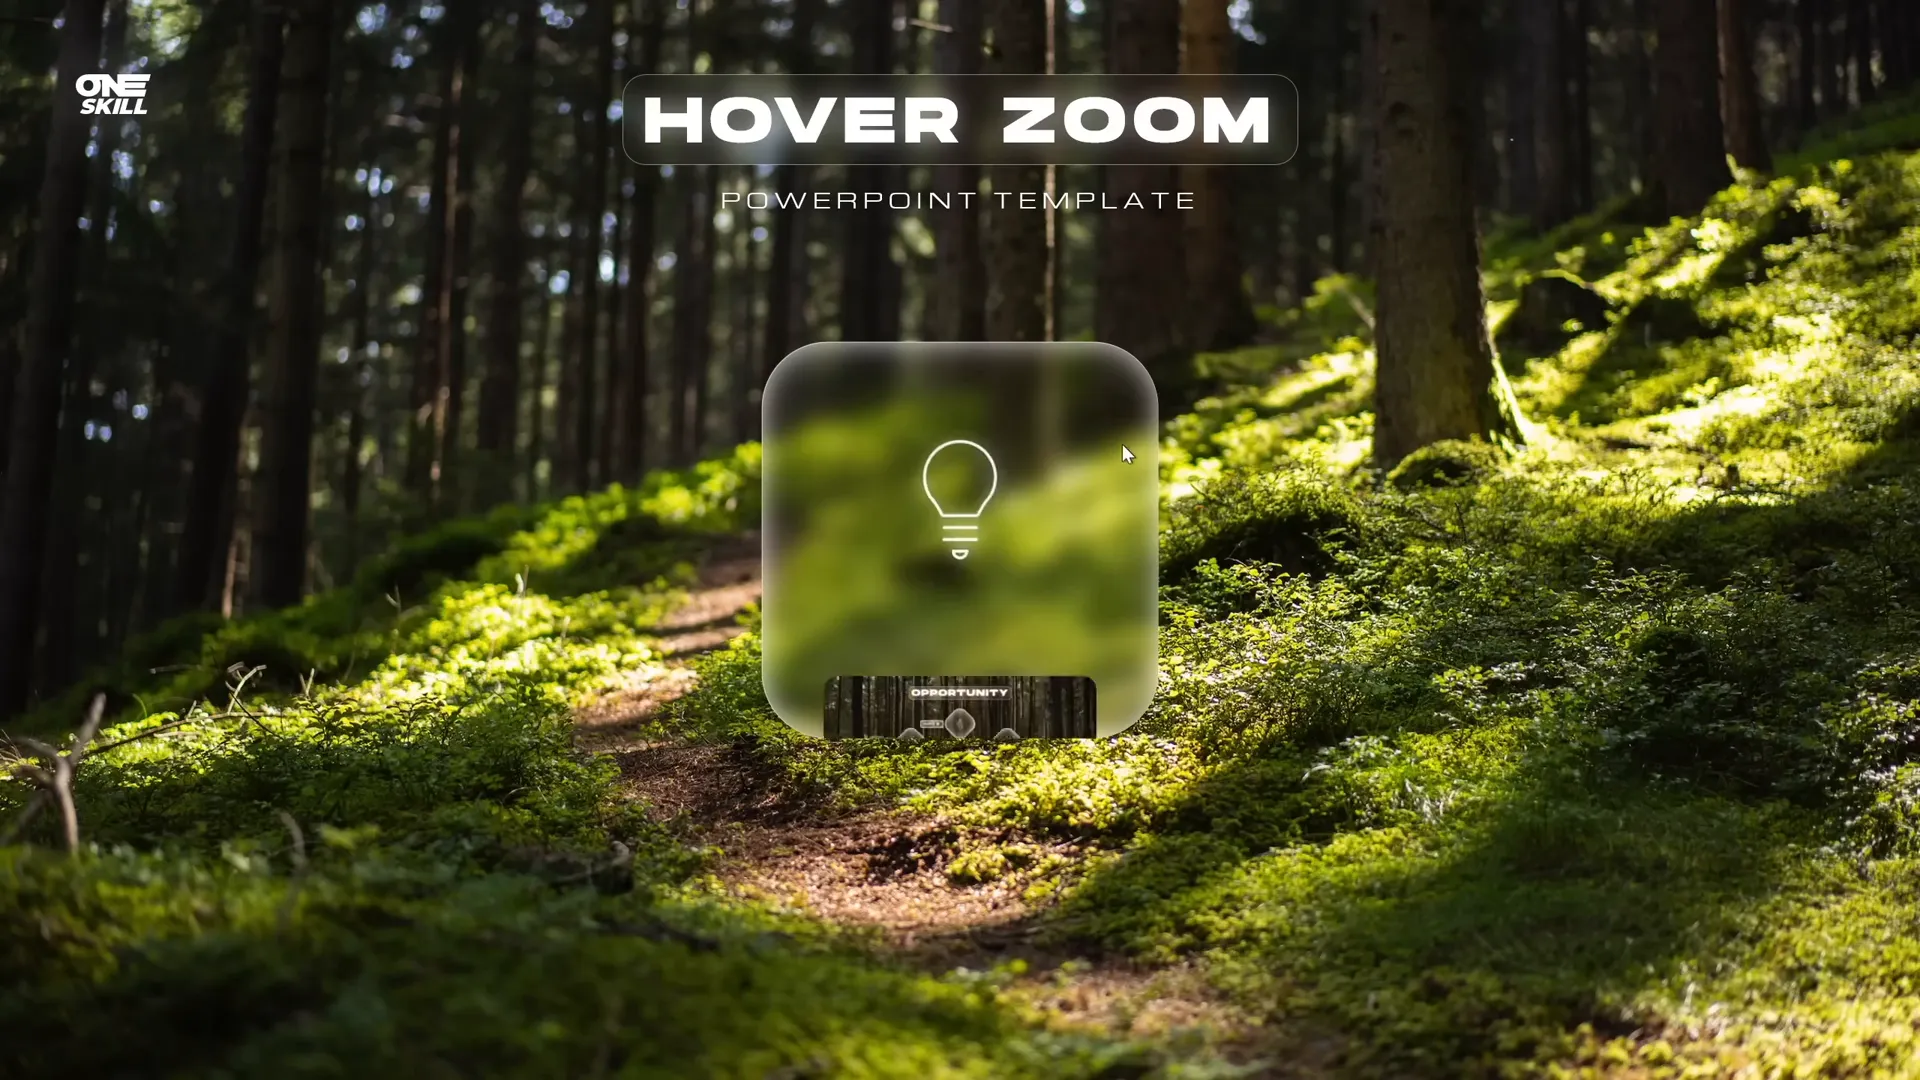
With the mask in place, the slide zoom and text appear only on hover, creating a polished interactive experience.
Adding Highlight Effects to Hover Cards
To visually indicate the active or selected card during hover, you can add a highlight effect using shadows and rounded corners.
Step 1: Modify Inside Shadow
- Change the inside shadow style to Inside Top Shadow.
- Set shadow color to white, no transparency.
- Adjust blur and distance sliders for a subtle glowing effect.
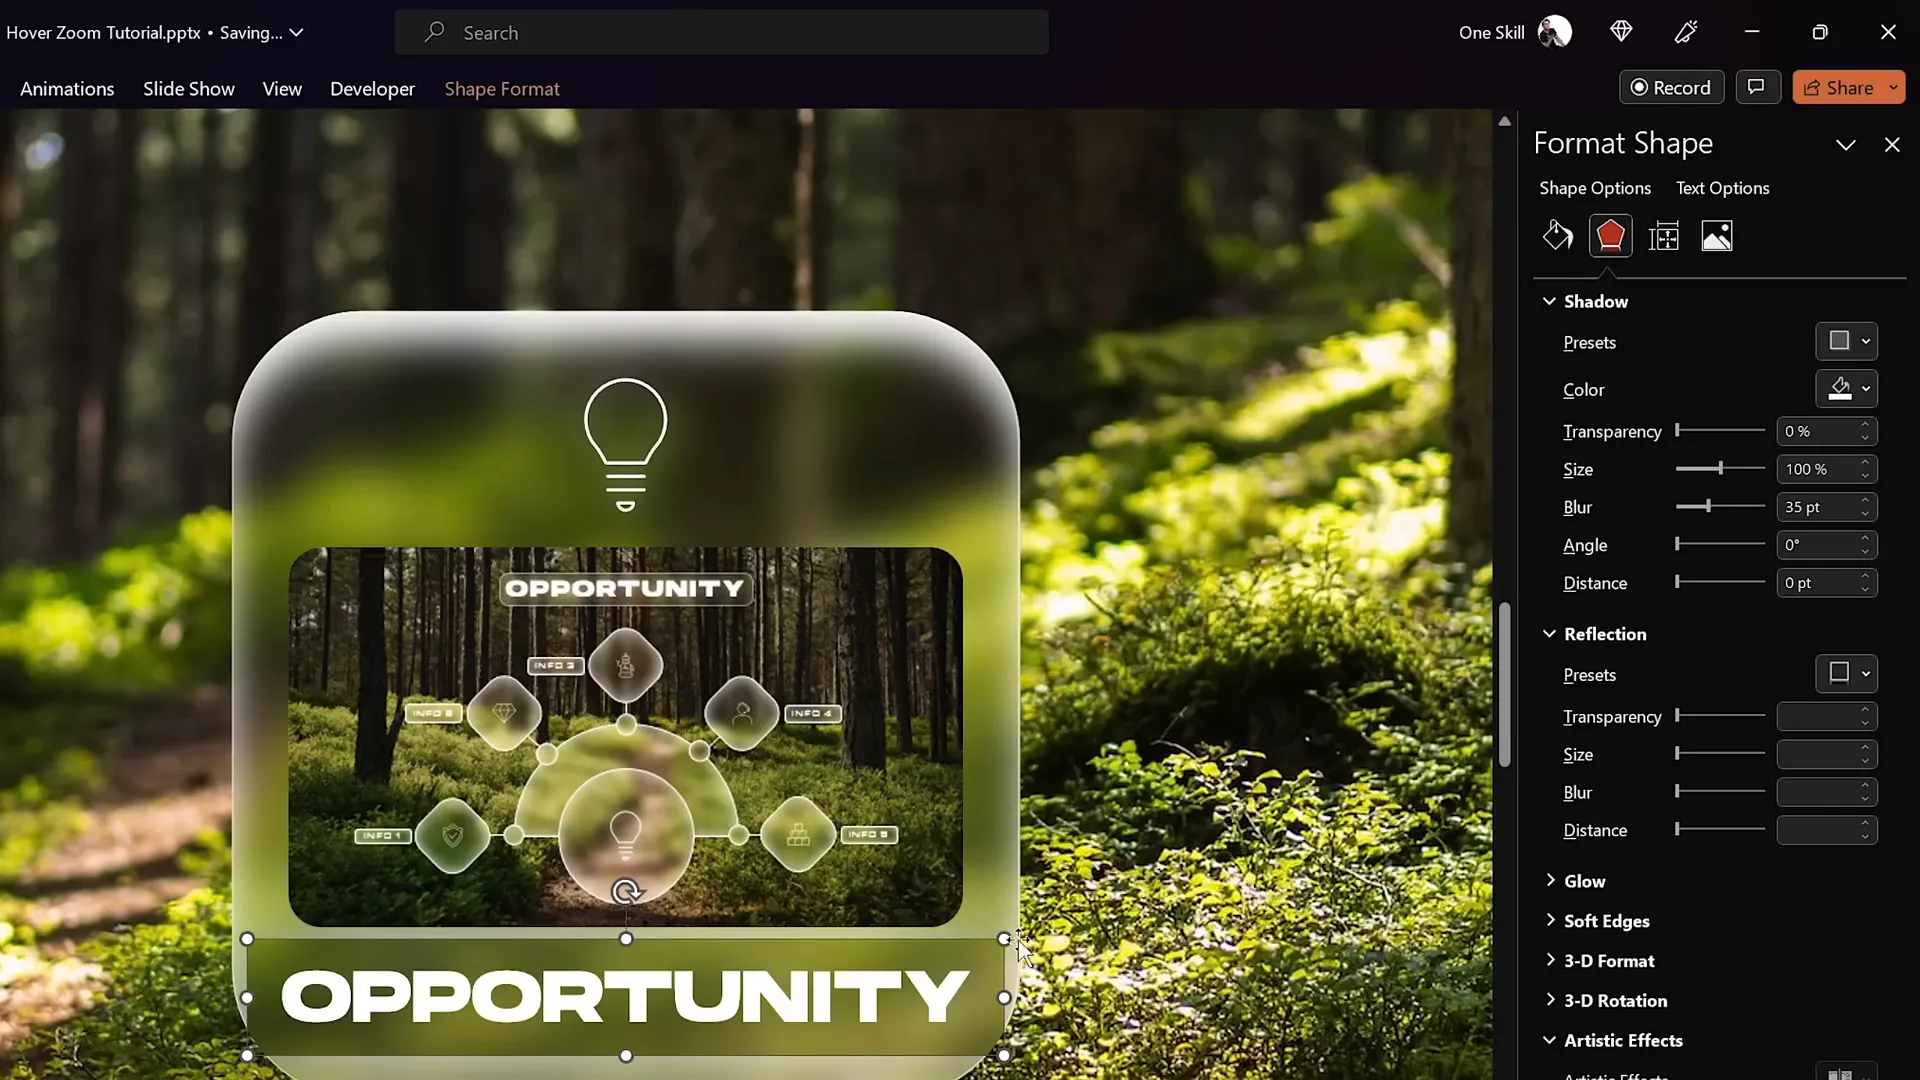
Step 2: Style the Opportunity Text Box
- Set the fill of the opportunity text box to Slide Background Fill for a glassmorphic look.
- Add an outside white shadow with zero transparency and a blur of 35 points.
- Change the shape to a rounded rectangle and adjust corner roundness.
- Remove text box margins and set vertical alignment to middle for neat text positioning.
Step 3: Synchronize Text Box on Start Slide
- Copy the styled opportunity text box from the hover slide and paste it on the start slide.
- Remove fill and shadow on the text box in the start slide to keep it hidden behind the mask.
This highlight effect helps users visually recognize which card is active during interaction.
Using Section Zooms for Multi-Slide Zooms
Sometimes you want to zoom into multiple slides in sequence rather than a single slide. PowerPoint’s section zoom feature allows this advanced interaction.
Step 1: Add More Slides to Zoom Section
- Copy multiple slides from your previous presentation and paste them into the Zoom section.
- Maintain source formatting for design consistency.
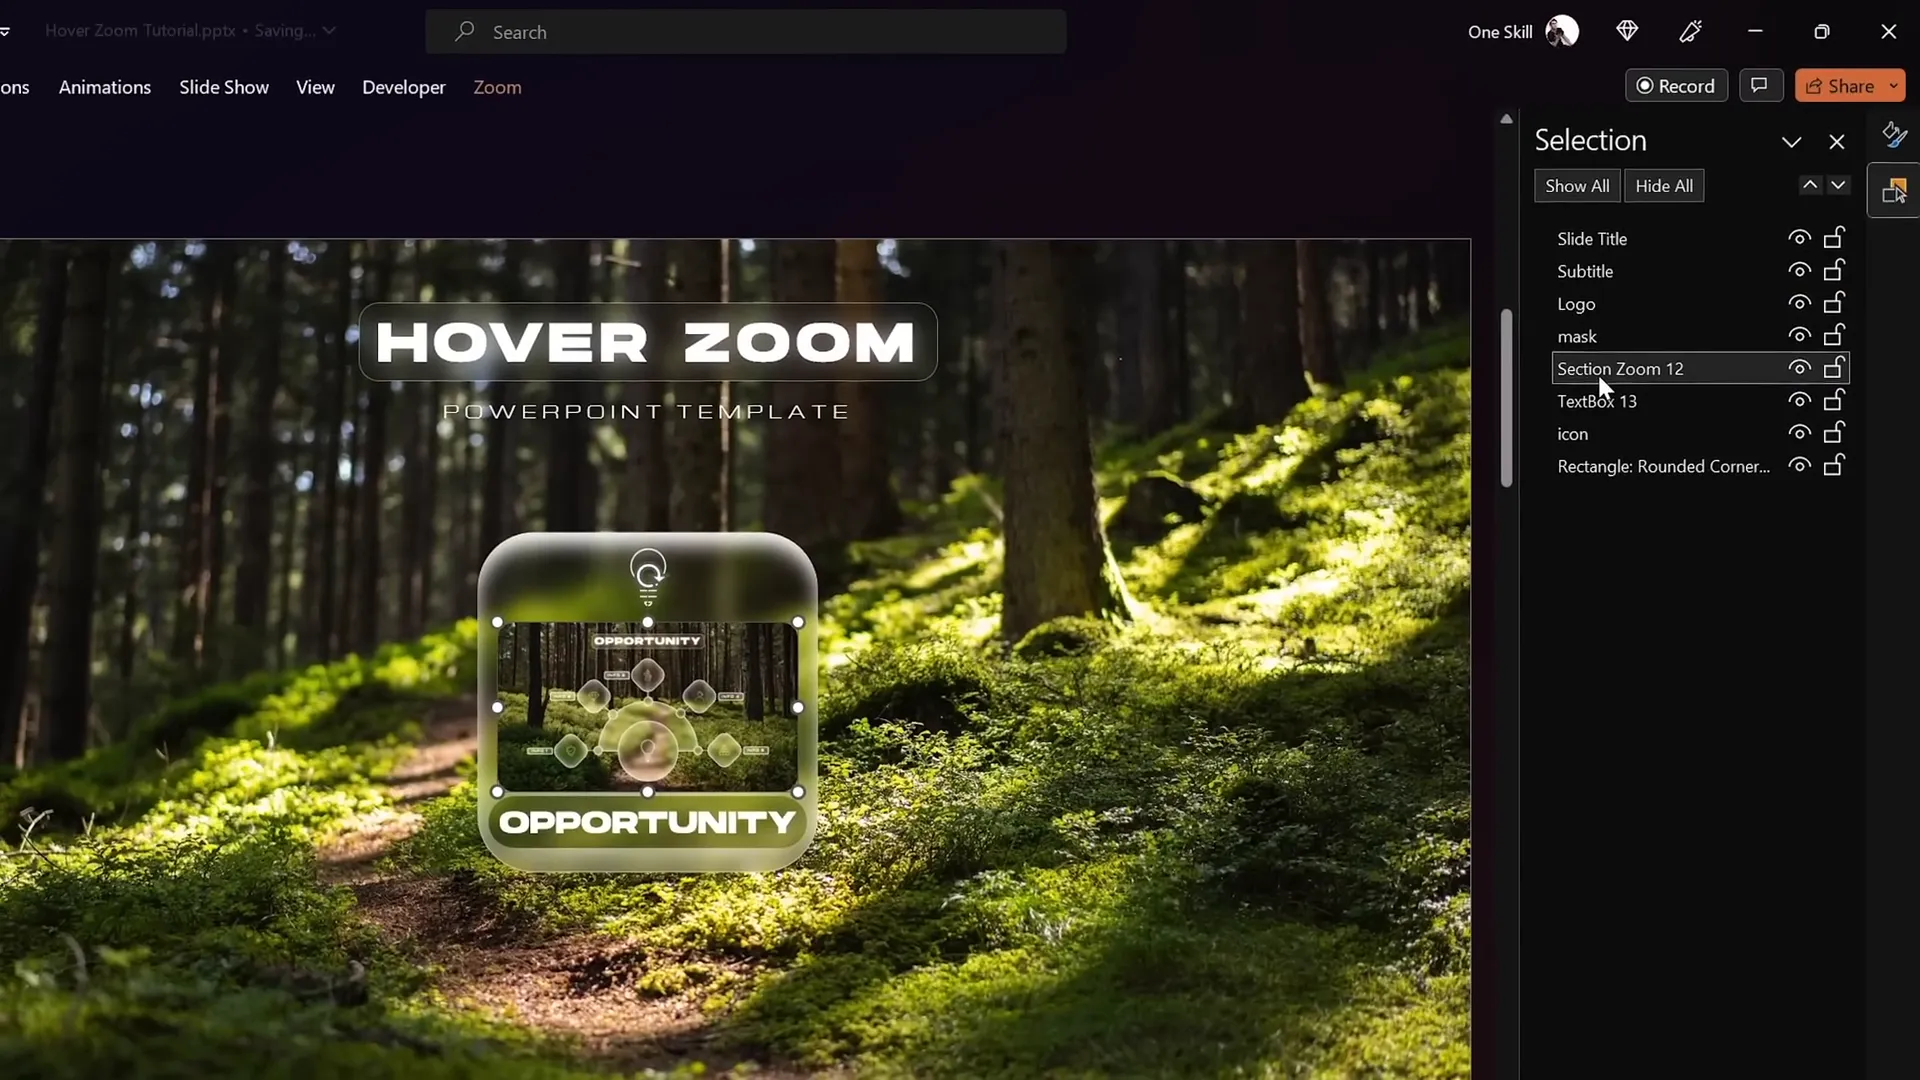
Step 2: Insert Section Zoom on Start Slide
- Delete the old slide zoom from the start slide.
- Go to Insert > Zoom > Section Zoom and select the Zoom section.
- Enable Return to Zoom and set zoom duration for smooth transitions.
- Apply rounded corners and disable reflection for a clean look.
Step 3: Insert Section Zoom on Hover Slide
- Delete the old slide zoom from the hover slide.
- Paste the section zoom and fit it inside the hover card.
Step 4: Apply Slide Transitions to Zoom Slides
- Select all slides in the Zoom section.
- Apply the Uncover transition from the right for smooth slide reveals.
Step 5: Ensure Section Zoom is Behind Mask
- On the hover slide, move the section zoom behind the mask to prevent visual glitches.
This advanced setup lets you zoom into a series of slides interactively, creating a compelling storytelling flow.
Frequently Asked Questions (FAQ)
What is the Hover Zoom effect in PowerPoint?
The Hover Zoom effect is an interactive animation where hovering your mouse over a card triggers a slide zoom preview and label to appear, allowing you to zoom into specific slides dynamically.
How do I create a glassmorphic effect in PowerPoint?
Duplicate your background image, apply a blur effect, set it as slide background fill, then insert a shape and fill it with the slide background fill. Add white inside shadow for frosty edges to complete the glassmorphic look.
Can I create hover animations without VBA or plugins?
Yes. By using mouse over hyperlink actions combined with morph transitions between duplicate slides, you can simulate hover animations purely with built-in PowerPoint features.
What’s the difference between Slide Zoom and Section Zoom?
Slide Zoom lets you zoom into a single slide, while Section Zoom allows zooming into multiple slides grouped in a section, enabling multi-slide interactive sequences.
How do I hide slide zooms and labels on the starting slide?
Use a masking technique by punching a hole in a duplicate of your background photo, placing it above the zoom elements, and controlling layer order to hide zooms until triggered.
Are these techniques compatible with all versions of PowerPoint?
These tutorials use features available in PowerPoint 365 and later versions. Older versions may not support morph transitions or zoom features.
Conclusion
Mastering PowerPoint animation effects like the Hover Zoom tutorial can transform your presentations from static decks to engaging, interactive experiences. By combining glassmorphic design, morph transitions, mouse over actions, and slide/section zooms, you can create professional-grade presentations that captivate your audience.
Whether you’re presenting business opportunities, educational content, or creative portfolios, these techniques allow you to tell a more dynamic story with your slides. Plus, the use of masks and layering keeps your slides clean and visually appealing.
Remember, practice is key. Experiment with different shapes, fonts, and transition durations to find the style that best fits your brand and message. And don’t forget to download the free Hover Zoom template from One Skill PPT to jumpstart your design process!
Here’s to making your next PowerPoint presentation truly stand out with powerful, polished animation effects.
Ready to try out the Hover Zoom effect? Watch the full tutorial and download free templates from One Skill PPT’s channel linked below:
