

Are you a teacher or educator looking to transform your existing PowerPoint presentations into engaging online courses? Imagine being able to add interactive quizzes, embed videos, and even insert live websites to enrich your students’ learning experience — all without spending a dime. In this comprehensive guide, we’ll walk you through the process of creating a professional-quality PowerPoint course using free tools and smart design techniques.
This tutorial is inspired by the insightful video from One Skill PPT, who demonstrates how to convert a PowerPoint presentation on artificial intelligence into a fully functional online course using the free iSpring Free plugin. Whether you’re new to course creation or looking to enhance your digital teaching materials, this article will help you master the essentials.
Table of Contents
- Presentation Overview: Exploring the Course Structure
- Creating a Clickable Sidebar Navigation
- Animating the Sidebar for Visual Appeal
- Mastering Slide Zoom Animations
- Introducing iSpring Free: The Ultimate PowerPoint Course Plugin
- How to Insert YouTube Videos in Your Course
- Embedding Live Websites into PowerPoint Slides
- Creating Interactive Quizzes
- Publishing Your PowerPoint as an Online Course
- Frequently Asked Questions about Creating PowerPoint Courses
- Conclusion: Empower Your Teaching with PowerPoint Courses
Presentation Overview: Exploring the Course Structure
Before diving into the technical aspects, let’s take a look at the example presentation used in the tutorial. The subject is Artificial Intelligence (AI), and the slides are designed to provide a rich, navigable learning experience.
This PowerPoint course includes:
- An Introduction slide welcoming learners to the course.
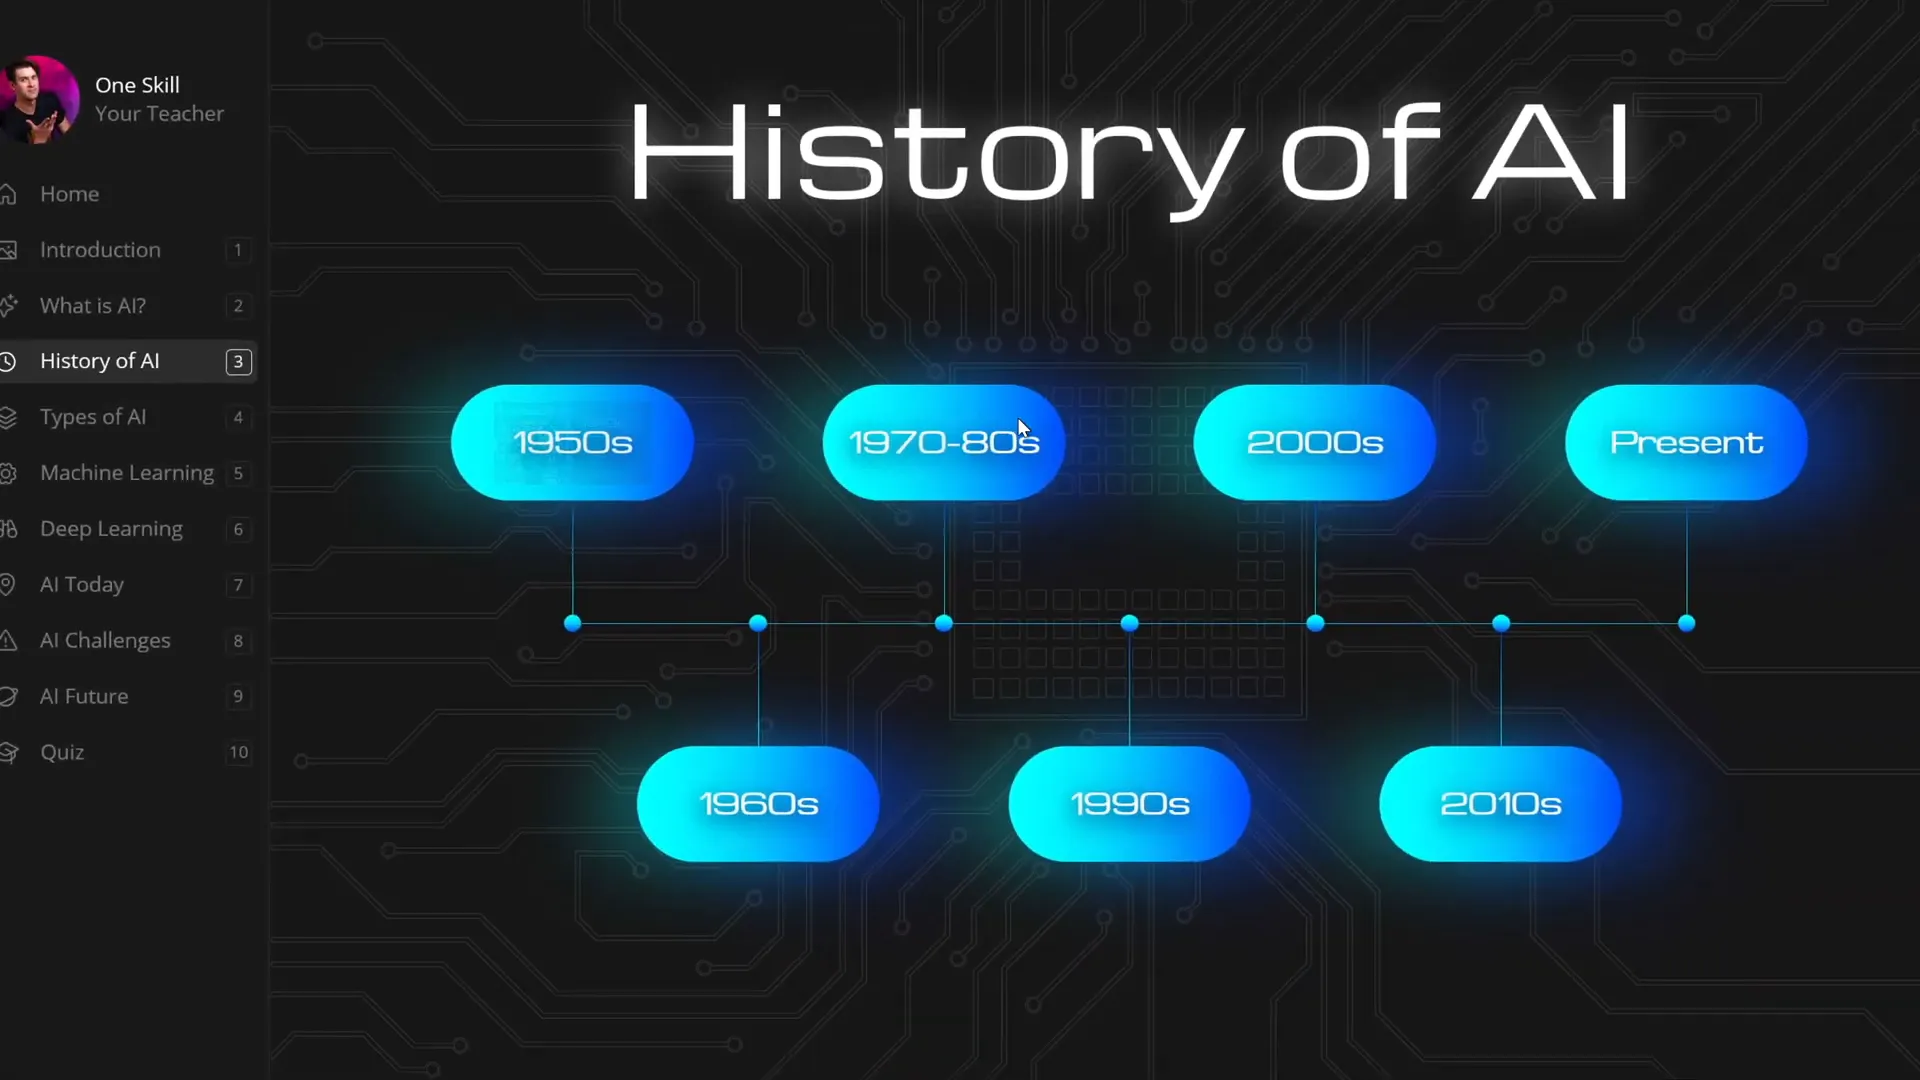
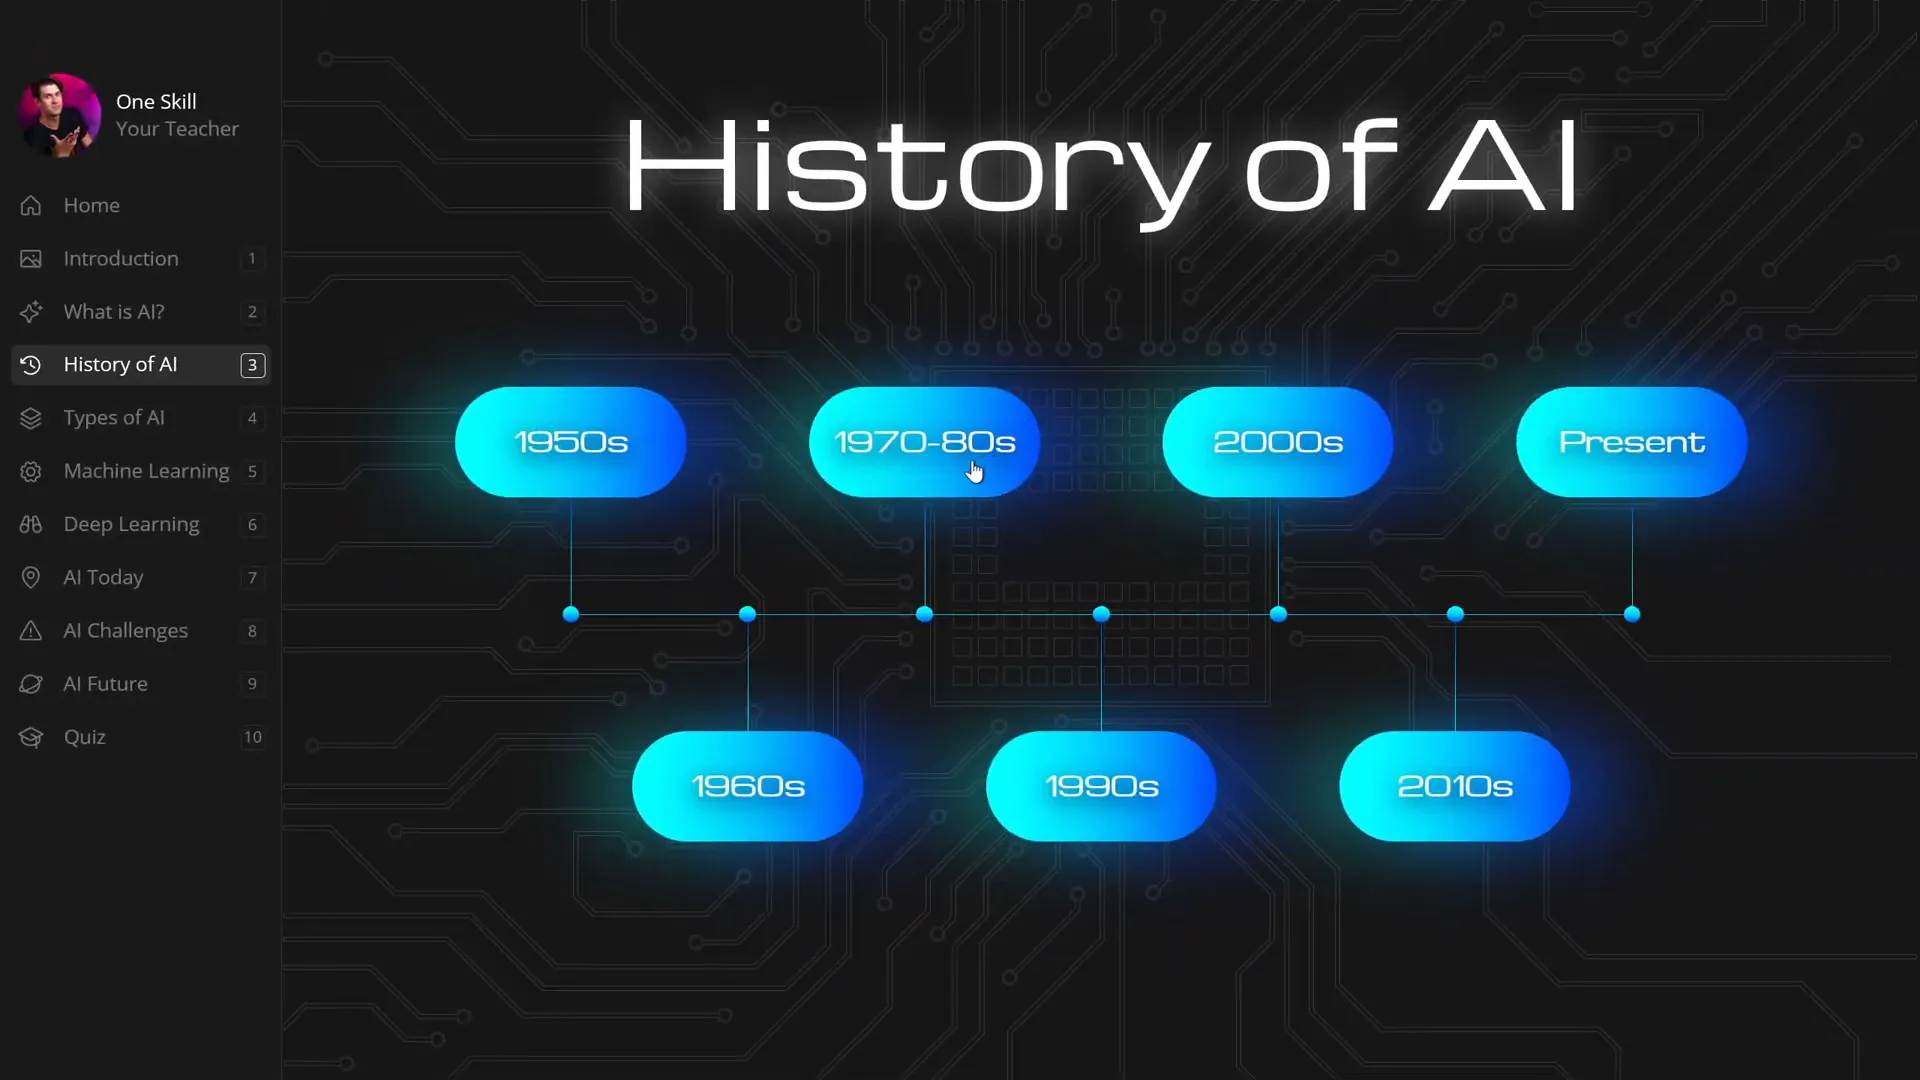
- Slides explaining What Artificial Intelligence is and its History, featuring interactive zooms on specific years.
- A detailed breakdown of the Types of Artificial Intelligence with clickable numbers for deeper exploration.
- Explanations of Machine Learning and Deep Learning.
- A section on the Applications and Challenges of AI today.
- A forward-looking slide on the Future of AI.
- An interactive Quiz to test learners’ knowledge.

The sidebar on the left allows users to navigate easily between sections, making the course feel intuitive and polished.
Creating a Clickable Sidebar Navigation
One standout feature of this PowerPoint course is the clickable sidebar navigation that appears on every slide. This sidebar helps learners quickly jump to different sections, enhancing the user experience.
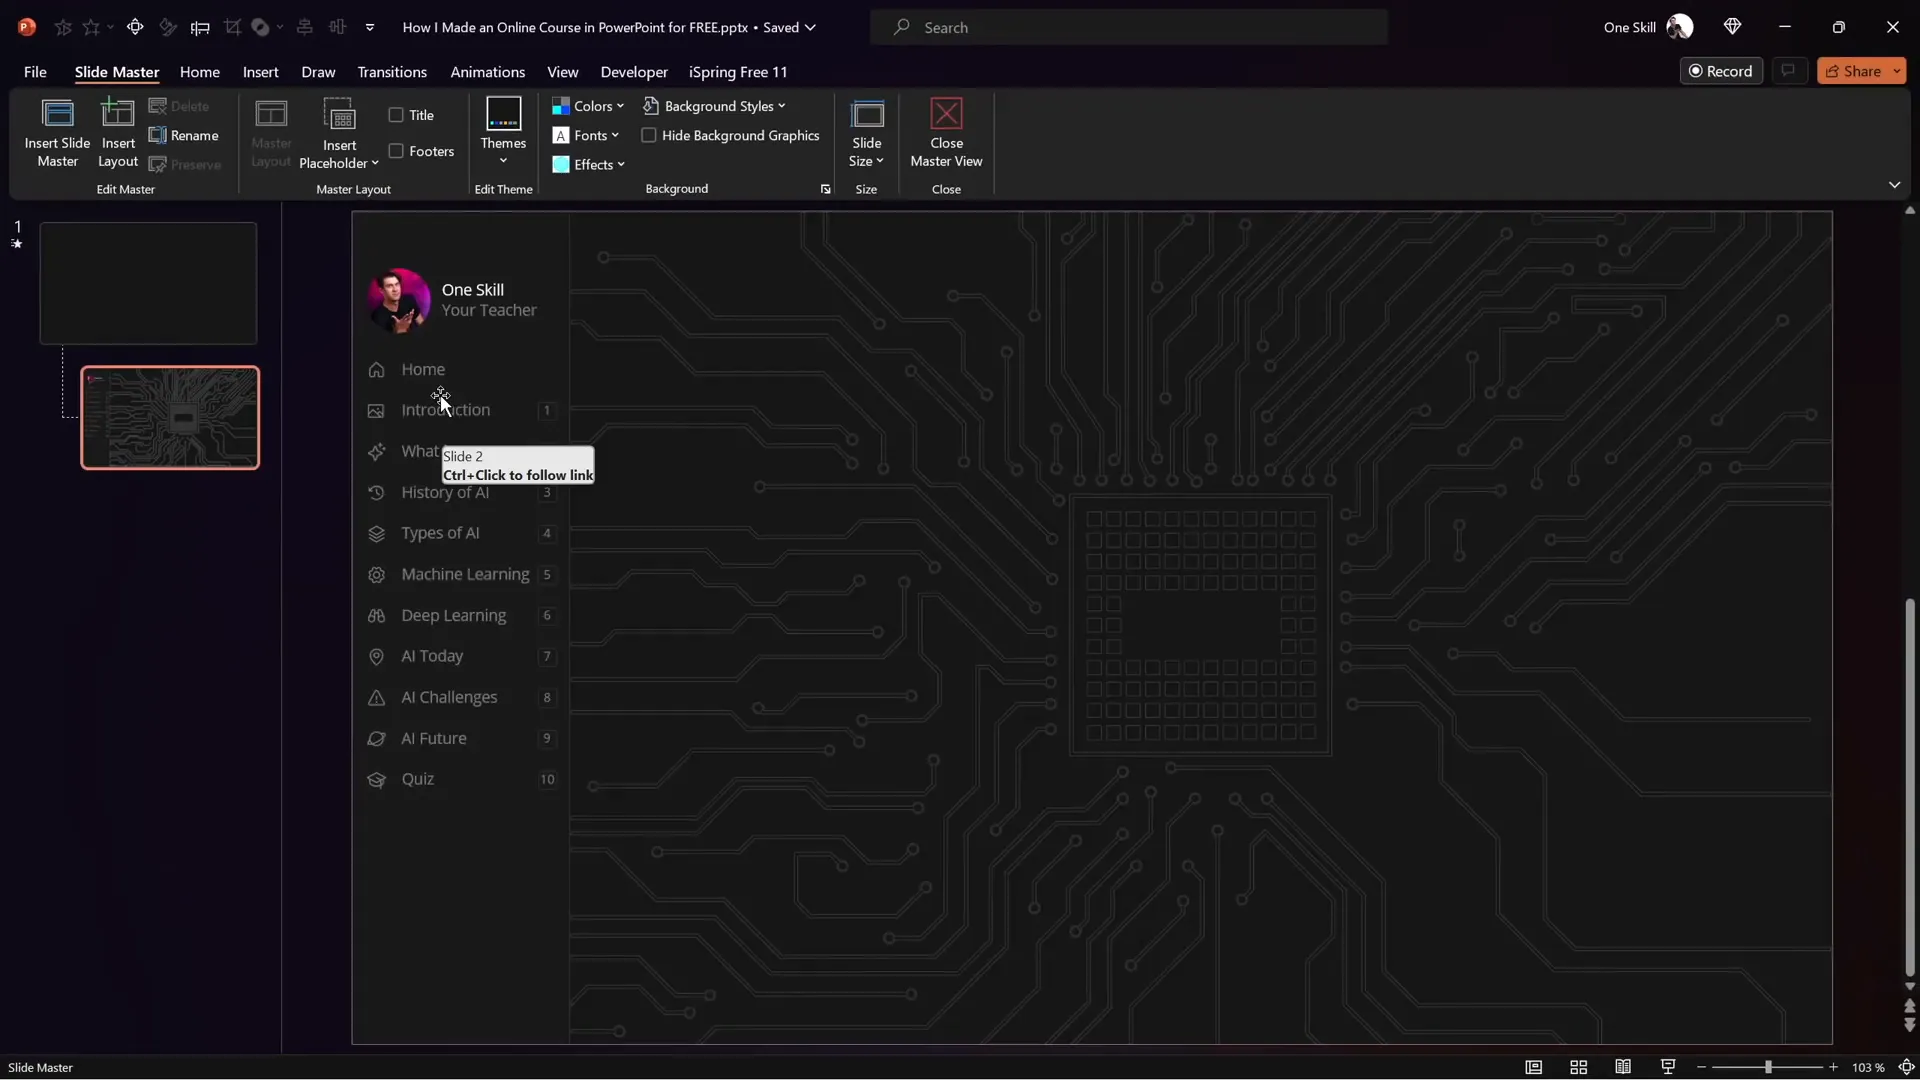
Step 1: Use Slide Master View
The key to creating a consistent sidebar is to build it in the Slide Master View. This ensures that the sidebar appears on all slides that use the same layout, saving you from duplicating effort.
- Go to the View tab and select Slide Master.
- Create the sidebar elements here, including:
- Text boxes for section titles.
- Icons to visually represent each section.
- Section numbers aligned on the right.
- A background image or design element (e.g., a microchip background for the AI theme).
By placing these repeatable elements in the Slide Master, any change you make will automatically reflect across all your slides.
Step 2: Make Sidebar Sections Clickable with Transparent Shapes
To make the sidebar interactive, the creator used invisible rounded rectangles over each section as clickable hotspots:
- Insert rounded rectangles over each sidebar section.
- Open the Selection Pane to manage these shapes.
- Set the fill transparency of these rectangles to 100% to make them invisible.
- Select each rectangle and insert a hyperlink to the corresponding slide in the presentation.
For example, the “Introduction” rectangle links to slide 2, and the “What is AI” rectangle links to slide 3.

This method results in a clean, clickable sidebar without cluttering the visual design.
Step 3: Adjust Layering and Transparency
Once the hyperlinks are set, make sure the transparent rectangles are:
- Placed above all other sidebar elements to capture clicks.
- Set to fully transparent so they remain invisible to users.
Whenever you want to update the sidebar, just return to the Slide Master and edit the elements there.
Animating the Sidebar for Visual Appeal
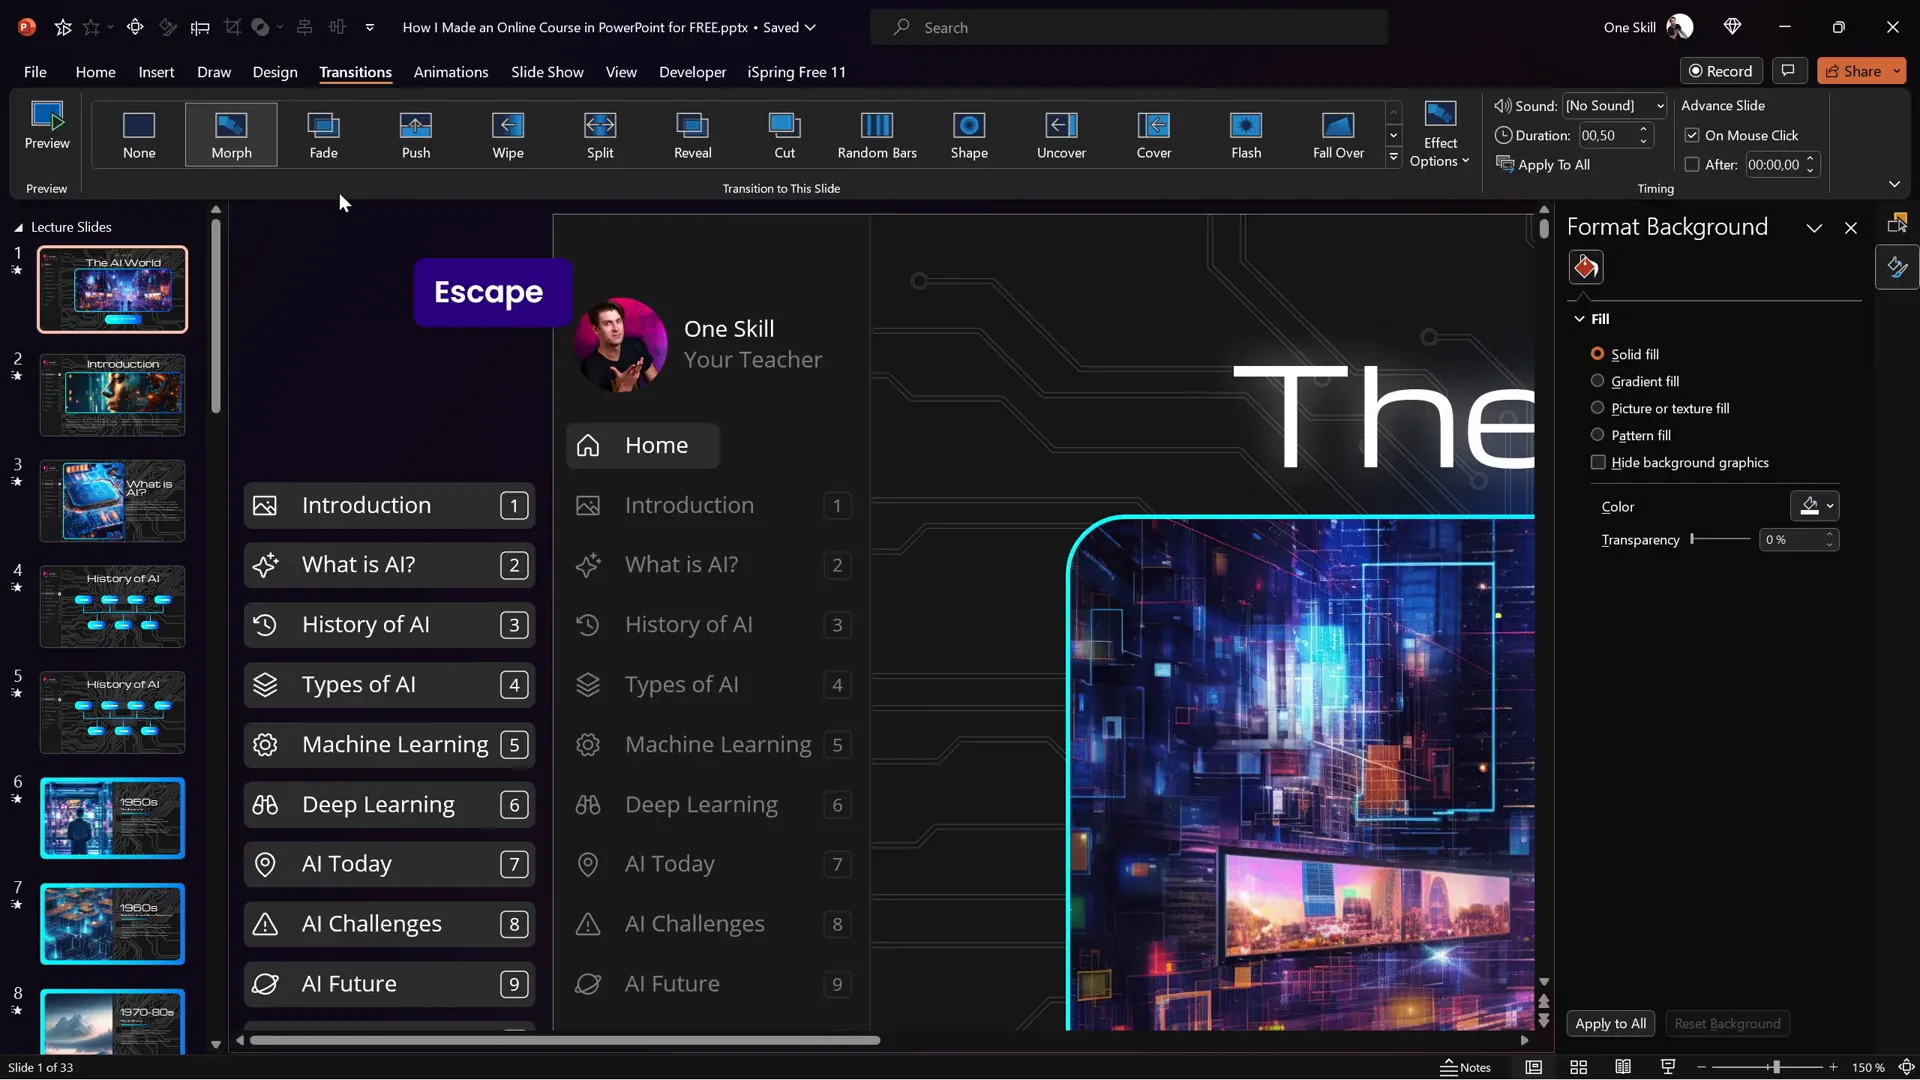
To enhance interactivity, the sidebar features a subtle animation that highlights the active section. This is achieved using the Morph Transition in PowerPoint.
How to Animate Sidebar Sections
- Duplicate the entire sidebar in the normal slide view.
- Create multiple “active state” versions of the sidebar, each highlighting a different section.
- On each slide, paste the appropriate active sidebar version to reflect the current section.
- Move inactive cards off the visible slide area to prepare for the morph effect.
- Set the slide transition to Morph with a duration (e.g., 0.5 seconds).
When clicking to navigate, the morph transition animates the sidebar cards sliding in and out, providing a smooth highlight effect.
This approach creates a polished user experience and can be managed slide-by-slide for full control.
Mastering Slide Zoom Animations
Slide Zooms are a powerful feature in PowerPoint that allow you to zoom into specific slides or sections within your presentation, creating an interactive learning experience.
Using Slide Zooms Effectively
- Insert slide zooms on overview slides to let users click and explore detailed content.
- Make slide zooms invisible by using a transparent image as the cover.
- Use slide zooms to create a non-linear navigation flow, ideal for online courses.
Controlling Slide Zoom Animations
By default, animations on slides with slide zooms replay every time you zoom in or out. If you want the animations to play only once, use this trick:
| Step | Description |
|---|---|
| 1 | Duplicate the slide with animations. |
| 2 | On the first slide, keep all entrance animations but delete slide zooms. |
| 3 | Set the first slide’s transition to automatic after 0 seconds. |
| 4 | On the second slide, keep the slide zooms but remove all animations. |
This setup ensures that animations play once on the first slide, then automatically transition to the interactive zoom slide without replaying animations on zoom.
Introducing iSpring Free: The Ultimate PowerPoint Course Plugin
To transform your PowerPoint presentation into an online course complete with quizzes, embedded videos, and live websites, you need a plugin that extends PowerPoint’s capabilities. Enter iSpring Free (iSpring 3.11), a free and powerful add-in for PowerPoint.
With iSpring Free, you can:
- Create and insert graded quizzes and surveys.
- Embed YouTube videos directly into slides.
- Embed live websites as web objects.
- Publish presentations as SCORM-compliant online courses for LMS platforms.
- Preview your course as it will appear to learners.
Thanks to iSpring, you can convert your existing PowerPoint content into interactive eLearning courses without needing expensive tools or advanced technical knowledge.
How to Insert YouTube Videos in Your Course
Adding videos can greatly enrich your course content. Here’s how to add a YouTube video using iSpring Free:
- Delete any placeholder image where you want the video.
- Go to the iSpring 3.11 tab in PowerPoint.
- Click the YouTube button.
- Paste the YouTube video URL into the dialog box.
- Click Preview to test the video playback.
- Click OK and resize or reposition the video on your slide.
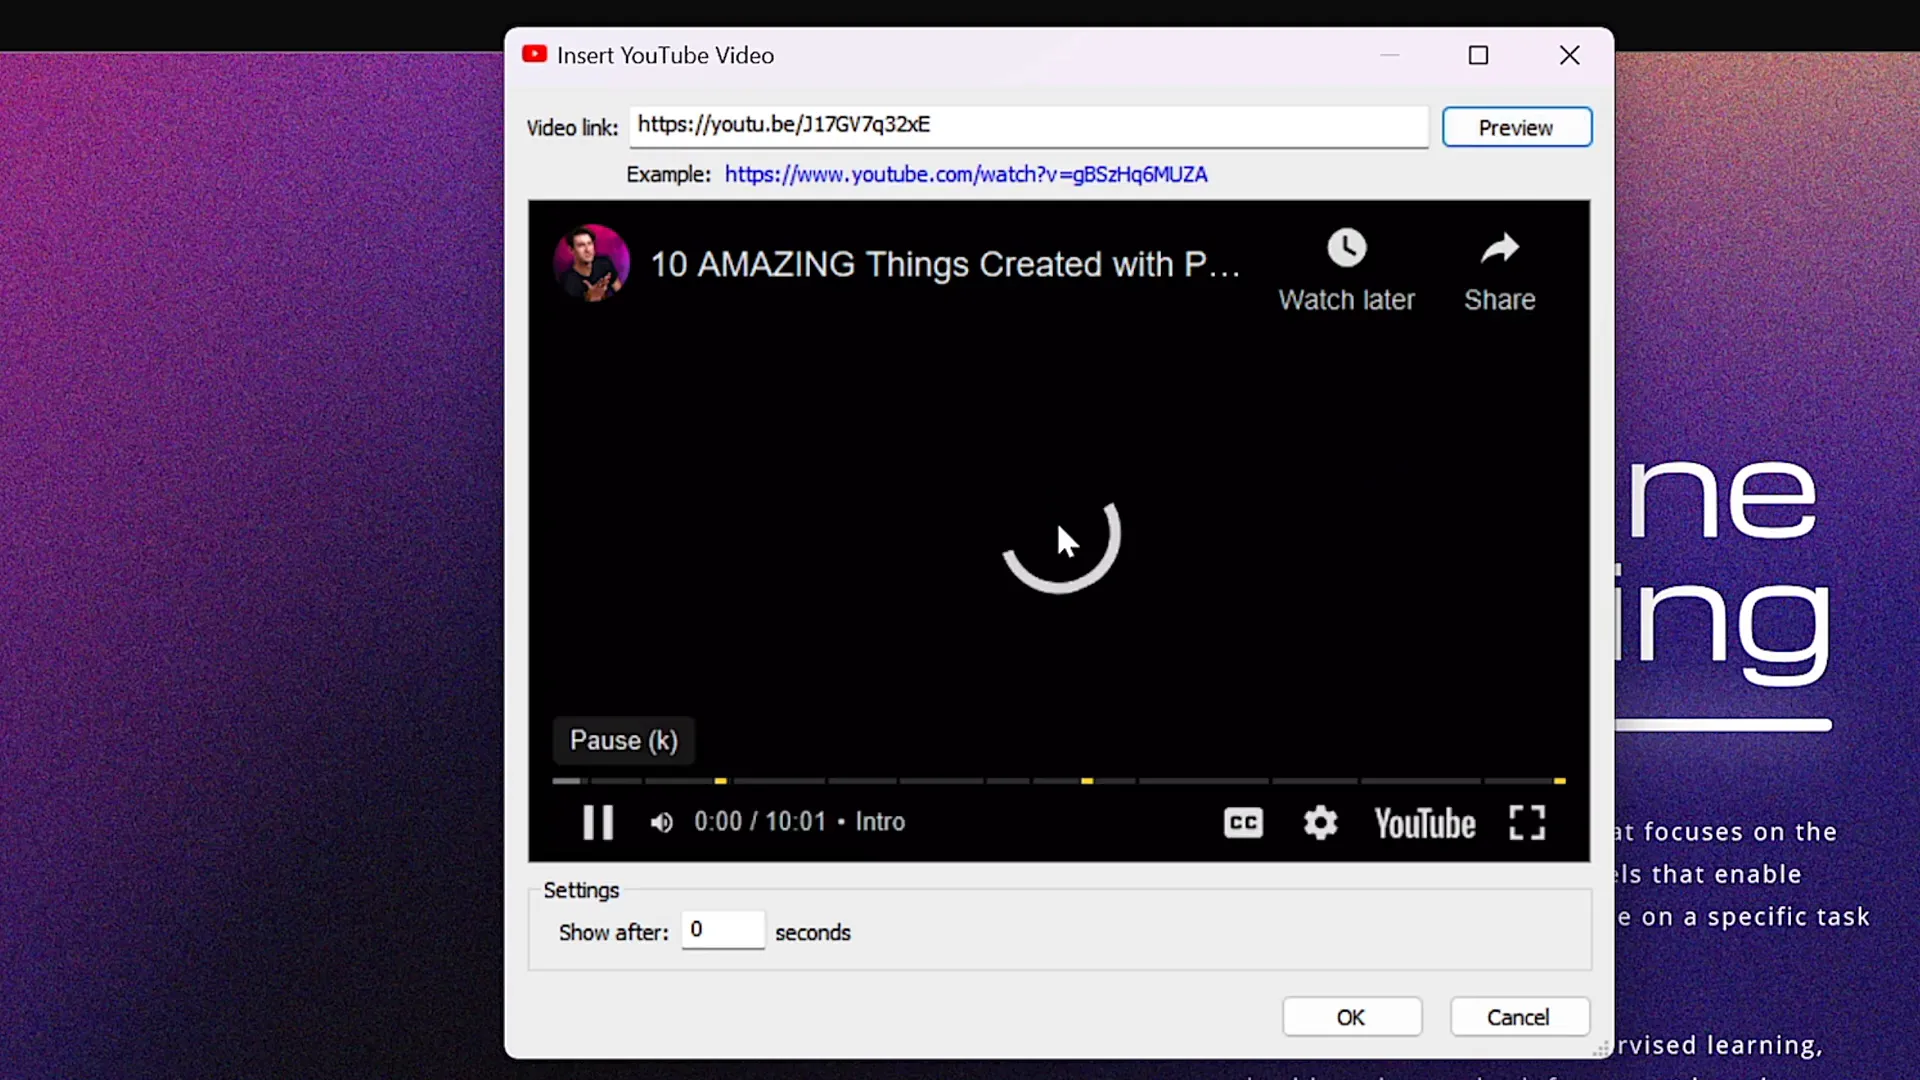
When previewing your course, the video plays smoothly, and users can navigate through the video timeline.
Embedding Live Websites into PowerPoint Slides
Embedding live websites can provide real-time, interactive content right within your course. Using iSpring Free, you can add web objects as follows:
- Select the slide where you want to embed the website.
- Delete any existing image or placeholder.
- Copy the URL of the website you want to embed.
- Go to the iSpring 3.11 tab and select Web Object.
- Paste the URL and click OK.
- Resize and position the embedded website frame on the slide.
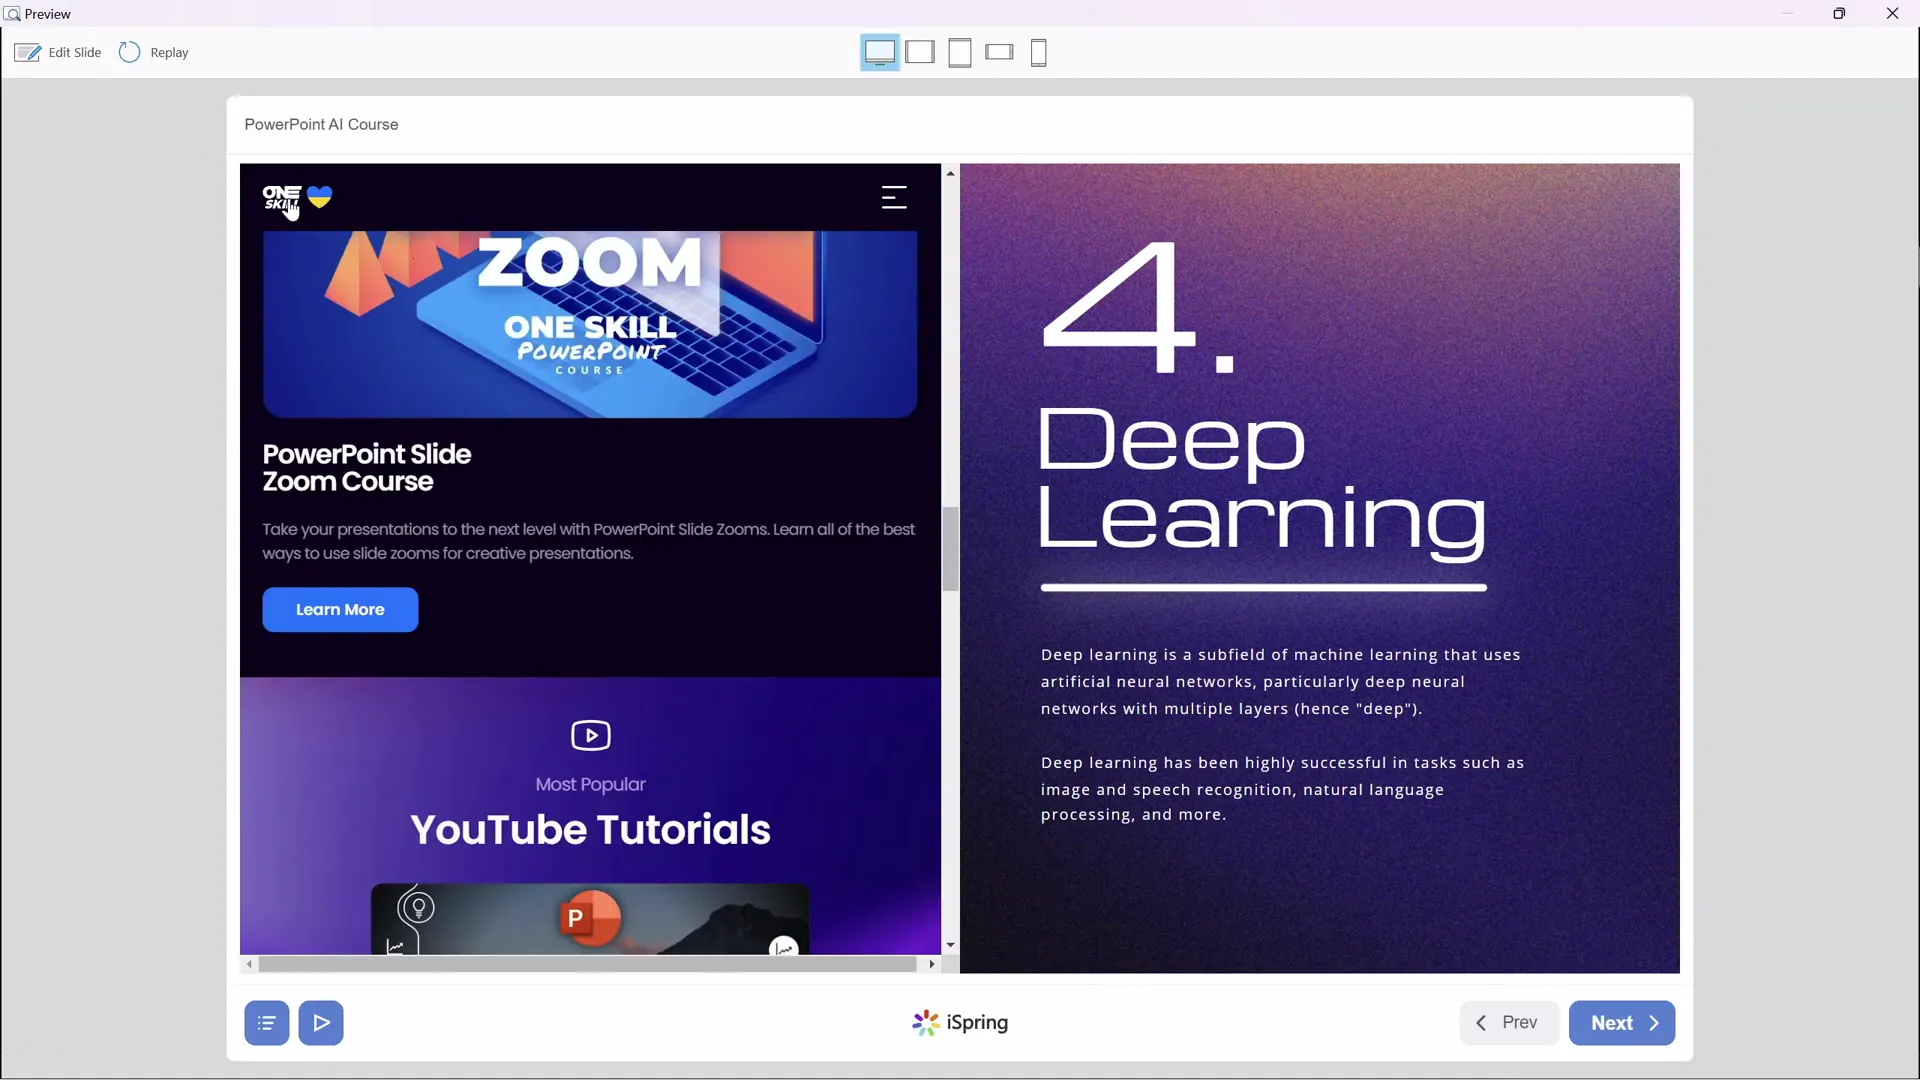
In course preview mode, the website is fully functional — you can scroll, select text, and click links just as if you were in a browser.
Creating Interactive Quizzes
Quizzes are crucial for assessing learner understanding. iSpring Free lets you create various types of quiz questions directly in PowerPoint:
- Multiple Choice: One correct answer.
- Multiple Response: Multiple correct answers.
- Short Answer: Learners type in answers.
Steps to Create a Quiz
- Navigate to the slide where you want the quiz.
- On the iSpring 3.11 tab, click Quiz.
- Choose between a graded quiz or a survey.
- Open the Questions button and add questions of your preferred type.
- Enter question text and answer options, marking the correct answers.
- Customize feedback messages for correct and incorrect answers.
- Set quiz options such as passing percentage and scoring.
- Optionally add an intro slide or instructions for the quiz.
- Attach images to questions or answers to enhance visual appeal.
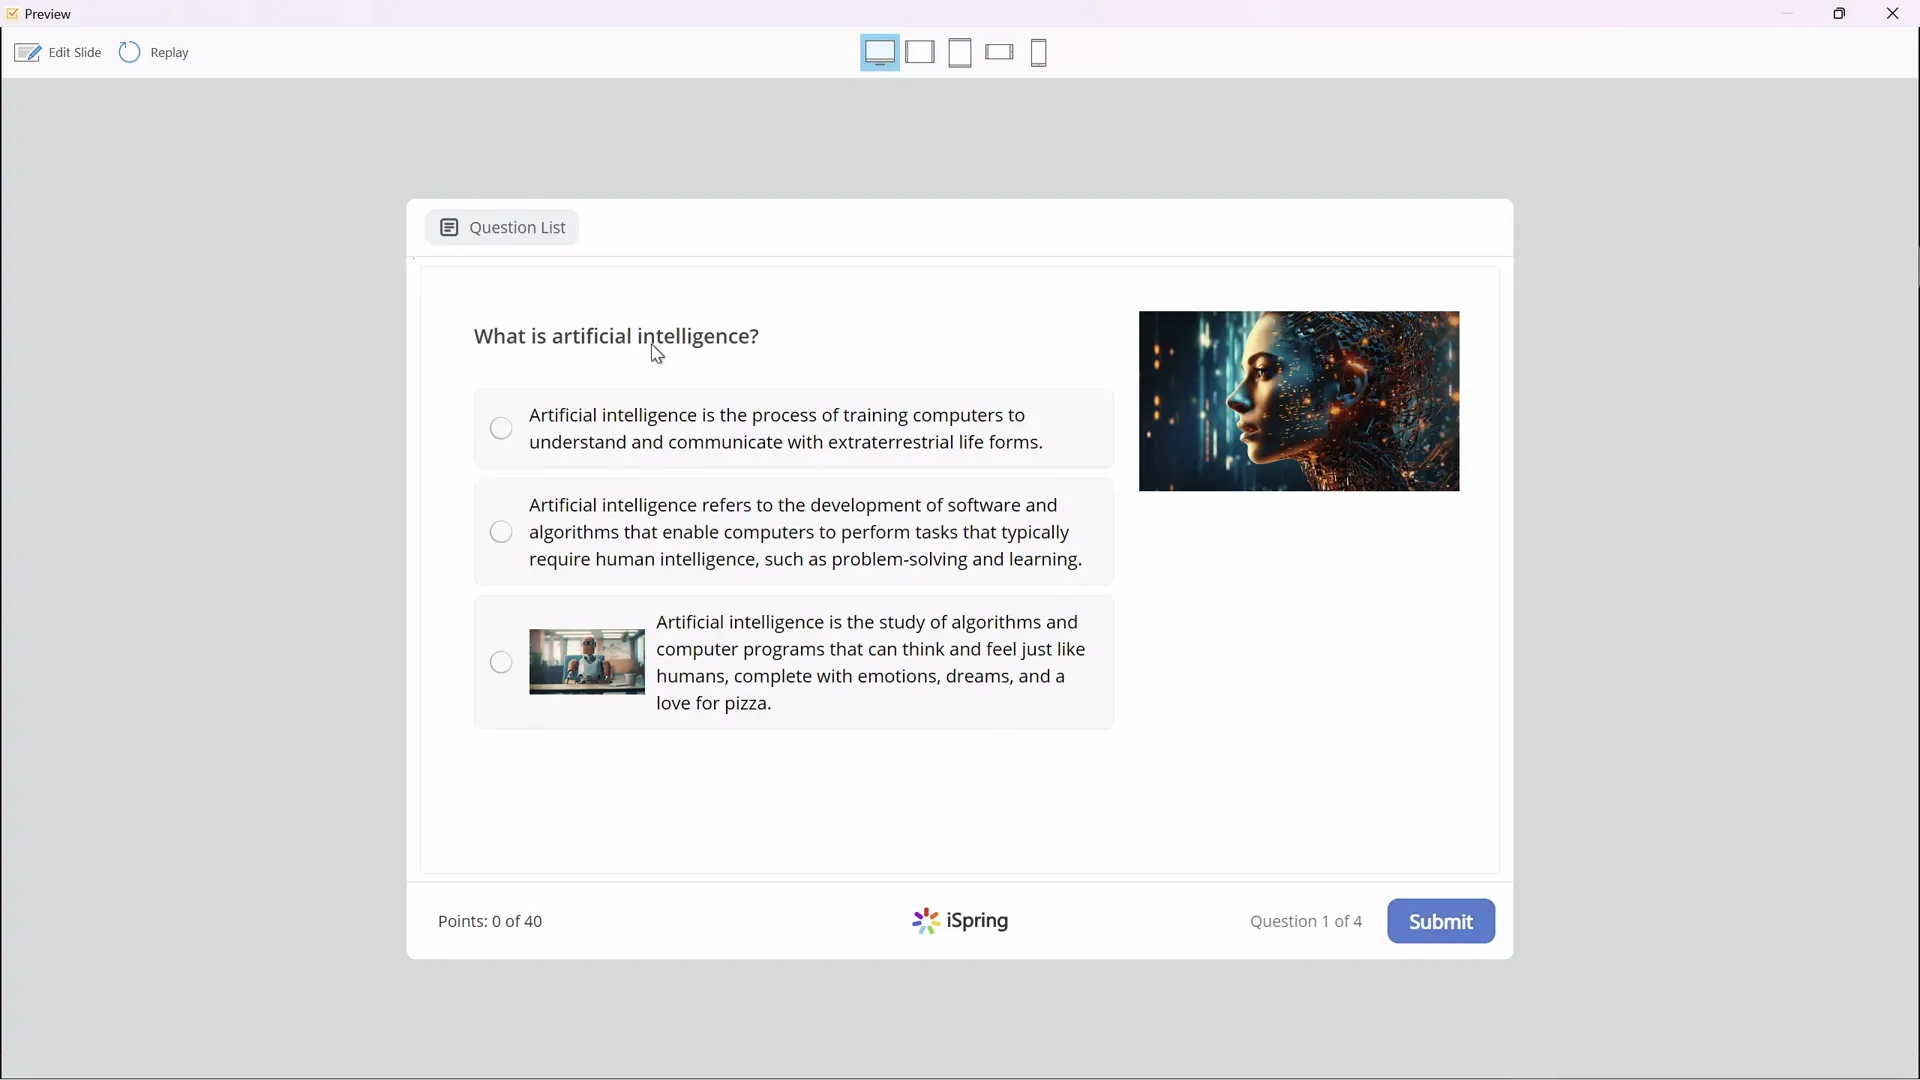
Once the quiz is complete, save and return to the course. The quiz will be embedded into the PowerPoint slide and can be launched by clicking a hyperlinked button.
Publishing Your PowerPoint as an Online Course
With your slides enriched with interactive navigation, videos, websites, and quizzes, the final step is to publish your presentation as an online course.
Publishing Options with iSpring Free
| Publishing Method | Description | Use Case |
|---|---|---|
| Publish to Computer | Exports course files to your local computer for distribution. | For sharing via website, email, or USB. |
| Publish for LMS (SCORM) | Exports course in SCORM format compatible with Learning Management Systems. | For schools, universities, or companies using LMS platforms like Moodle. |
| Publish to iSpring Learn | Upload directly to iSpring’s hosted LMS platform. | For easy, cloud-based course hosting. |
| Publish to YouTube / iSpring Market / iSpring Page | Share your course as a video or online page. | For marketing or public sharing. |
To publish:
- Click the Publish button on the iSpring 3.11 tab.
- Name your course and select the save location.
- Choose whether to publish all slides or selected slides.
- Select the output size (e.g., fit course to browser window).
- Click Publish and wait for the process to complete.
- Click View Course to preview your published course.
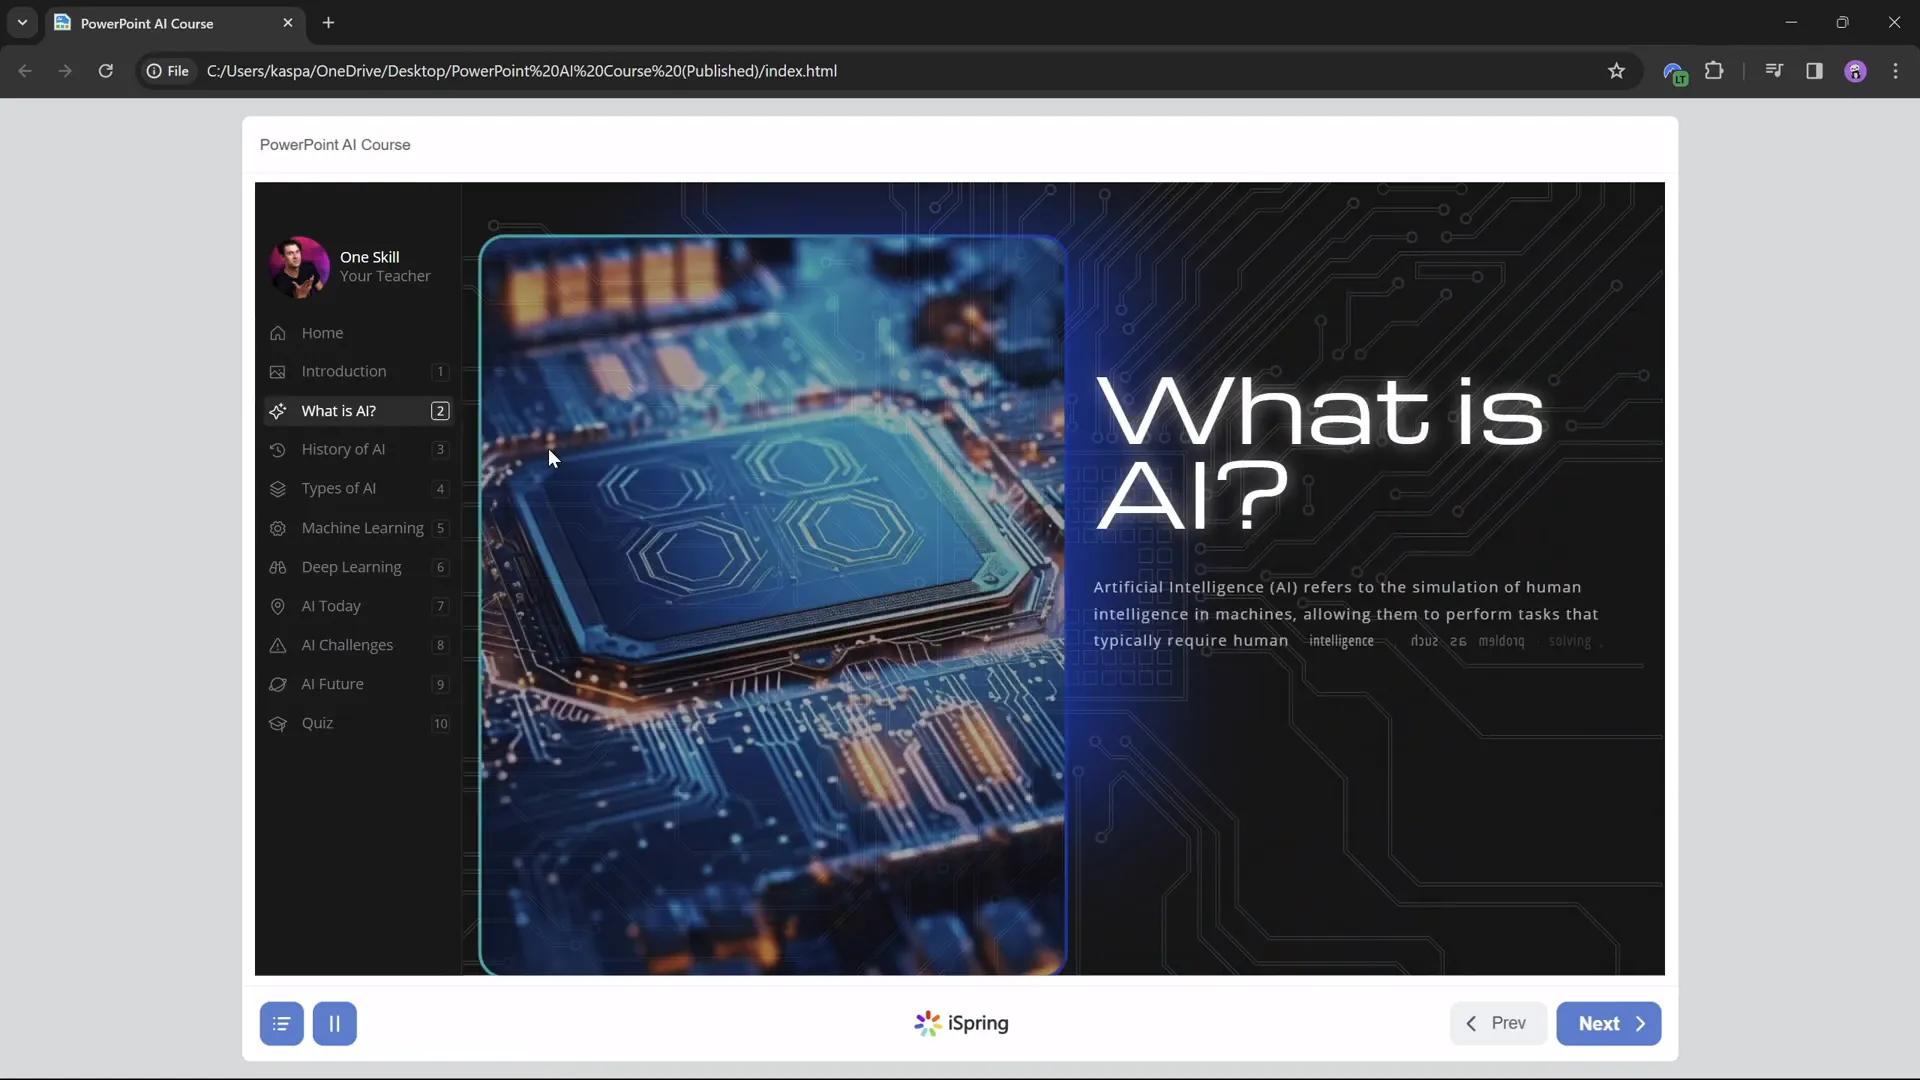
The published course retains all navigation, animations, slide zooms, embedded videos, websites, and quizzes, providing a seamless learning experience.
Frequently Asked Questions about Creating PowerPoint Courses
1. Do I need to pay to convert PowerPoint into an online course?
No! Using the free iSpring Free plugin, you can convert your PowerPoint presentations into fully interactive online courses at no cost.
2. Can I add quizzes to my PowerPoint course?
Yes, iSpring Free allows you to create graded quizzes, surveys, and various question types including multiple choice, multiple response, and short answer.
3. How do I make my PowerPoint navigation more interactive?
Use the Slide Master to create a clickable sidebar with transparent shapes linked to specific slides. Add morph transitions to animate sidebar highlights.
4. Can I embed videos and websites inside my PowerPoint course?
Absolutely! iSpring Free supports embedding YouTube videos and live web objects, enhancing course interactivity.
5. How do I ensure animations only play once during slide zooms?
Duplicate the slide with animations and set the first slide to auto-transition after zero seconds. Keep animations on the first slide and slide zooms on the second slide without animations.
6. How do I publish my course for a Learning Management System (LMS)?
Use the iSpring Free plugin to export your course in SCORM format, which is compatible with most LMS platforms like Moodle.
7. Can I preview my course before sharing it?
Yes, iSpring Free provides a preview option that shows how your course will look and behave on different devices.
Conclusion: Empower Your Teaching with PowerPoint Courses
Creating an engaging online course from your PowerPoint presentations has never been easier or more affordable. By leveraging the free iSpring Free plugin and applying smart design techniques like clickable sidebars, slide zooms, and interactive quizzes, you can elevate your teaching materials and provide a richer learning experience for your students.
Whether you’re teaching Artificial Intelligence or any other subject, transforming your PowerPoint into a PowerPoint course opens opportunities for flexible, interactive, and engaging education. Best of all, you can do it all for free!
Ready to get started? Download iSpring Free today and bring your presentations to life as online courses.
Helpful Resources:
- Download iSpring Free
- Learn More about Free Teaching Tools from iSpring
- One Skill PPT YouTube Channel


