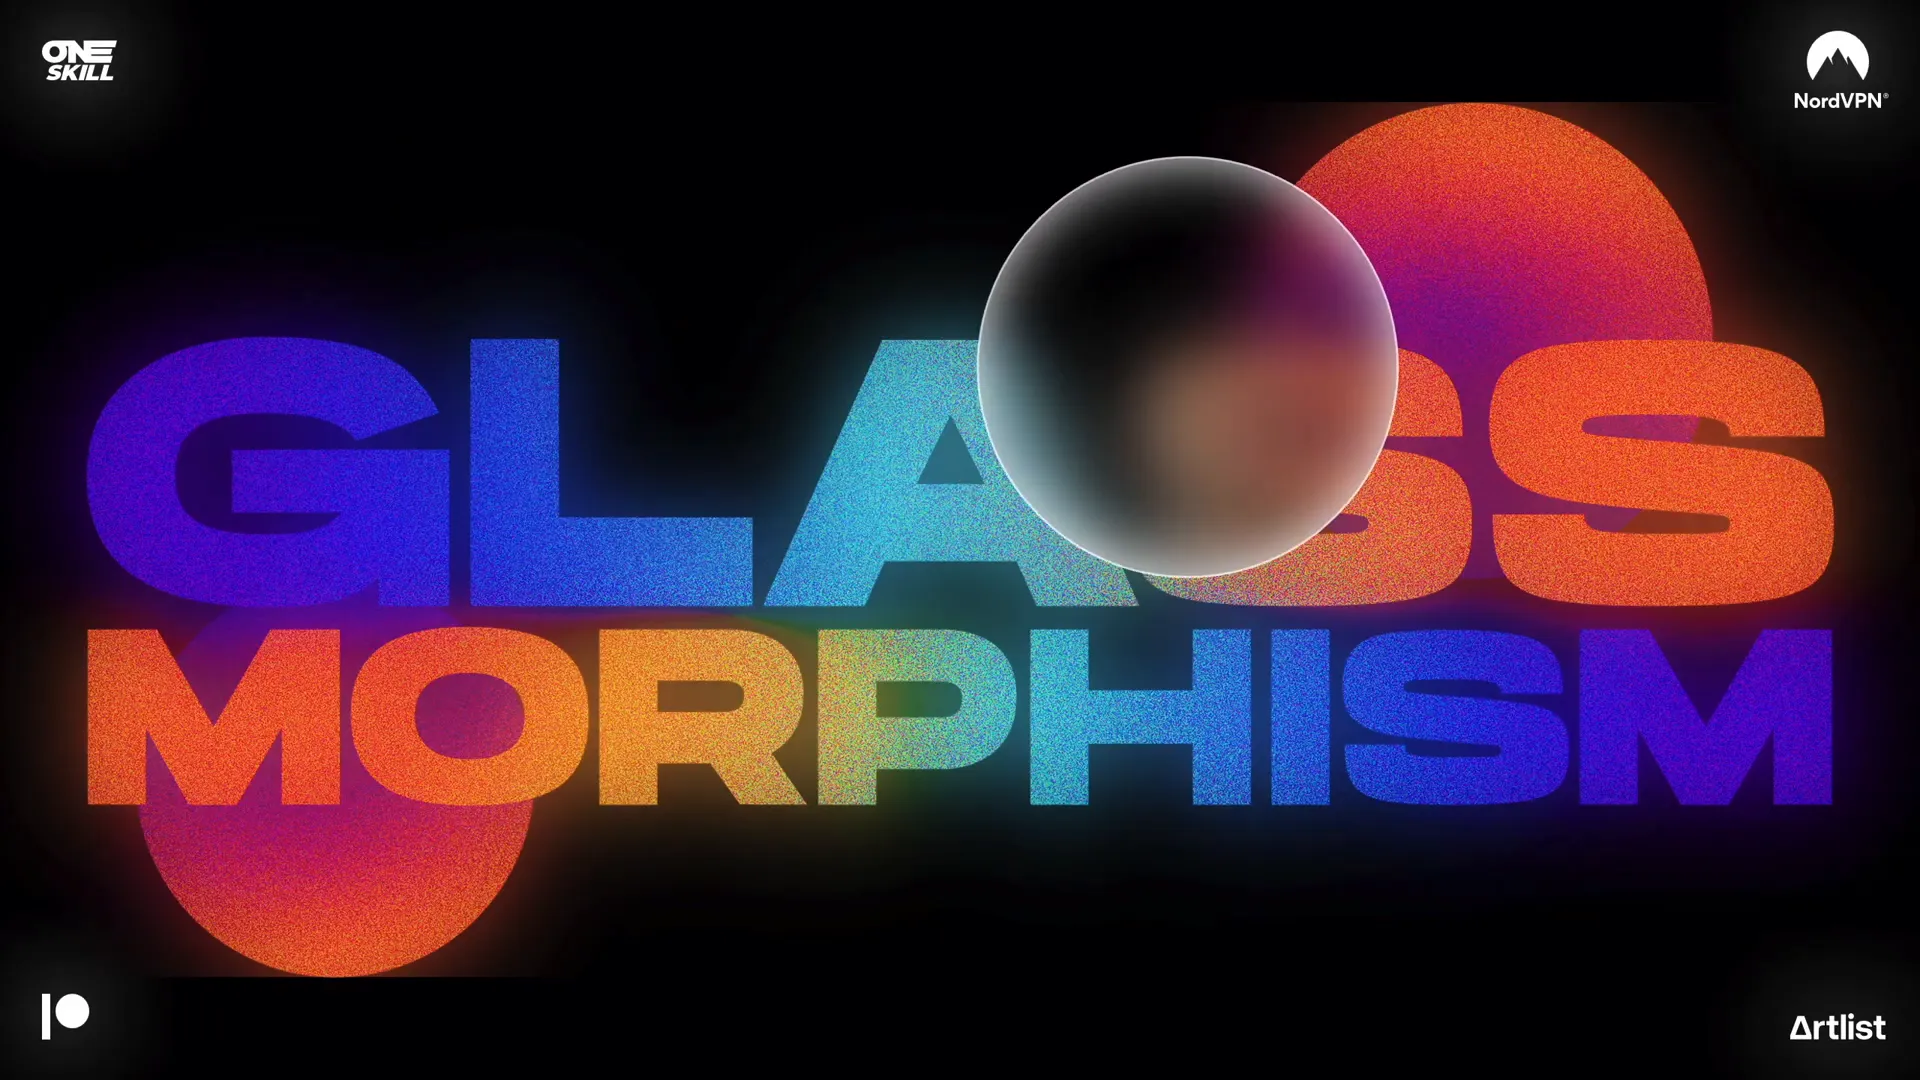
If you’re looking to enhance your PowerPoint presentation skills with cutting-edge design techniques, you’ve come to the right place. In this comprehensive guide, we’ll explore how to create a stunning animated glassmorphic effect in PowerPoint—an eye-catching design trend that gives your slides a modern, frosted glass look with smooth animation. This tutorial is perfect for anyone using PowerPoint Microsoft 365 on Windows and can be completed in just 10 minutes.
This blog post breaks down the entire process, from designing the slide elements with beautiful gradients to applying picture effects and finally animating the effect using the morph transition. By the end, you’ll know how to create professional, sleek slides that impress your audience and elevate your presentation game.
Table of Contents
- Introduction to Glassmorphic Design
- Step 1: Designing the Slide Elements
- Step 2: Applying Gradient Fills to Text and Shapes
- Step 3: Converting Slide Design into a Picture
- Step 4: Adding Picture Effects for the Glass Look
- Step 5: Creating the Glassmorphic Circle with Merge Shapes
- Step 6: Animating the Effect Using Morph Transition
- Step 7: Adding a Glowing Effect to Enhance Design
- Tips for Customizing Your Glassmorphic Slide
- Frequently Asked Questions
- Conclusion
Introduction to Glassmorphic Design
Glassmorphism is a popular design trend characterized by translucent, frosted glass-like elements layered over colorful backgrounds. This style creates a sense of depth and sophistication through transparency, blur, and subtle shadows.
In PowerPoint, achieving this effect allows you to create slides that are visually dynamic and modern without using external graphic design software. The tutorial we’ll follow uses simple shapes, gradient fills, picture effects, and PowerPoint’s morph transition to bring the glassmorphic effect to life with animation.
Why use glassmorphic effects in your presentations? Here are some benefits:
- Modern aesthetic: Gives your presentation a sleek, professional look that stands out.
- Focus: Helps highlight key content areas by framing them with frosted glass shapes.
- Engagement: Animated transitions keep your audience’s attention and create a polished flow.
Let’s dive into the step-by-step process to create this effect in PowerPoint.
Step 1: Designing the Slide Elements
First, we need to build the basic slide design elements that form the foundation of the glassmorphic effect. This involves adding text boxes and circles filled with gradient colors.
Insert Text Boxes
- Open PowerPoint Microsoft 365 on Windows.
- Insert two text boxes: one for the main title and one for the subtitle or additional text.
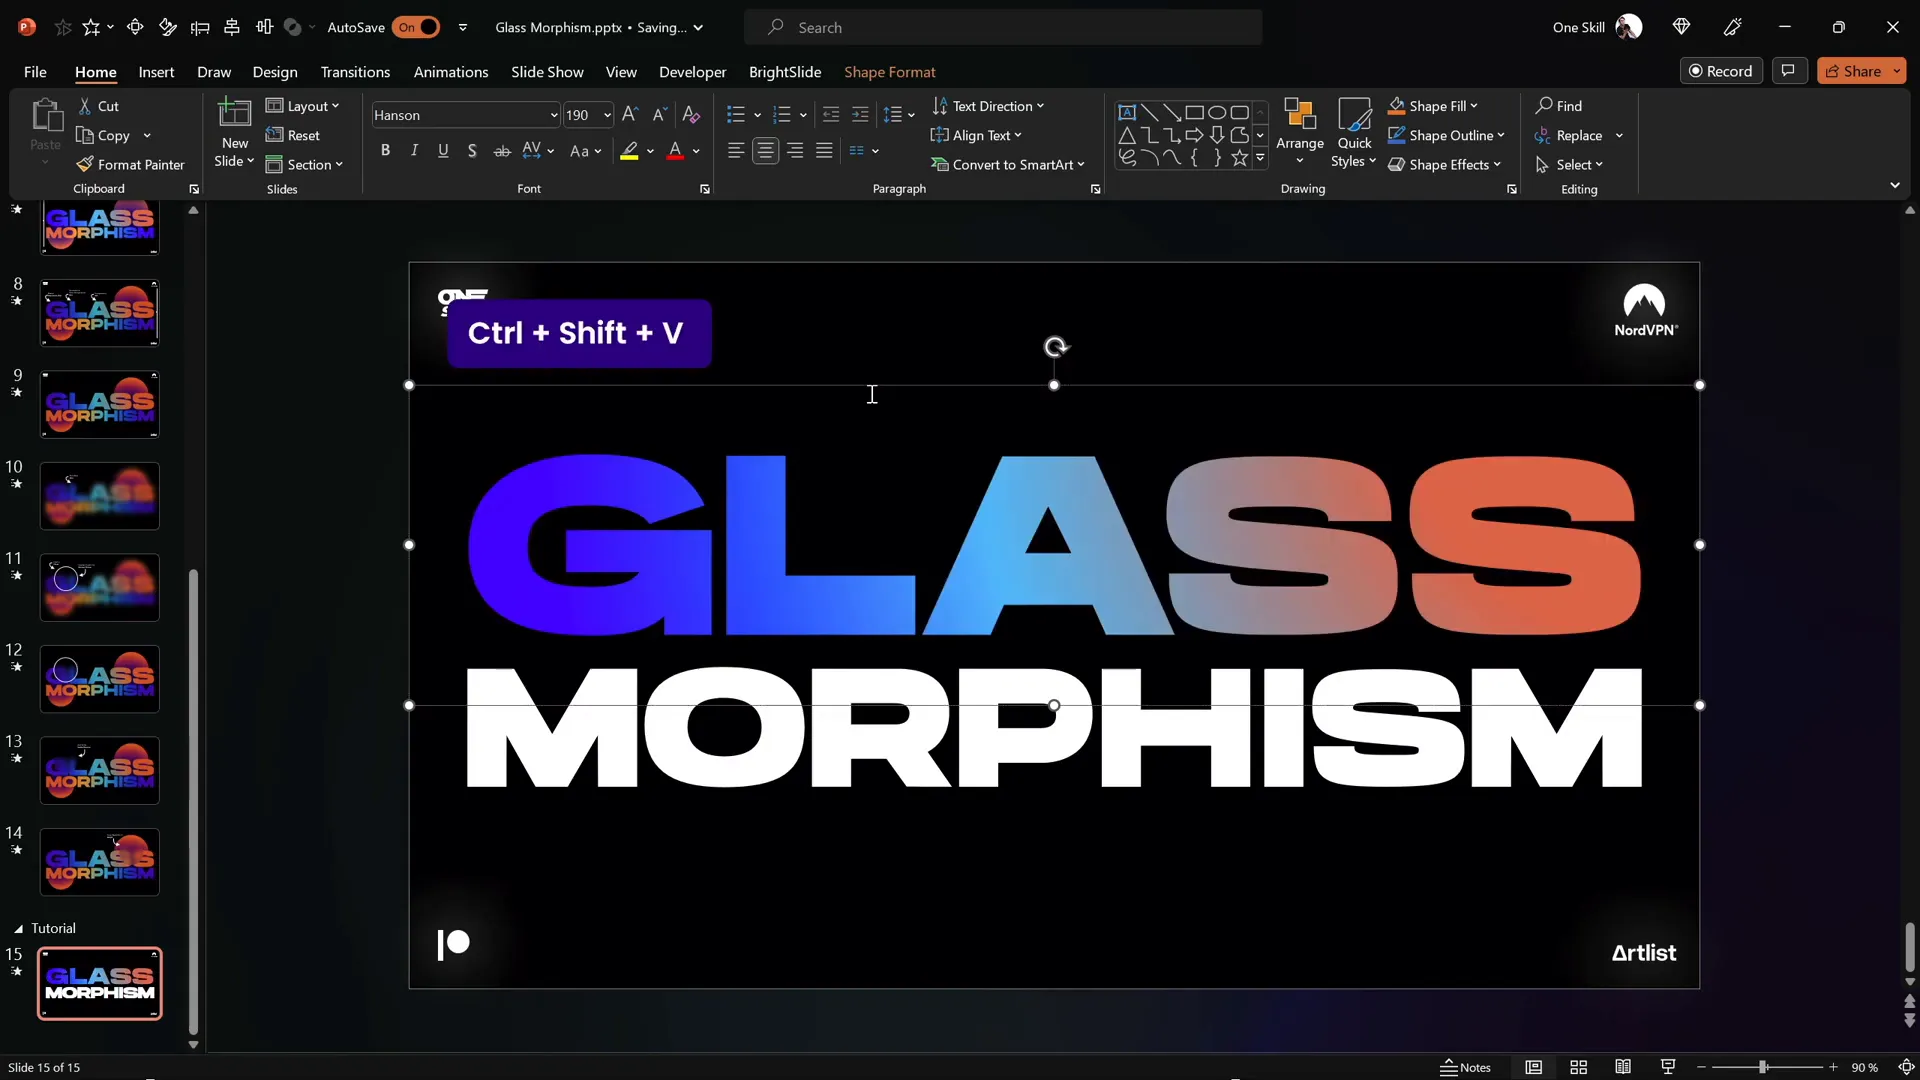
- Use the font Hanson for a clean, bold look. This font is free and can be downloaded from the link in the video description.
- Set the font size for the first text box to 190 pt and the second to 125 pt.

Insert Circles
- Draw two perfect circles by holding down the Shift key while dragging.
- Position the circles anywhere you like on the slide behind the text.
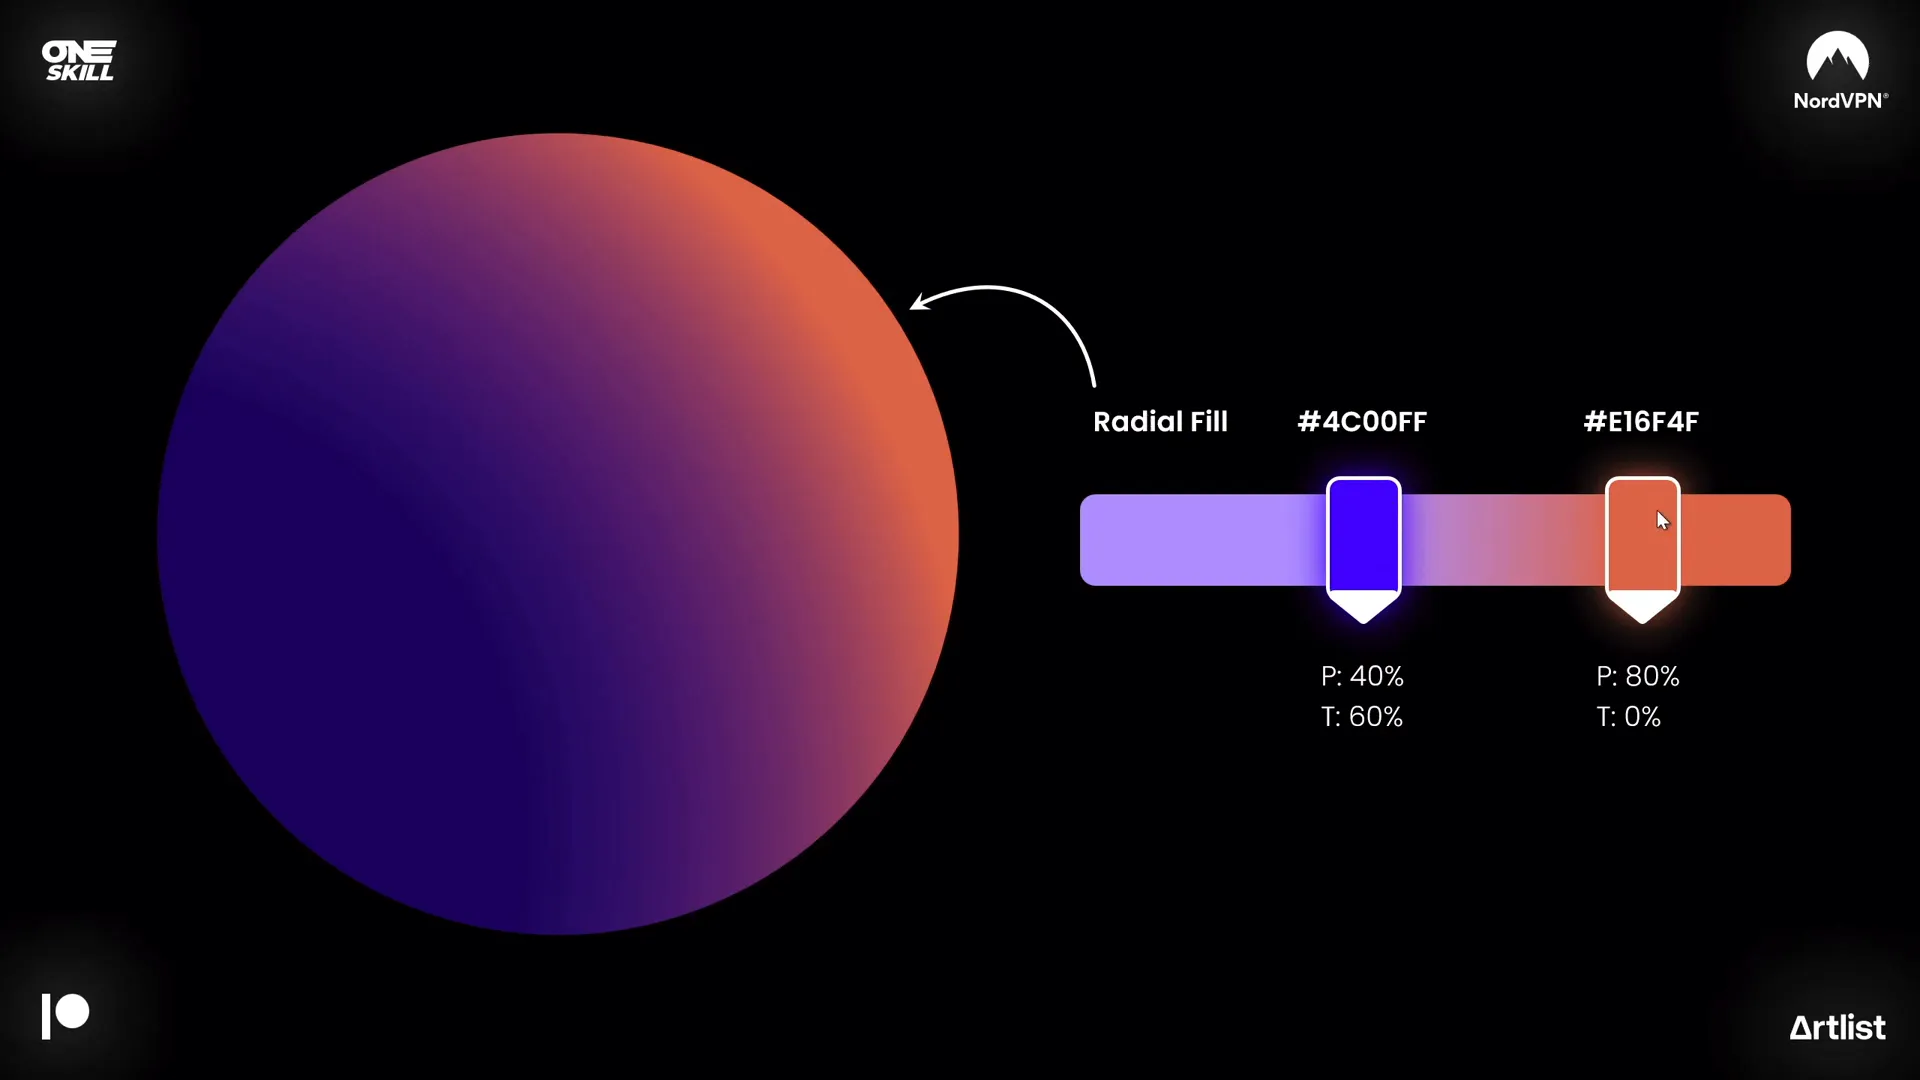
- Apply a radial gradient fill to each circle with two color stops.
To create the radial gradient fill:
| Color Stop | Hex Code | Transparency | Position |
|---|---|---|---|
| First | #HEX1 (example) | Some transparency (e.g., 20%) | Position 0% |
| Second | #HEX2 (example) | Opaque | Position 100% |
The exact hex codes, transparency levels, and positioning are shown on the screen in the video for accurate replication.
Arrange and Rotate
- Send the circles behind the text boxes.
- Optionally rotate the circles slightly for a dynamic composition.
Step 2: Applying Gradient Fills to Text and Shapes
Next, enhance the text with beautiful linear gradient fills to add color depth and vibrancy.
Gradient Fill for Top Text Box
- Apply a linear gradient fill with four color stops to the text.
- Use a mix of colors that blend well together to produce a visually appealing gradient.
Gradient Fill for Bottom Text Box
- Apply a similar linear gradient fill but with five color stops for richer color variation.
To speed up the process, use Ctrl + Shift + C to copy the style from one text box and Ctrl + Shift + V to paste the style onto the other text box.
Group and Align
- Select both text boxes and group them together.
- Align the group to the center of the slide for balanced composition.
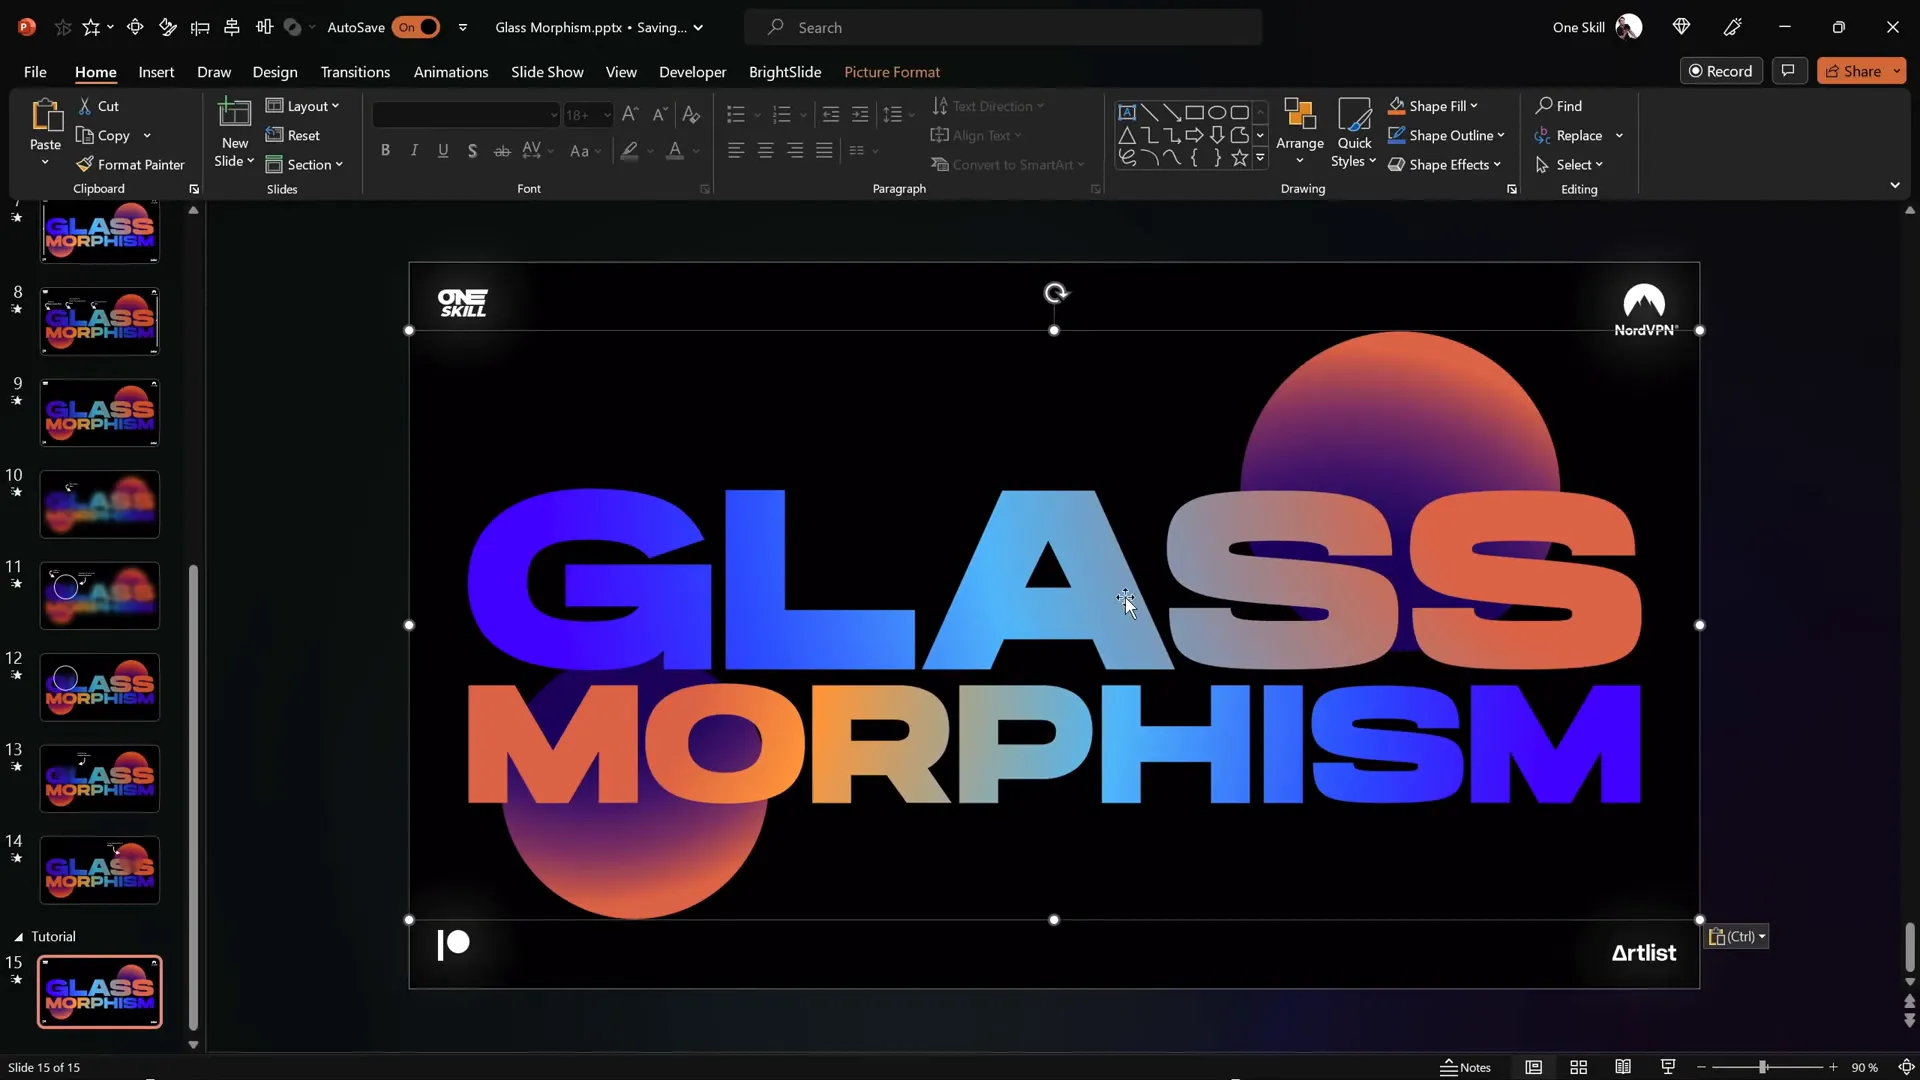
Step 3: Converting Slide Design into a Picture
Once your slide design elements are ready, convert them into a picture. This step is crucial because it allows you to apply picture effects that PowerPoint doesn’t support directly on shapes or text.
- Select all design elements (text boxes and circles) by holding Shift and clicking each.
- Cut the selection with Ctrl + X.
- Paste it back as a picture using Ctrl + V, then choose “Paste as Picture” if prompted.
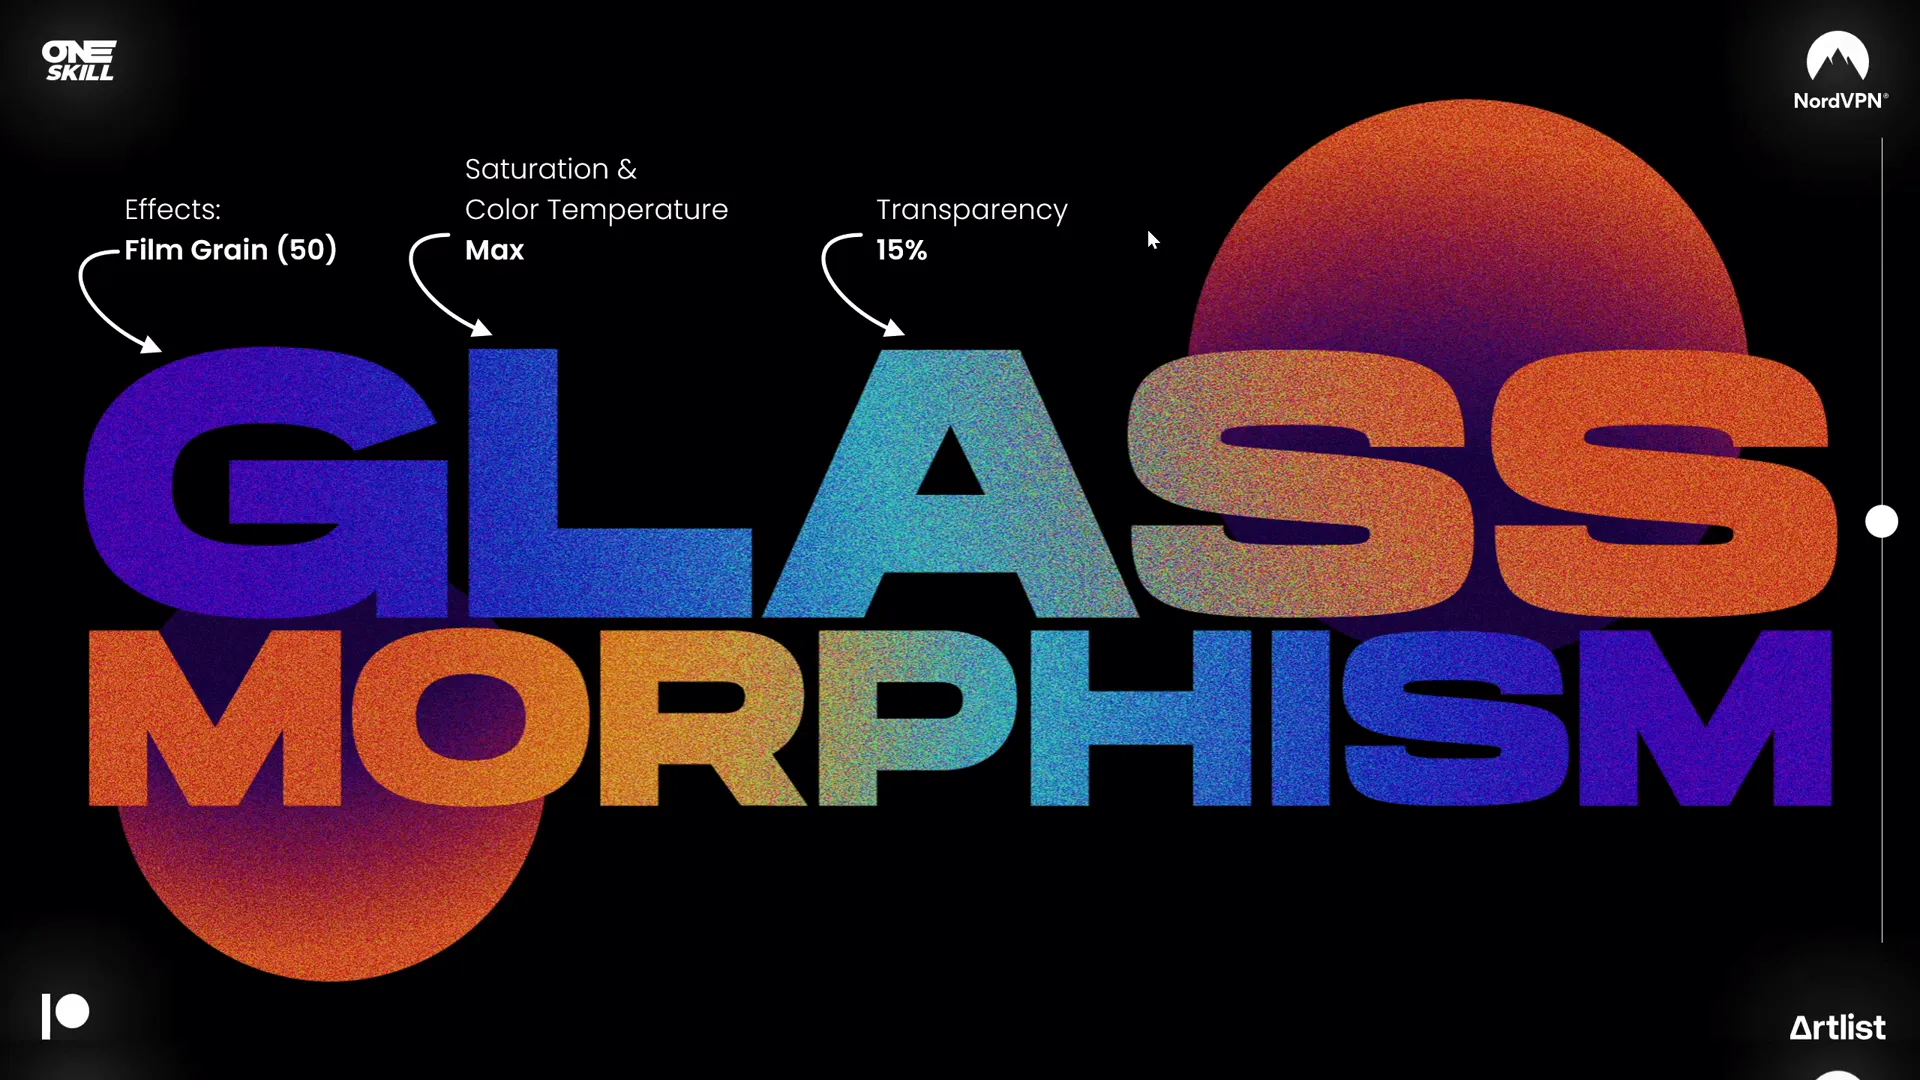
Step 4: Adding Picture Effects for the Glass Look
With the slide design now a picture, you can apply artistic and color effects to create the frosted glass appearance.
Apply Film Grain Effect
- Go to the Picture Format tab.
- Navigate to Artistic Effects and select Film Grain.
- Set the grain size to 50 for a subtle textured effect.
Adjust Picture Color
- Open Picture Color Options.
- Boost saturation and color temperature to their maximum values to enrich the colors.
Reduce Intensity
- Add transparency to the picture to tone down the effect and avoid overwhelming the design.
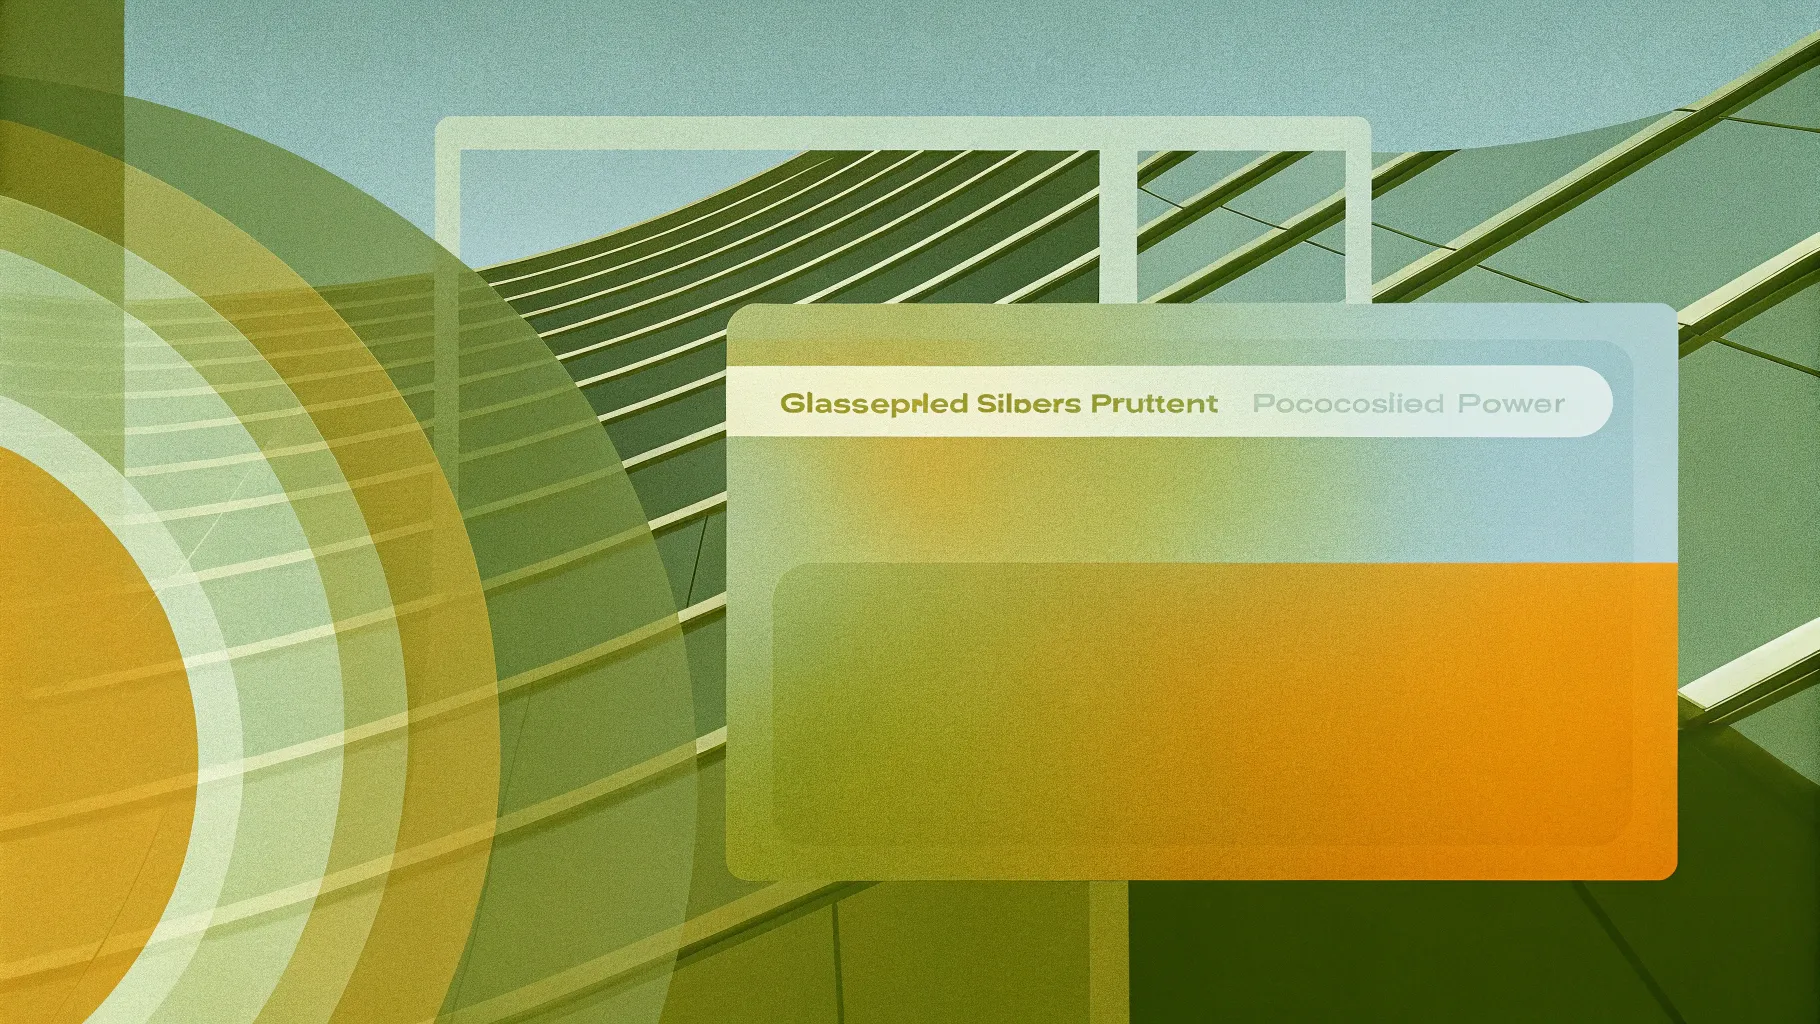
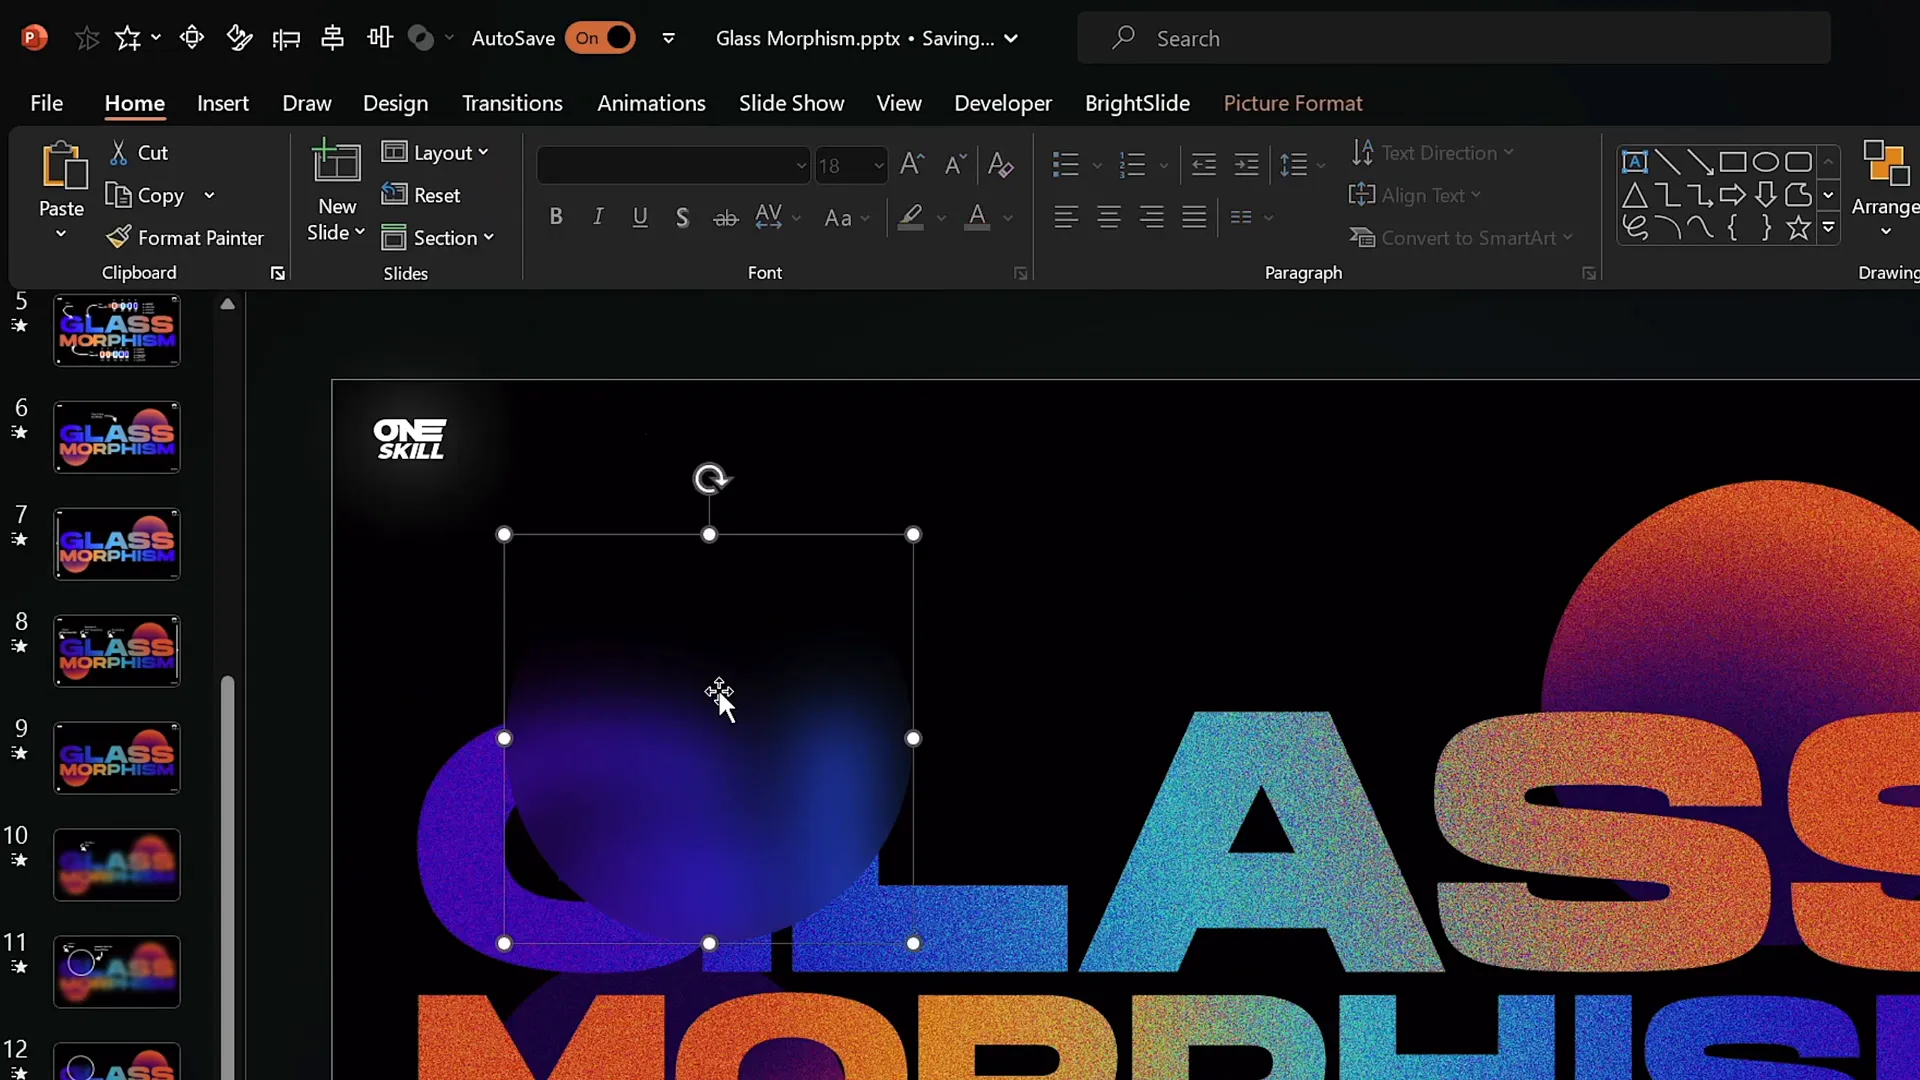
Step 5: Creating the Glassmorphic Circle with Merge Shapes
Now it’s time to isolate the blurred and textured area inside a circle to simulate the frosted glass panel.
- Save the entire slide as a screenshot (e.g., use Print Screen or Shift + Windows + S).
- Paste the screenshot onto the slide and center it.
- Apply a maximum blur effect to this screenshot to create the soft frosted look.
- Insert a new circle shape over the blurred screenshot where you want the glassmorphic effect to appear.
- Select the blurred screenshot first, then hold Shift and select the circle.
- Go to Merge Shapes and choose Intersect. This crops the blur effect to the shape of the circle.
Add Frosty Details
- Add a white inside shadow to the circle to enhance the frosty appearance.
- Add a subtle white outline with about 1 pt width and 20% transparency to define the shape.
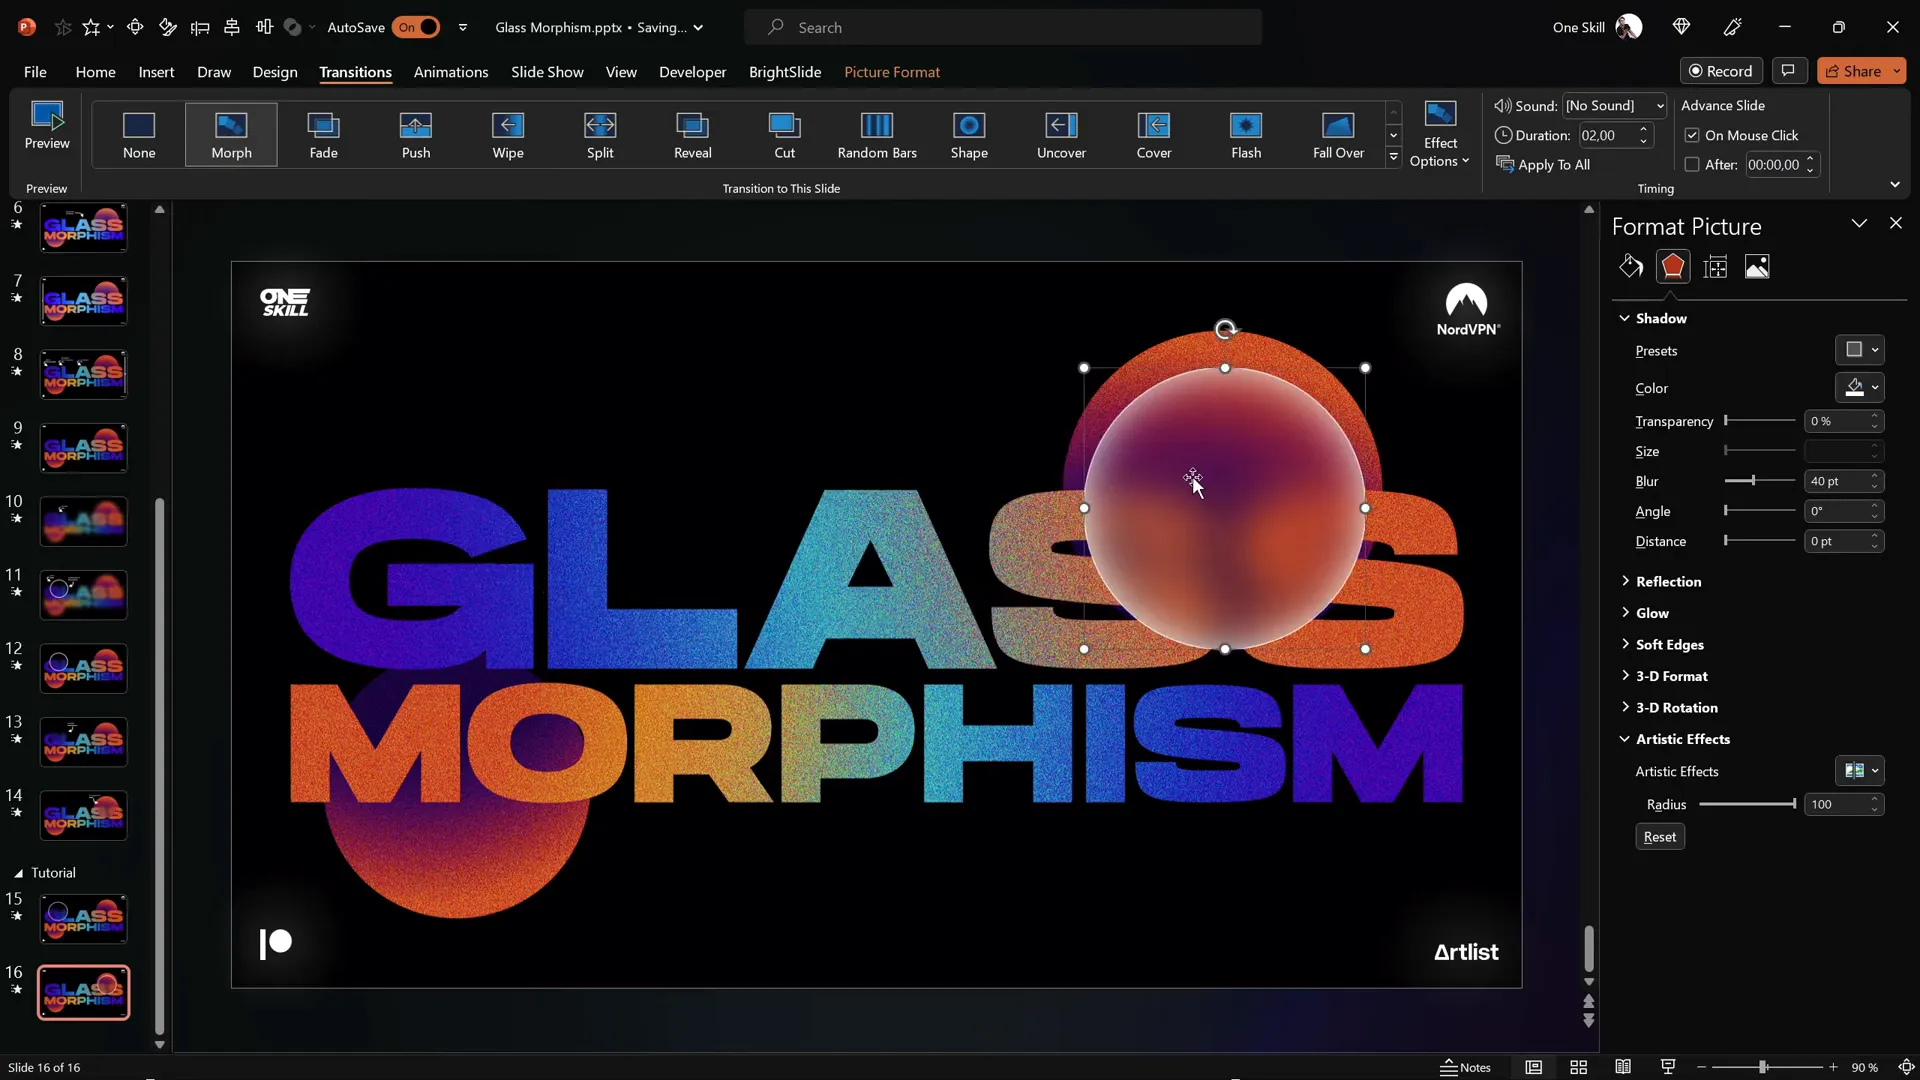
Step 6: Animating the Effect Using Morph Transition
To bring the glassmorphic effect to life, use the morph transition between two slides with slightly different circle positions.
- Duplicate the slide with the glassmorphic circle (Ctrl + D or right-click and choose Duplicate Slide).
- On the duplicate, select the circle and click Crop in the Picture Format tab.
- Drag the circle inside the crop frame to a new position to prepare for animation.
- Click outside the crop area to finalize the change.
- Apply the Morph transition to the second slide from the Transitions tab.
When you play the slideshow, the circle will smoothly animate from its first to second position, creating a polished animated glassmorphic effect.
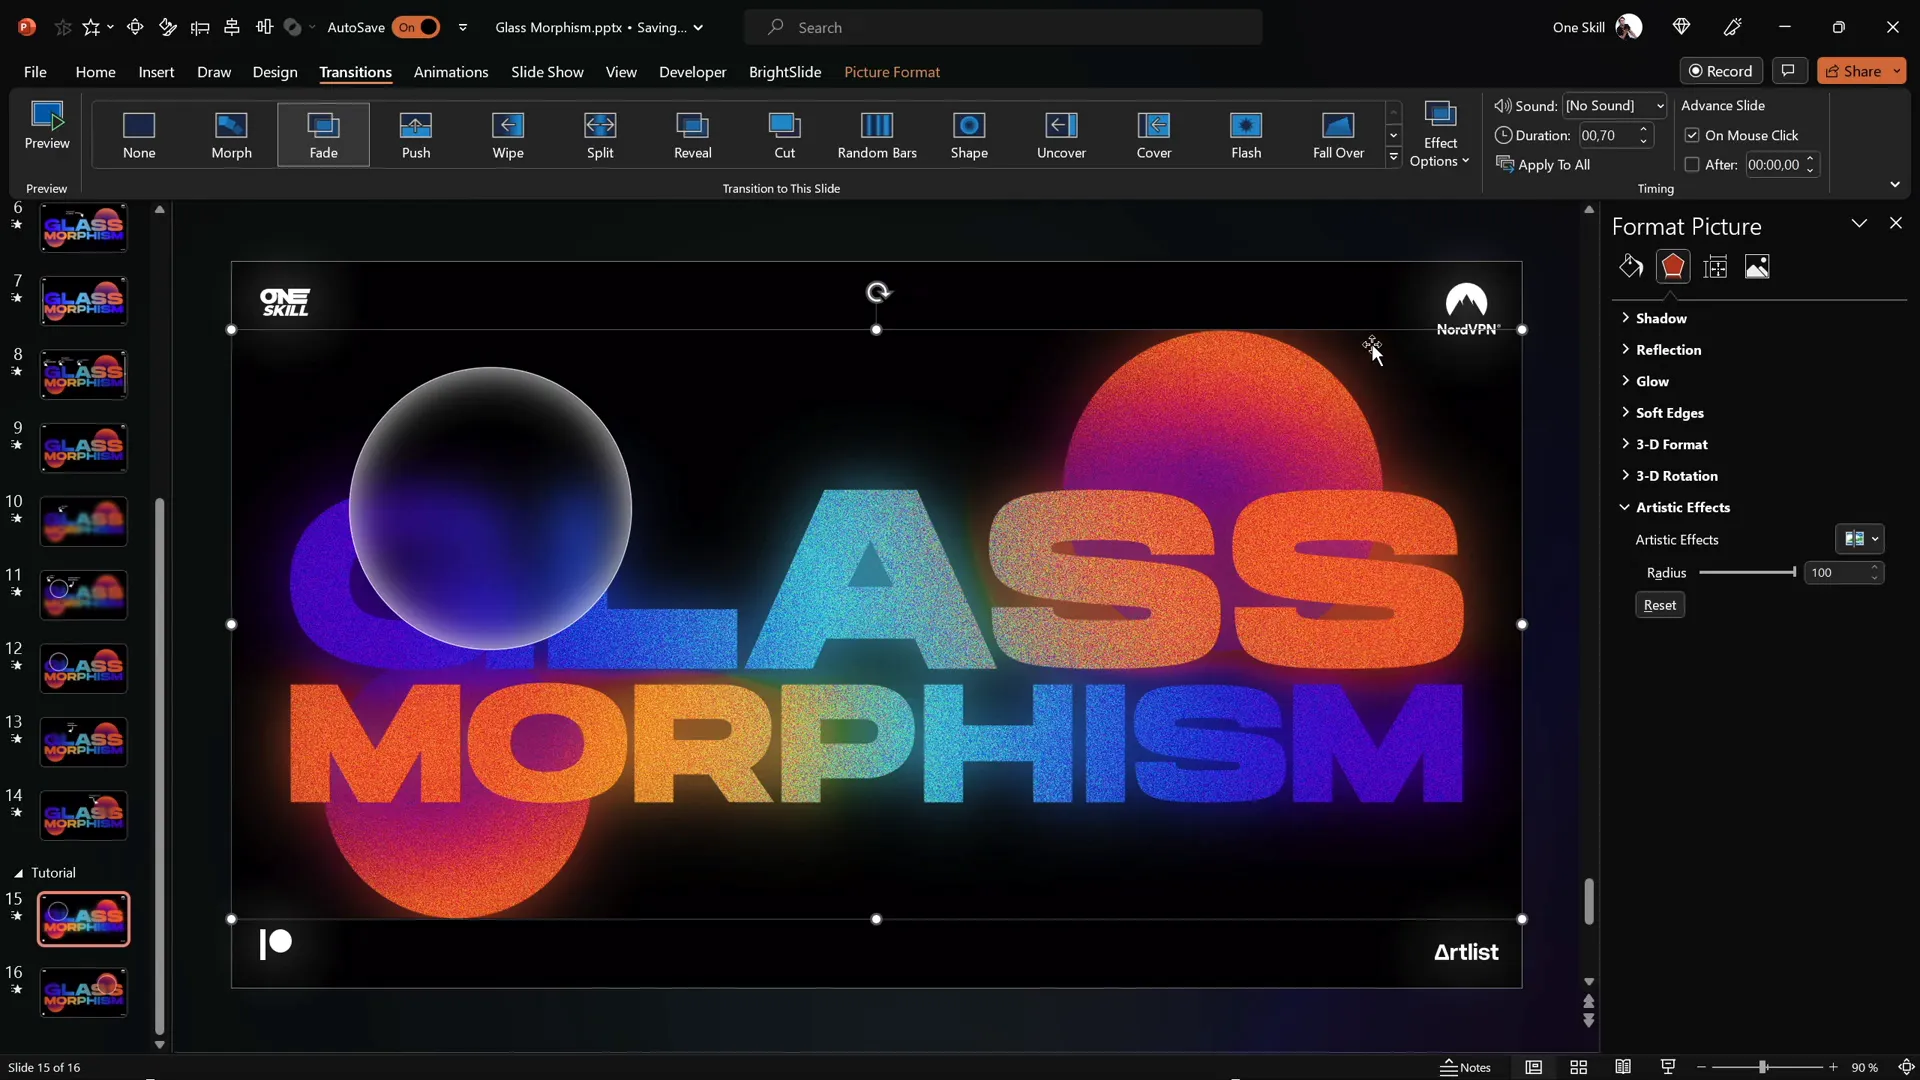
Step 7: Adding a Glowing Effect to Enhance Design
For an extra touch of elegance, add a glowing effect around the glassmorphic circle by duplicating and blurring the slide design.
- Duplicate the slide design picture and place the copy directly on top of the original.
- Apply a maximum blur effect to the top copy to create a soft glow.
- Send the blurred copy to back so the grainy design remains visible on top.
- Copy and paste this blurred slide design onto the second slide as well, center it, and send it to back.
This layering produces a subtle glowing aura around the glassmorphic circle that enhances the frosted glass illusion.
Tips for Customizing Your Glassmorphic Slide
Feel free to experiment with the number of glassmorphic circles, their size, and placement to suit your presentation style. Here are some additional tips:
- Multiple circles: You can add several glassmorphic circles on your slide for a layered, complex design.
- Color choices: Adjust gradient colors to match your presentation’s color scheme.
- Transparency & blur: Fine-tune transparency and blur levels for different intensities of the glass effect.
- Font pairing: Use complementary fonts with Hanson or try other modern fonts for unique looks.
- Use selection pane: Manage layers and objects easily by using PowerPoint’s Selection Pane for complex slides.
Frequently Asked Questions
What version of PowerPoint do I need to create the glassmorphic effect?
This tutorial is designed for PowerPoint Microsoft 365 on Windows. Older versions may lack the Morph transition or some picture effects.
Is the Hanson font required?
No, but Hanson is recommended for its clean, modern style. You can use any bold, readable font you prefer.
Can I use this effect in other presentation software?
The technique relies heavily on PowerPoint’s Morph transition and picture effects, so replicating it exactly outside PowerPoint is challenging.
How long does it take to create this effect?
With practice, you can create the glassmorphic effect in about 10-15 minutes per slide.
Can I add this effect to existing slides?
Yes, you can overlay glassmorphic circles on top of your existing slide designs to enhance them.
Does this effect impact presentation performance?
The effect uses standard PowerPoint features and should not significantly affect performance on modern computers.
Conclusion
Mastering PowerPoint presentation skills means knowing how to create visually compelling and engaging slides that capture your audience’s attention. The animated glassmorphic effect is a fantastic way to add a modern, professional flair to your presentations using only PowerPoint’s built-in tools.
By following the step-by-step process outlined here—from designing gradient-filled shapes and text, converting designs to pictures, applying artistic effects, cropping with merge shapes, and animating with morph transitions—you can create sophisticated slides that look like they were made with advanced graphic tools.
Don’t forget to experiment with colors, sizes, and animation positions to customize the effect for your unique style. Whether you’re preparing a business pitch, educational content, or creative showcase, this glassmorphic technique will enhance your presentation’s visual appeal and make you stand out as a PowerPoint pro.
For more PowerPoint tips and tutorials, be sure to check out the original video by One Skill PPT and explore the resources linked in the description.
Happy presenting!