
PowerPoint is a cornerstone tool for professionals, educators, and creatives alike, offering powerful features that can elevate presentations from basic to breathtaking. Among these features, the Morph transition stands out as one of the most versatile and dynamic animation tools available in PowerPoint. Mastering this feature can significantly enhance your PowerPoint presentation skills, enabling you to create smooth, seamless animations that captivate your audience and convey your message with flair.
In this comprehensive guide, we will explore everything you need to know about the Morph transition—from the basics of moving and resizing objects to advanced techniques such as photo cropping and morphing between different shapes and images. Whether you are using PowerPoint 2019, Microsoft 365, or later versions, this tutorial will help you harness the full potential of Morph to create professional and engaging presentations.
Table of Contents
- Introduction to Morph Transition
- Moving Objects with Morph
- Animating Slide Titles and Highlighting
- Resizing Objects Seamlessly
- Rotating Objects with Ease
- Flipping Objects and Special Cases
- Animating Color Changes
- Using Transparency in Morph Animations
- Creating Stunning Photo Crop Effects
- Tips to Ensure Morph Transition Works Perfectly
- Frequently Asked Questions (FAQ)
- Conclusion
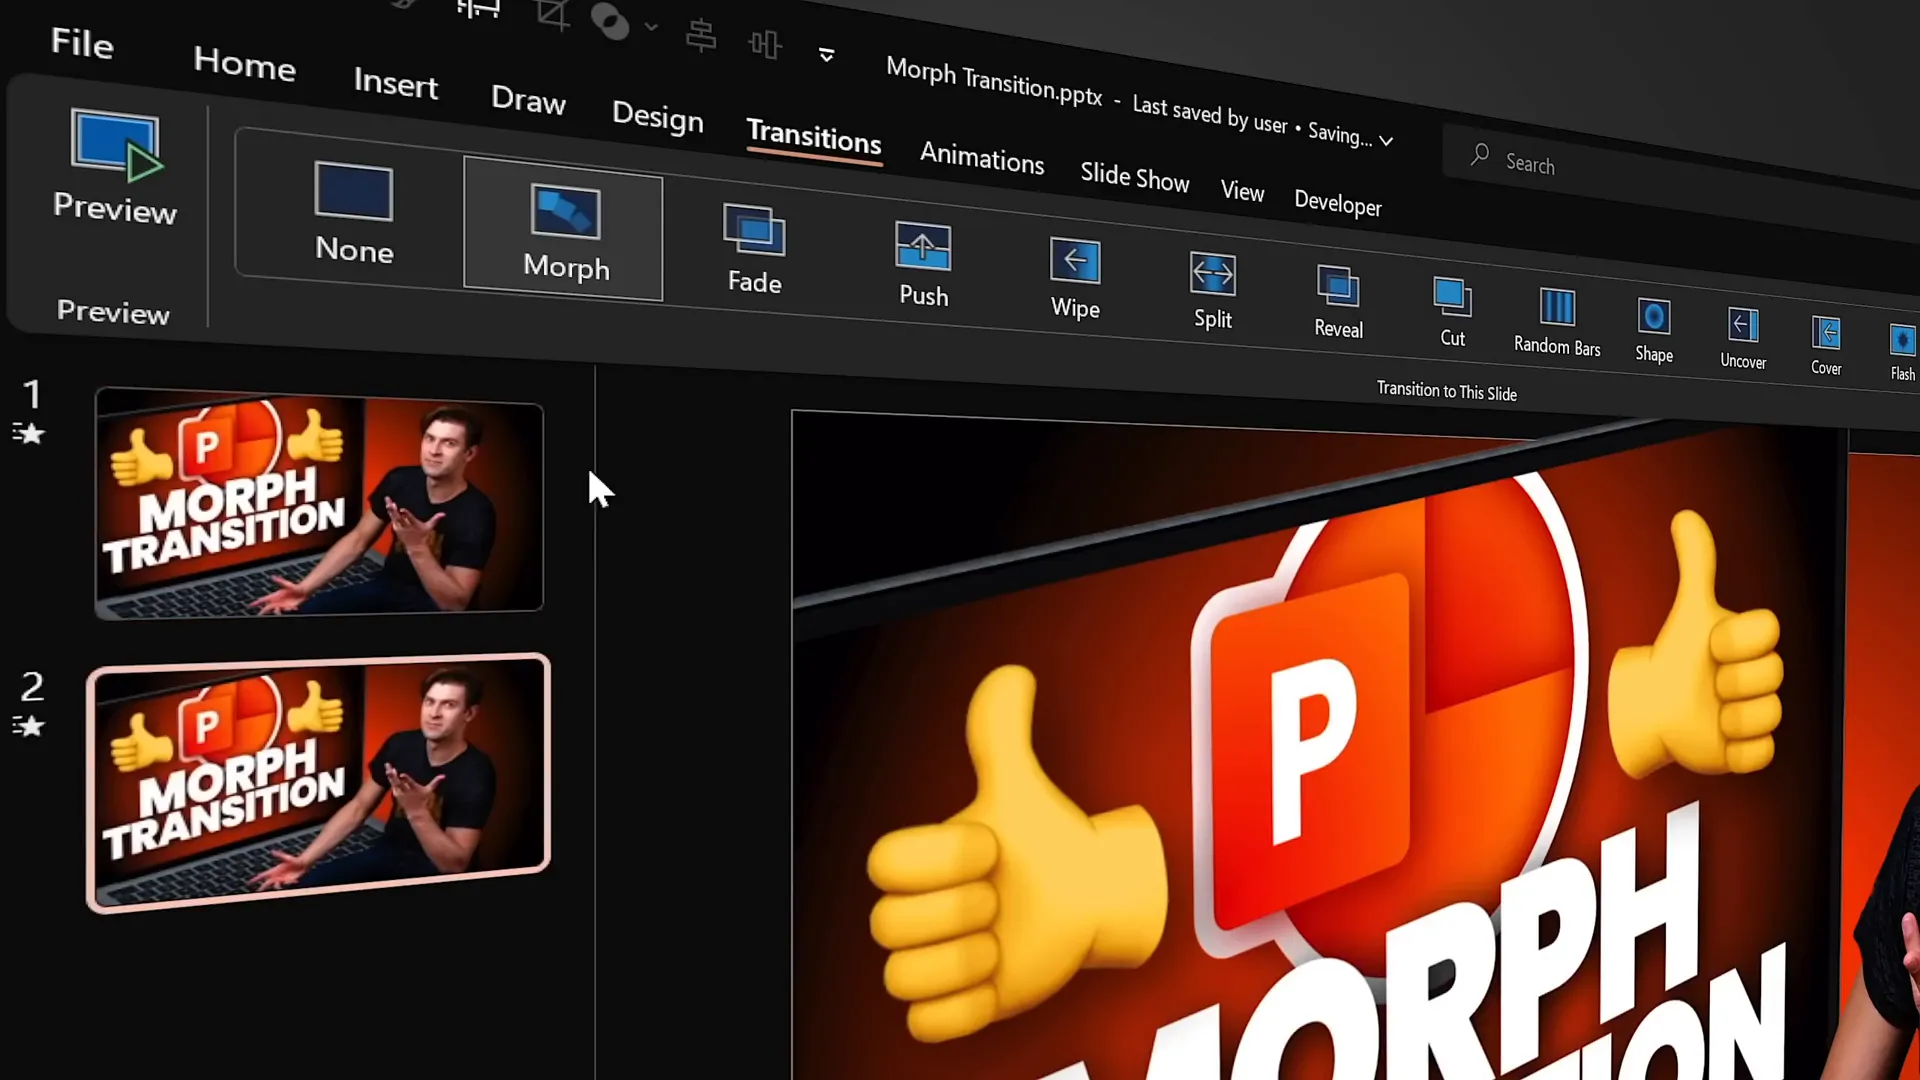
Introduction to Morph Transition
The Morph transition is one of PowerPoint’s most powerful tools for creating smooth, visually compelling animations. It enables you to animate objects on your slides by moving, resizing, rotating, flipping, and even changing colors or transparency—all without the complexity of motion paths or multiple animation steps.
To use Morph effectively, the key principle is simple: duplicate your slide, make the changes to the duplicated slide, and then apply the Morph transition on the second slide. PowerPoint then calculates the changes between the two slides and animates the transition accordingly.
This approach makes Morph intuitive and fun to use, even for those new to PowerPoint animations.
For anyone using PowerPoint 2019, Microsoft 365, or later, this feature is readily available and can dramatically improve the quality of your presentations.
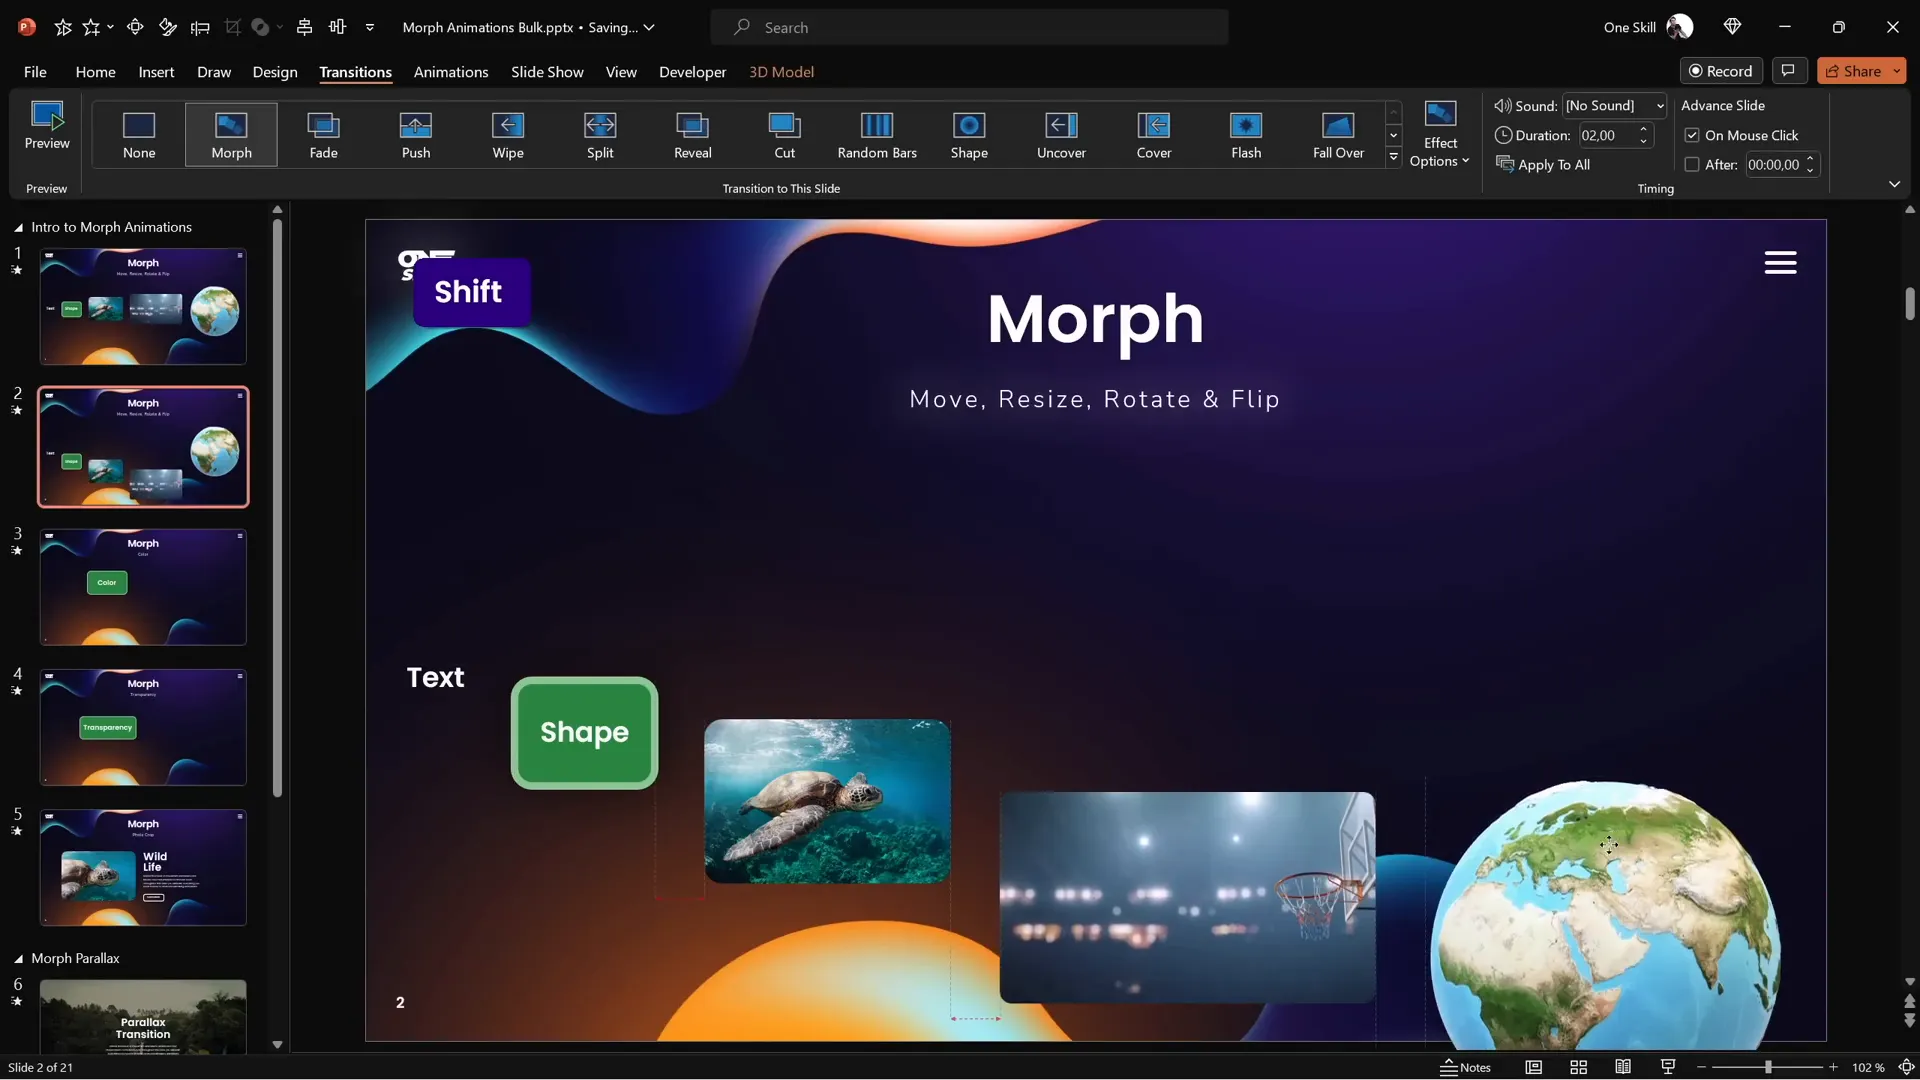
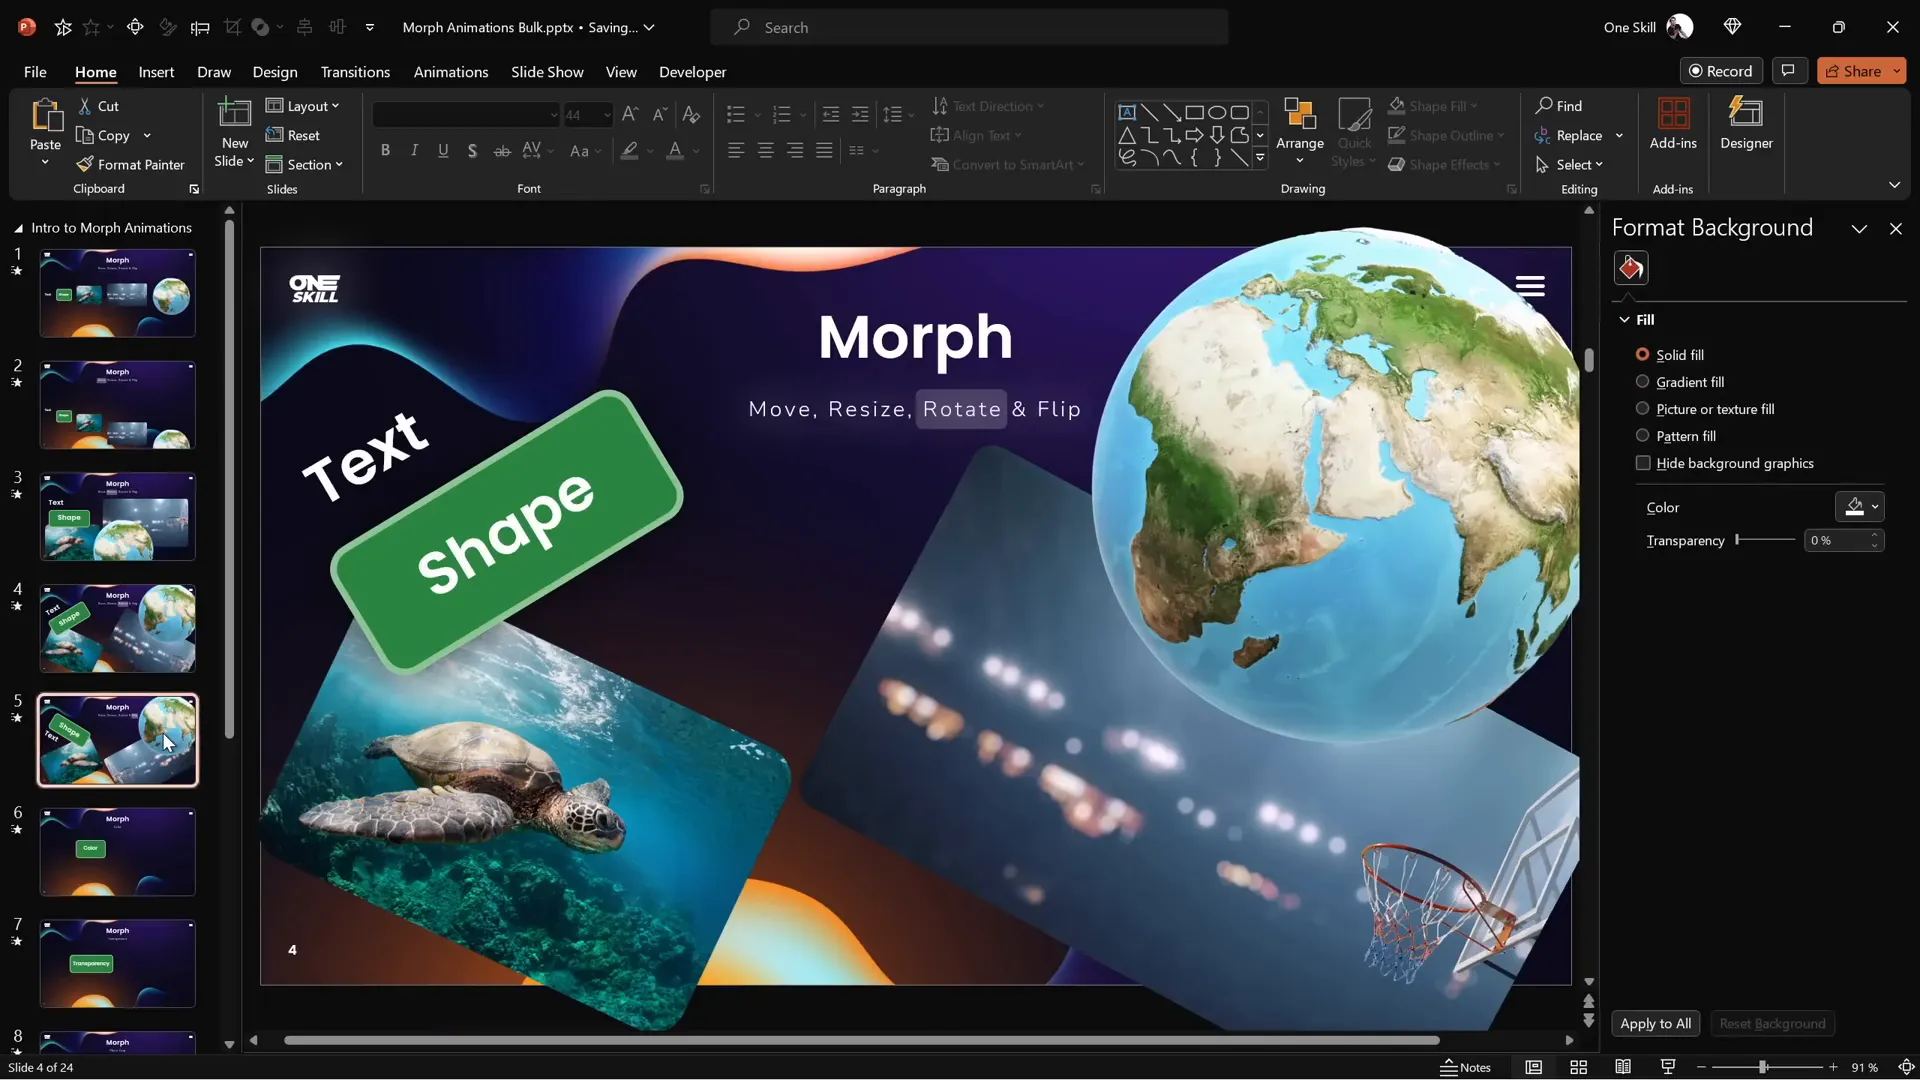
Moving Objects with Morph
Let’s dive into the first fundamental application of Morph: moving objects around the slide.
Imagine you have a slide with various elements—a text box, a shape, a picture, a video, and even a 3D model of planet Earth. By duplicating this slide and shifting all these objects slightly downward on the second slide, then applying the Morph transition, PowerPoint will automatically animate the movement of all these objects simultaneously.
What’s remarkable is that you don’t need to create any motion paths or keyframes manually. Morph does all the heavy lifting, creating a smooth, natural animation.
Try previewing this animation in full-screen mode to see how the objects glide downwards seamlessly. This feature is also reversible—going back to the previous slide plays the animation backward perfectly.
Note on Videos: One limitation to keep in mind is that videos will pause during the transition and only resume playing afterward, even if the video is set to loop and start automatically.
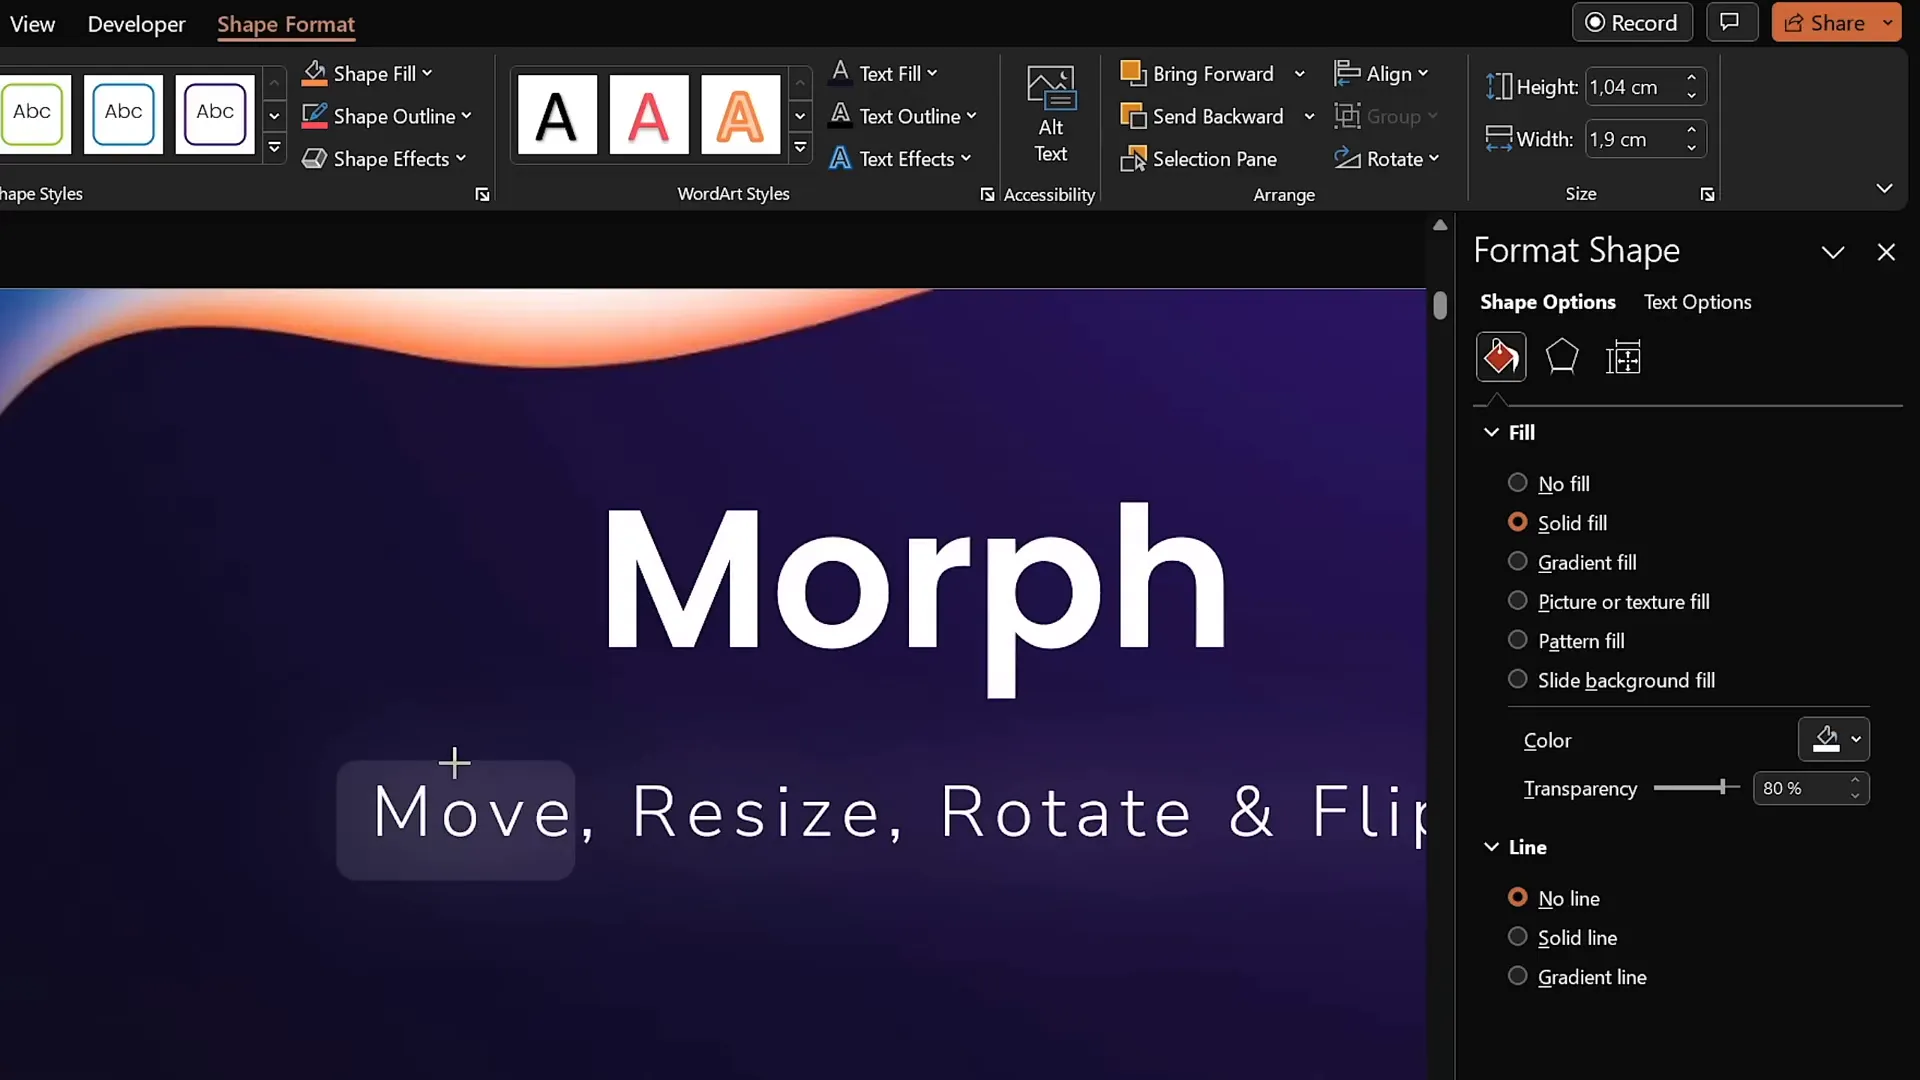
Animating Slide Titles and Highlighting
To add emphasis to specific parts of your slide content, you can create a semi-transparent rounded rectangle as a highlight effect. For example, you can draw a rounded rectangle with a white fill and about 80% transparency, without any outline, and place it over a word or phrase you want to highlight.
By moving this highlight shape across duplicated slides and applying Morph, you get a smooth fade and move animation that draws attention to different parts of your subtitle or text.
However, if an object appears on one slide but is missing on the next, Morph will default to a fade animation for that object. To maintain smooth morphing, ensure the same object exists on both slides.
Resizing Objects Seamlessly
Morph can also animate size changes beautifully. After duplicating a slide, try increasing the font size of a text box, resizing a shape, or enlarging images and 3D models on the second slide. Morph will animate these size changes smoothly, creating an engaging zooming effect.

This resizing capability applies to all types of objects, including text, shapes, photos, videos, and 3D models, allowing for dynamic and visually appealing presentations.
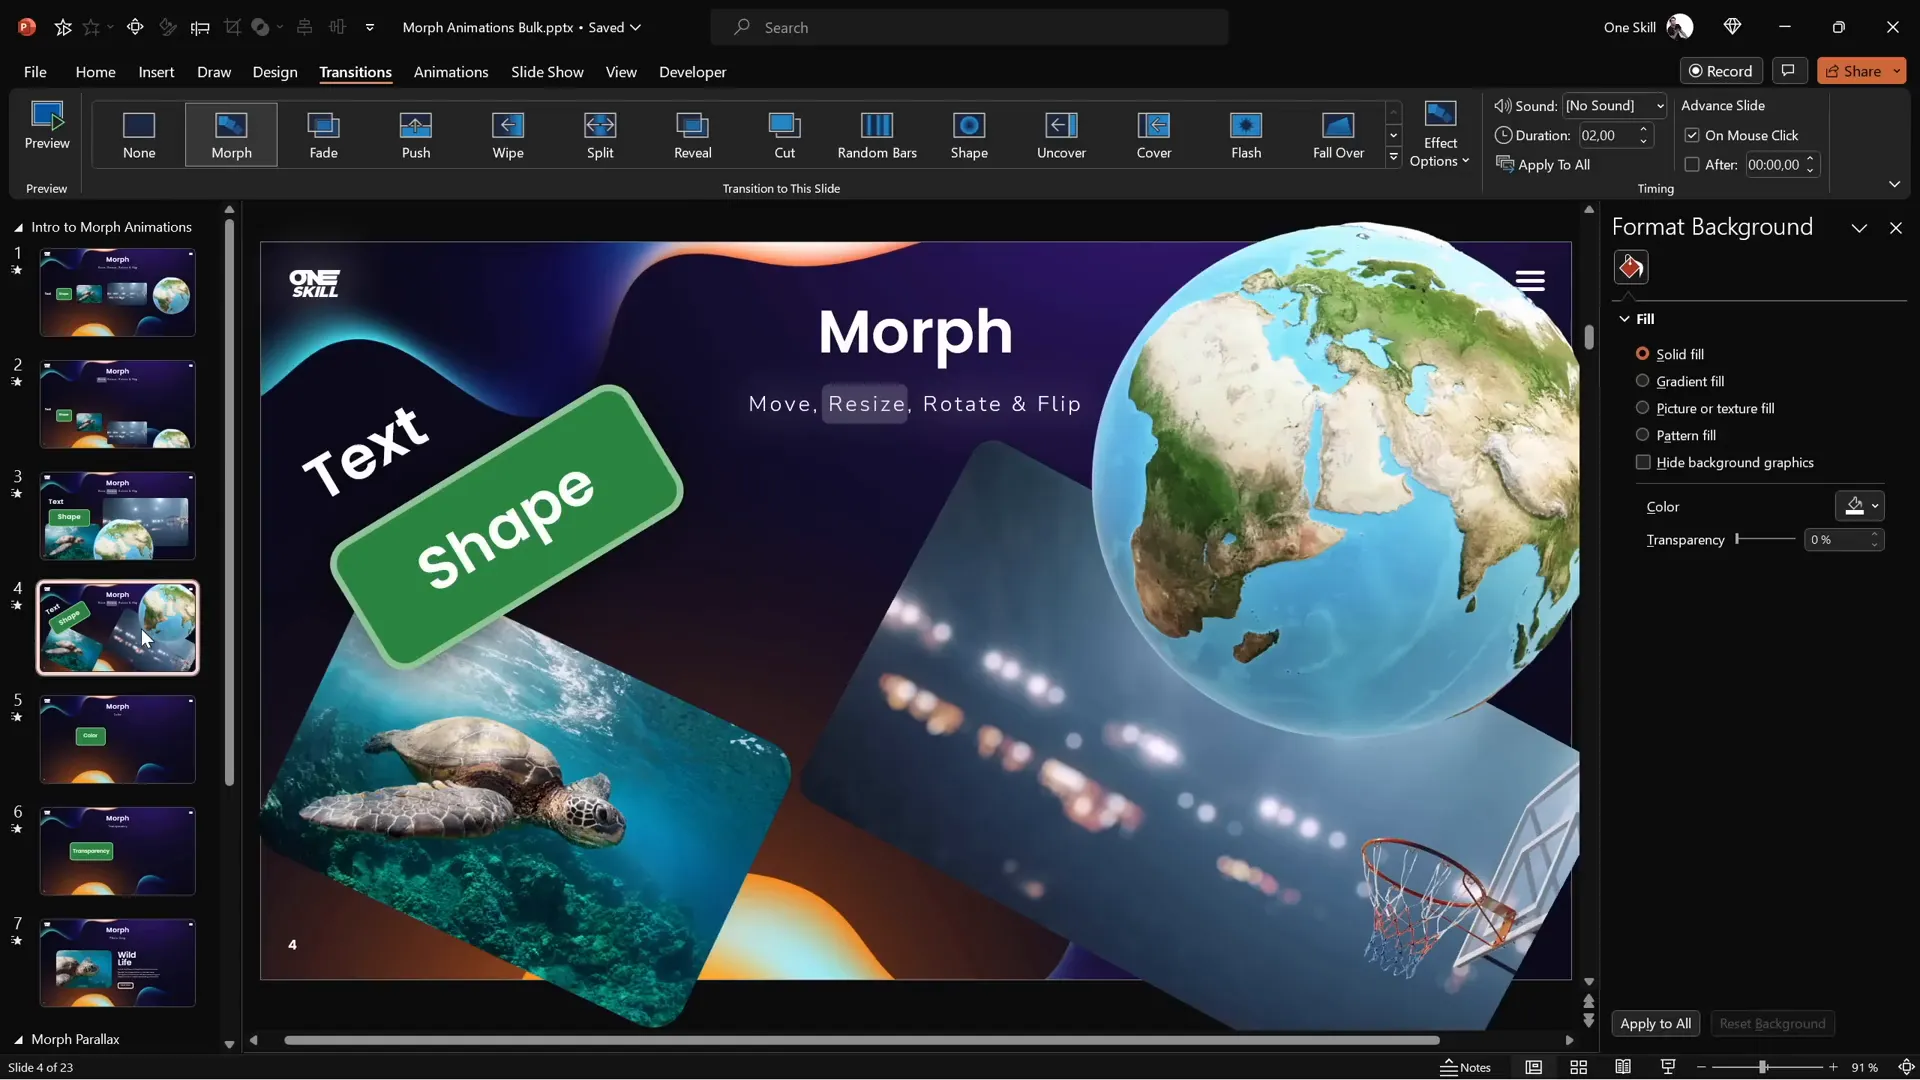
Rotating Objects with Ease
Rotation is another animation property that Morph handles well. Duplicate your slide and rotate objects on the second slide using the standard rotation handles. Morph will animate the rotation, creating smooth spinning or turning effects.
For 3D models, you can use their special rotation handles to rotate them in 3D space, and Morph will animate these rotations seamlessly.
Like with moving and resizing, these animations play both forwards and backwards when navigating between slides.
Flipping Objects and Special Cases
Flipping objects horizontally or vertically is also supported by Morph. After duplicating a slide, select your objects (except for 3D models) and flip them using the rotation options. Morph will animate the flip smoothly.
For 3D models like the planet Earth, you can use their internal rotation handles to flip or rotate them to any desired position, such as showing the North Pole.
One caveat is that text objects don’t flip perfectly; instead, they tend to rotate awkwardly from one side to the other. A useful workaround is to convert your text to a picture (by copying and pasting as an image), which then flips correctly with Morph.
Animating Color Changes
Morph can animate color changes effectively. By duplicating a slide and changing the fill color of a shape and the font color of text on the second slide, Morph smoothly transitions the colors between the two states.
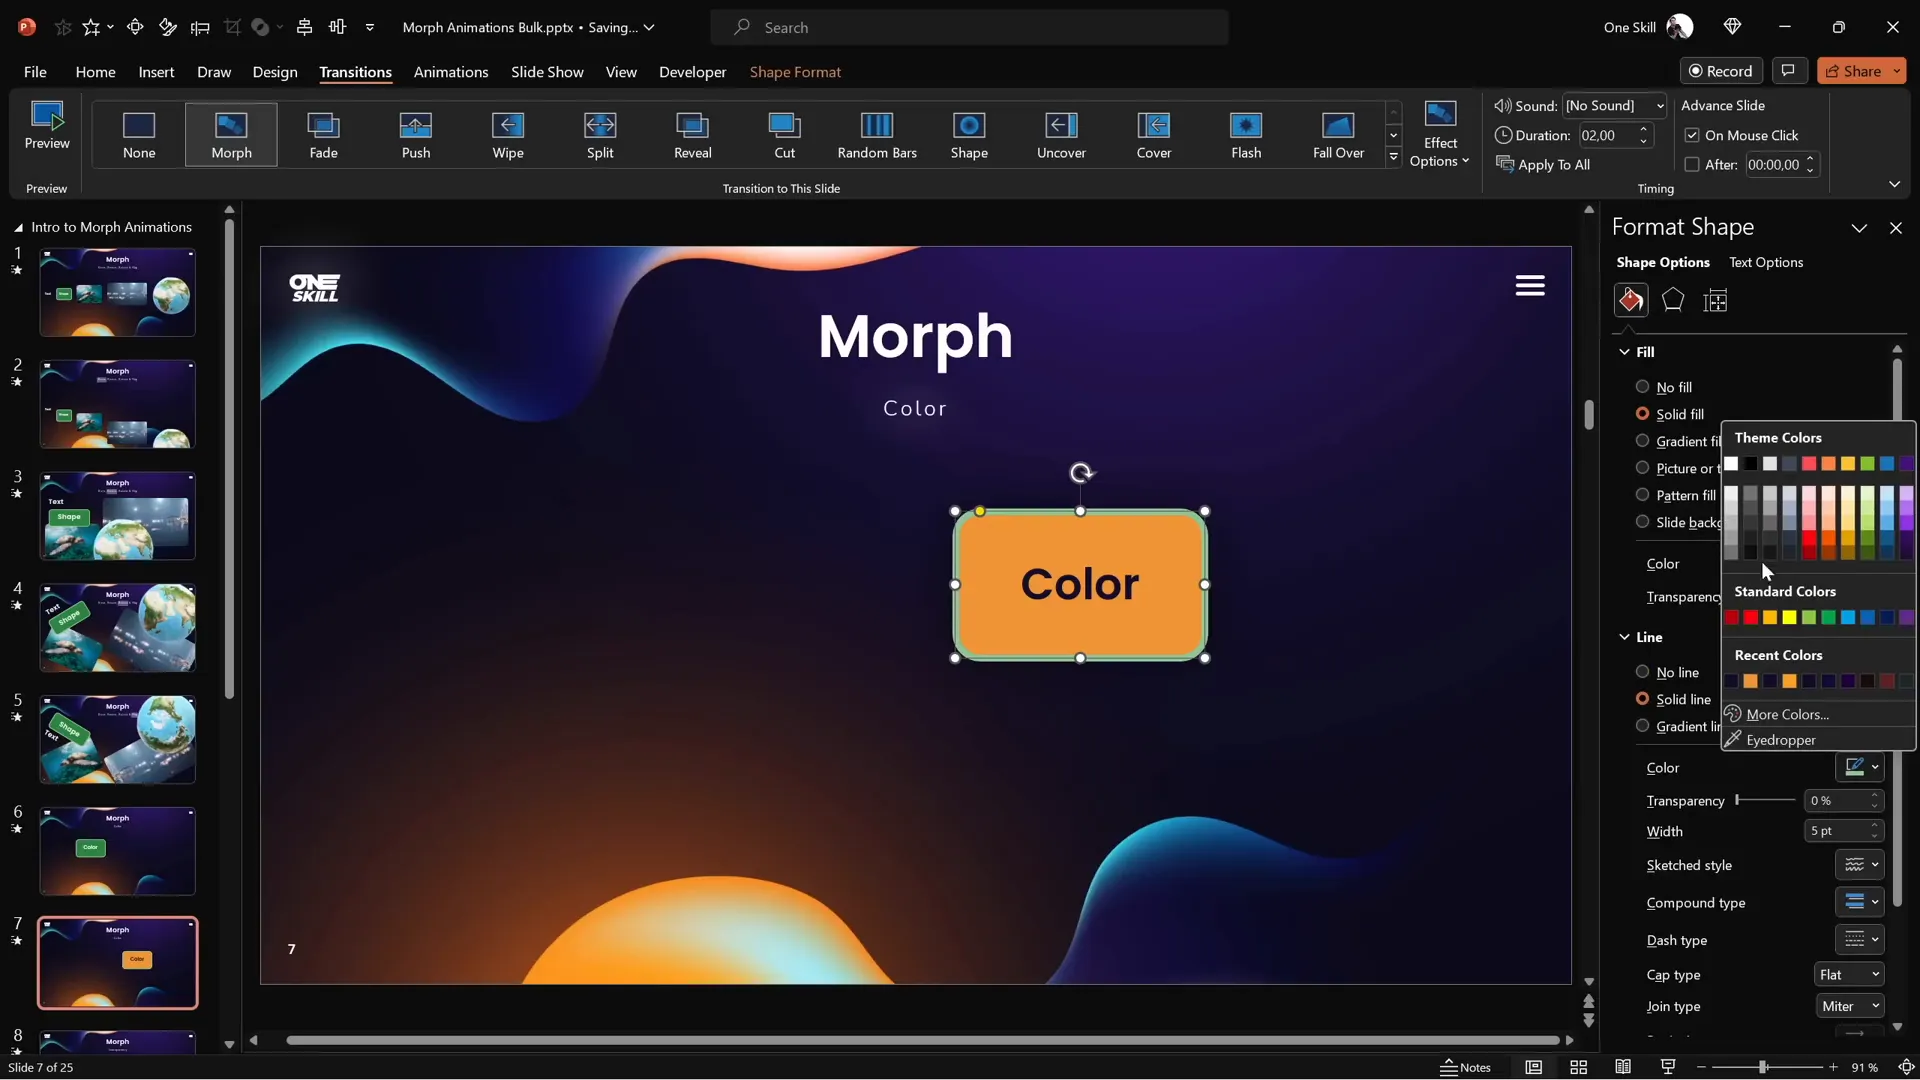
This feature allows you to create visually engaging slides that change mood or highlight specific information without abrupt color shifts.

Using Transparency in Morph Animations
Transparency changes can also be animated with Morph. For instance, you can duplicate a slide and adjust the transparency of a shape’s fill, outline, and text color to 100% on the second slide. Morph will animate the object fading out as it moves, creating elegant fade-and-move effects.
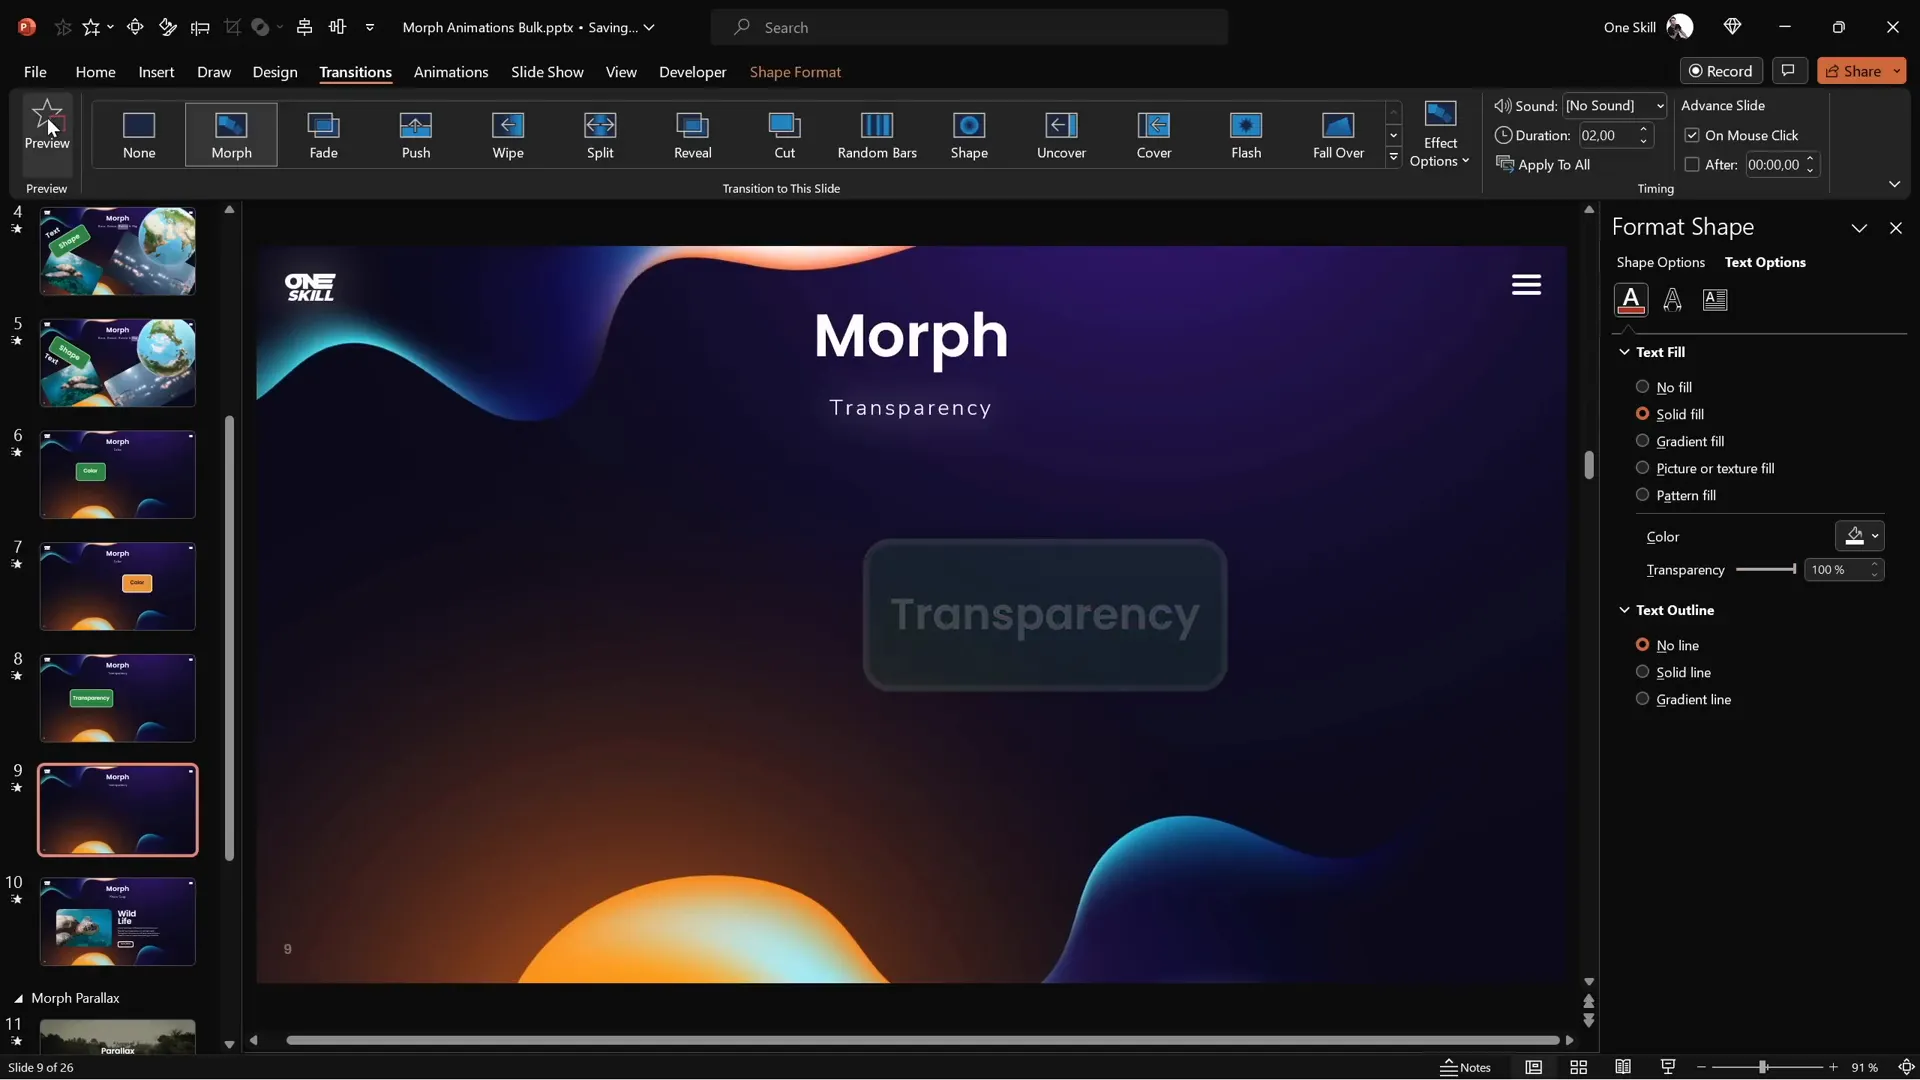
While traditional fade animations can achieve similar effects, using Morph for this purpose integrates the fade seamlessly with movement and other transformations.
Creating Stunning Photo Crop Effects
One of the most powerful and visually impressive uses of Morph is animating photo cropping. PowerPoint offers two types of crop handles:
- Black handles adjust the cropping area size.
- White handles adjust the position of the image inside the cropping area.
By duplicating a slide and adjusting these crop handles on the second slide, you can create animations where photos appear to zoom in, zoom out, or slide into place.

For example, cropping a photo tightly on the second slide creates a zoom-in effect, while moving the photo entirely outside the cropping area on the first slide and inside on the second creates a smooth sliding effect.
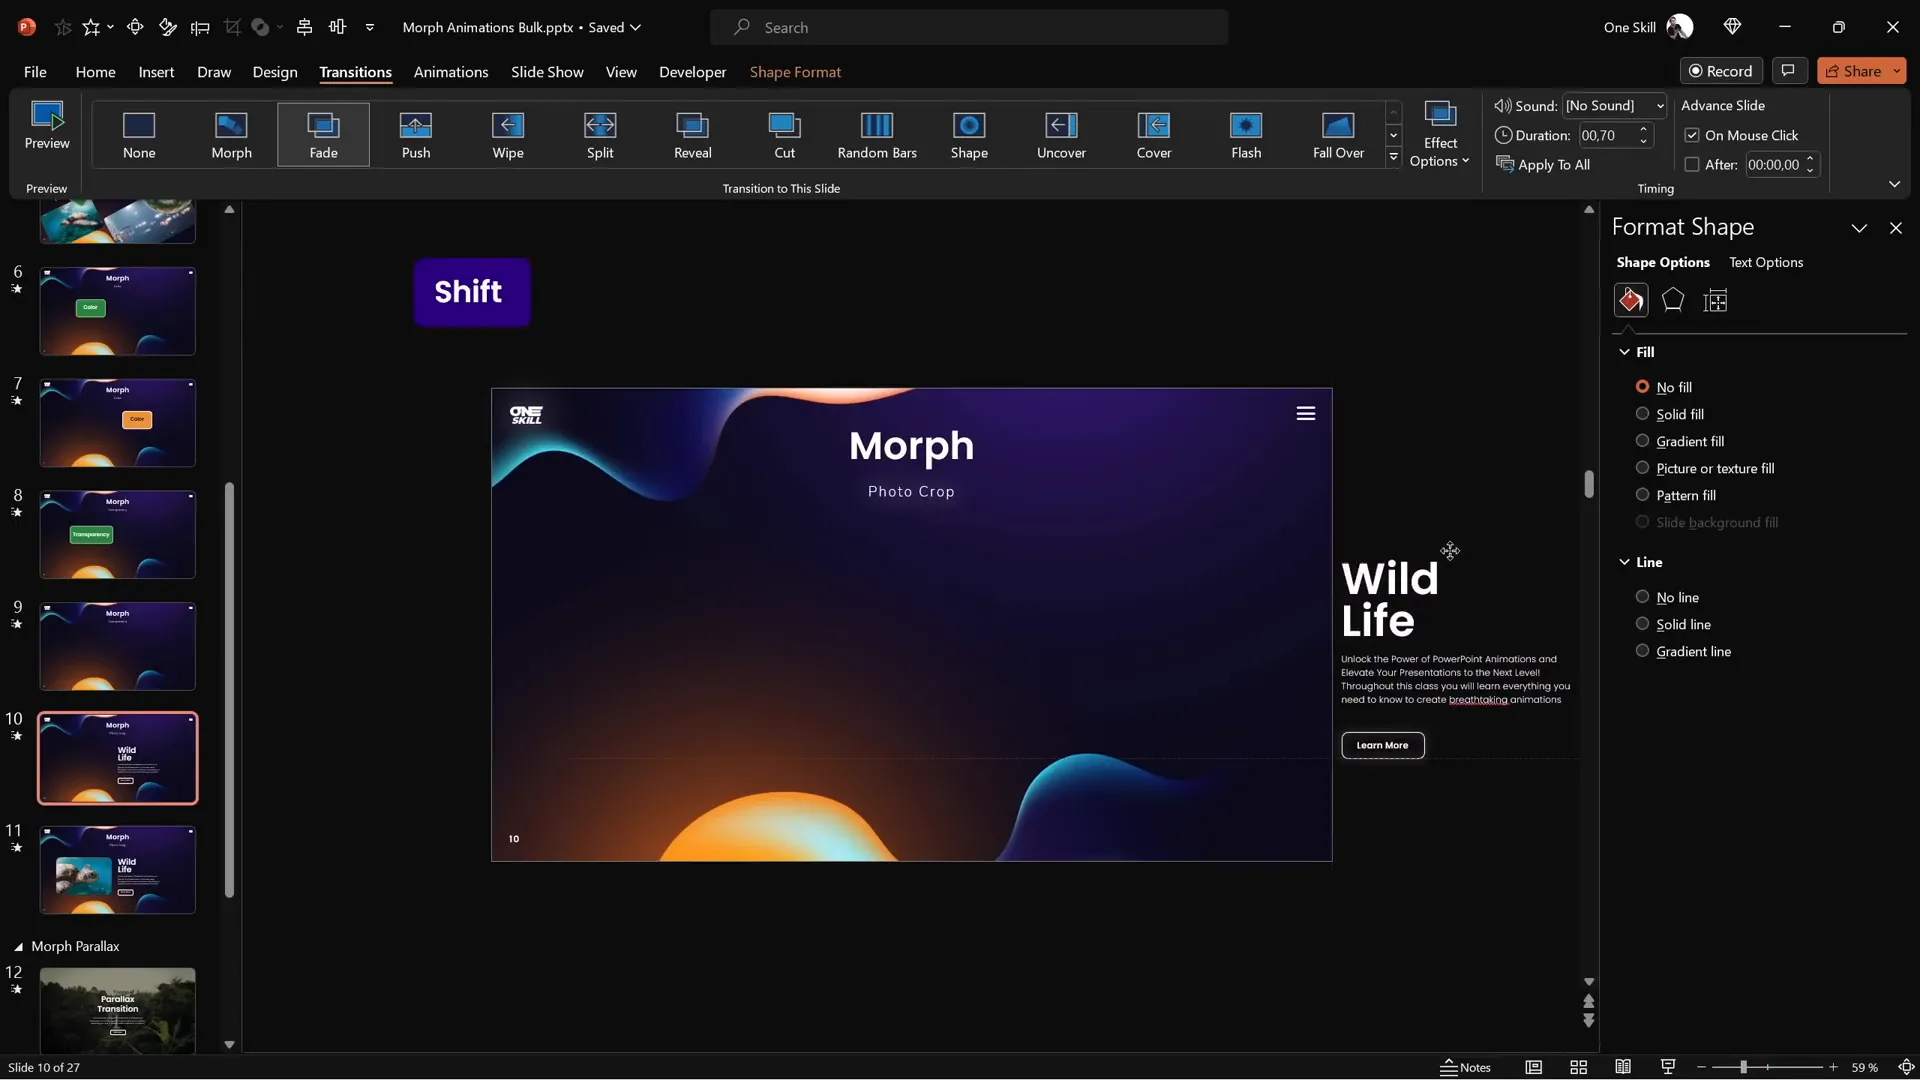
You can combine these photo animations with text sliding in from outside the slide window to create polished, professional-looking animated slides.
Tips to Ensure Morph Transition Works Perfectly
While Morph is powerful, it requires some attention to detail to work flawlessly. Here are crucial tips to keep in mind:
| Issue | Cause | Solution |
|---|---|---|
| Objects fade instead of morphing | Different objects on each slide or different names | Use the same object on both slides and assign the same name starting with double exclamation marks (e.g., !!shape) |
| Photos fade instead of morphing | Different photo objects or names | Rename photos with identical names starting with double exclamation marks (e.g., !!photo) on both slides |
| Text flips awkwardly | Text objects don’t flip natively | Convert text to pictures before flipping |
| Video stops during transition | Video playback limitations | Accept this limitation or avoid video movement during Morph |
Here’s how you rename objects using the Selection Pane:
- Open the Selection Pane (Home tab → Select → Selection Pane).
- Find the object you want to rename.
- Rename it with a name starting with double exclamation marks (e.g.,
!!shape). - Repeat for the corresponding object on the second slide, using the exact same name.
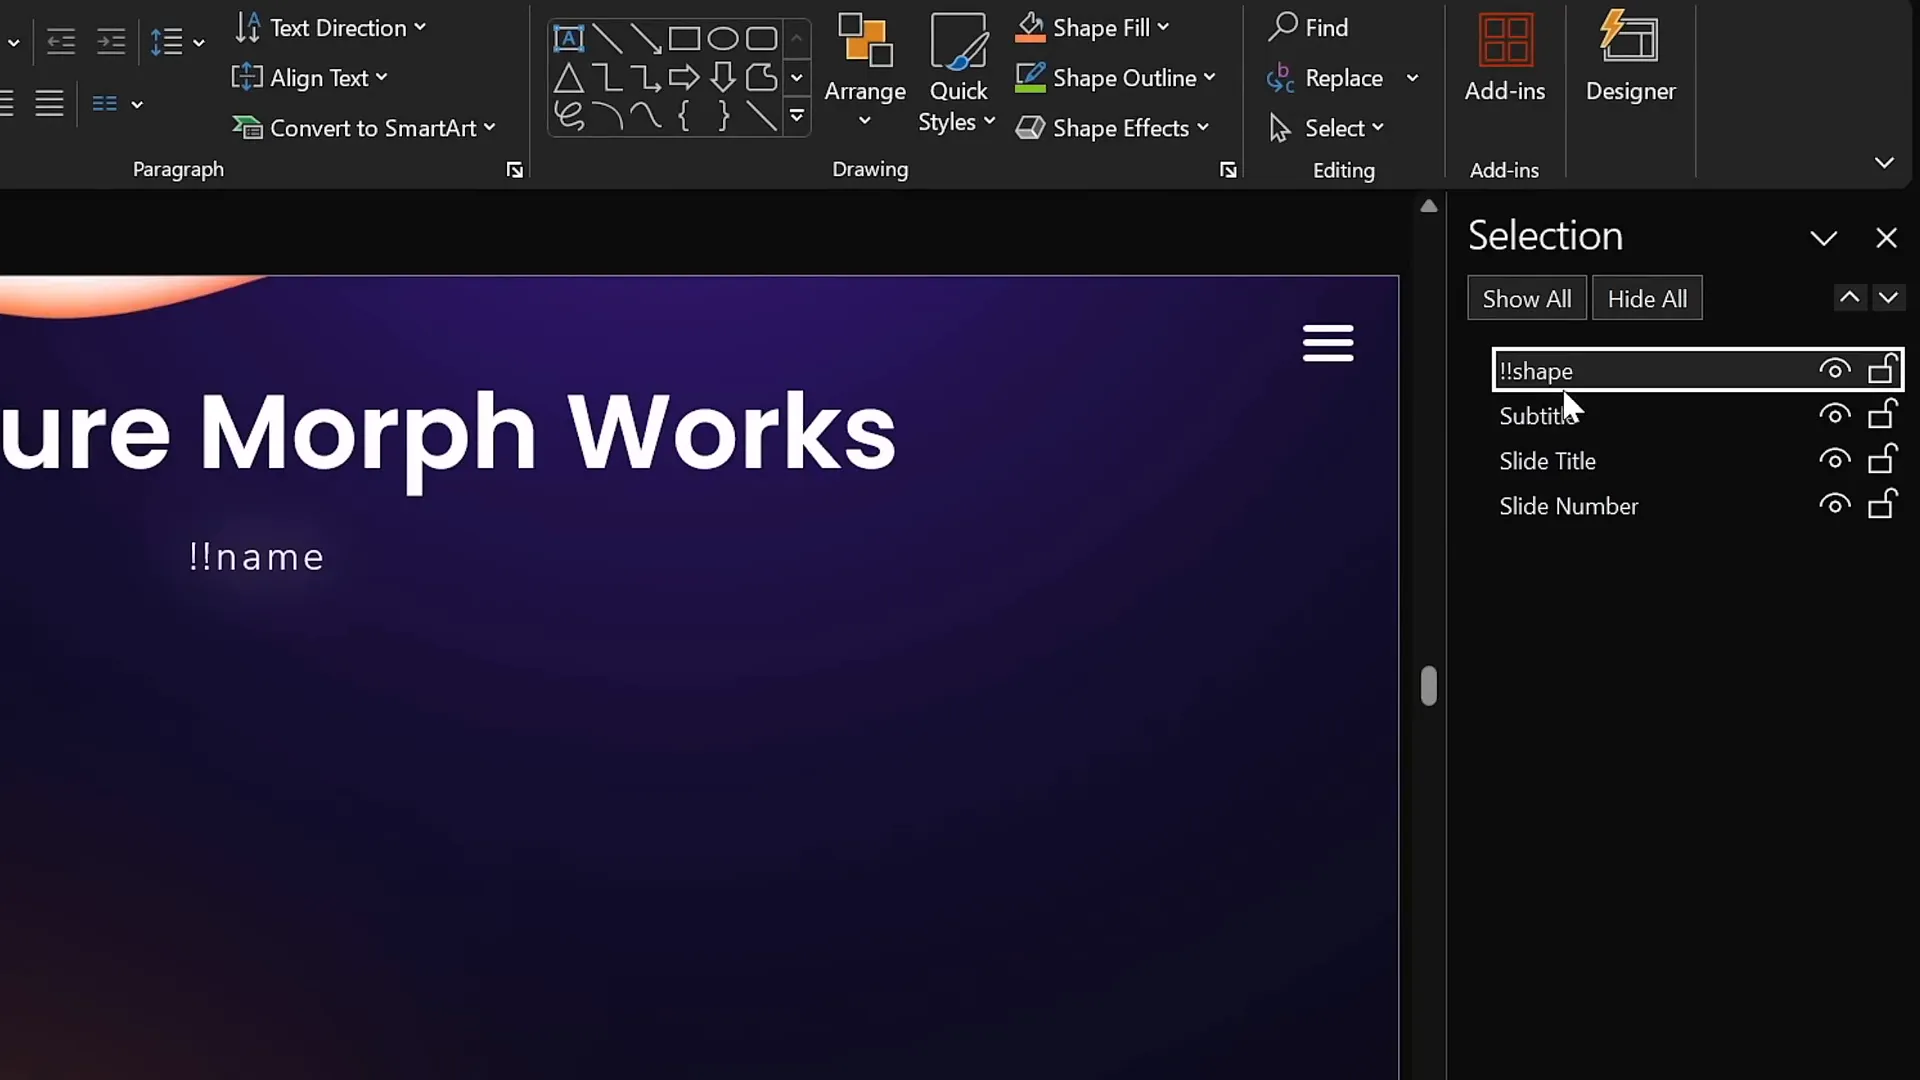
This simple naming trick tells Morph to treat these objects as the same entity and animate the transition accordingly.
Frequently Asked Questions (FAQ)
What versions of PowerPoint support the Morph transition?
Morph transition is available in PowerPoint 2019, Microsoft 365, and later versions. If you have any of these versions, you can use Morph natively within PowerPoint.
Can Morph transition animate multiple objects at the same time?
Yes! Morph can animate multiple objects simultaneously, including text boxes, shapes, pictures, videos, and 3D models, making it extremely versatile for complex slide animations.
Why does my video stop playing during the Morph transition?
Currently, videos pause during Morph transitions and resume playback afterward. This is a known limitation, so plan your video animations accordingly.
How do I morph one shape into another (e.g., rectangle to circle)?
To morph between different shapes, duplicate your slide and replace the shape on the second slide. Then, rename both shapes with the same name starting with double exclamation marks (e.g., !!shape). This instructs Morph to animate the shape transformation.
Can Morph animate photo cropping?
Yes! Morph can animate changes in photo cropping by adjusting the crop handles on duplicated slides. This enables zoom-in, zoom-out, and sliding photo effects without complex animation setups.
How can I flip text objects properly with Morph?
Text objects do not flip perfectly in Morph. To fix this, convert your text into an image by copying it and pasting it as a picture, then apply the flip animation. Morph will then handle the flip smoothly.
Can I control the speed of the Morph transition?
Yes, you can adjust the duration of the Morph transition in the Transitions tab. The default is usually 2 seconds, but you can speed it up or slow it down depending on your animation needs.
Conclusion
The Morph transition is a game-changer for anyone looking to enhance their PowerPoint presentation skills. Its ability to animate movement, resizing, rotation, flipping, color changes, transparency, and photo cropping with minimal effort opens up a world of creative possibilities.
By mastering the techniques covered in this guide—such as duplicating slides, renaming objects for morphing, and using photo cropping—you can create professional-grade animations that engage and impress your audience.
Remember, the key to success with Morph is experimentation and practice. Play around with different object transformations, photo crops, and color changes to discover unique animation styles that suit your presentation’s message and tone.
With these skills, your presentations will not only look stunning but also communicate your ideas clearly and effectively, helping you stand out as a confident and skilled presenter.
Embrace the power of Morph and take your PowerPoint presentations to the next level!

Ready to elevate your PowerPoint animation skills? Explore more tips, tricks, and in-depth tutorials to master Morph and other animation techniques to create captivating presentations.
Check out the full video: PowerPoint Presentation Skills: Master Morph Transition! ✨


