
Welcome to an exciting and detailed guide where you’ll learn how to create a stunning scrolling mosaic video intro using Microsoft PowerPoint 365. This tutorial is brought to you by One Skill PowerPoint, who recently celebrated an incredible milestone of 500,000 subscribers on the OneScale PowerPoint channel. Their dedication to crafting high-quality PowerPoint tutorials shines through in this comprehensive walkthrough, designed to empower you to make professional-looking video intros right inside PowerPoint.
Whether you’re a content creator, presenter, or PowerPoint enthusiast, this step-by-step article will take you through the entire process—from creating image placeholders to animating mosaics with smooth scrolling effects, and finishing with a polished logo reveal and handwriting animation. Plus, you’ll find handy tips and tricks to streamline your workflow and elevate your presentation game.
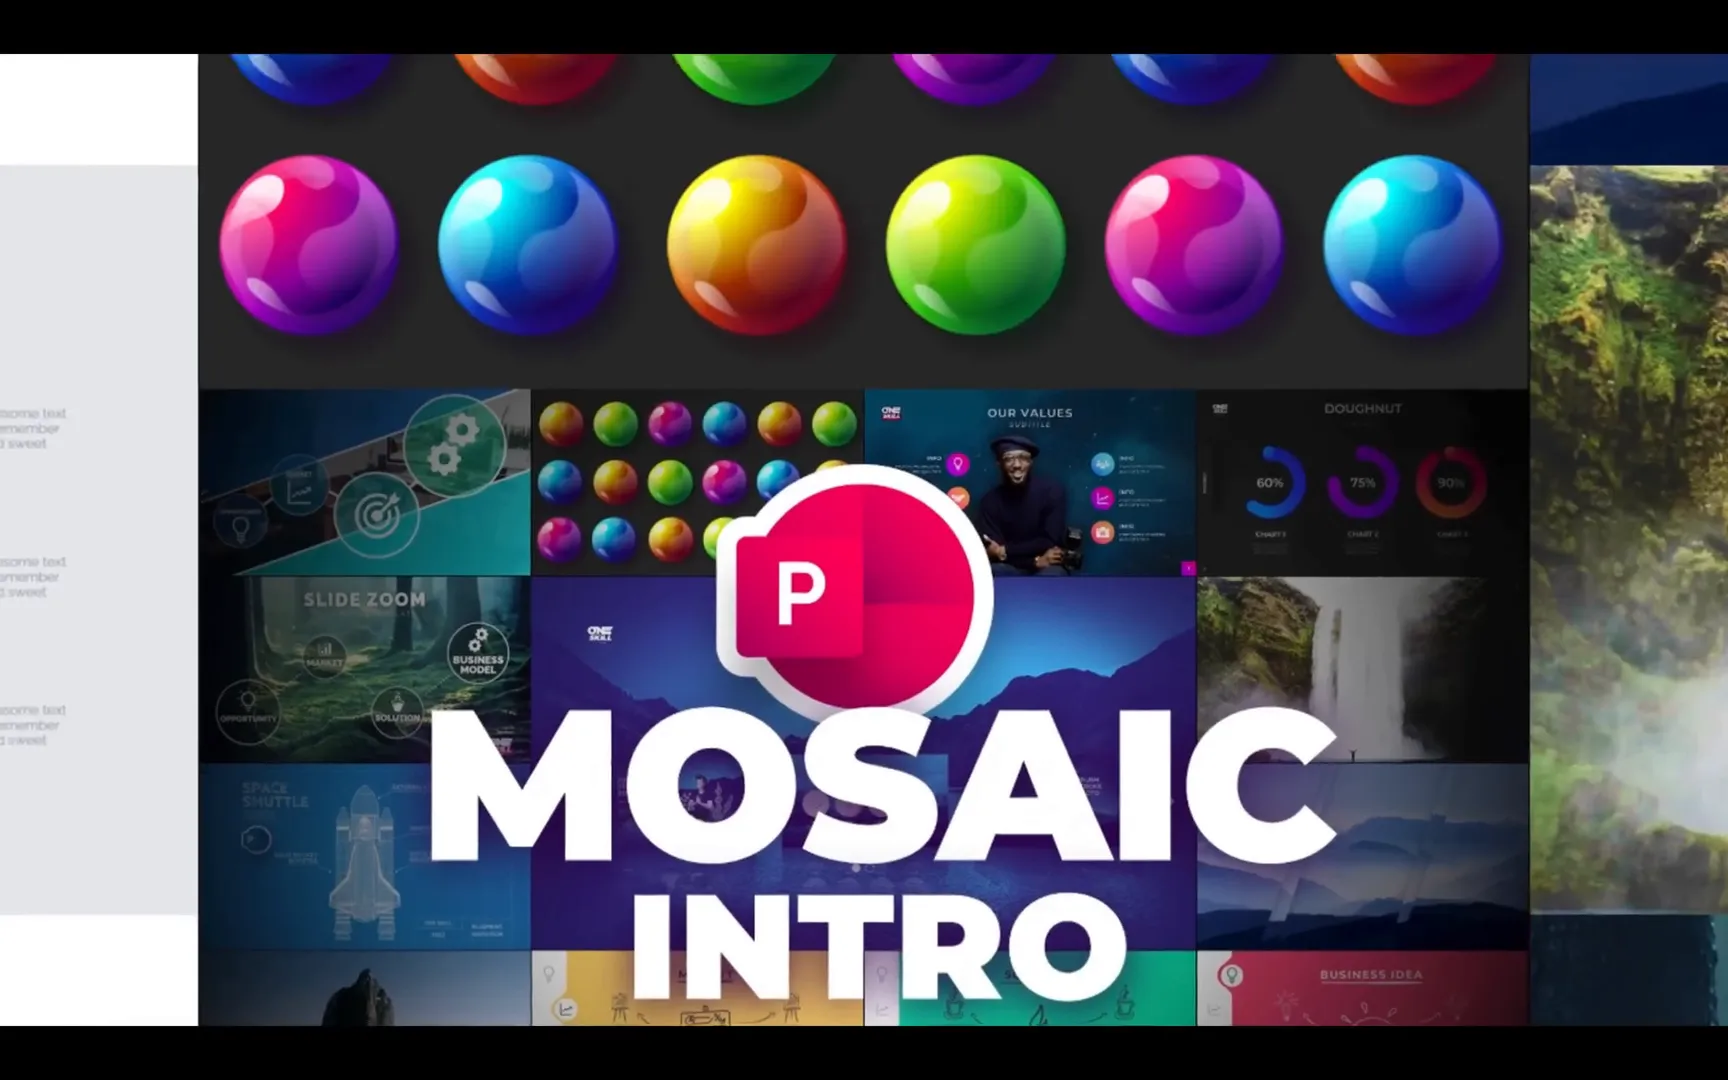
Table of Contents
- Introduction to the Mosaic Video Intro
- Step 1: Setting Up Your PowerPoint Workspace
- Step 2: Building the Mosaic Grid
- Step 3: Understanding the Scrolling Mosaic Animation
- Step 4: Filling the Mosaic with Images
- Step 5: Adding the Vertical Mosaic Scroll with Images
- Step 6: Zooming Into a Specific Mosaic Slide
- Step 7: Creating a Horizontal Scrolling Mosaic Animation
- Step 8: Adding a Logo Reveal and Handwriting Animation
- Step 9: Automating Slide Transitions
- Final Thoughts
- Frequently Asked Questions (FAQ)
- Additional Resources
Introduction to the Mosaic Video Intro
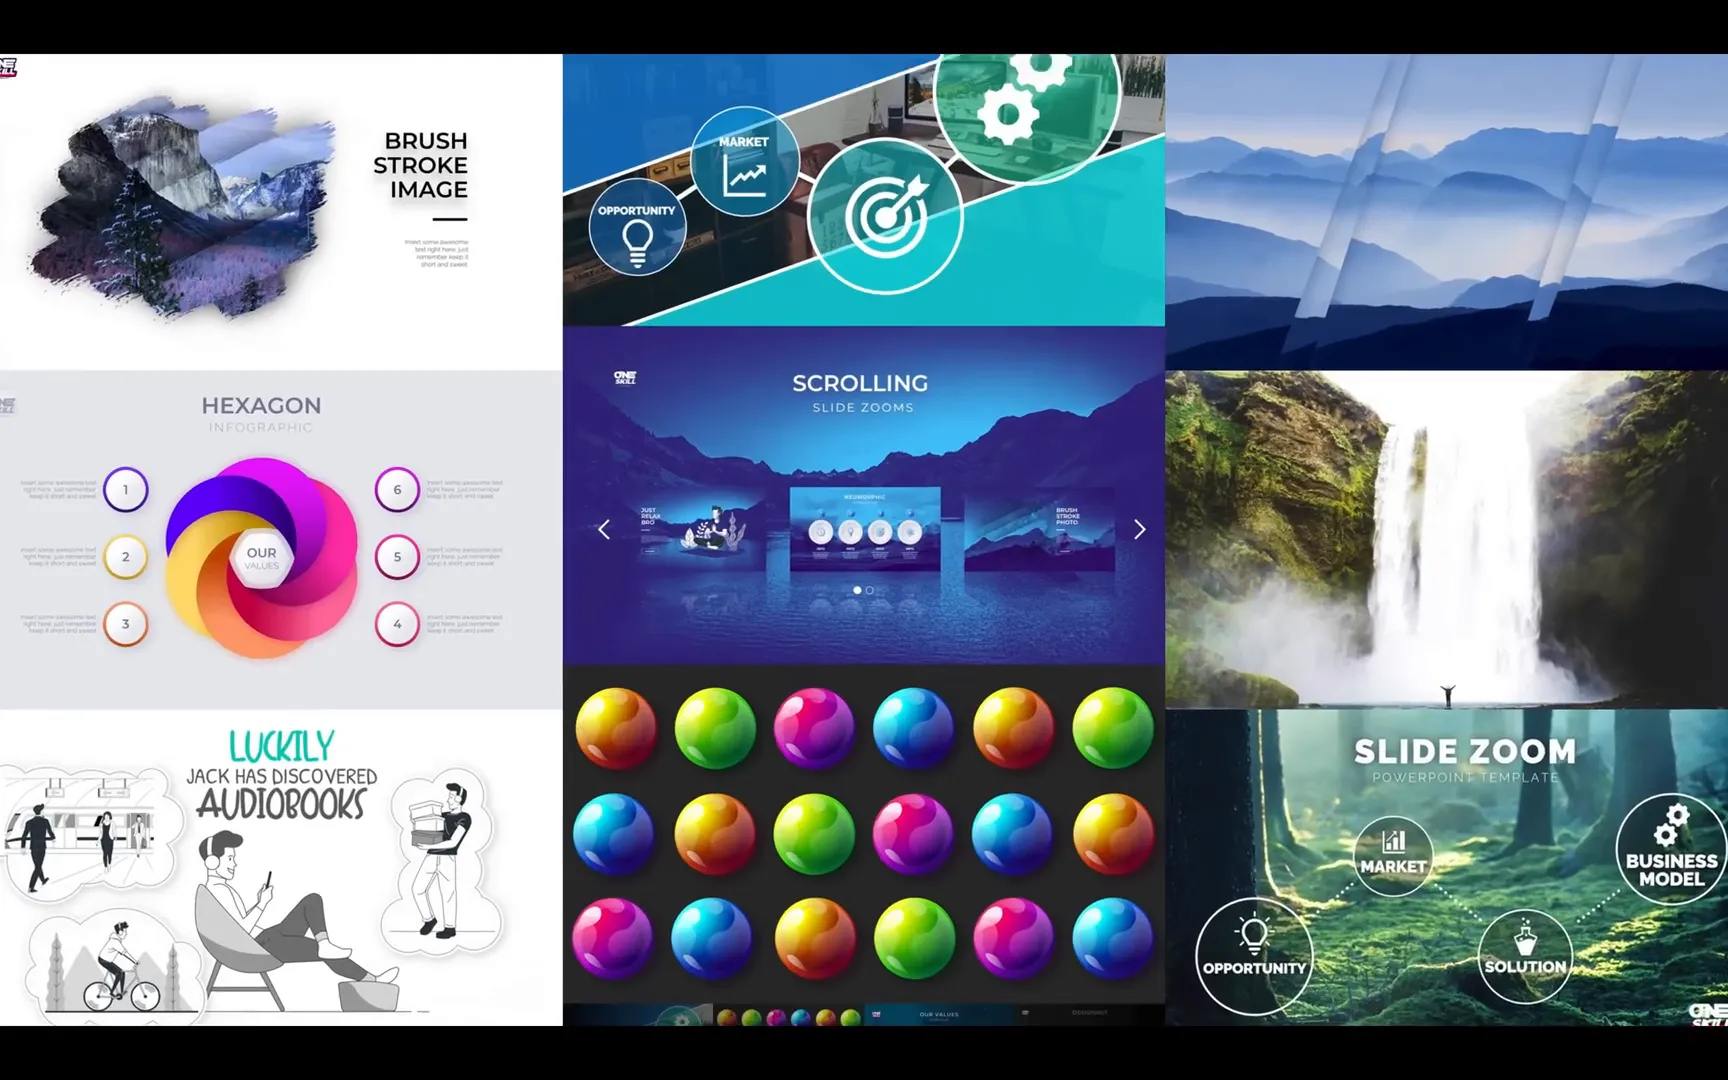
The mosaic video intro is a visually dynamic animation where multiple images or screenshots are arranged in a grid-like pattern, creating a mosaic effect that scrolls and zooms to reveal a cohesive video intro scene. This effect leverages PowerPoint’s Morph transition, which smoothly animates between slides by transforming objects’ positions, sizes, and other properties.
In this guide, you’ll learn how to:
- Create image placeholders that serve as a grid for your photos.
- Use Morph transitions to animate a zooming and scrolling mosaic effect.
- Fill placeholders with images for a visually compelling intro.
- Add vertical and horizontal scrolling animations to your mosaic.
- Create a polished final scene featuring a logo reveal and handwriting animation.
Let’s dive in!
Step 1: Setting Up Your PowerPoint Workspace
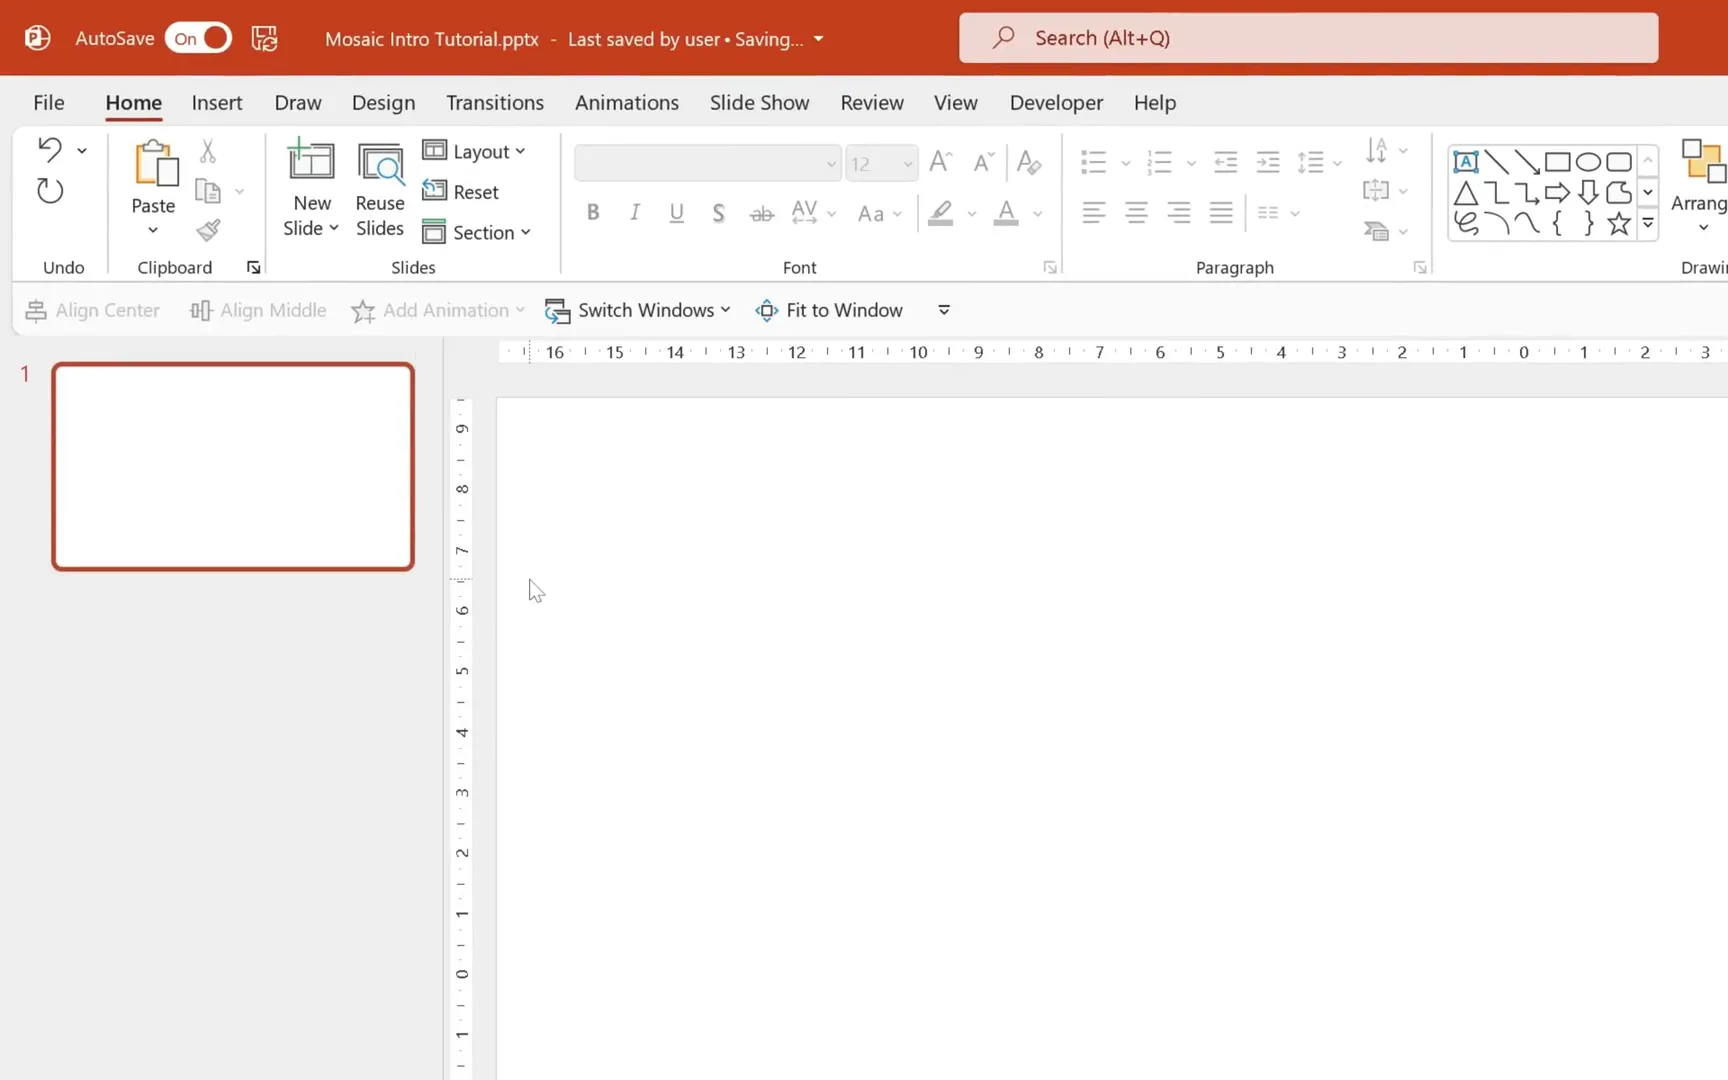
Begin by opening a fresh, blank presentation in PowerPoint 365. You’ll start with the default slide layout, but for this project, simplicity is key, so switch the layout to a blank slide. This gives you a clean canvas with no distractions.
Next, it’s time to insert your first picture which will act as the base for your mosaic placeholders. Go to the Insert tab, select Pictures, and then Stock Images if you’re using Office 365. Search for any image you like—for example, “mountains”—and insert a beautiful photo that will set the tone for your intro.
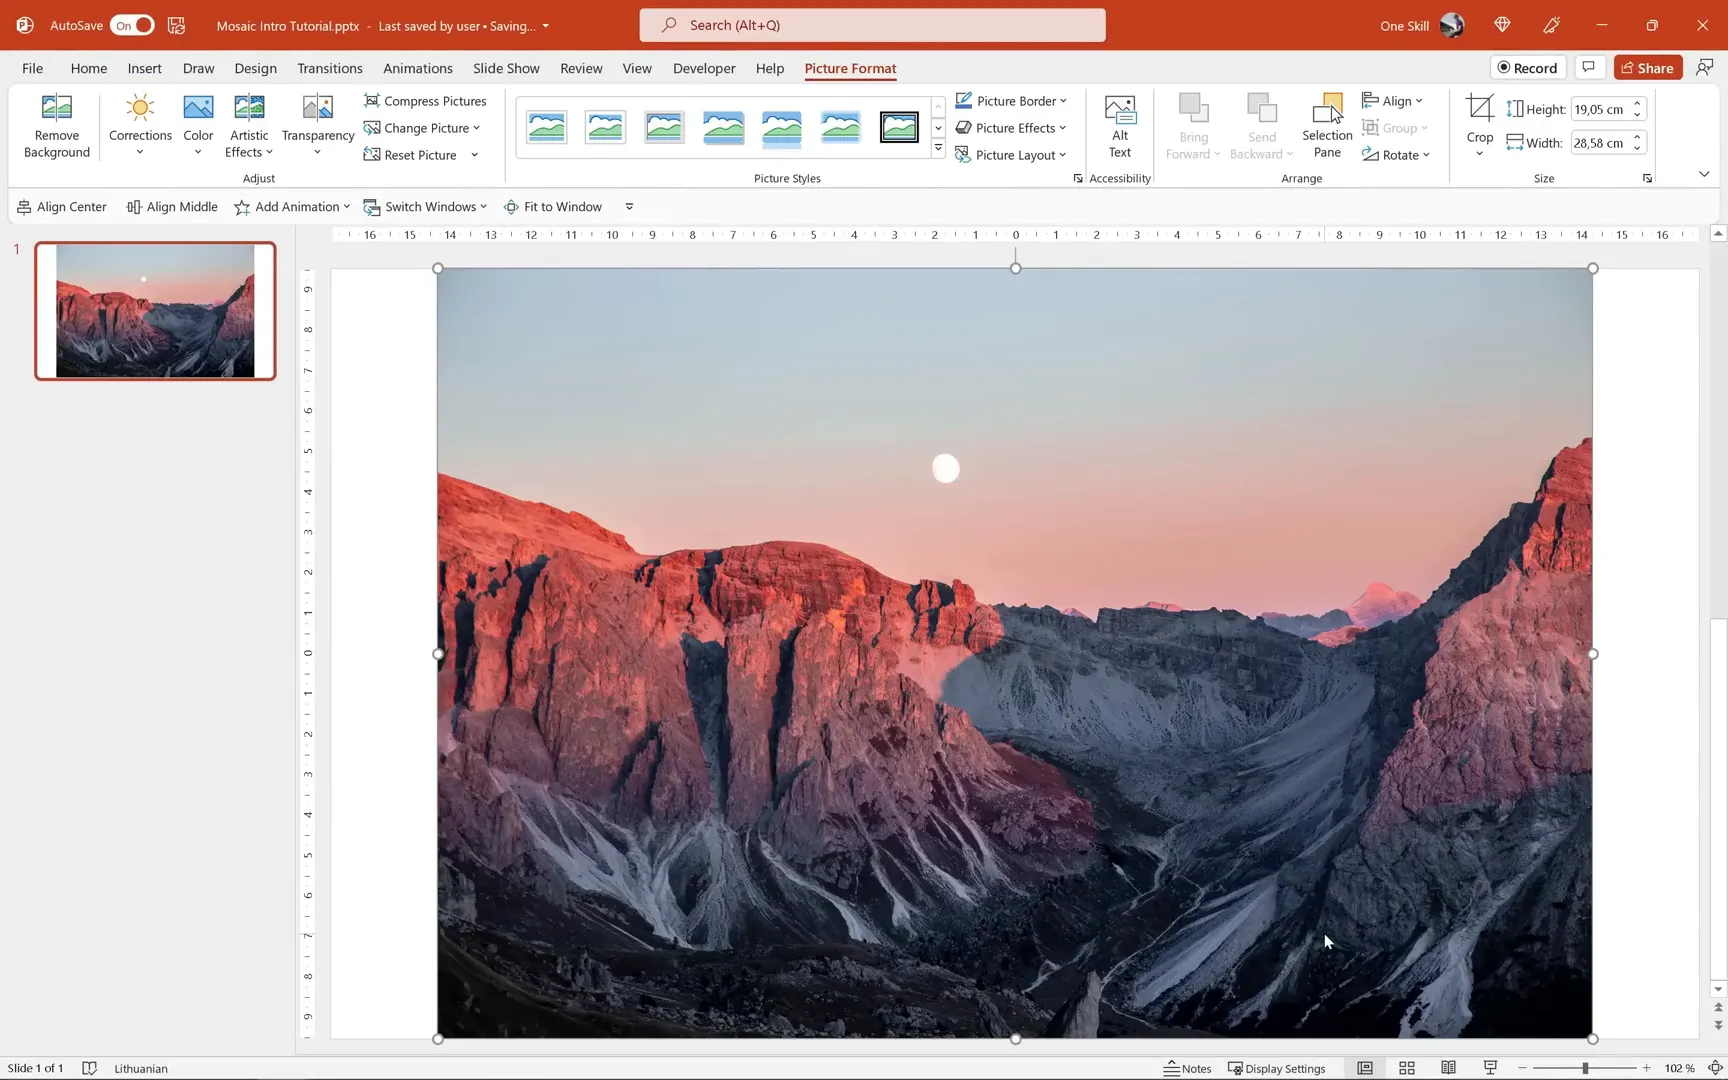
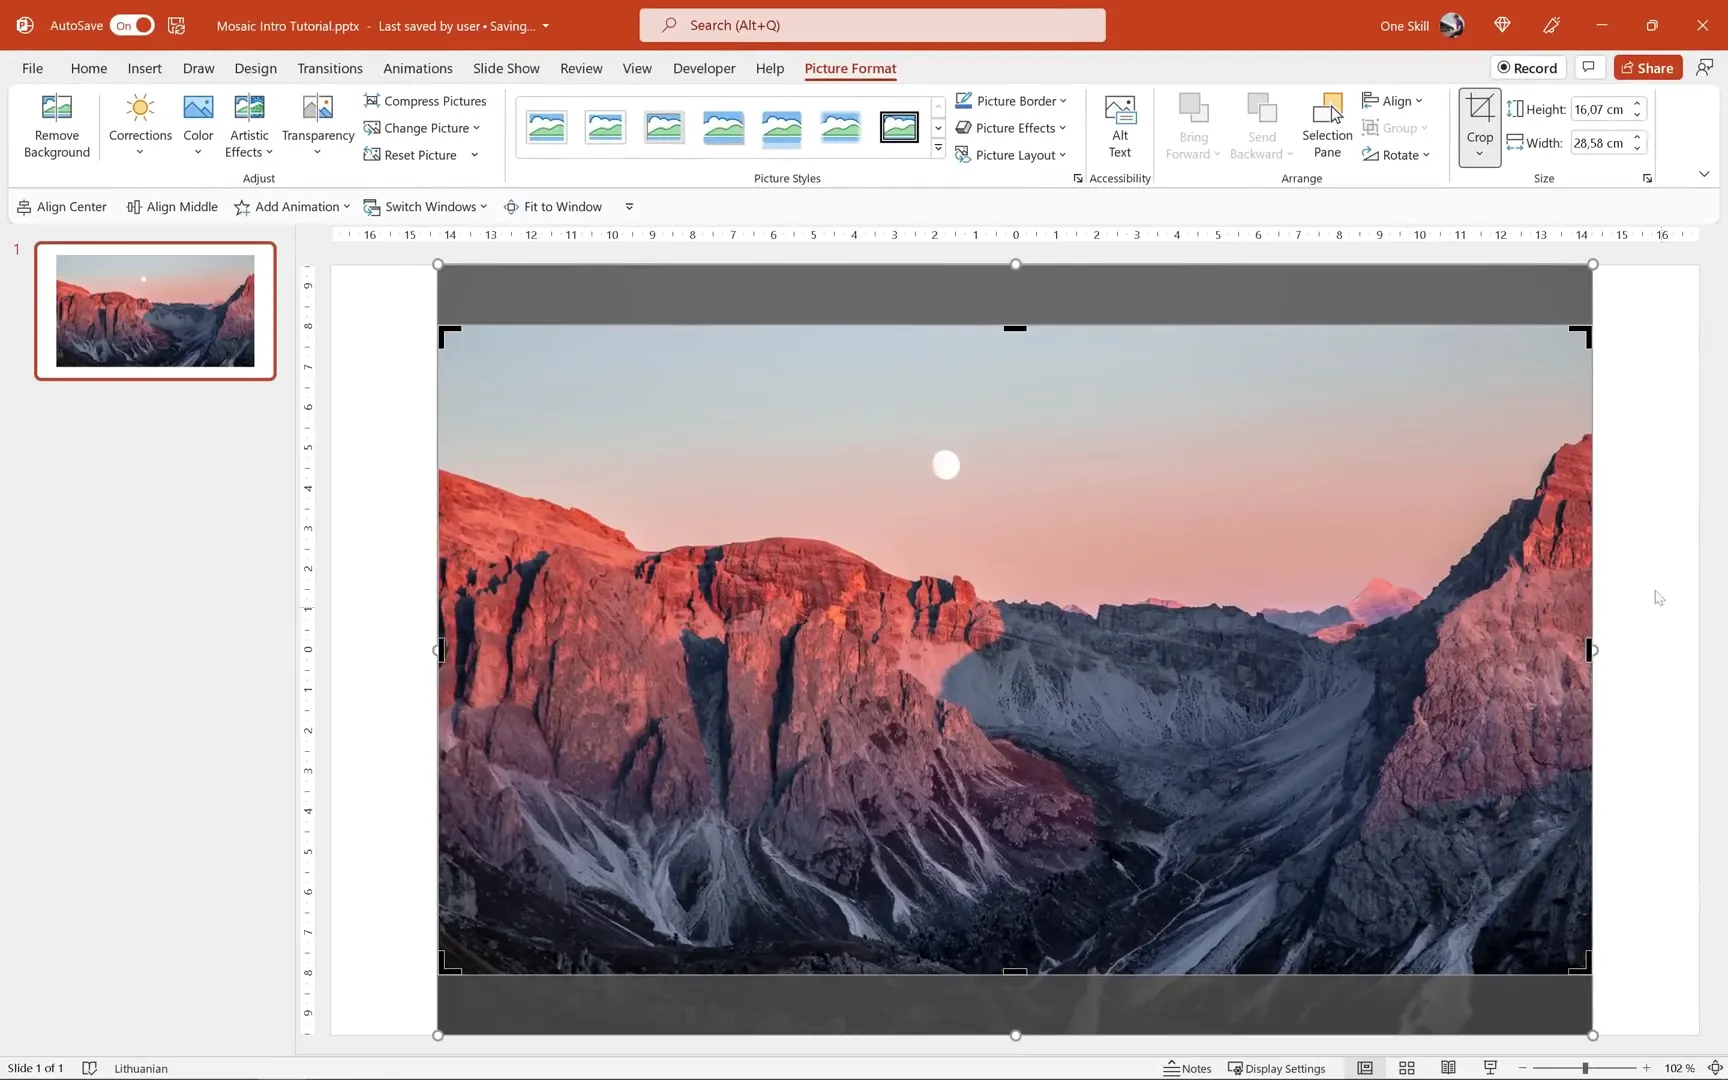
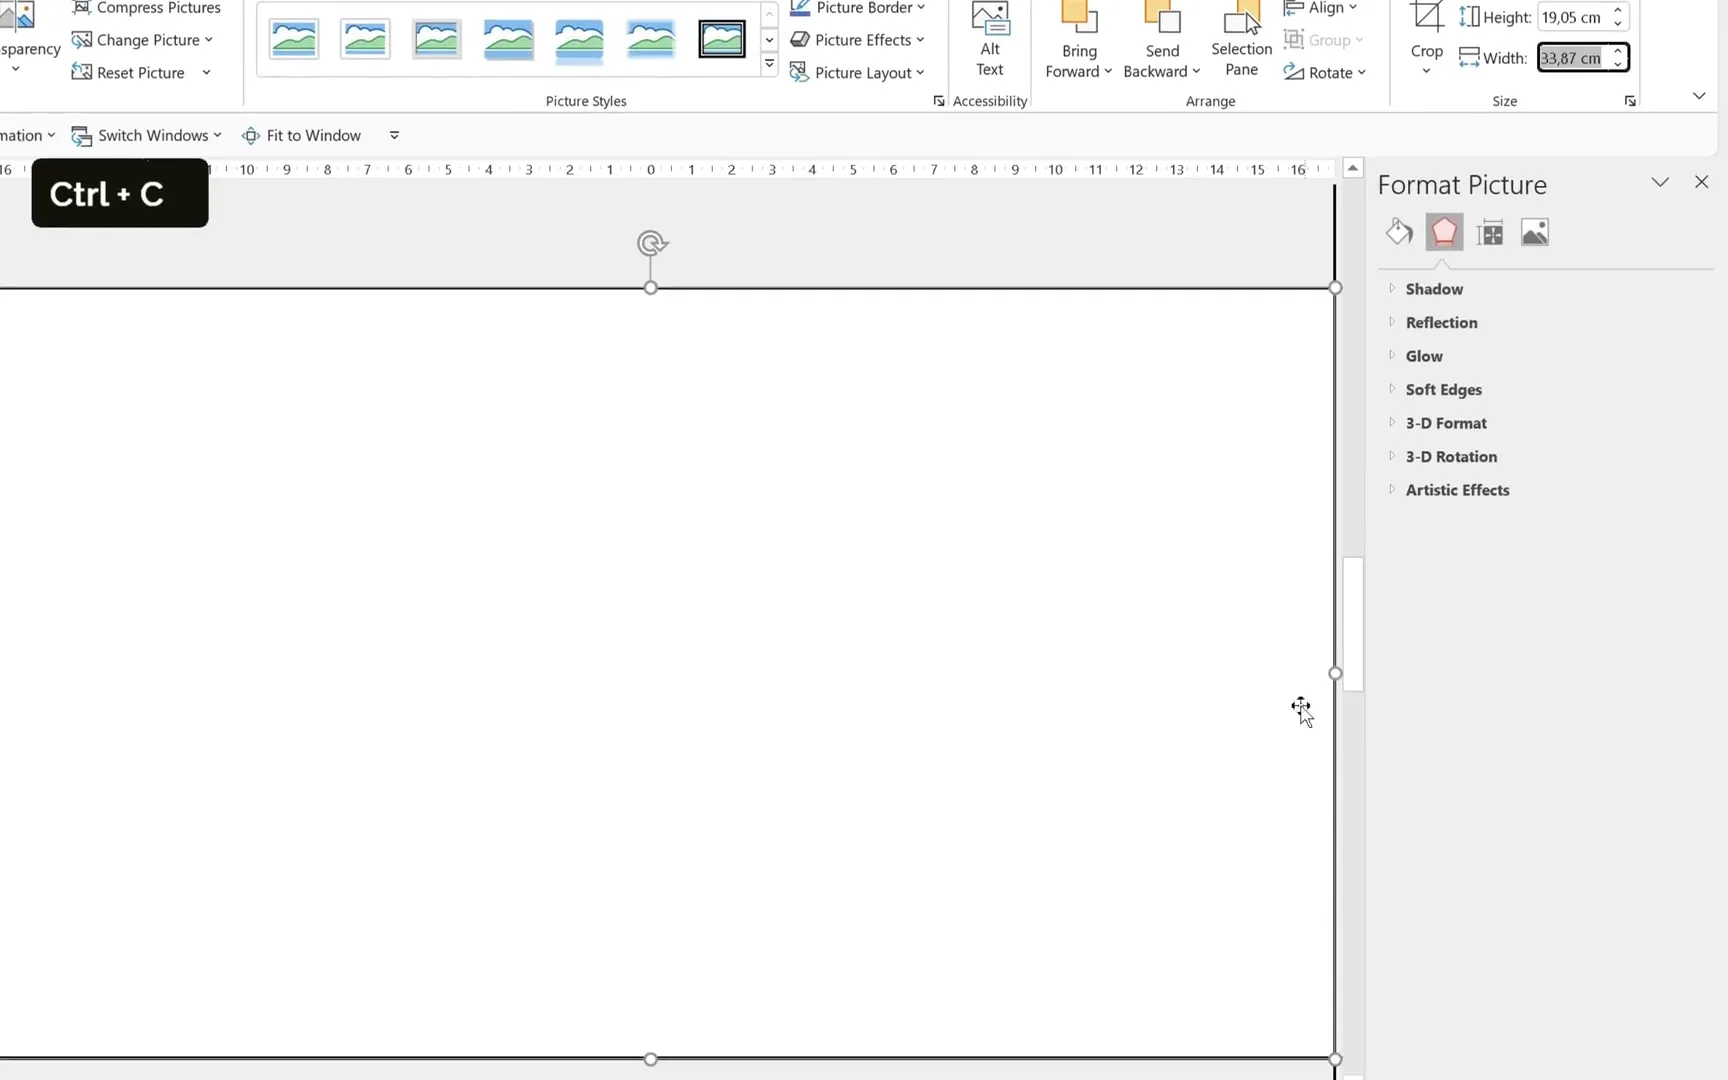
The inserted image might not cover the entire slide initially, leaving gaps on the sides. To fix this, select the image, go to Crop, then Aspect Ratio, and choose 16:9 to match the slide dimensions. After cropping, resize the image by holding down the Ctrl and Shift keys while dragging the corner, so it fully covers the slide.
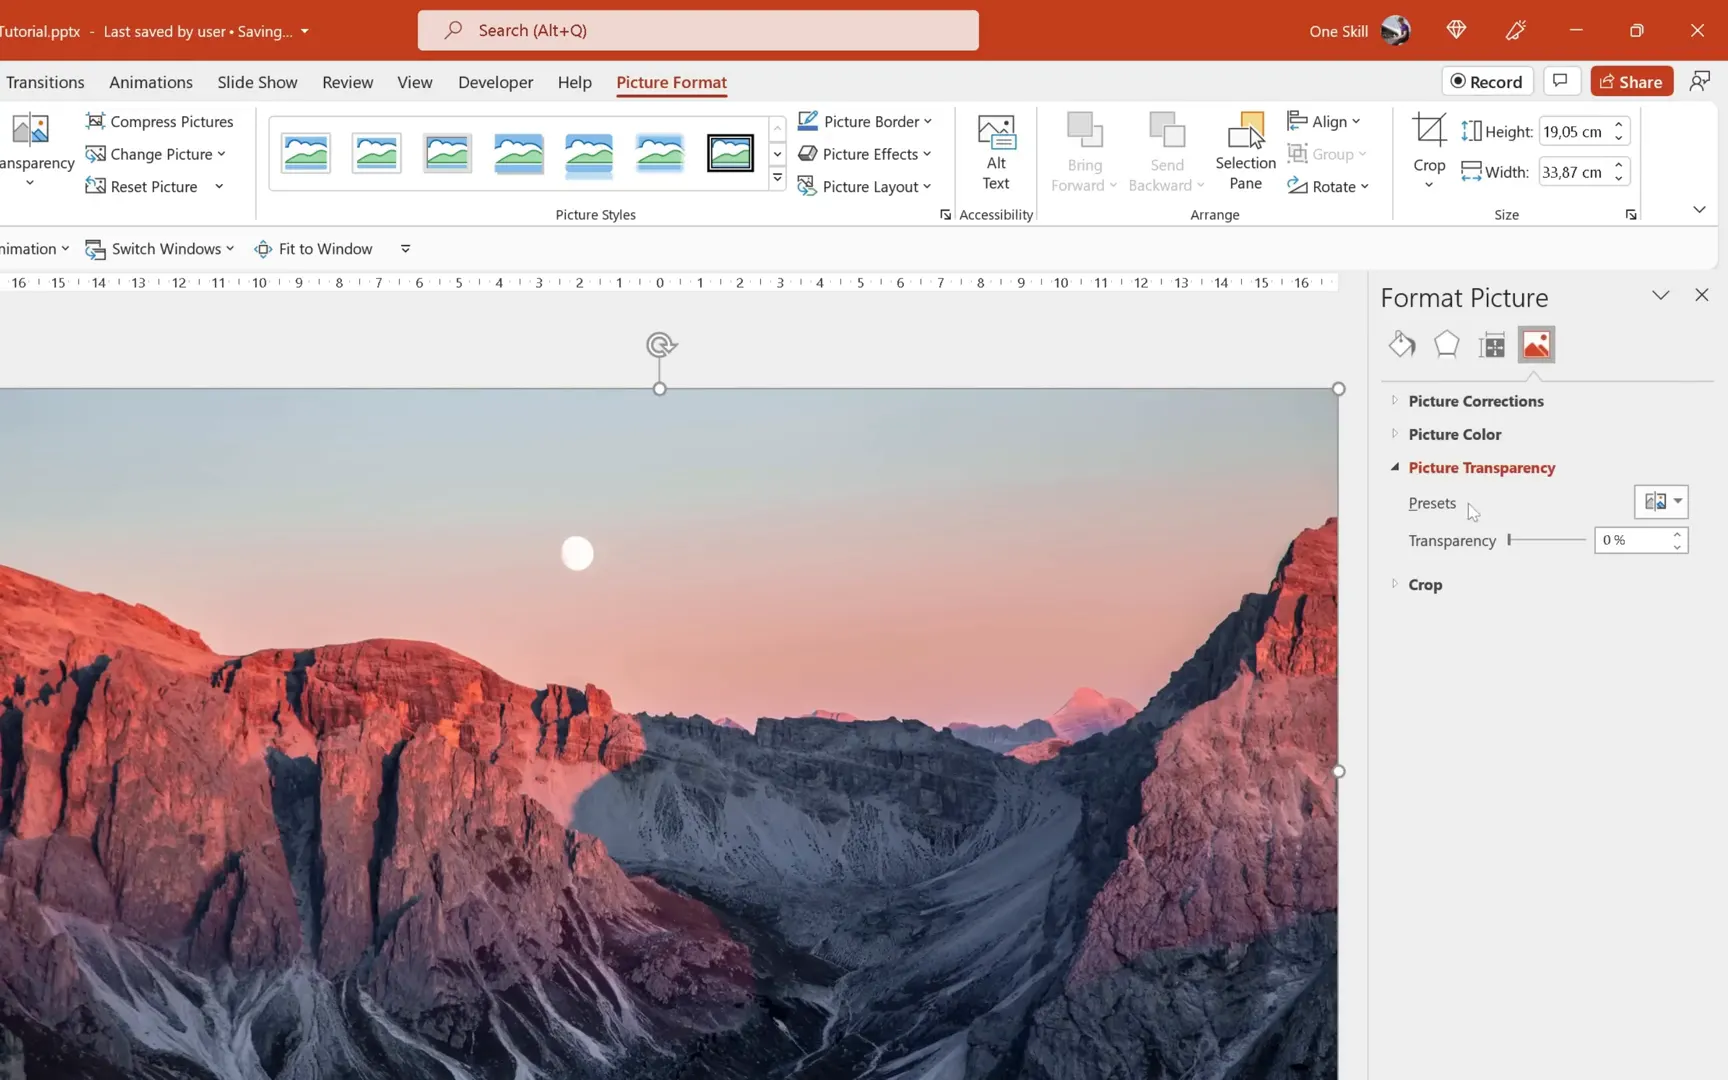
To aid in later steps, make this image completely transparent. Head over to the Picture Transparency options and slide the transparency slider all the way to 100%. This creates an invisible placeholder that still retains its shape on the slide.
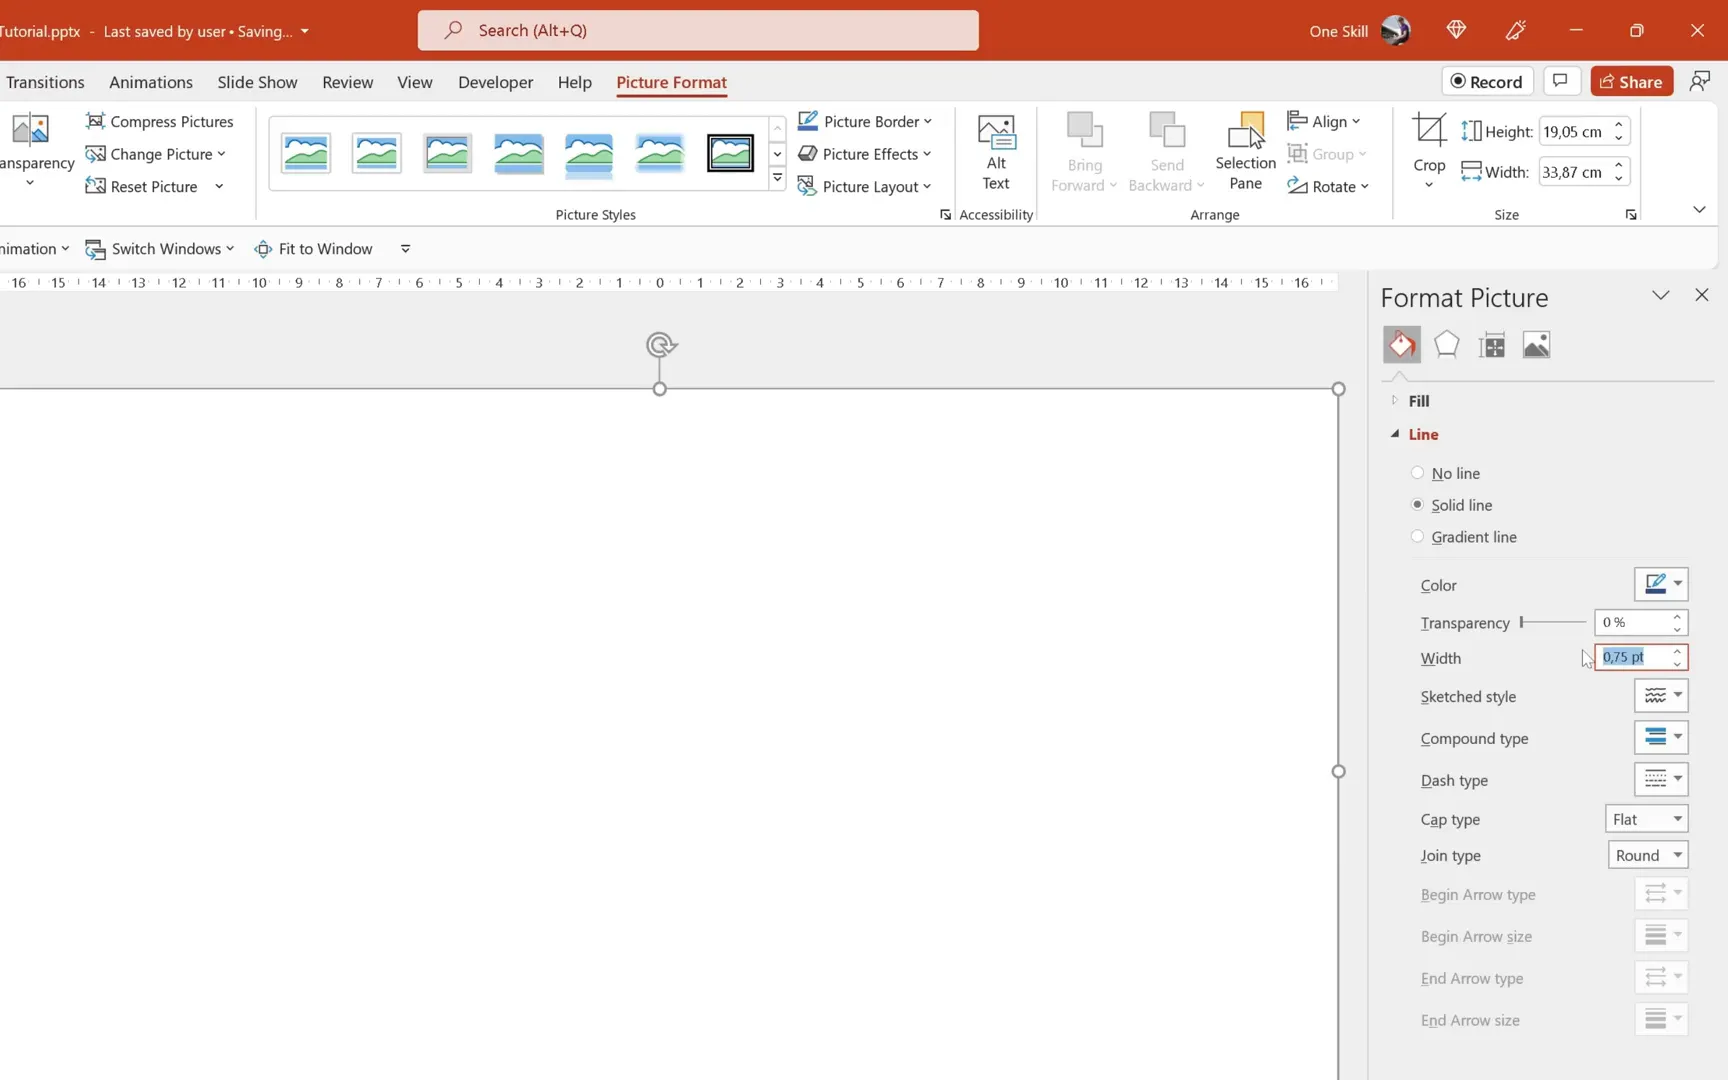
Finally, add a solid black outline with a 1-point width around this transparent image. This outline helps you visualize the placeholder boundaries during editing.
Congratulations! You’ve created your first empty image placeholder. Usually, placeholders are crafted in the Slide Master view, but this simpler approach works great for this tutorial.
Step 2: Building the Mosaic Grid
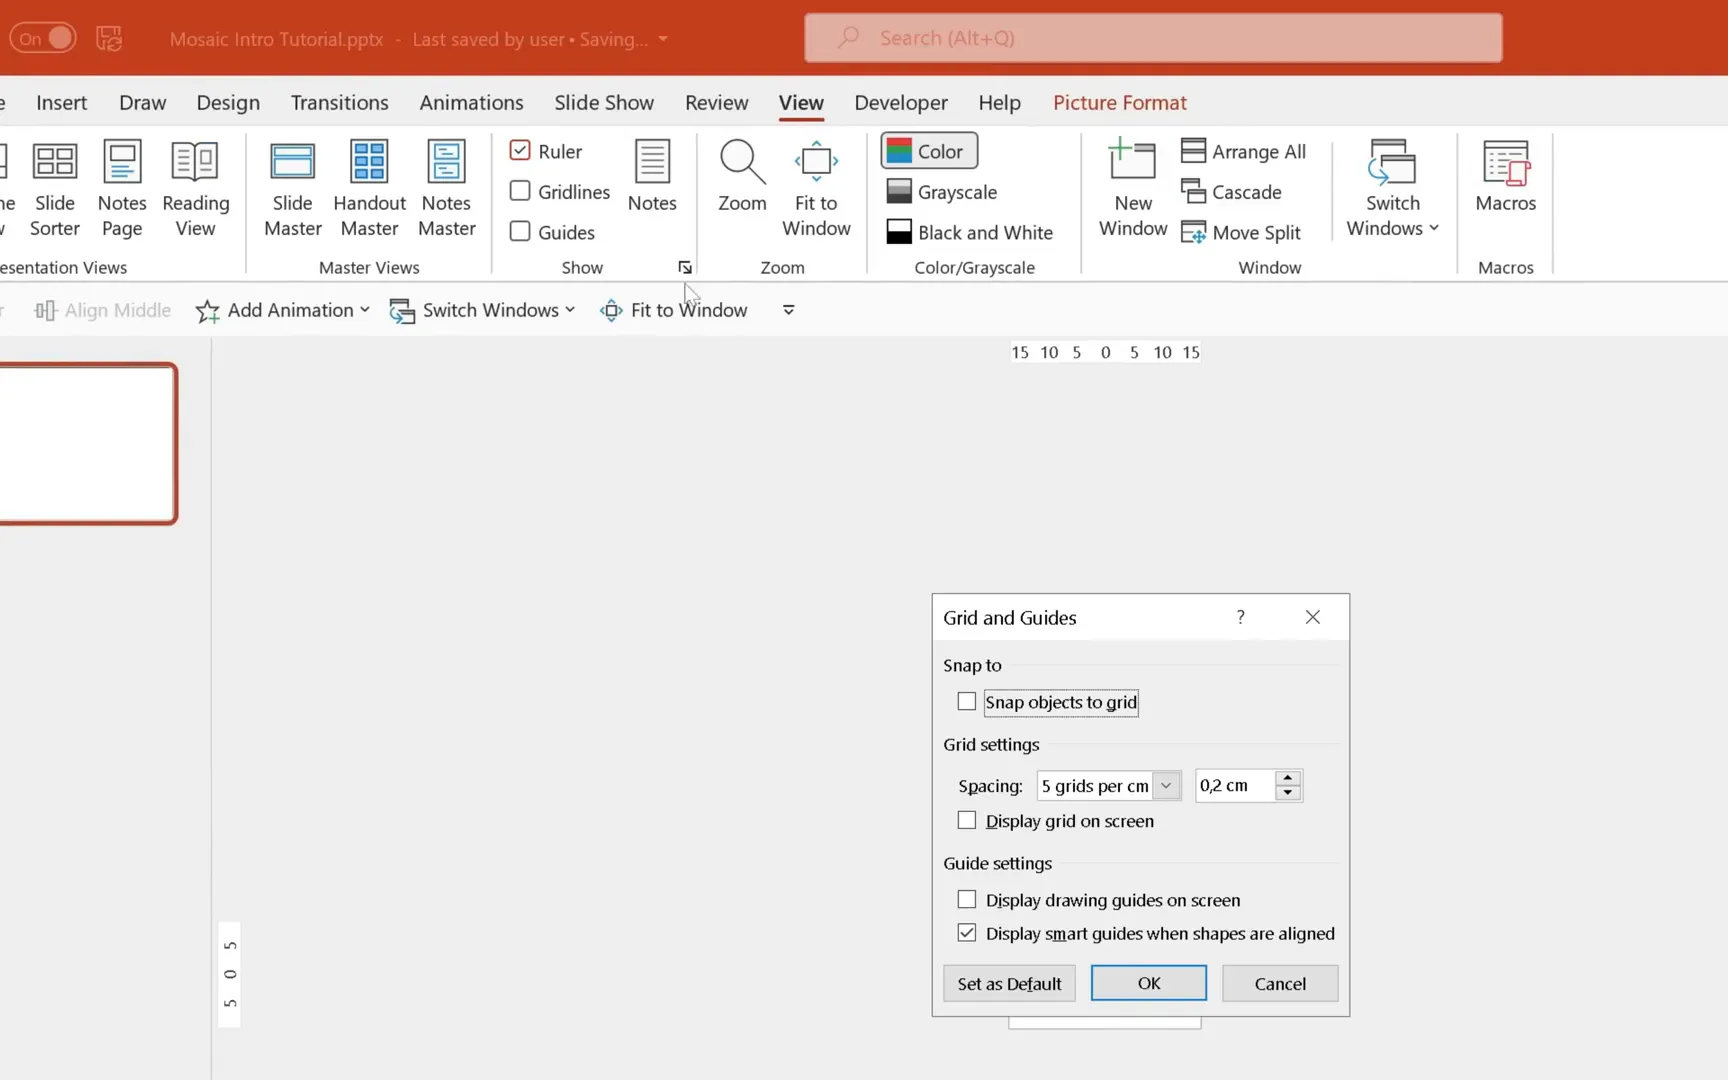
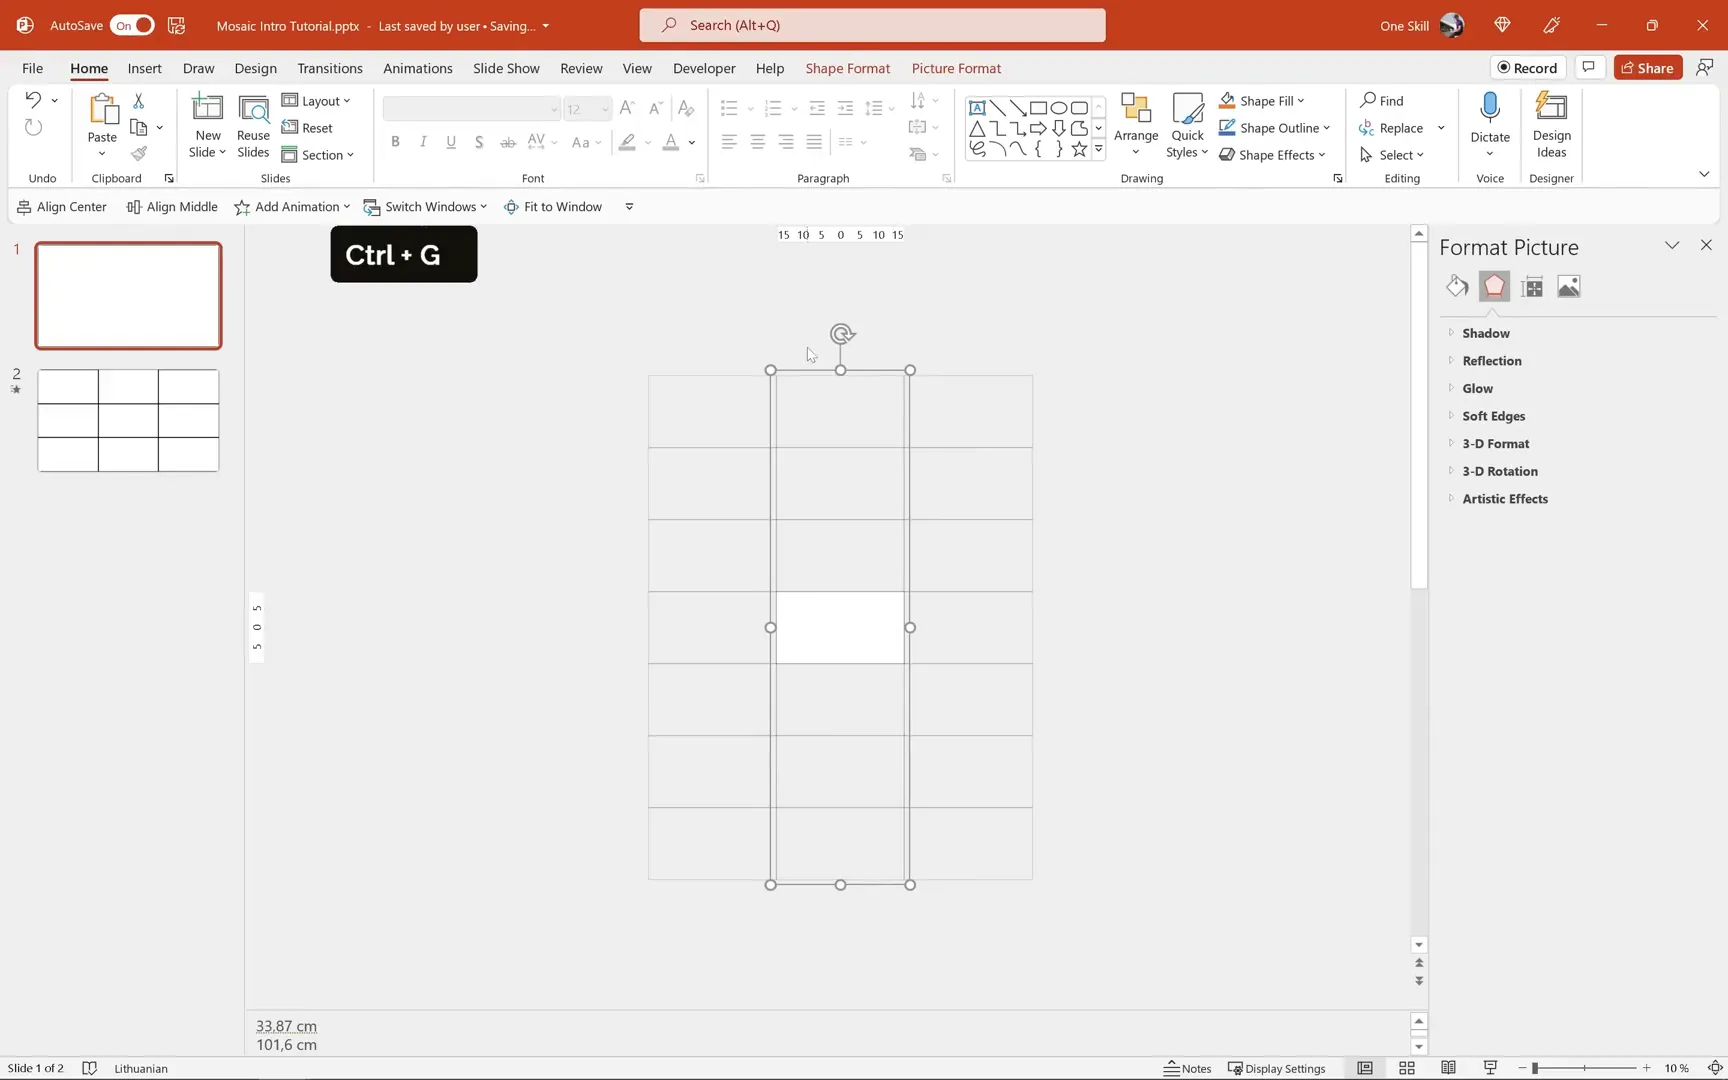
Now that you have your first placeholder, duplicate it by pressing Ctrl + D and stack the copies on top of the original. Using the View tab, enable Smart Guides to help align the placeholders perfectly as you arrange them.
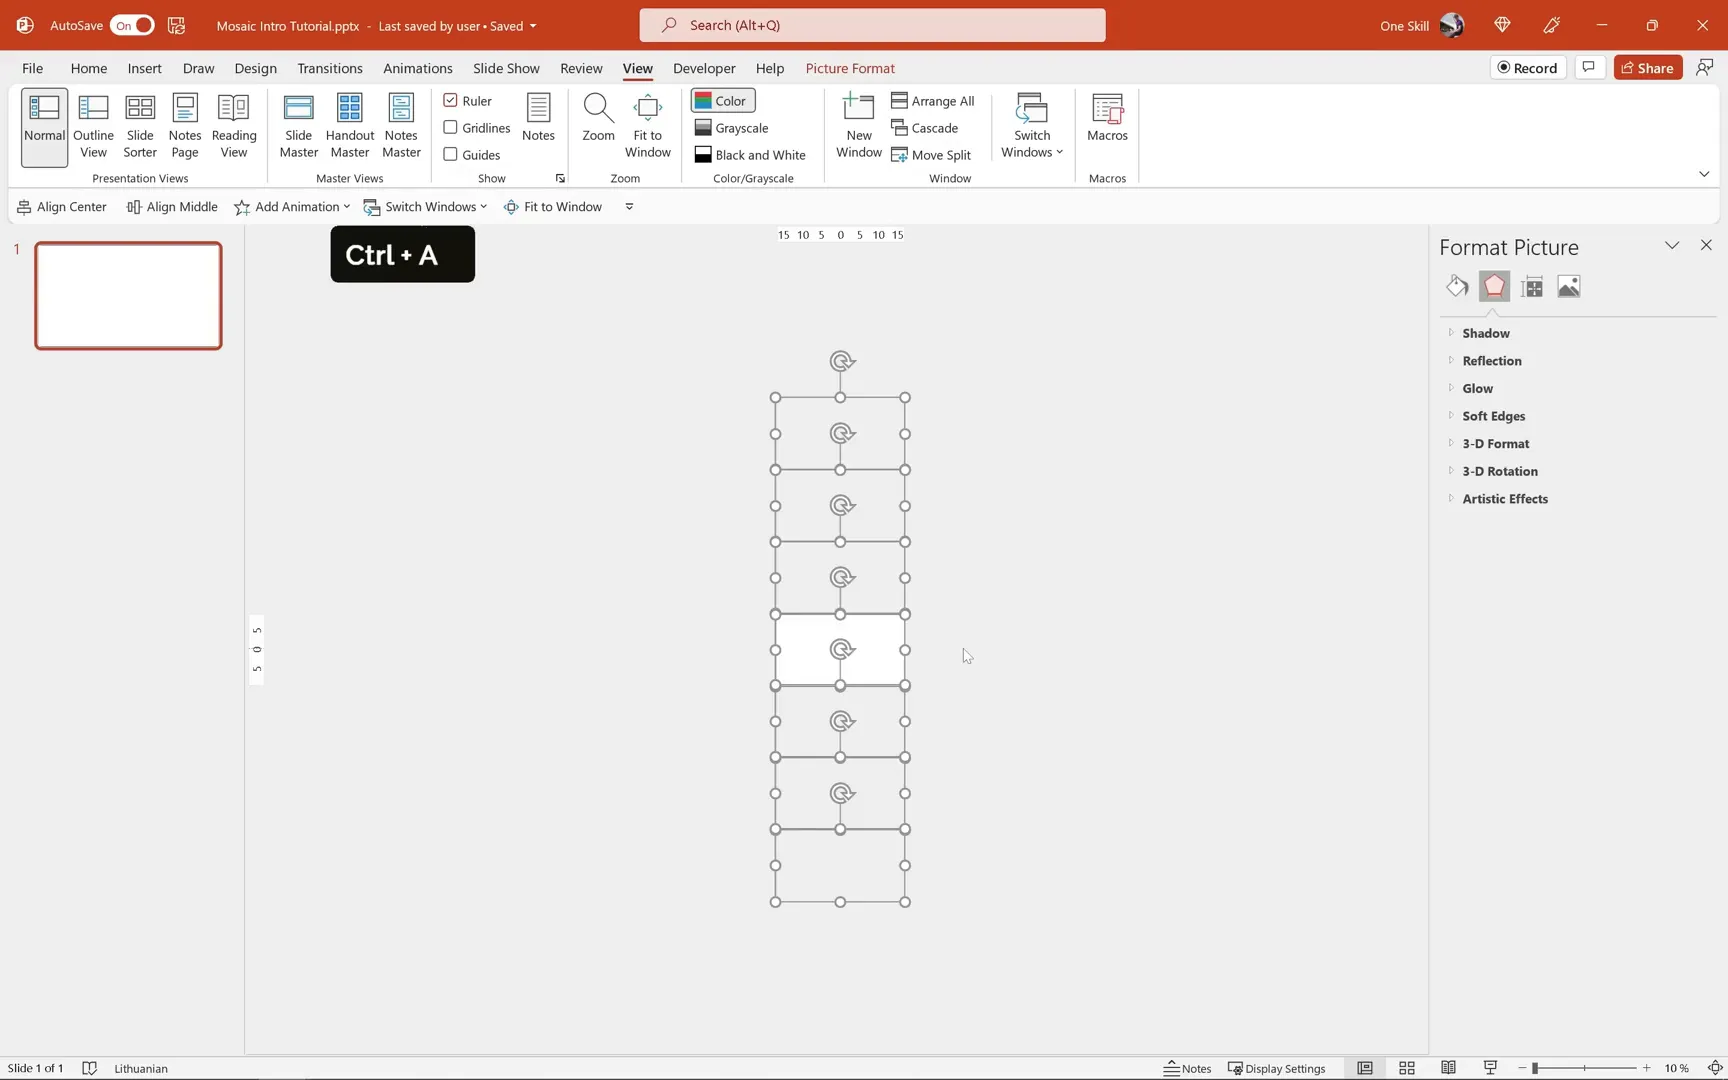
Duplicate again until you have three placeholders neatly stacked in the center. Then, select the middle placeholder, duplicate it, and add three more placeholders below it, creating a vertical column of seven placeholders in total.
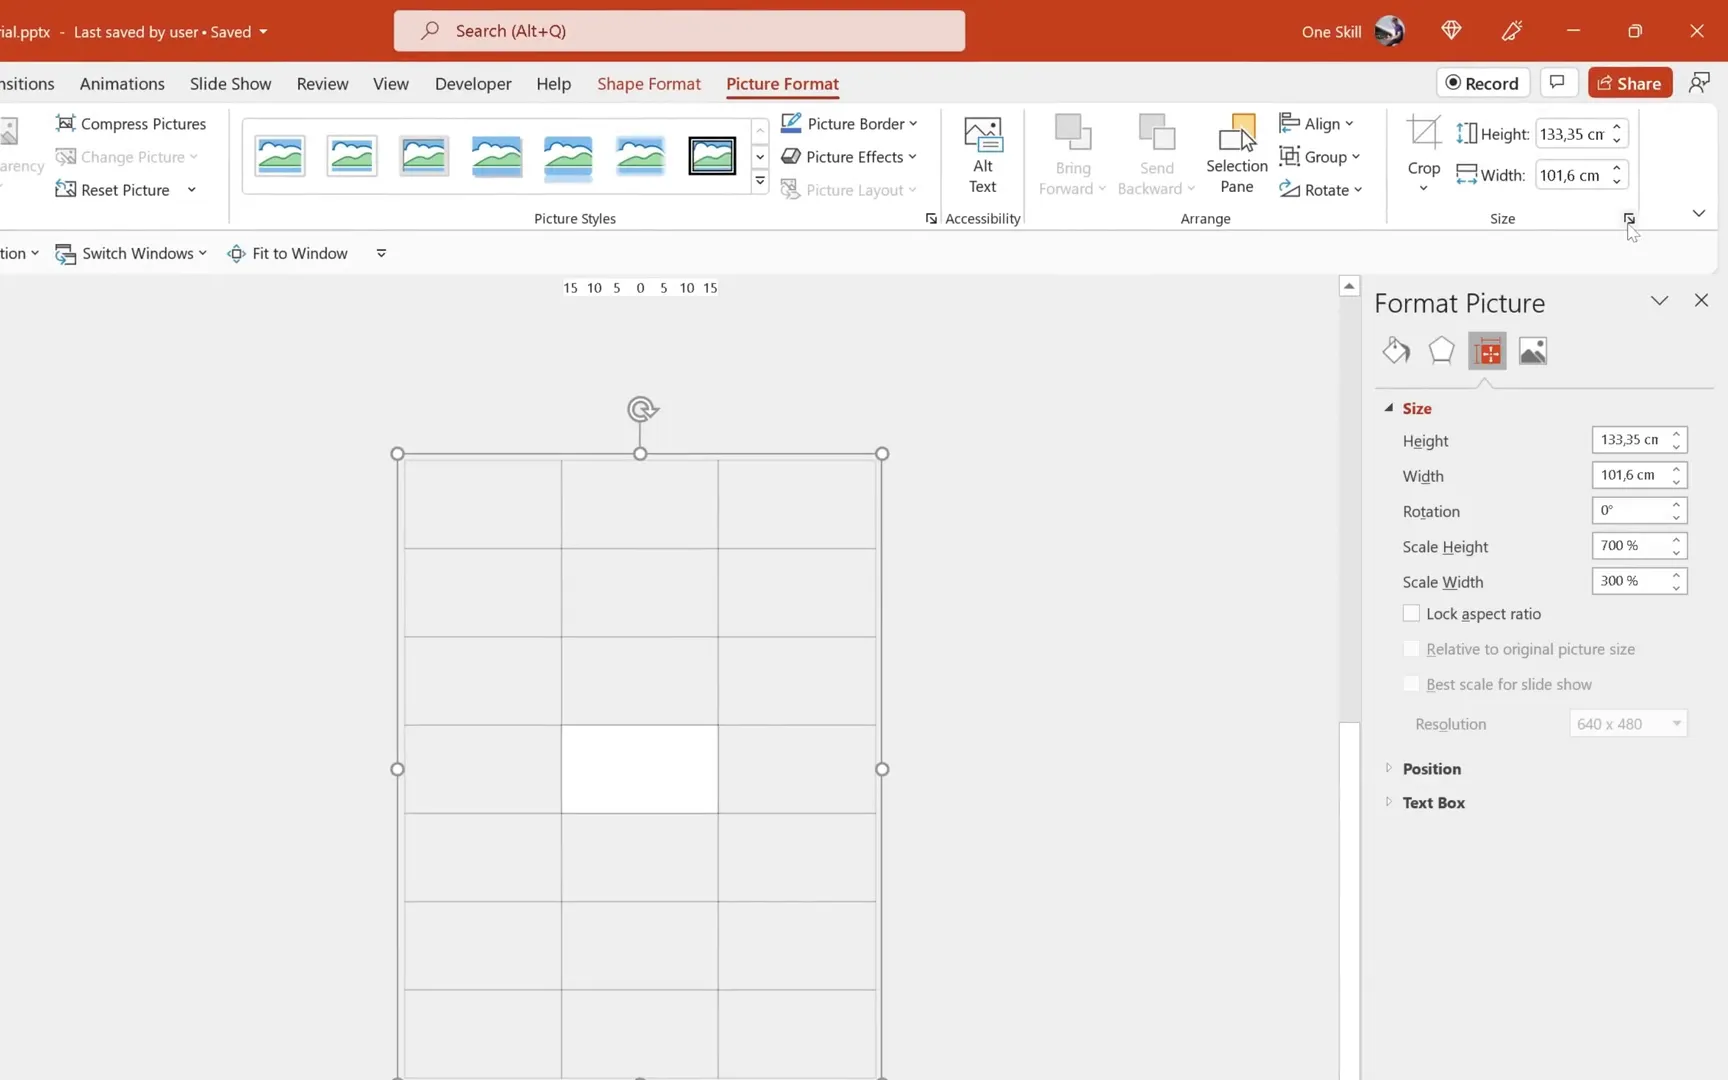
Next, select all seven placeholders and duplicate them to create a second column. Repeat the process for a third column, positioning it to the left side. You should now have a grid of three columns and seven rows of empty image placeholders, ready to be filled.
To keep track of sizes, select one placeholder and check its width in the Picture Format tab. It should be approximately 33.87 centimeters wide. Copy this number and paste it into your slide notes for easy reference. Then, group all three columns to check their combined width, which should be about 101.6 centimeters. Paste this value into the notes as well.
Step 3: Understanding the Scrolling Mosaic Animation
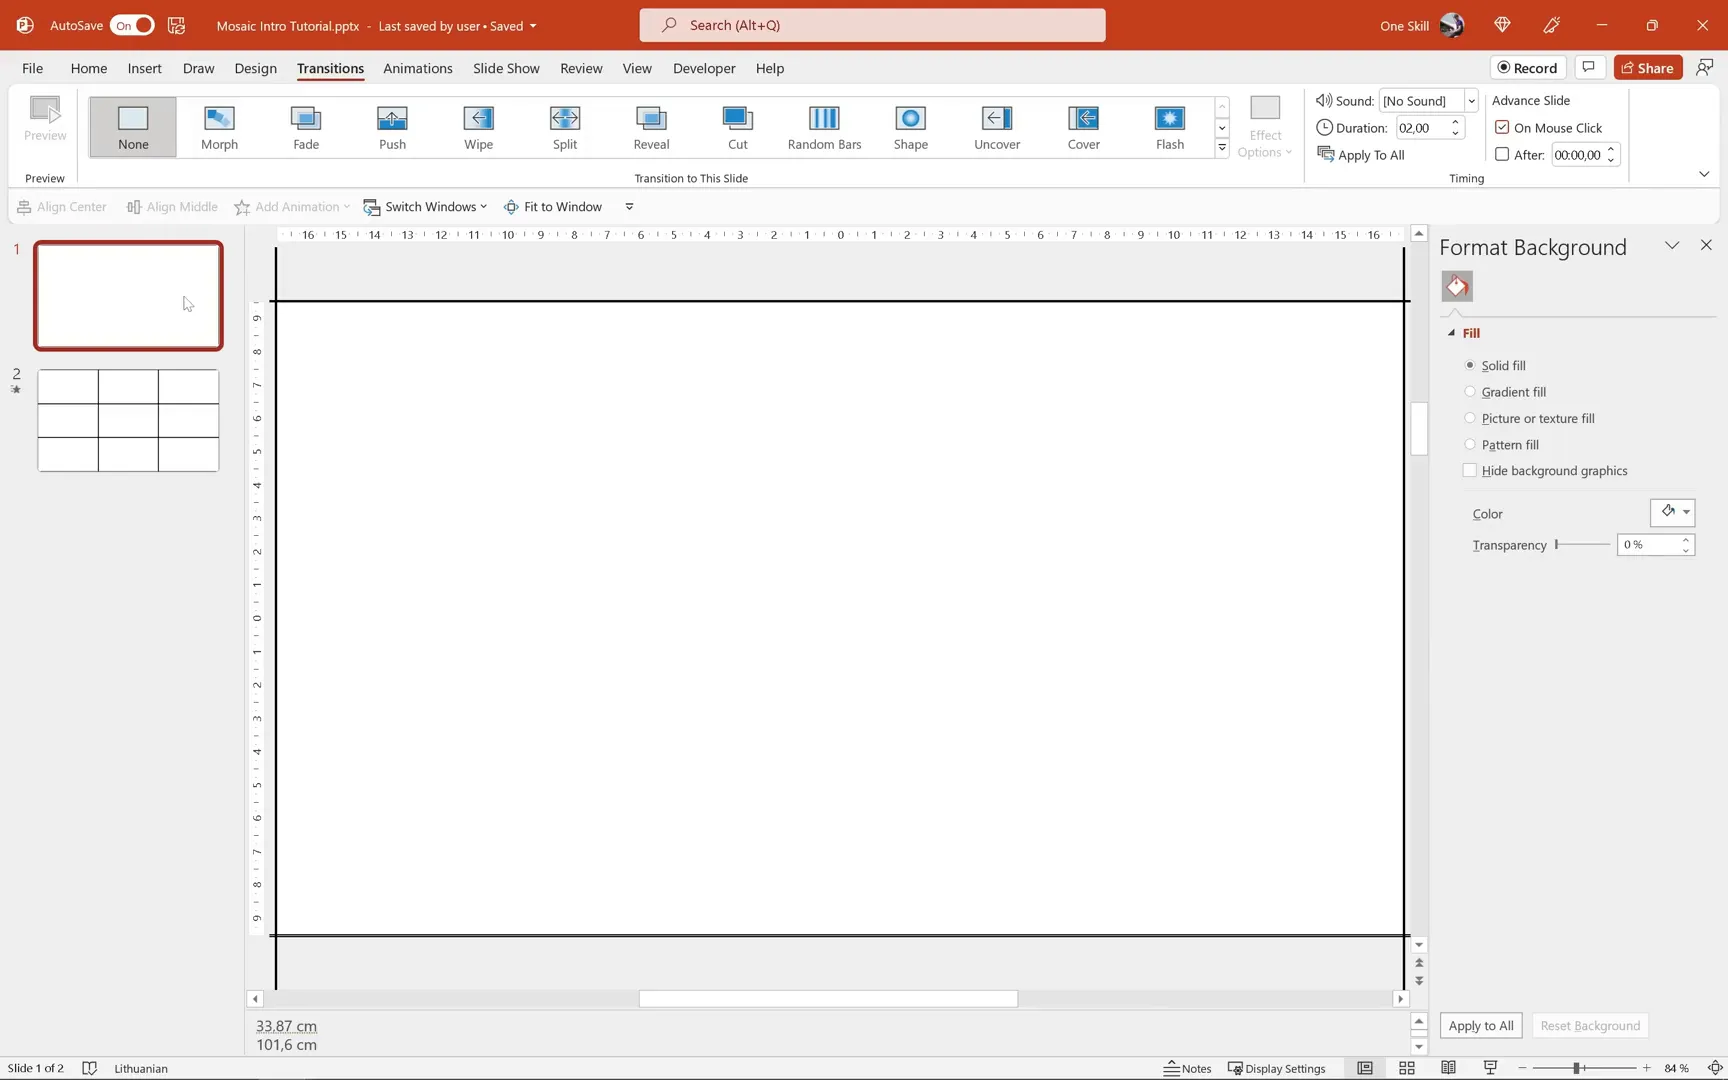
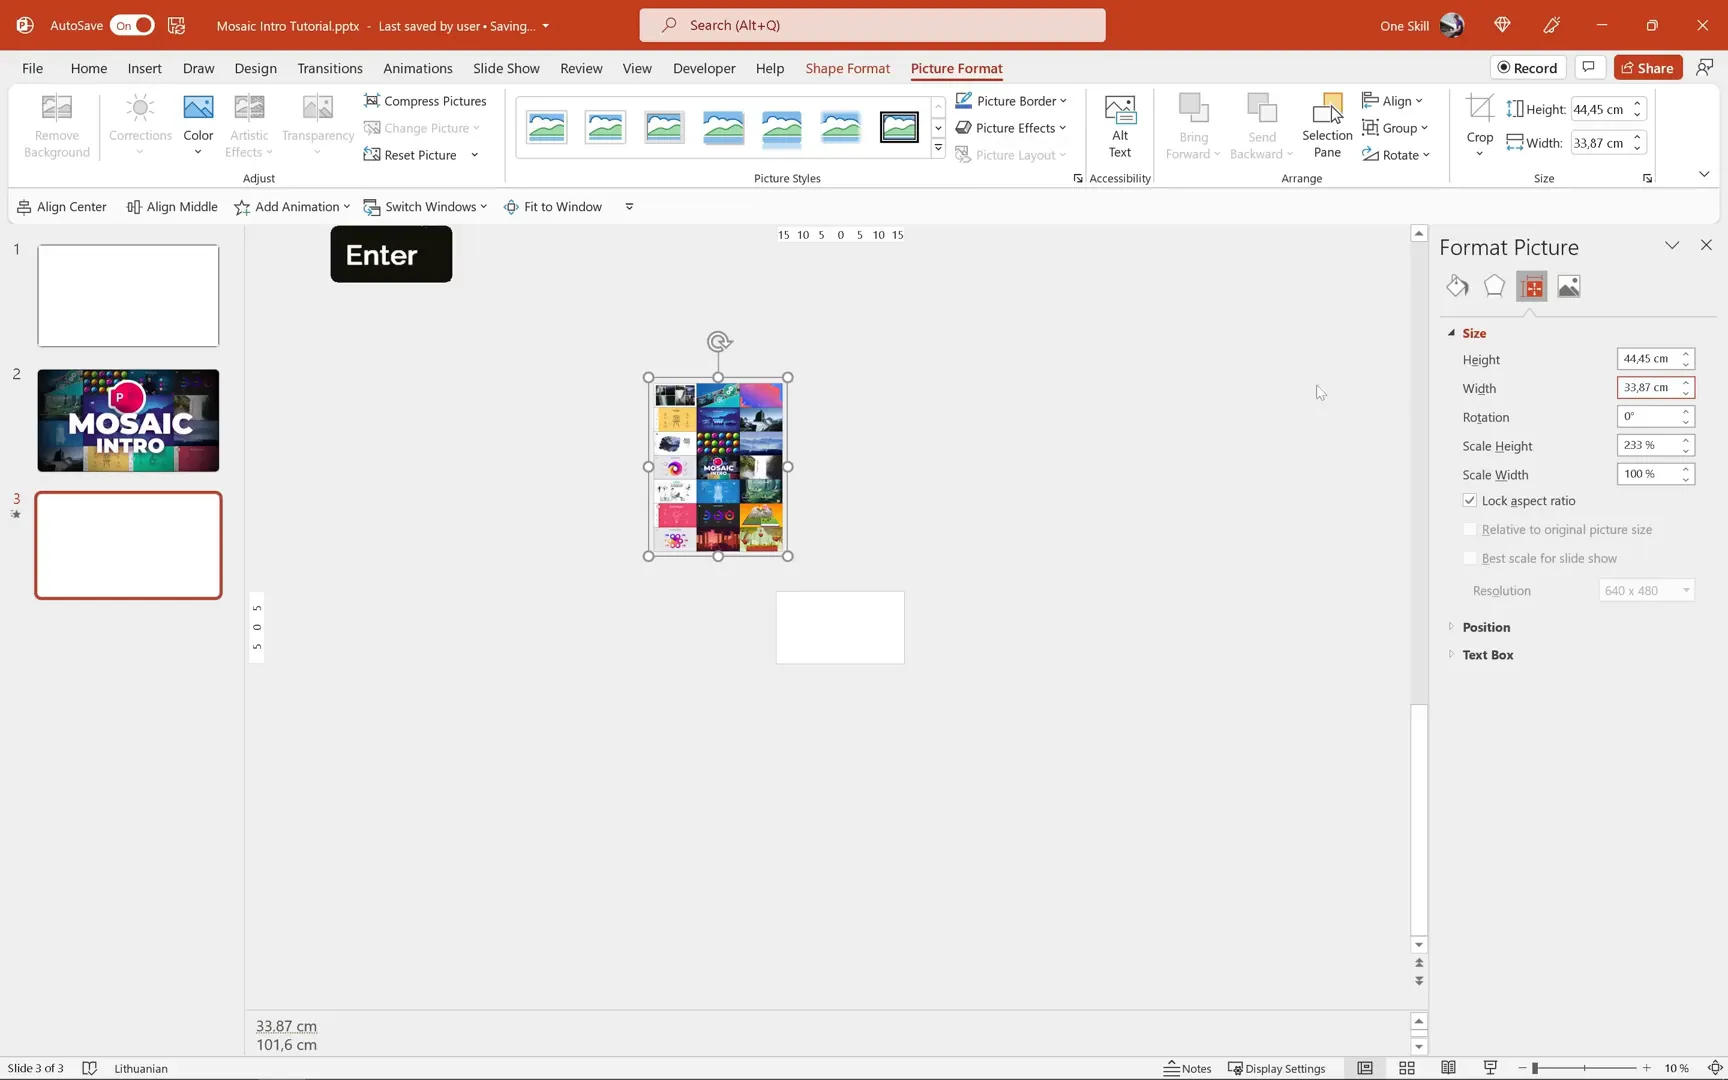
Duplicate your first slide to create a second slide. This duplicate will be used to set up the animation. On this new slide, select all three columns and resize them to fit the slide width by entering 33.87 centimeters as the width for the group, making sure the aspect ratio is locked.
Apply the Morph transition to the second slide. The first slide can have no transition or a simple Fade transition. When you play the slideshow and move from the first to the second slide, you’ll see a zoom-out effect, which is the foundation of the animation.
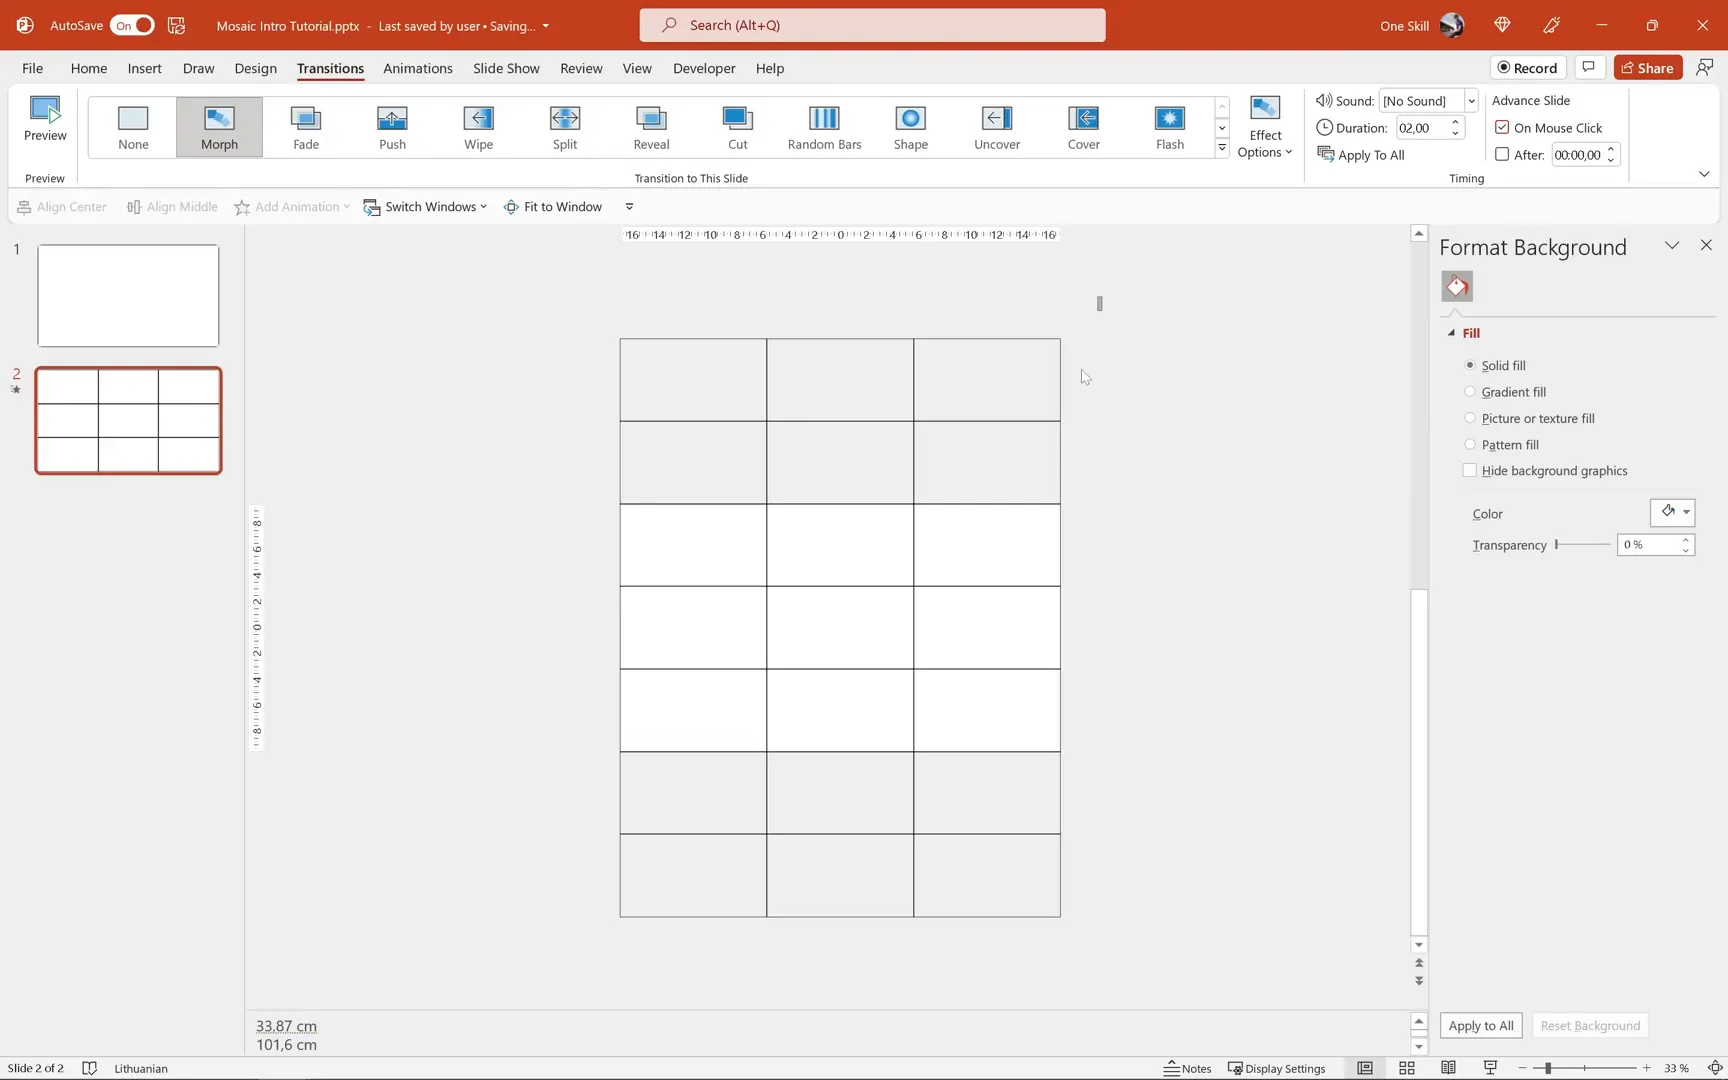
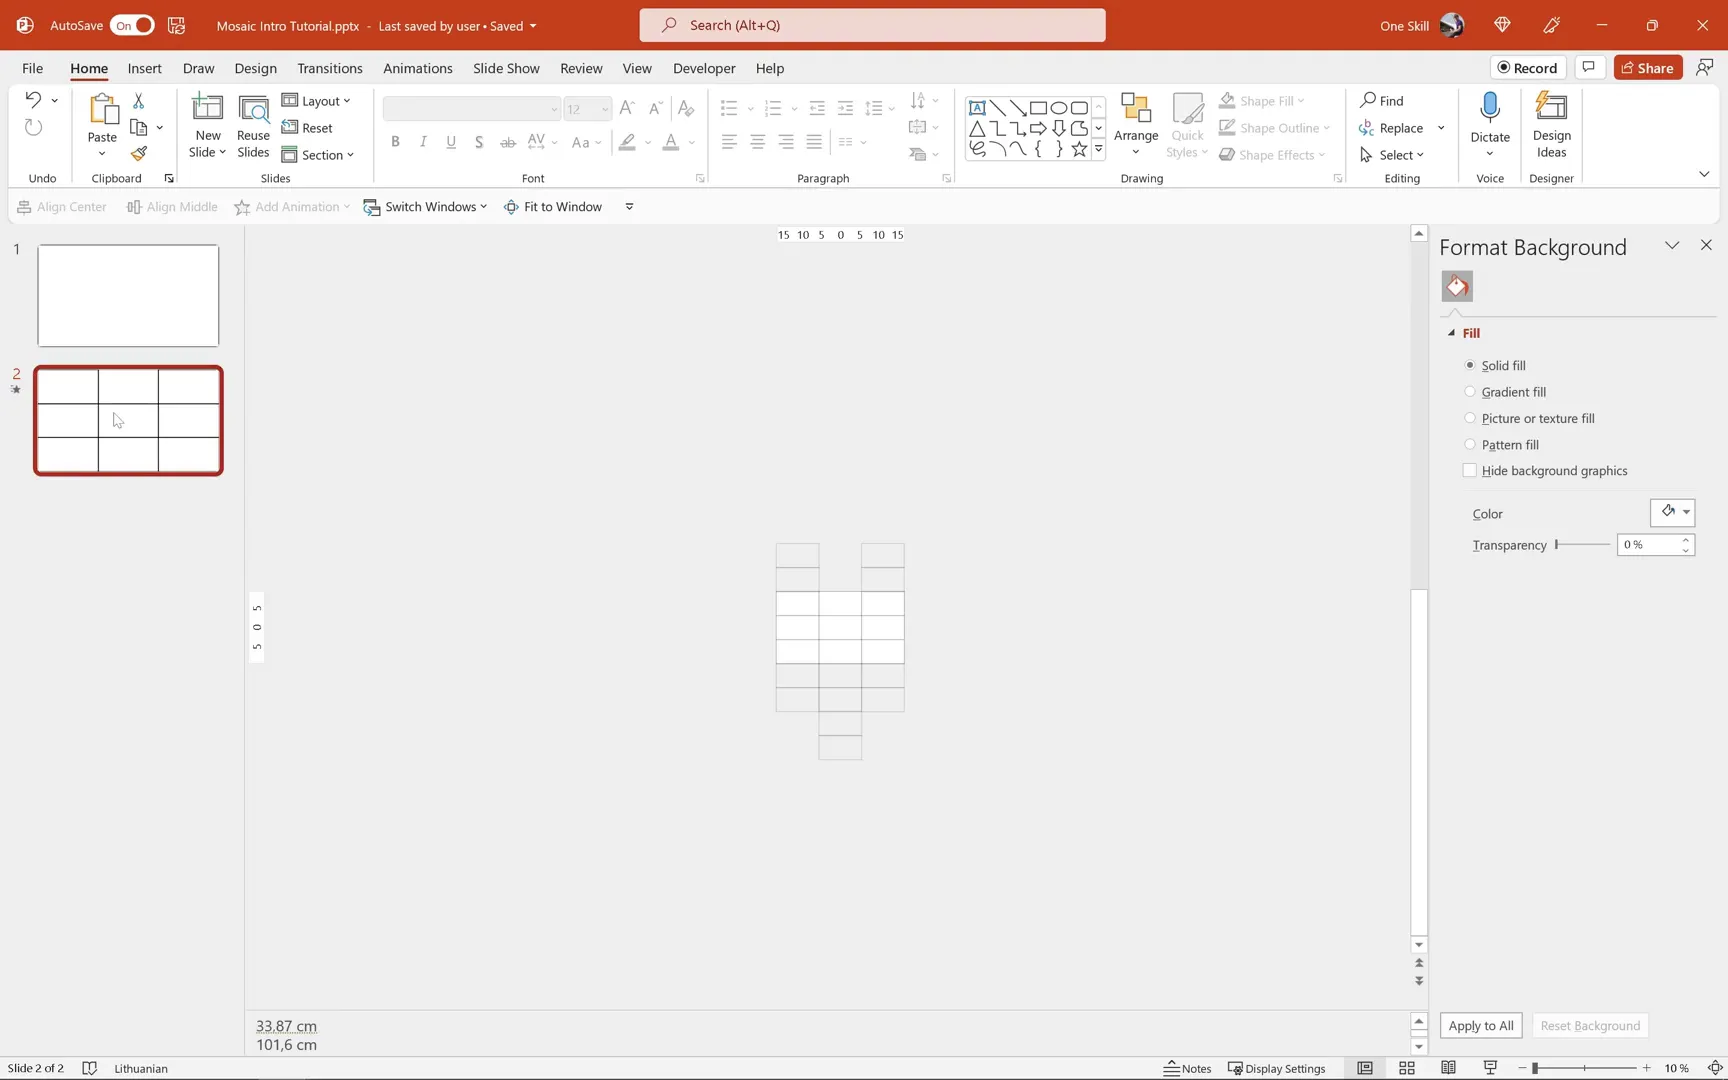
To add a scrolling effect, ungroup the placeholders on the second slide (Ctrl + Shift + G), group each column separately, and then align the middle column to the top of the slide, effectively scrolling it down.
Make sure to also group the placeholders on the first slide into three vertical columns. This grouping is crucial for the Morph transition to work smoothly.
Now, when you play the animation, you’ll notice the mosaic zooms out while the middle column scrolls down, creating a dynamic and engaging intro effect.
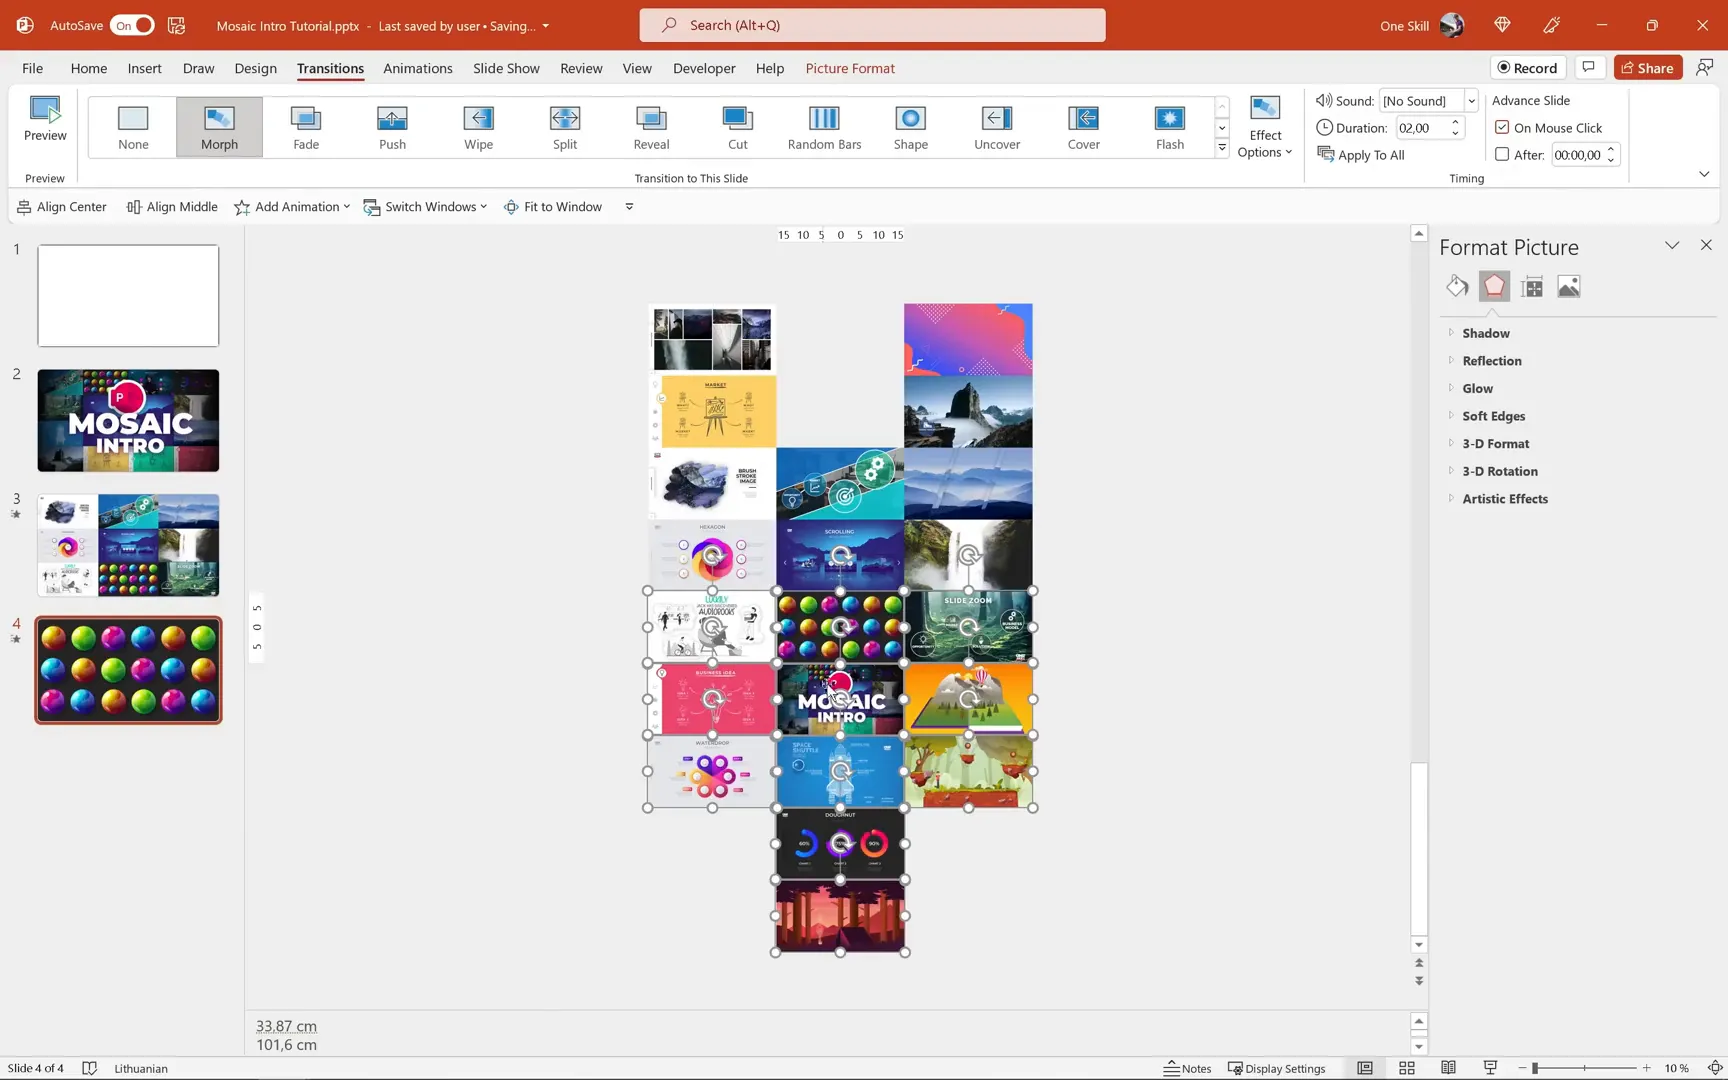
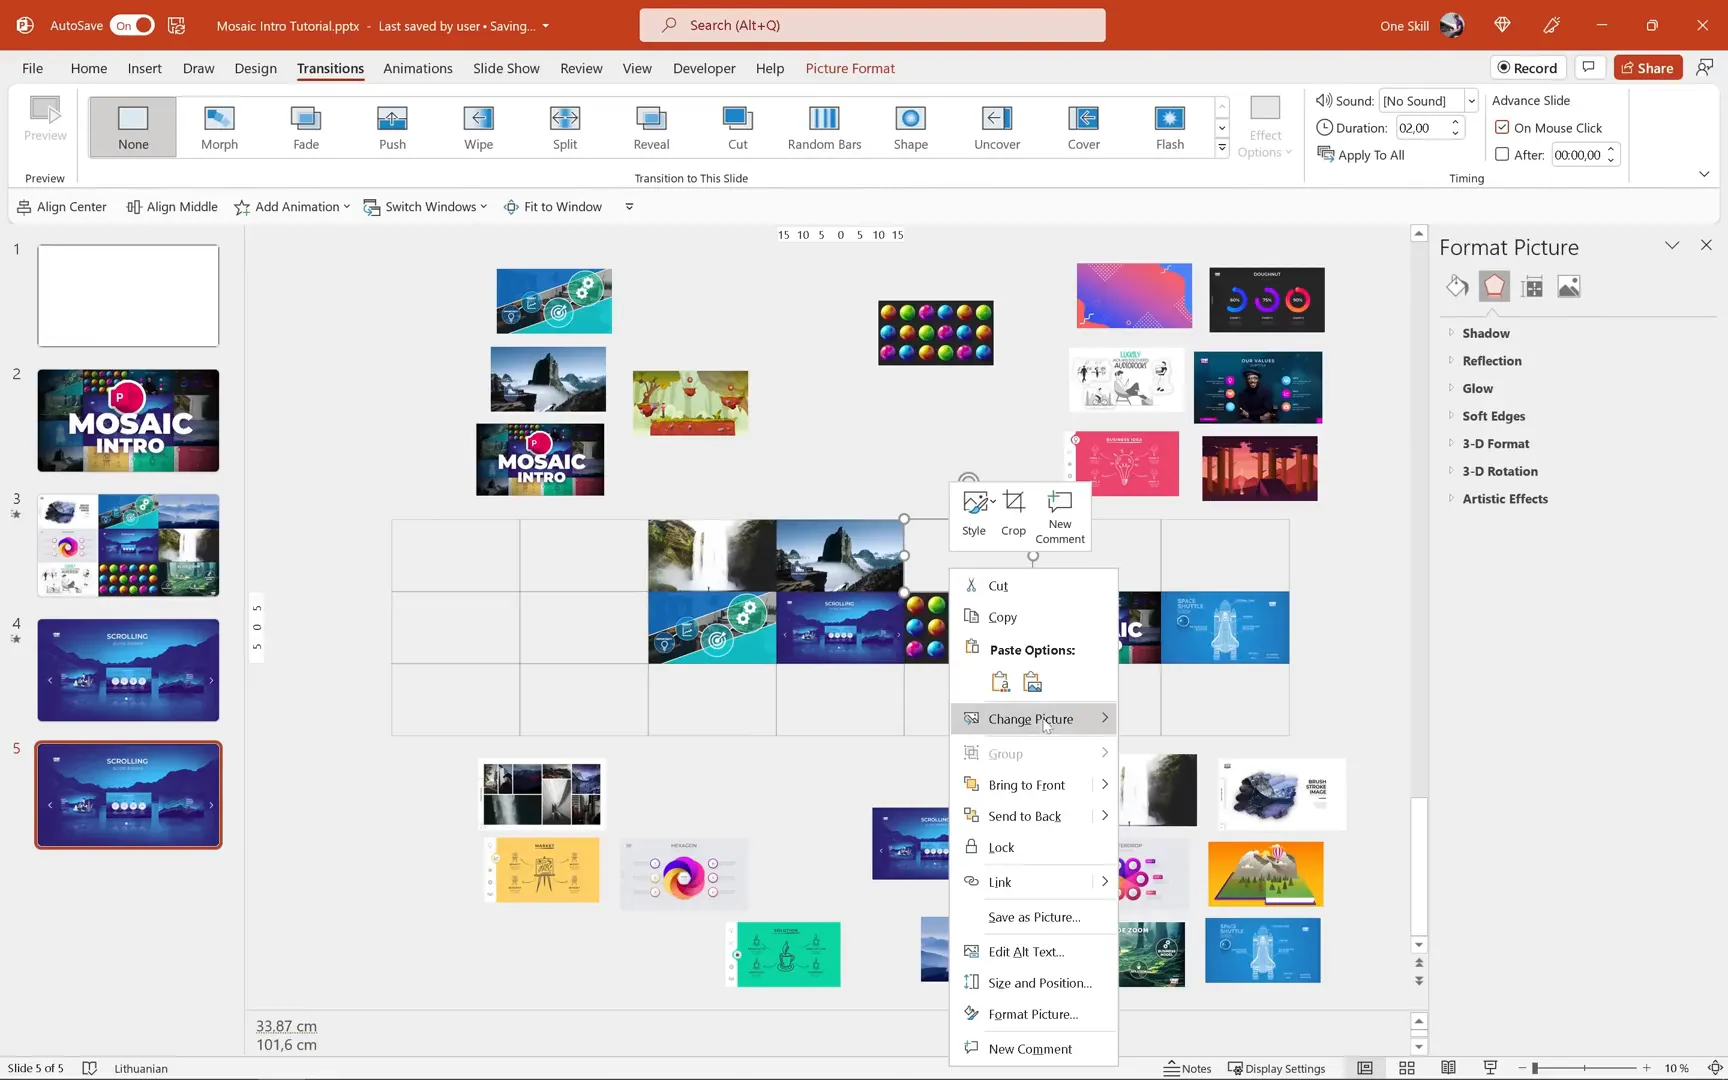
Step 4: Filling the Mosaic with Images
Delete the second slide, as you’ll be reusing the first slide to fill with actual images. Ungroup the placeholders to select individual blocks. You can then right-click on any block, choose “Change Picture,” and select “From Clipboard” to fill it with an image you’ve copied.
To prepare images, insert screenshots of your previous presentations or any photos you want to use. You can take screenshots in Windows by pressing Windows + Shift + S, and on Mac, use a similar shortcut. Paste the screenshots into PowerPoint, crop them to 16:9, and place them to the side for easy access.

Copy each screenshot and replace the placeholder images by pasting from clipboard. Repeat the process until all placeholders are filled. Make sure to keep a backup of the original placeholders in case you want to revert.
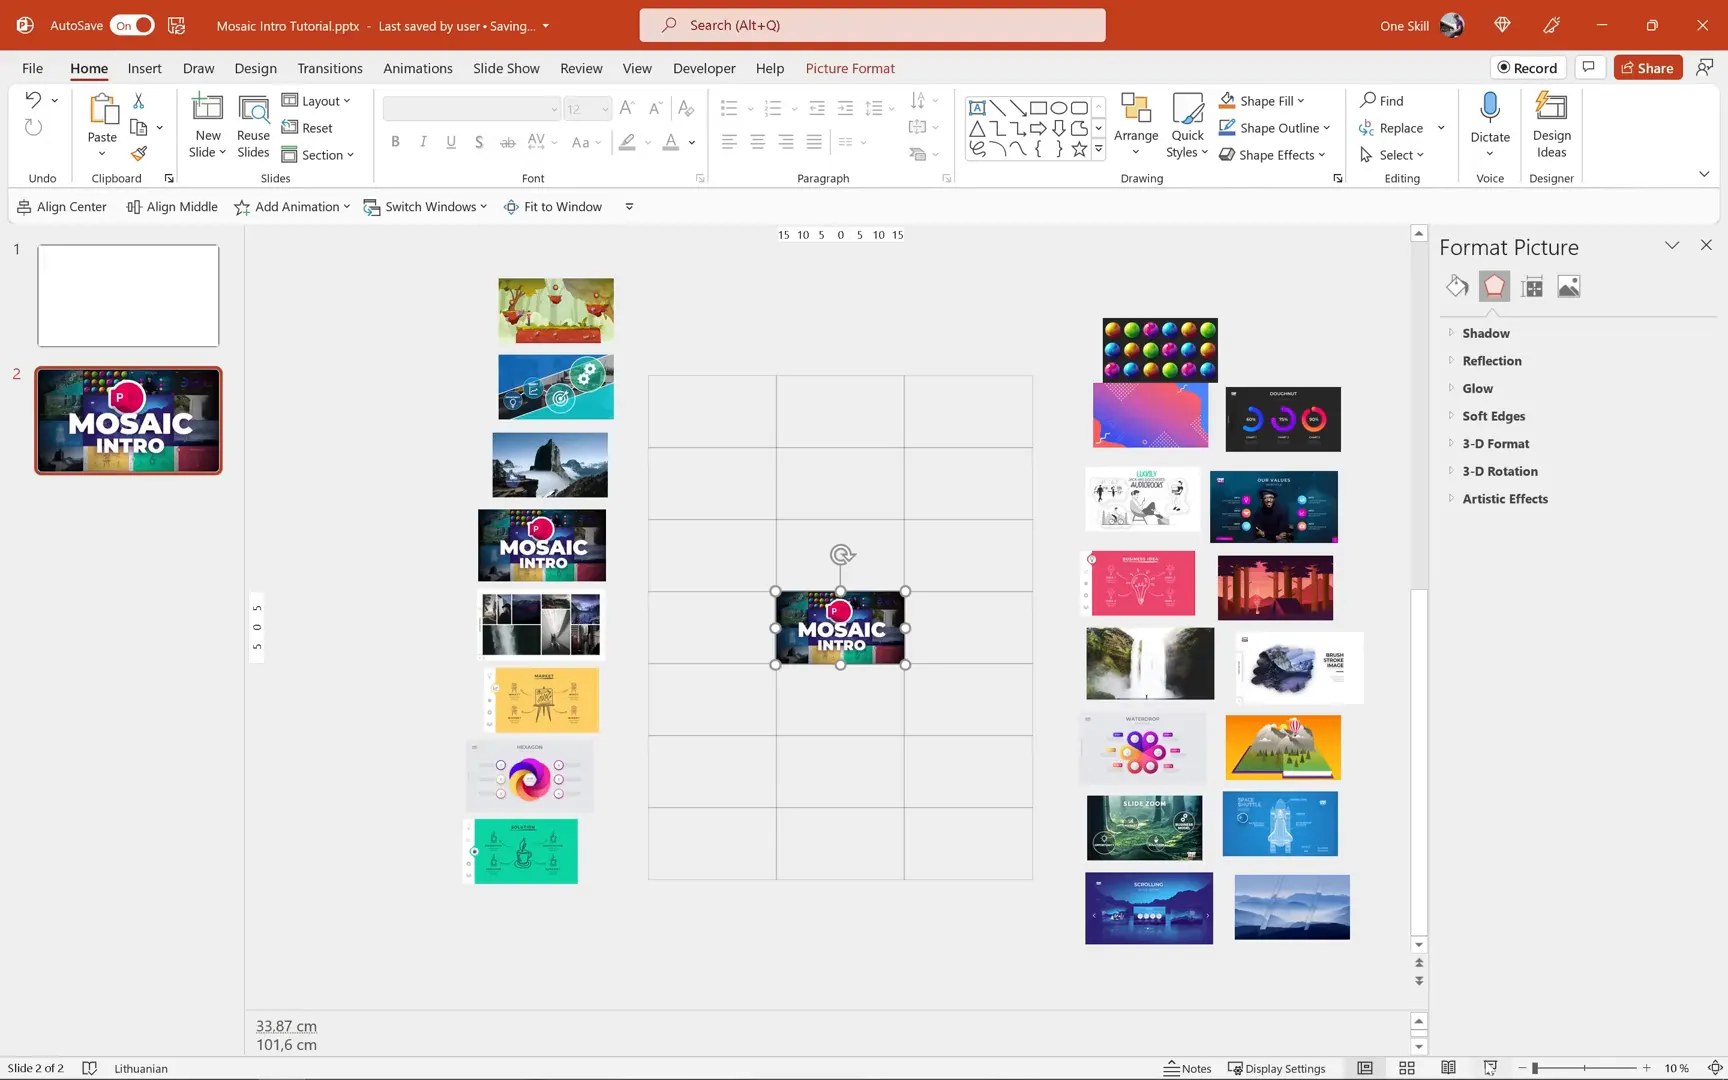
Once all placeholders are filled, delete the extra images on the side to keep your slide clean, select all images, and group them together.
Step 5: Adding the Vertical Mosaic Scroll with Images
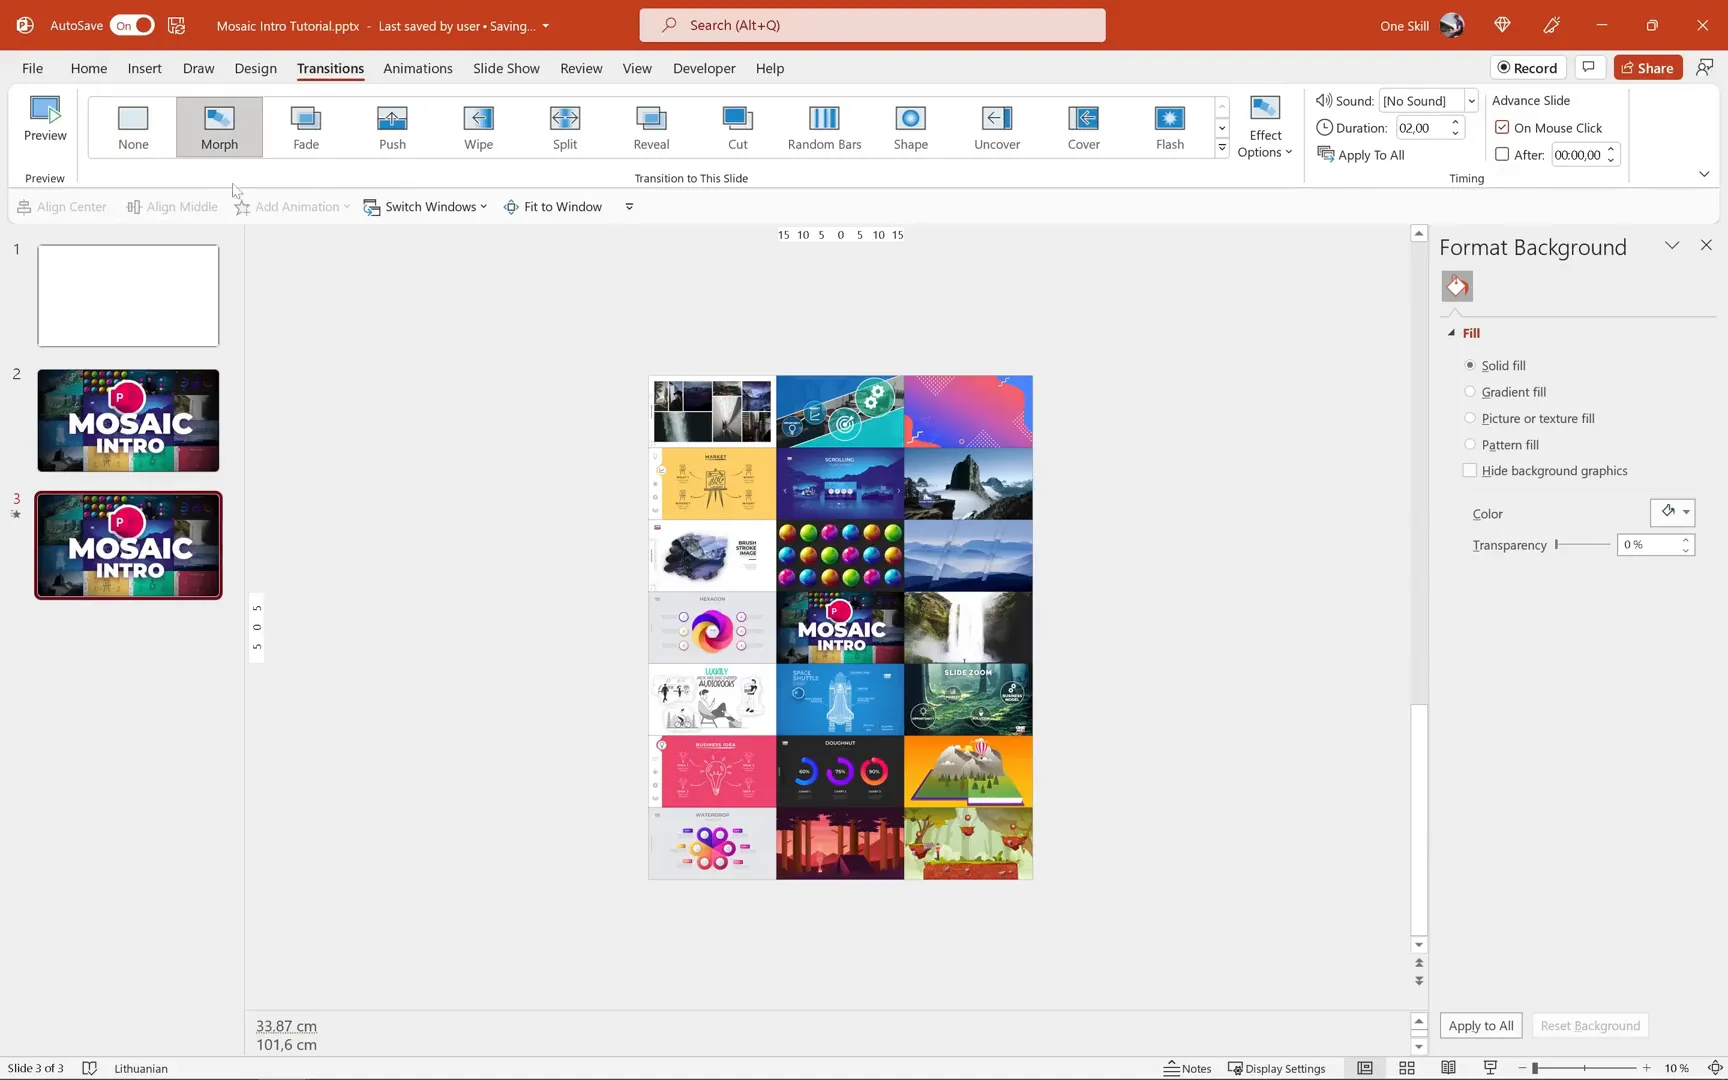
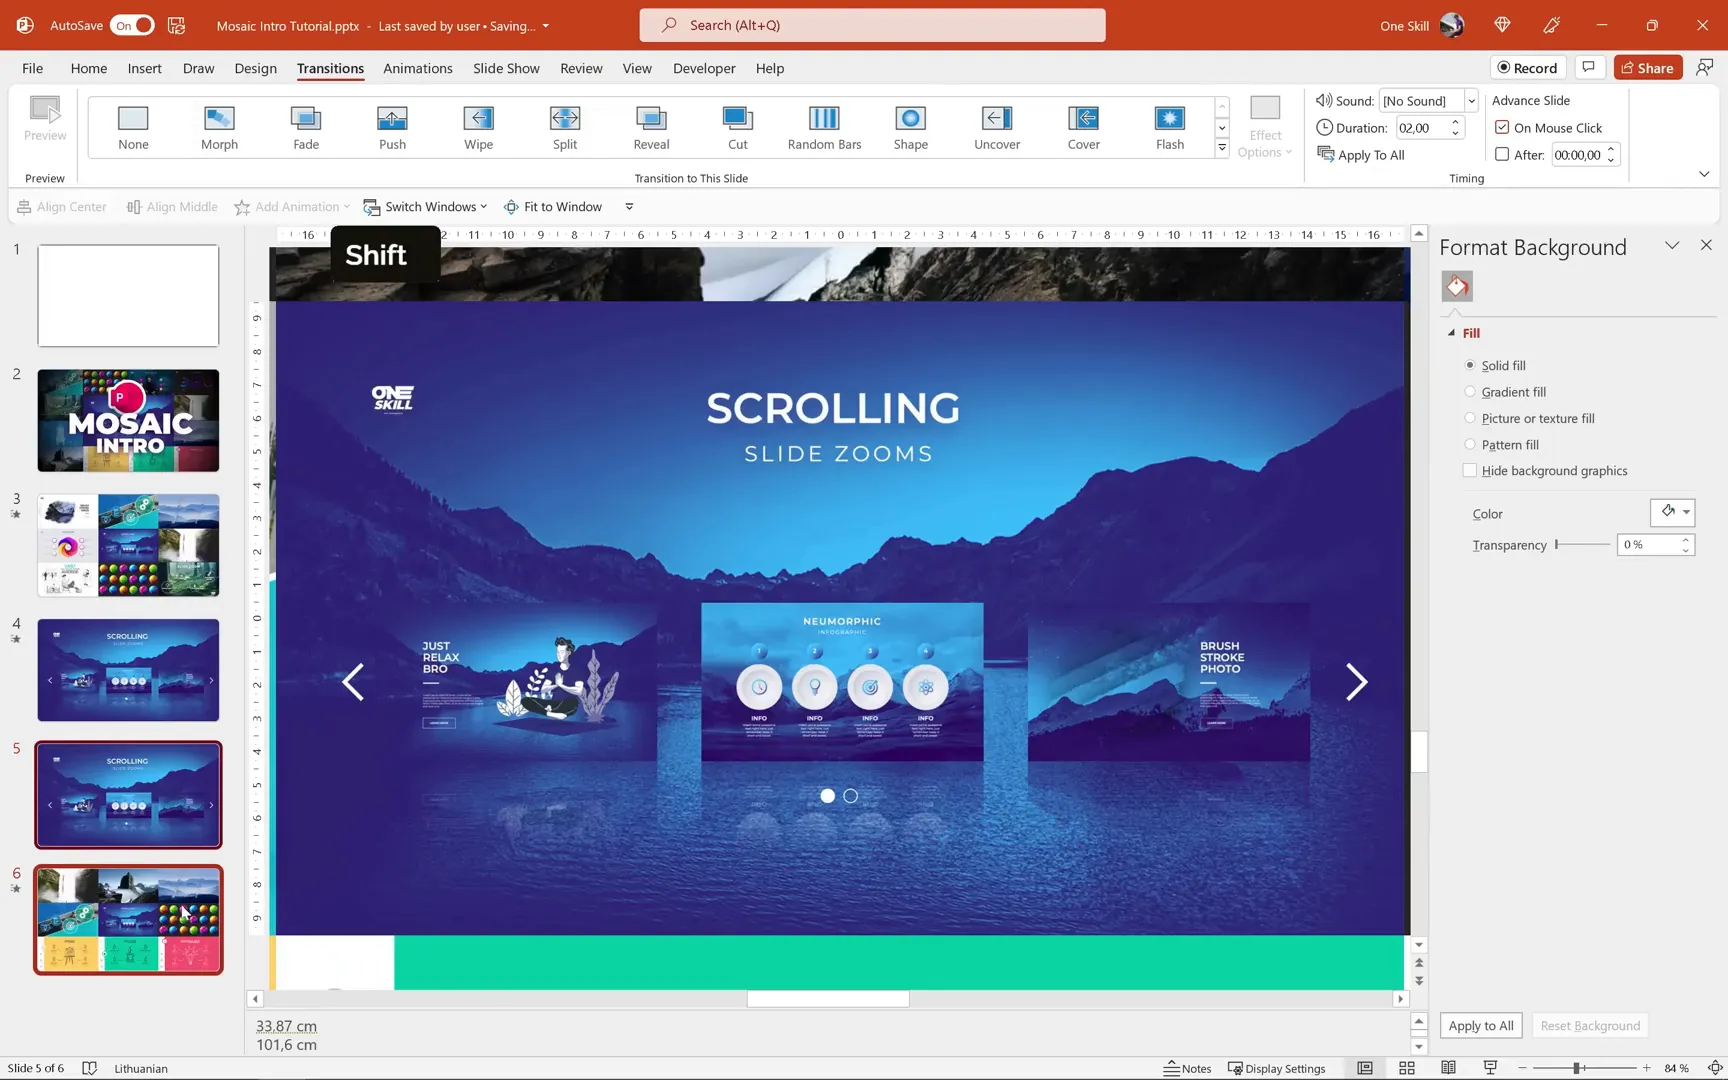
Duplicate the slide with filled placeholders to create a second slide for animation. Resize the grouped columns to fit the slide width (33.87 cm), align them centrally, and apply the Morph transition.
Ungroup the images on the second slide and group them into three columns again. Align the middle column to the top of the slide to create the scrolling effect. On the first slide, group the images into columns without any alignment changes.
Now, when you play the animation, you will see a smooth zoom-out with the middle column scrolling vertically, revealing a beautiful mosaic intro animation.
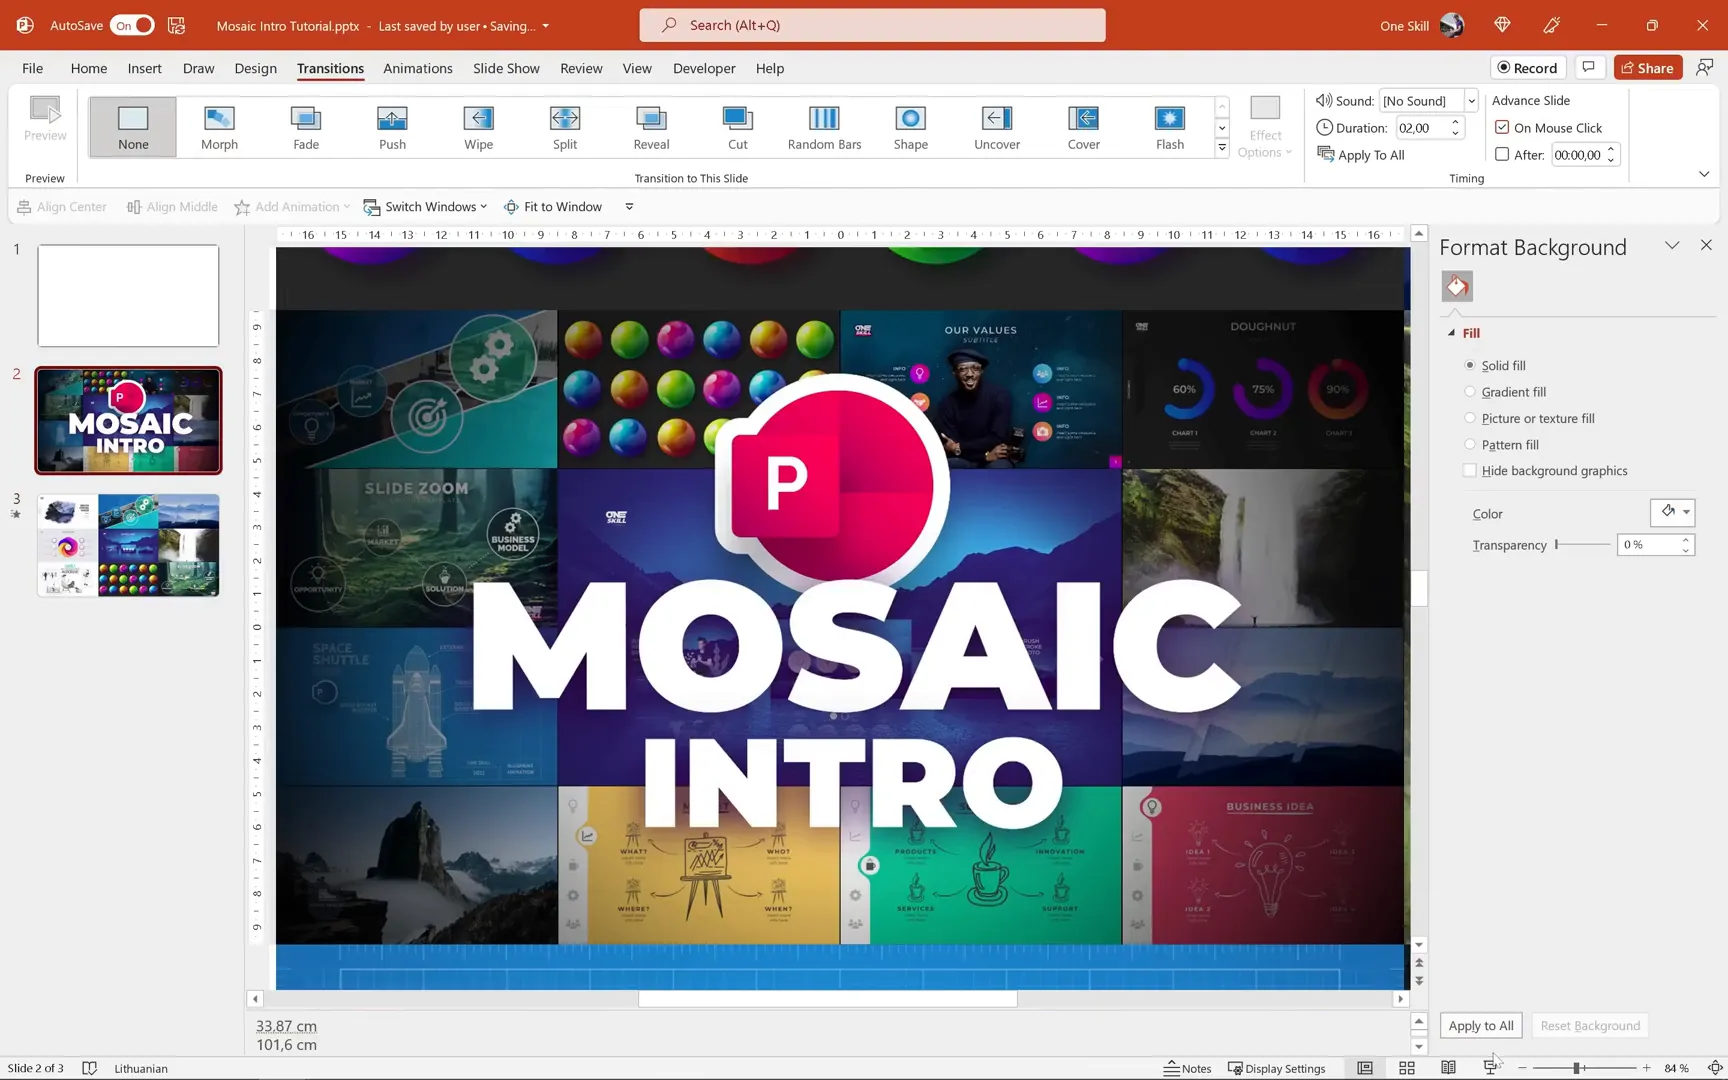
If you notice a white gap between columns during the animation, set the background fill of the slides to black. This will hide the gap and maintain a professional look.

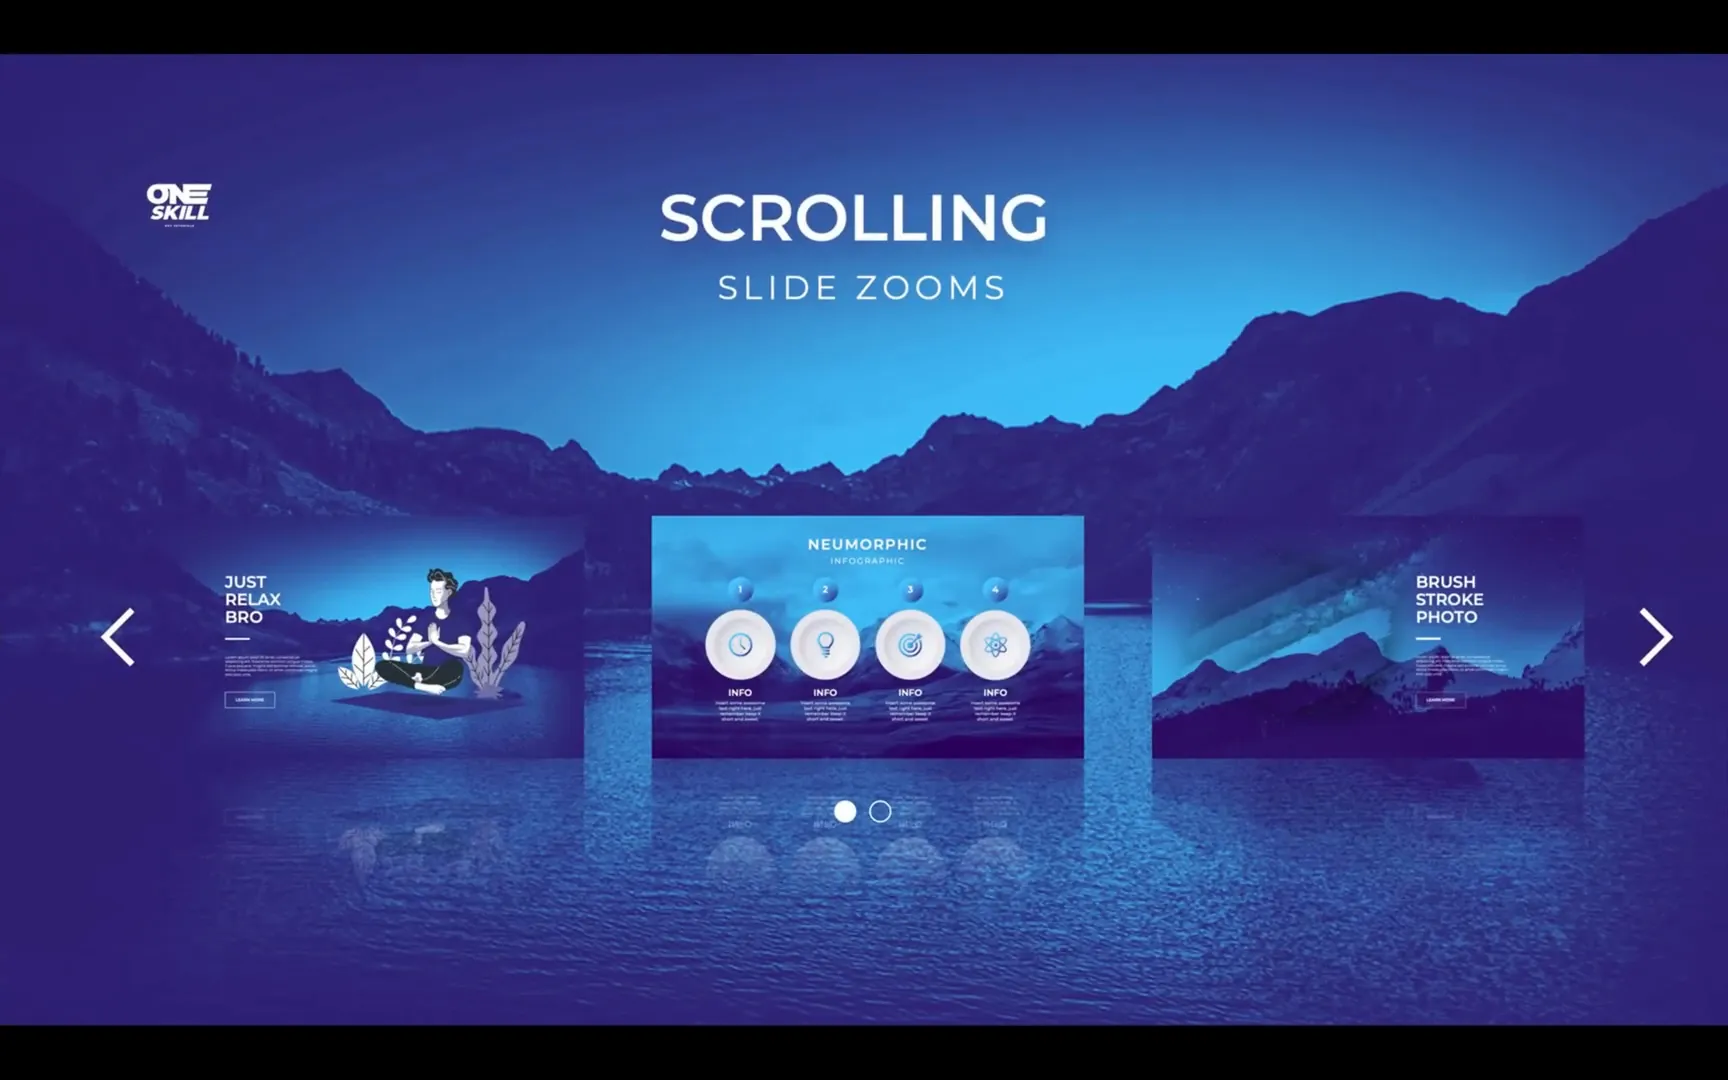
Step 6: Zooming Into a Specific Mosaic Slide
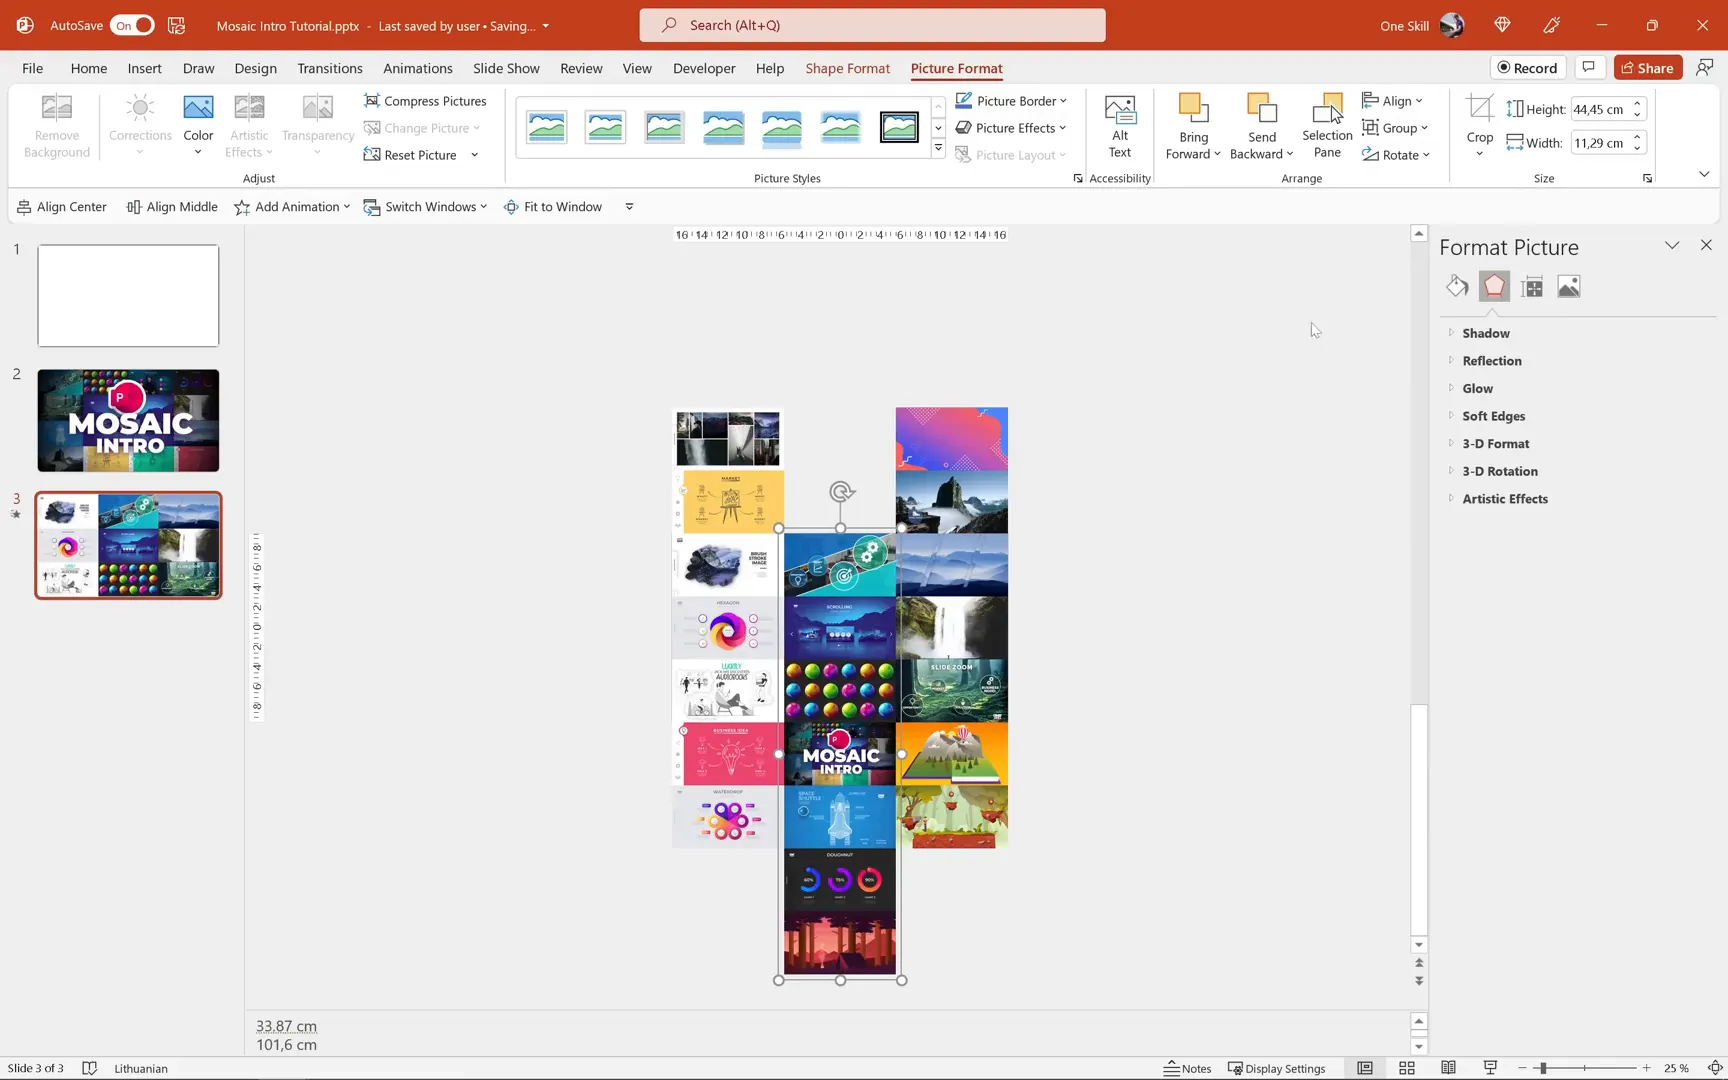
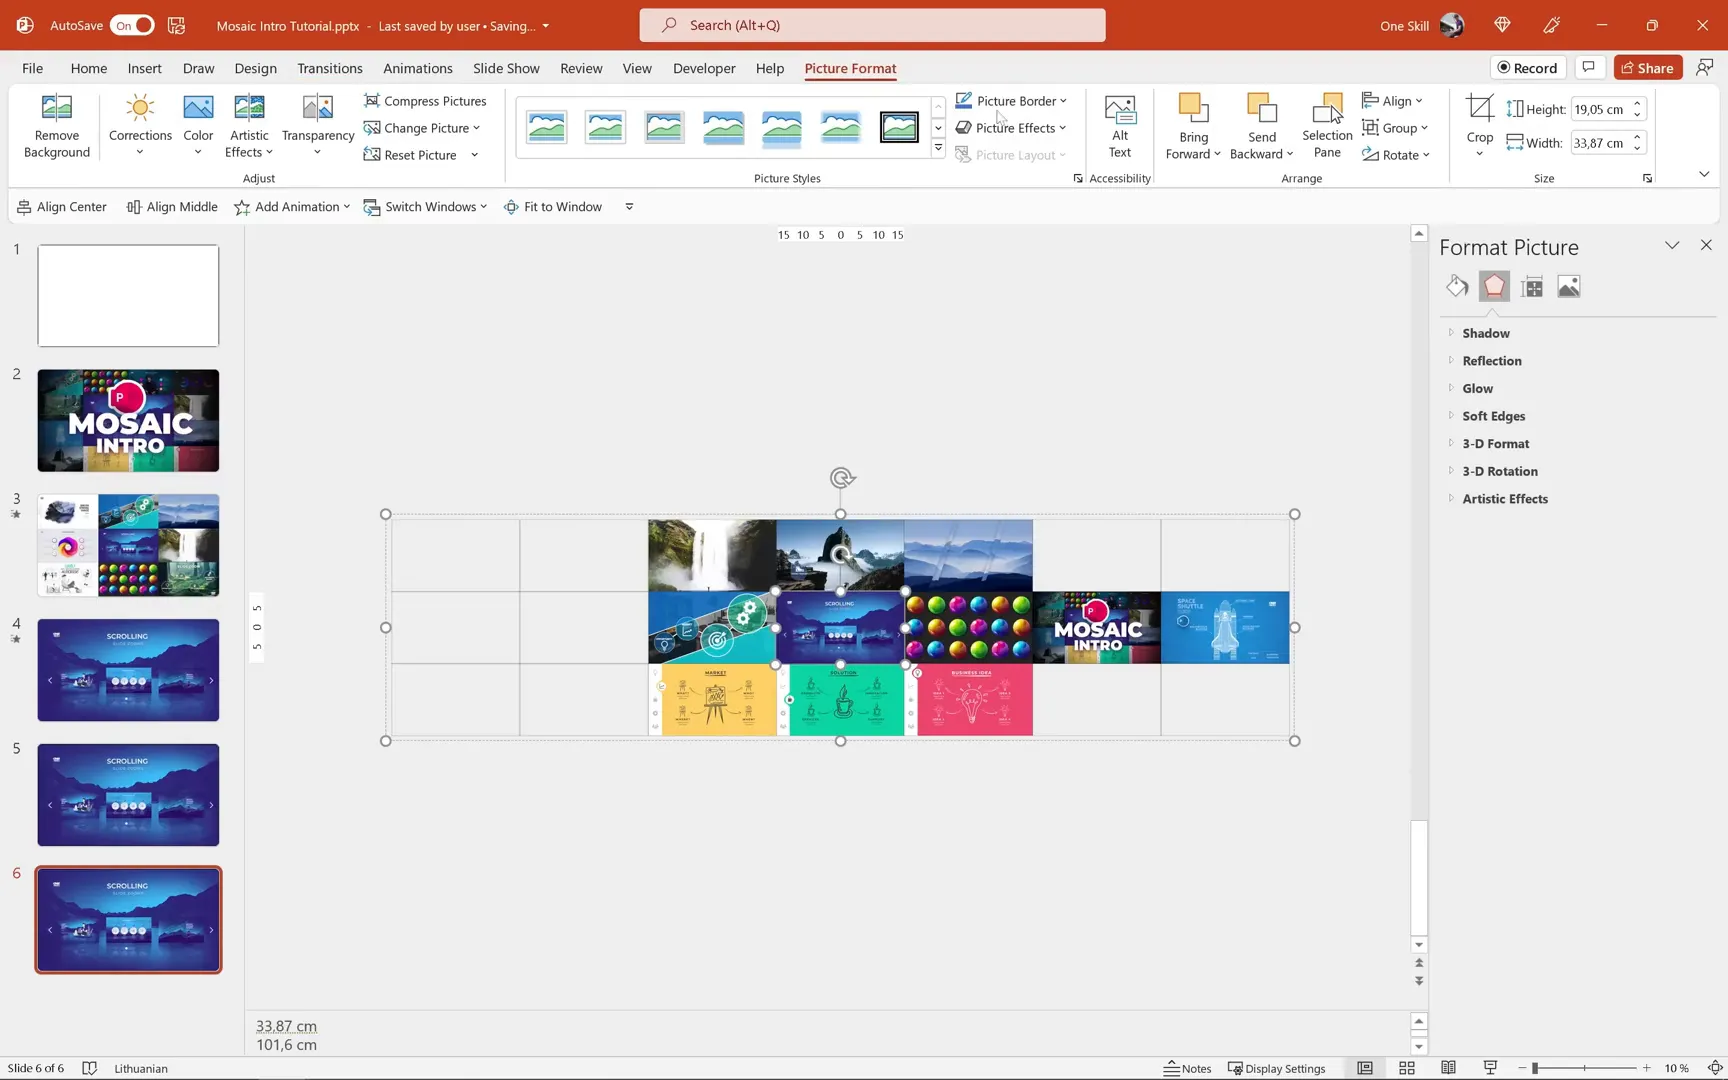
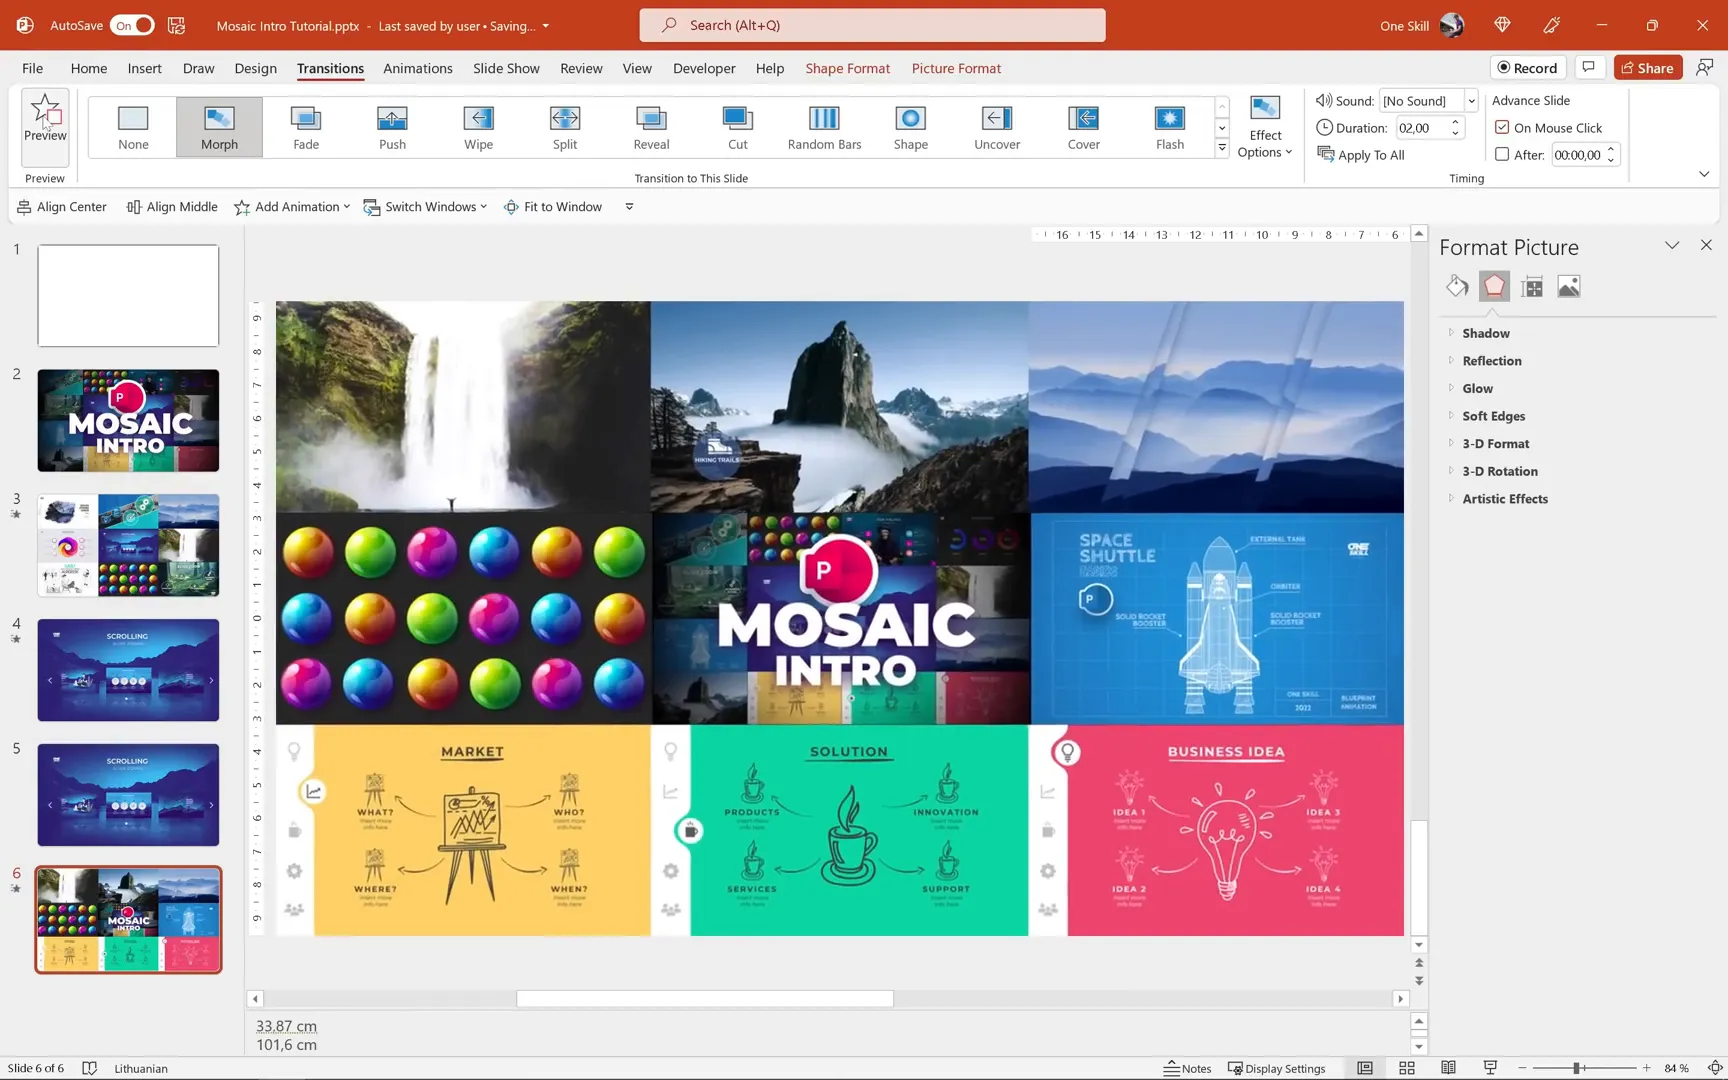
To create a zoom-in effect on a specific mosaic image, duplicate the last slide and group all three columns into one big group. Resize this group to the total width of 101.6 centimeters, which you saved earlier, and center it on the slide.

Ungroup the columns again and make sure the Morph transition is applied. When previewed, this will zoom into the mosaic image. If the zoom targets the wrong area, adjust the positions of the image placeholders by dragging the top and bottom blocks until the desired area covers the slide.
Group the columns back and preview your animation. Now you’ll get a smooth zoom-in transition to the exact mosaic area you want to highlight.
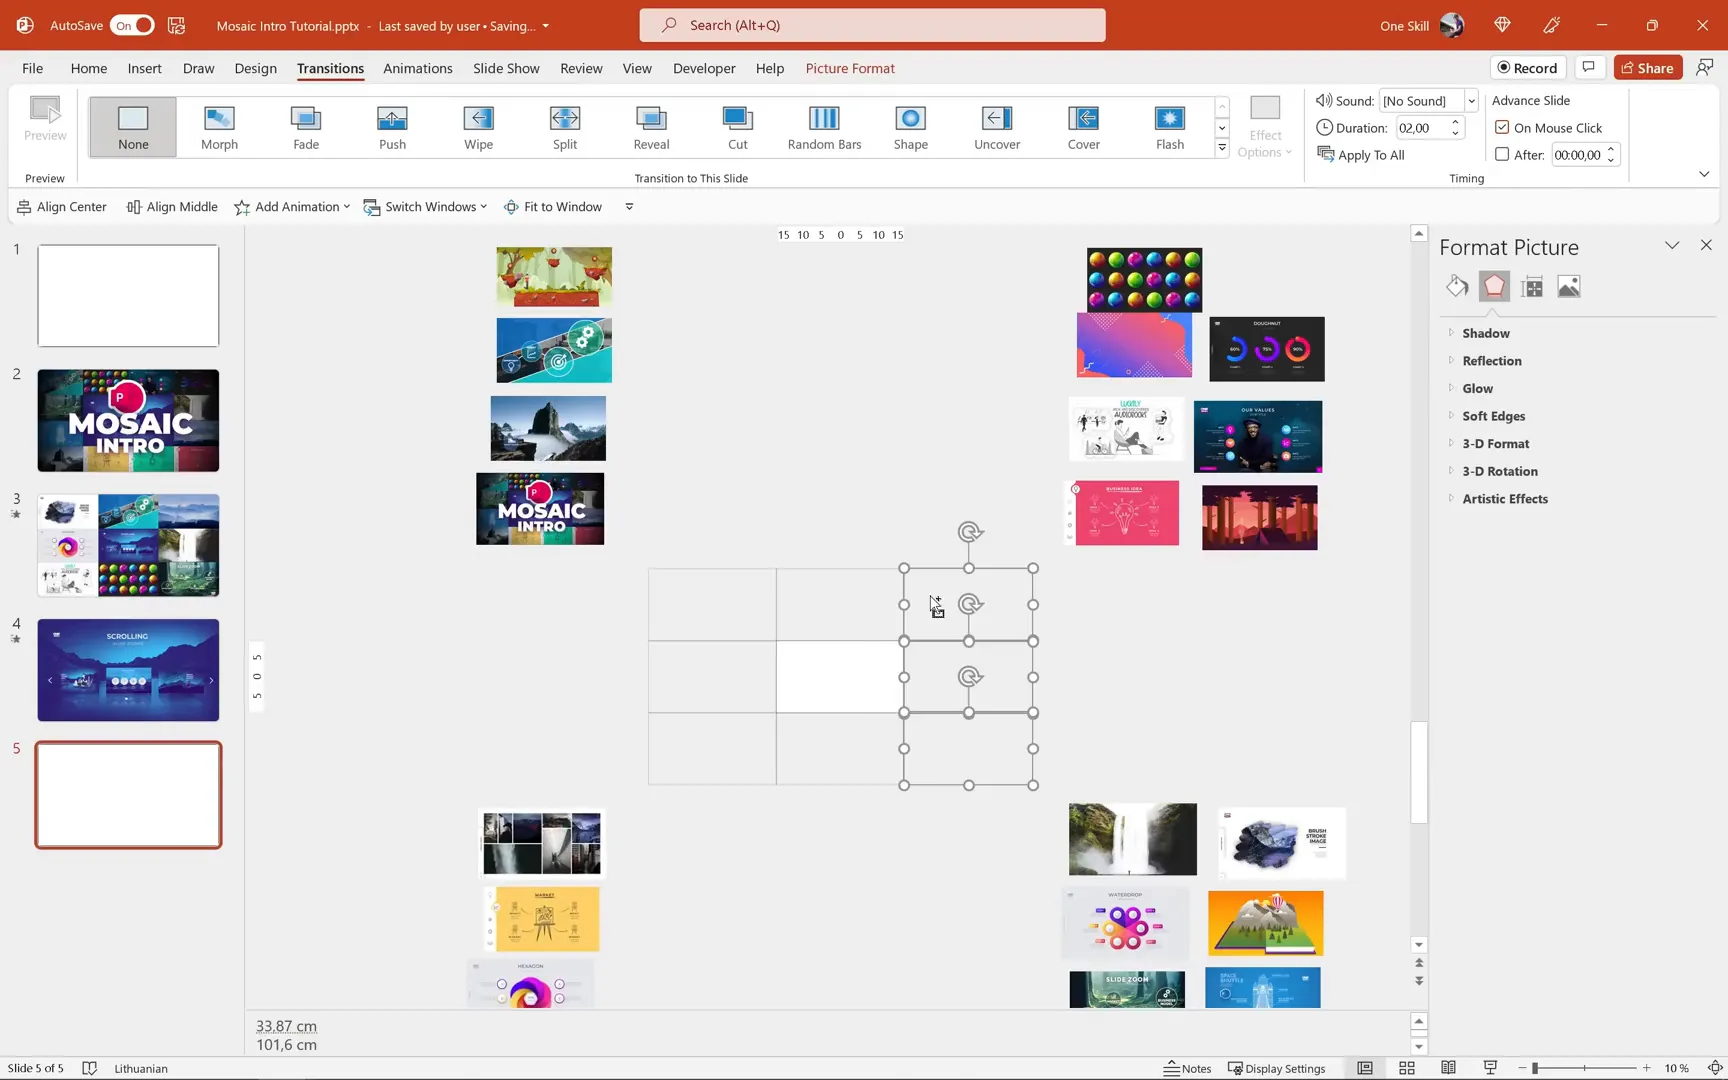
Step 7: Creating a Horizontal Scrolling Mosaic Animation
Reuse the backup slide with empty placeholders. Delete the top and bottom layers to create space for horizontal scrolling. Add more placeholders on the right and left to create three rows of seven image placeholders each.
Fill the placeholders with images as before. For the horizontal scroll, fill only the middle row fully, while leaving some placeholders empty on the top and bottom rows to emphasize the scrolling effect.
Group each row separately and duplicate the slide. On the duplicate, resize the grouped rows to the slide height (about 19.05 cm), lock aspect ratio, and center align them.
Remove outlines from placeholders for a cleaner look. Apply the Morph transition to the duplicated slide and preview the zoom-out effect.
For the scrolling effect, move the middle row to the right or left to simulate horizontal scrolling. Set the background color to black on both slides to hide any gaps.
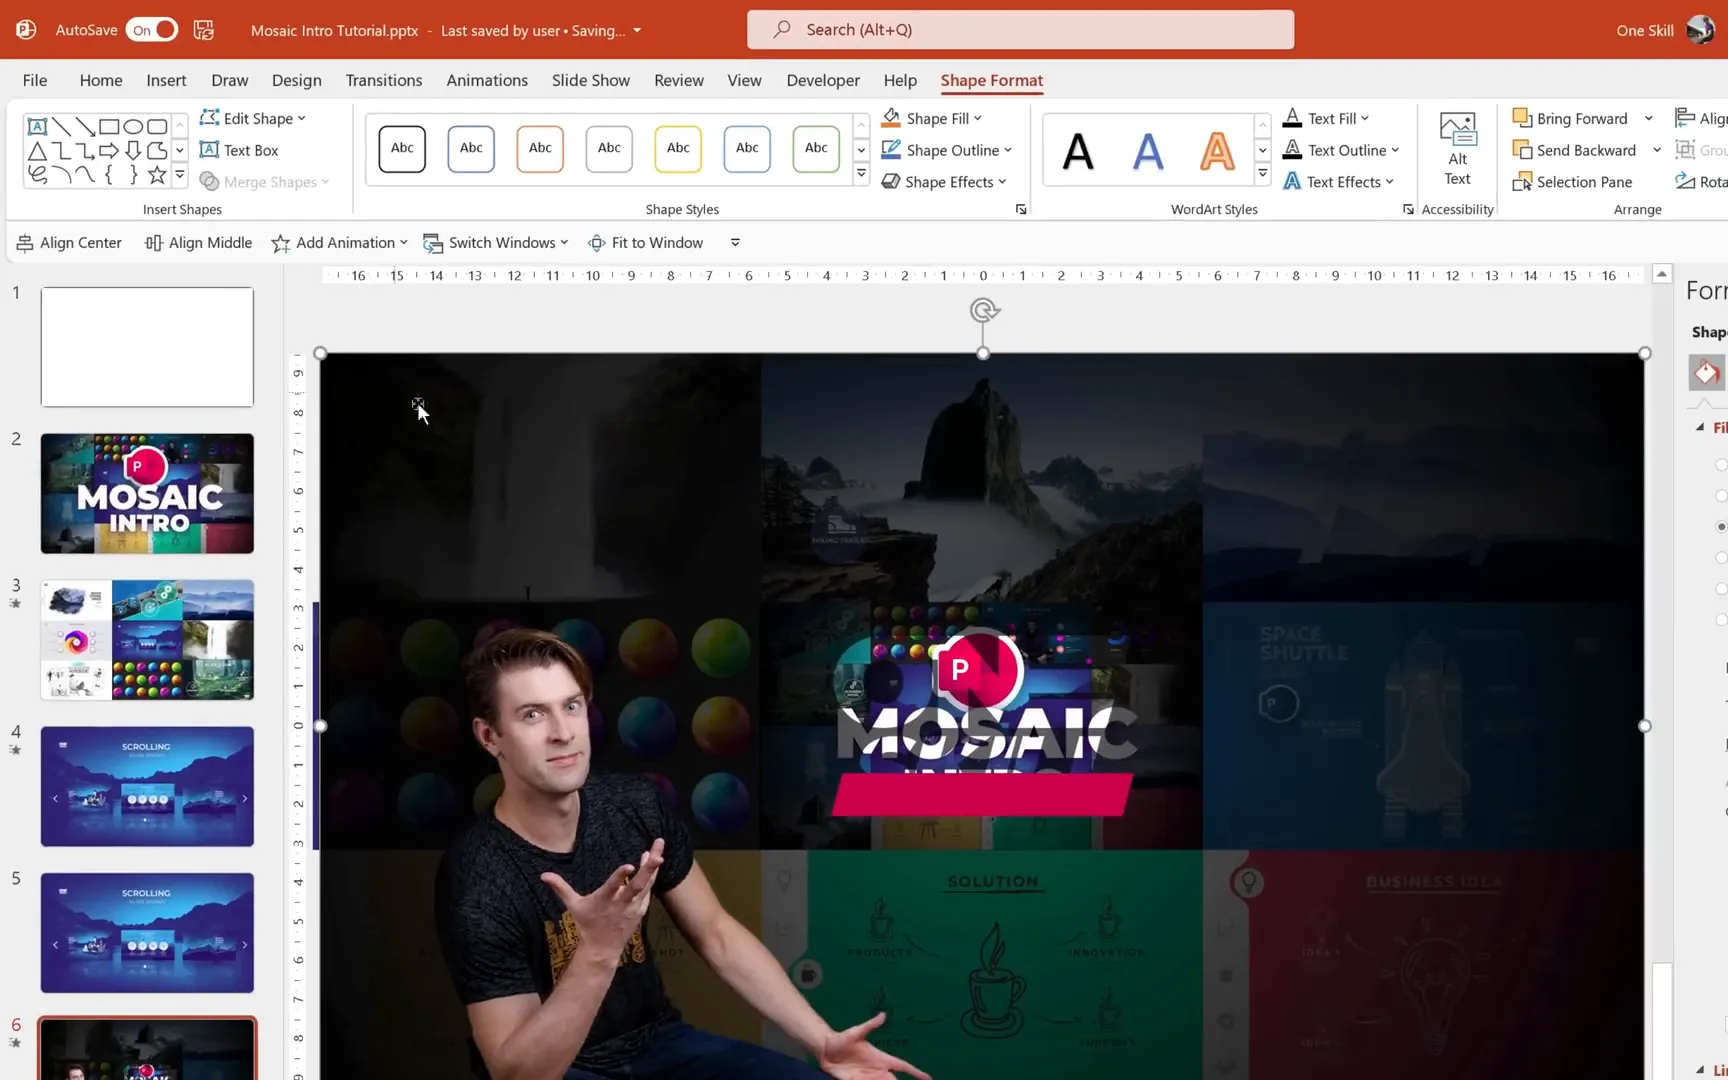
Step 8: Adding a Logo Reveal and Handwriting Animation
To finish your mosaic intro, add a final slide with a dark overlay that gradually reveals your logo with a stylish cutout effect. Insert a rectangle covering the entire slide and apply a radiant gradient fill with two black color stops—one partially transparent and one fully opaque—to create a smooth dark overlay.
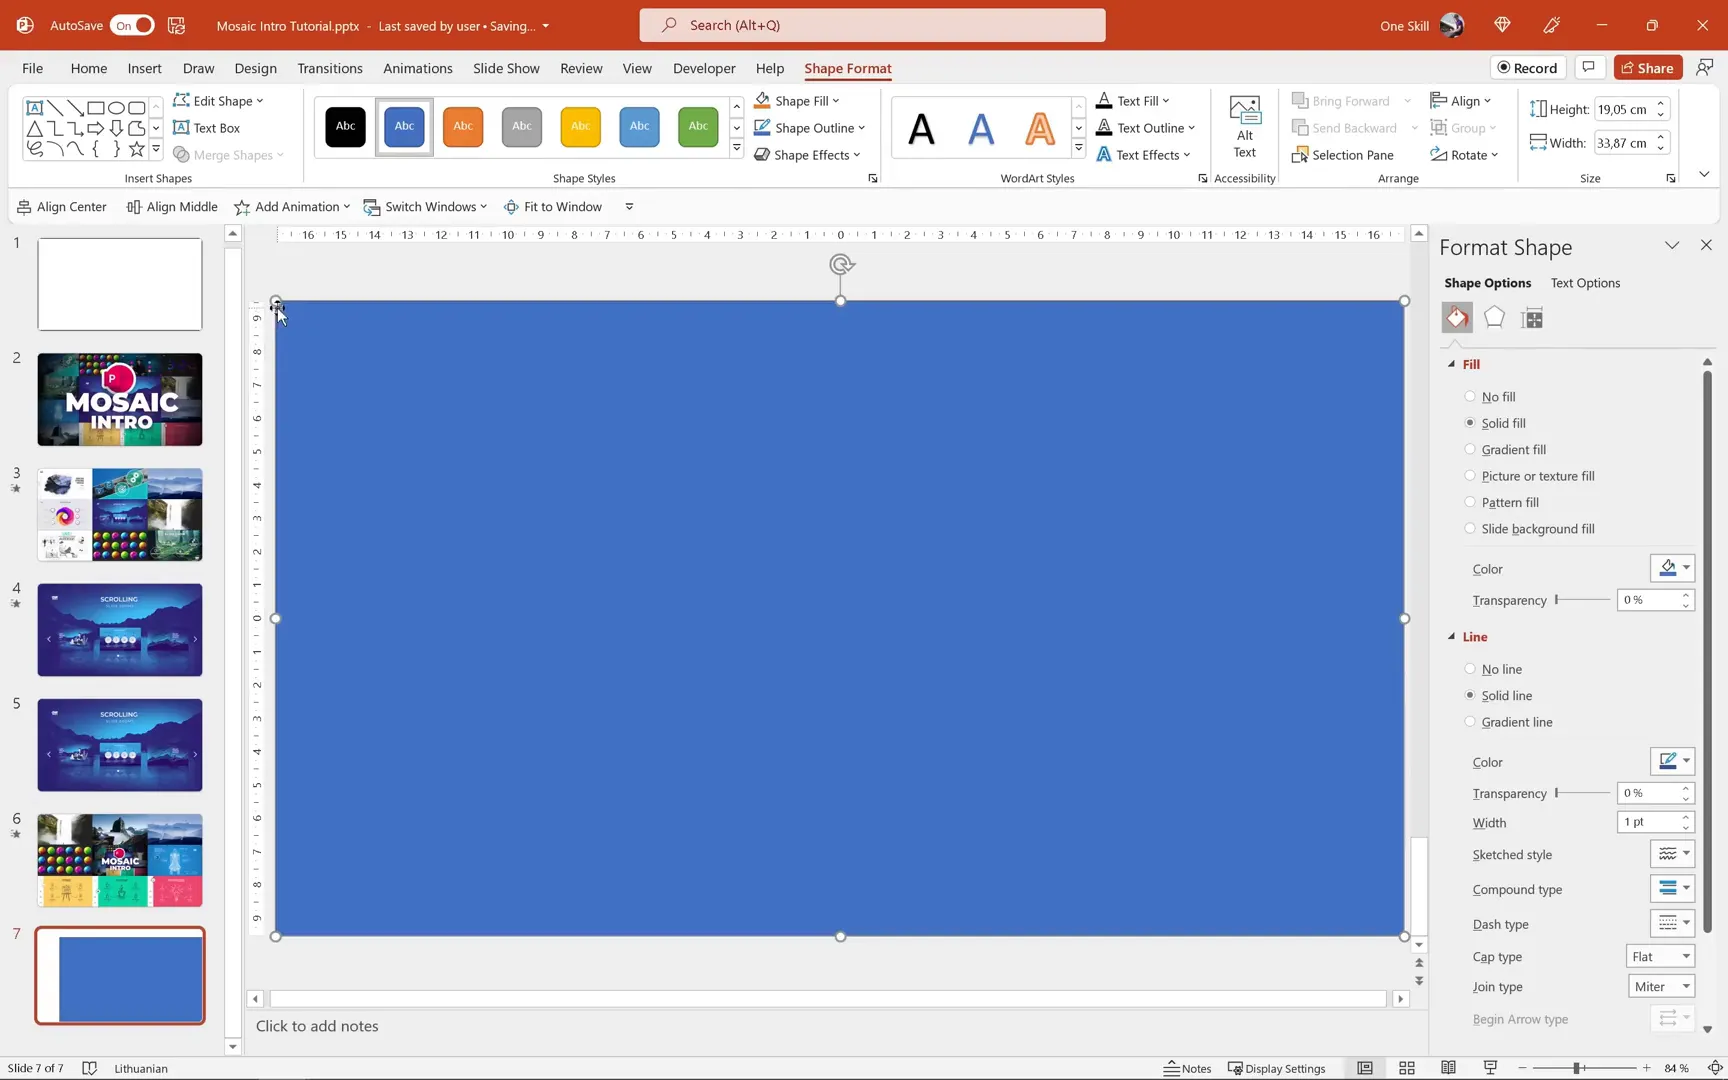
Copy your logo (preferably a vector shape) and place it on the overlay. Use the Merge Shapes > Subtract feature to punch a hole in the overlay in the shape of your logo, revealing the mosaic beneath.
Place the logo itself on top of the overlay to create a layered effect. Animate the logo with a fade-in effect and other elements such as a red line with flying animations from opposite directions, adding bounce for liveliness.
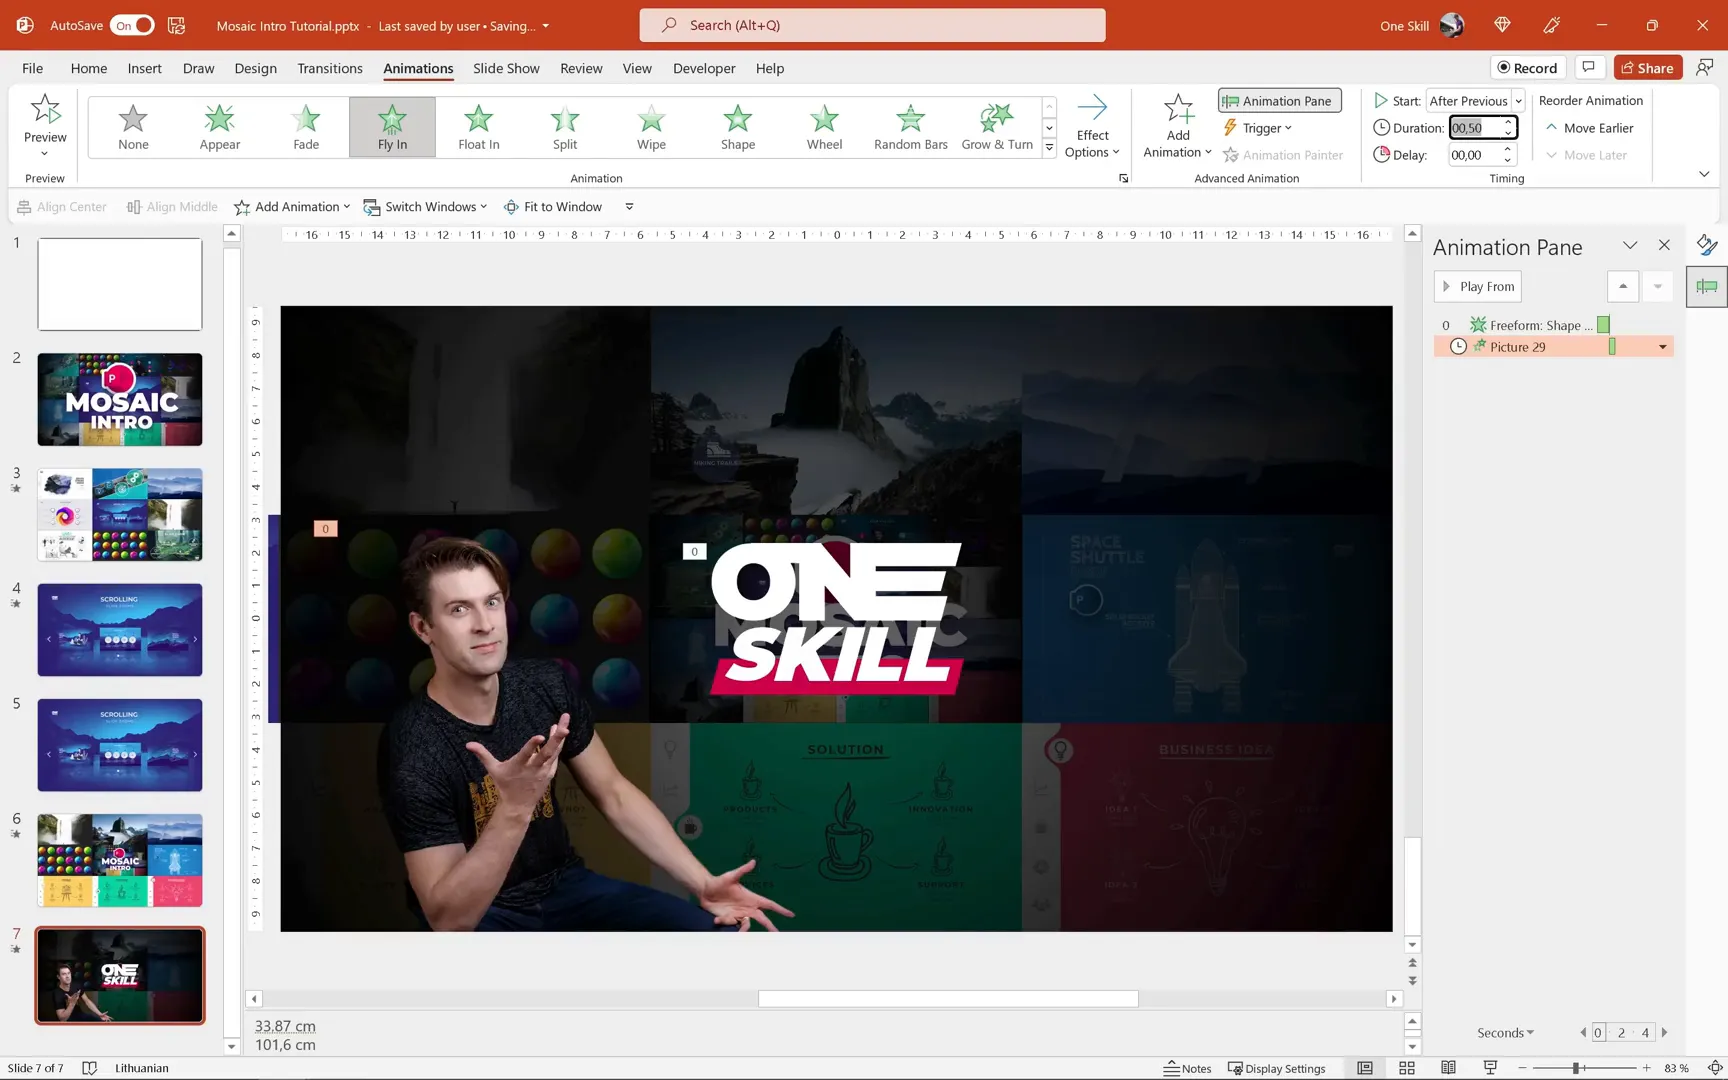
Finally, add a handwriting animation using PowerPoint’s Draw tab. Select the white pen, customize thickness and color, and draw or write your text directly on the slide. Use the Replay animation to simulate the handwriting effect, adjusting duration and delay for smoothness.
If you have a graphics tablet, it can greatly improve the fluidity of your handwriting animation, but you can also use a mouse or touchpad.
Step 9: Automating Slide Transitions
For a seamless playback experience, set automatic slide transitions for your animation slides. Select the slides where the animation occurs (slides 3 to 6 in this tutorial), and set them to transition after zero seconds. This way, you only need to click once to start the intro, and the rest will play automatically.
Final Thoughts
Congratulations! You now have the skills to create a captivating scrolling mosaic video intro entirely within Microsoft PowerPoint 365. This tutorial showcases the power of the Morph transition combined with smart grouping and creative image manipulation to produce professional animations without needing external video software.
Remember, practice and experimentation are key. Feel free to customize the mosaic grid, images, scrolling directions, and animations to suit your unique style and presentation needs.
PowerPoint is more versatile than many realize, and with tutorials like this, you can unlock new creative possibilities.
Frequently Asked Questions (FAQ)
Q1: Do I need PowerPoint 365 to create this mosaic video intro?
A: Yes. The Morph transition used in this tutorial requires PowerPoint 2019 or Office 365. Older versions of PowerPoint do not support this feature.
Q2: Can I use my own images for the mosaic?
A: Absolutely! You can fill the mosaic placeholders with any images or screenshots you prefer. Just copy your image to the clipboard and use the “Change Picture > From Clipboard” option to fill each placeholder.
Q3: How do I take screenshots of slides for the mosaic?
A: On Windows, press Windows key + Shift + S to open the Snipping Tool, then select the area to capture. On Mac, use a similar shortcut (usually Command + Shift + 4). Paste the screenshot into PowerPoint and crop it to a 16:9 aspect ratio.
Q4: What if I see gaps between the columns during the animation?
A: To hide gaps, set the slide background color to black or any dark color that matches your design. This makes any white spaces between columns invisible during transitions.
Q5: Can I customize the scrolling direction?
A: Yes. You can scroll columns vertically or rows horizontally by adjusting their alignment positions on the animation slide. Just move the group up/down or left/right before applying the Morph transition.
Q6: How do I create the logo cutout effect on the dark overlay?
A: Use the Merge Shapes tool in the Shape Format tab. Select the dark overlay rectangle and your vector logo, then choose Subtract to punch a logo-shaped hole in the overlay.
Q7: Is the handwriting animation possible without a graphics tablet?
A: Yes! You can draw or write using your mouse or touchpad, though a tablet can help produce smoother strokes. Use the Draw tab’s Replay animation to simulate handwriting.
Q8: How can I automate the entire animation sequence?
A: Set automatic slide transitions with zero-second delay on the animation slides. This way, the presentation plays continuously after a single click.
Additional Resources
- PowerPoint Courses: Enhance your skills with curated courses available here.
- Download Tutorial Slides: Get free access to the slides used in this tutorial at this link.
- Recommended PowerPoint Templates: Explore professionally designed templates for various purposes, boosting your presentation designs.
Thank you for reading! Keep creating, stay inspired, and enjoy the endless creative possibilities PowerPoint offers.
Check out the full video: How to Create a Mosaic Video Intro in PowerPoint 🔥500K Special🔥+ Free Slides


