
Welcome to your ultimate guide on using one of the most popular PowerPoint templates available today — The X Note. This article will walk you through everything you need to know about this powerful template, from downloading it on Envato Elements to applying stunning animations like the floating iceberg effect. Whether you’re a PowerPoint beginner or looking to enhance your presentation skills, this guide will provide you with actionable tips and step-by-step instructions to create engaging, professional presentations.
Created by One Skill PowerPoint, this tutorial is your go-to resource for mastering animation techniques that make your slides come alive and for understanding how to navigate and utilize the vast resources found on Envato Elements. Let’s dive in and explore how to unlock the full potential of The X Note PowerPoint template!
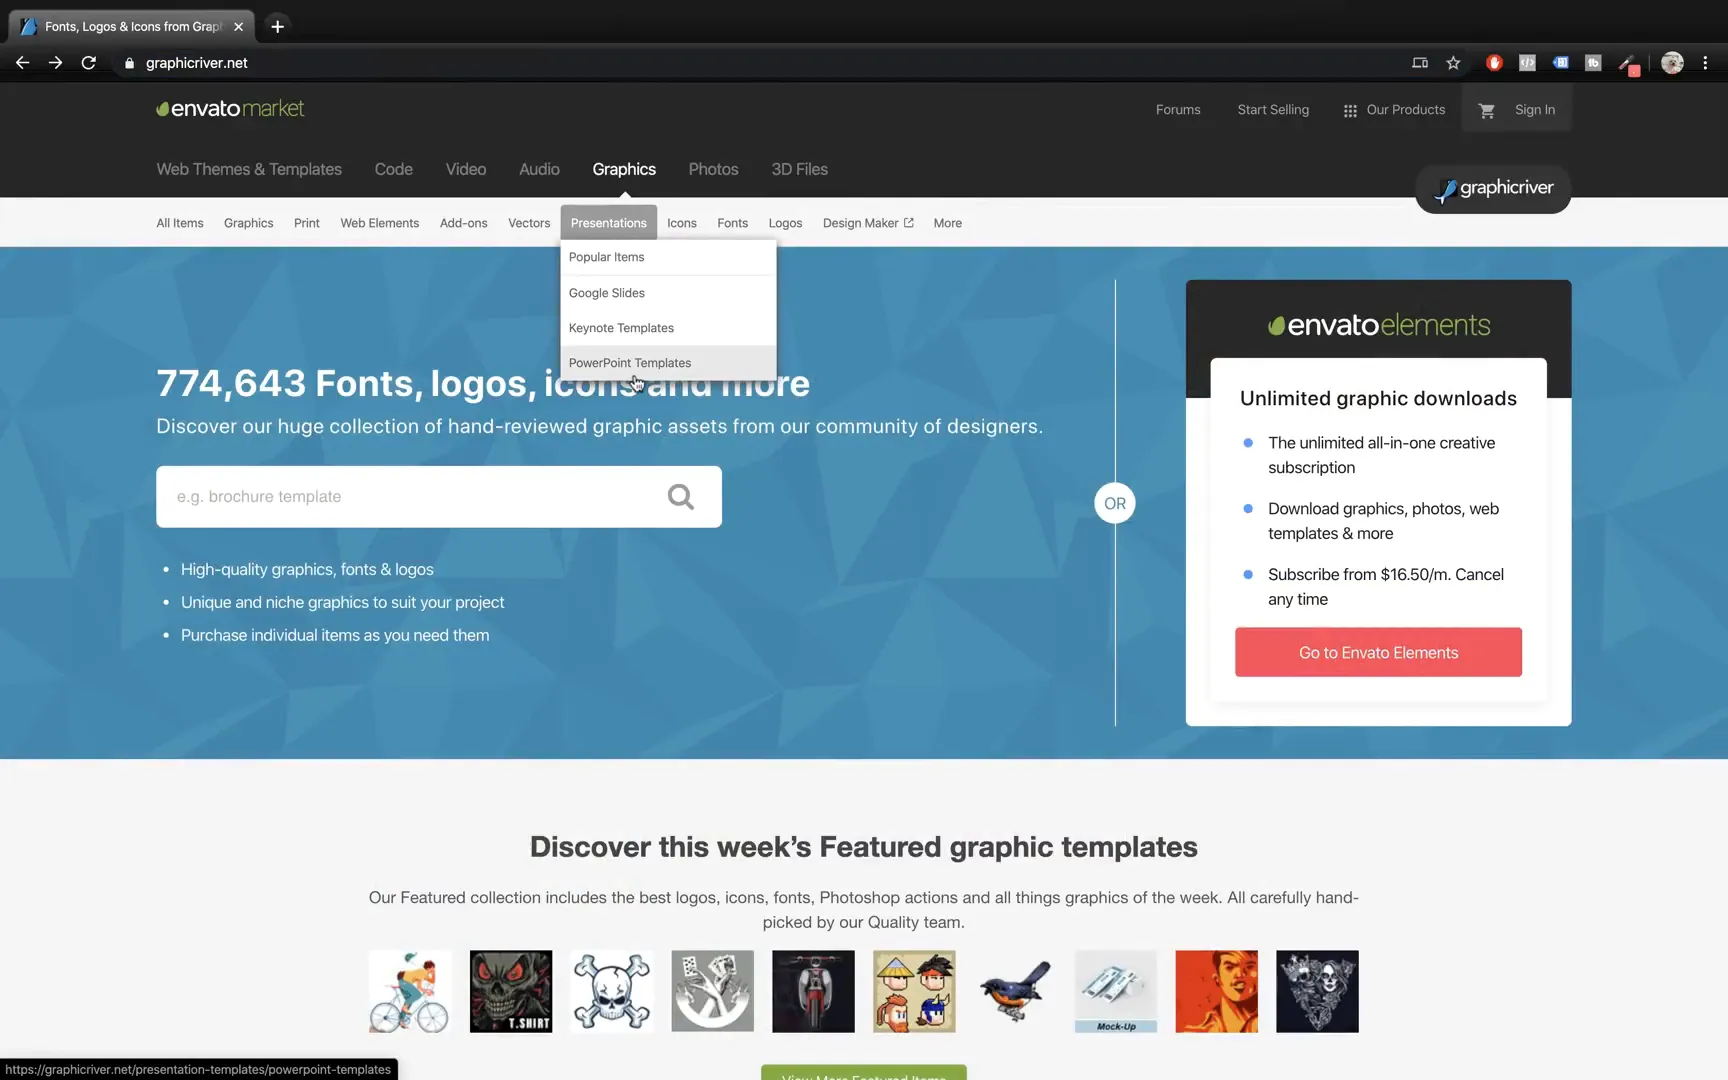
Table of Contents
- Discovering The X Note Template on Envato Elements
- Unpacking and Exploring The X Note PowerPoint Template
- How to Add Background Images and Customize Placeholders
- Animating Icons and Text for Dynamic Presentations
- Animating Charts for Visual Impact
- Animating Bars and Text for Team Member Slides
- Using Slide Transitions to Create Smooth Flow
- Creating the Floating Iceberg Animation
- Tips and Best Practices for PowerPoint Animations
- Why Choose Envato Elements for PowerPoint Templates?
- Frequently Asked Questions (FAQ)
- Conclusion
Discovering The X Note Template on Envato Elements
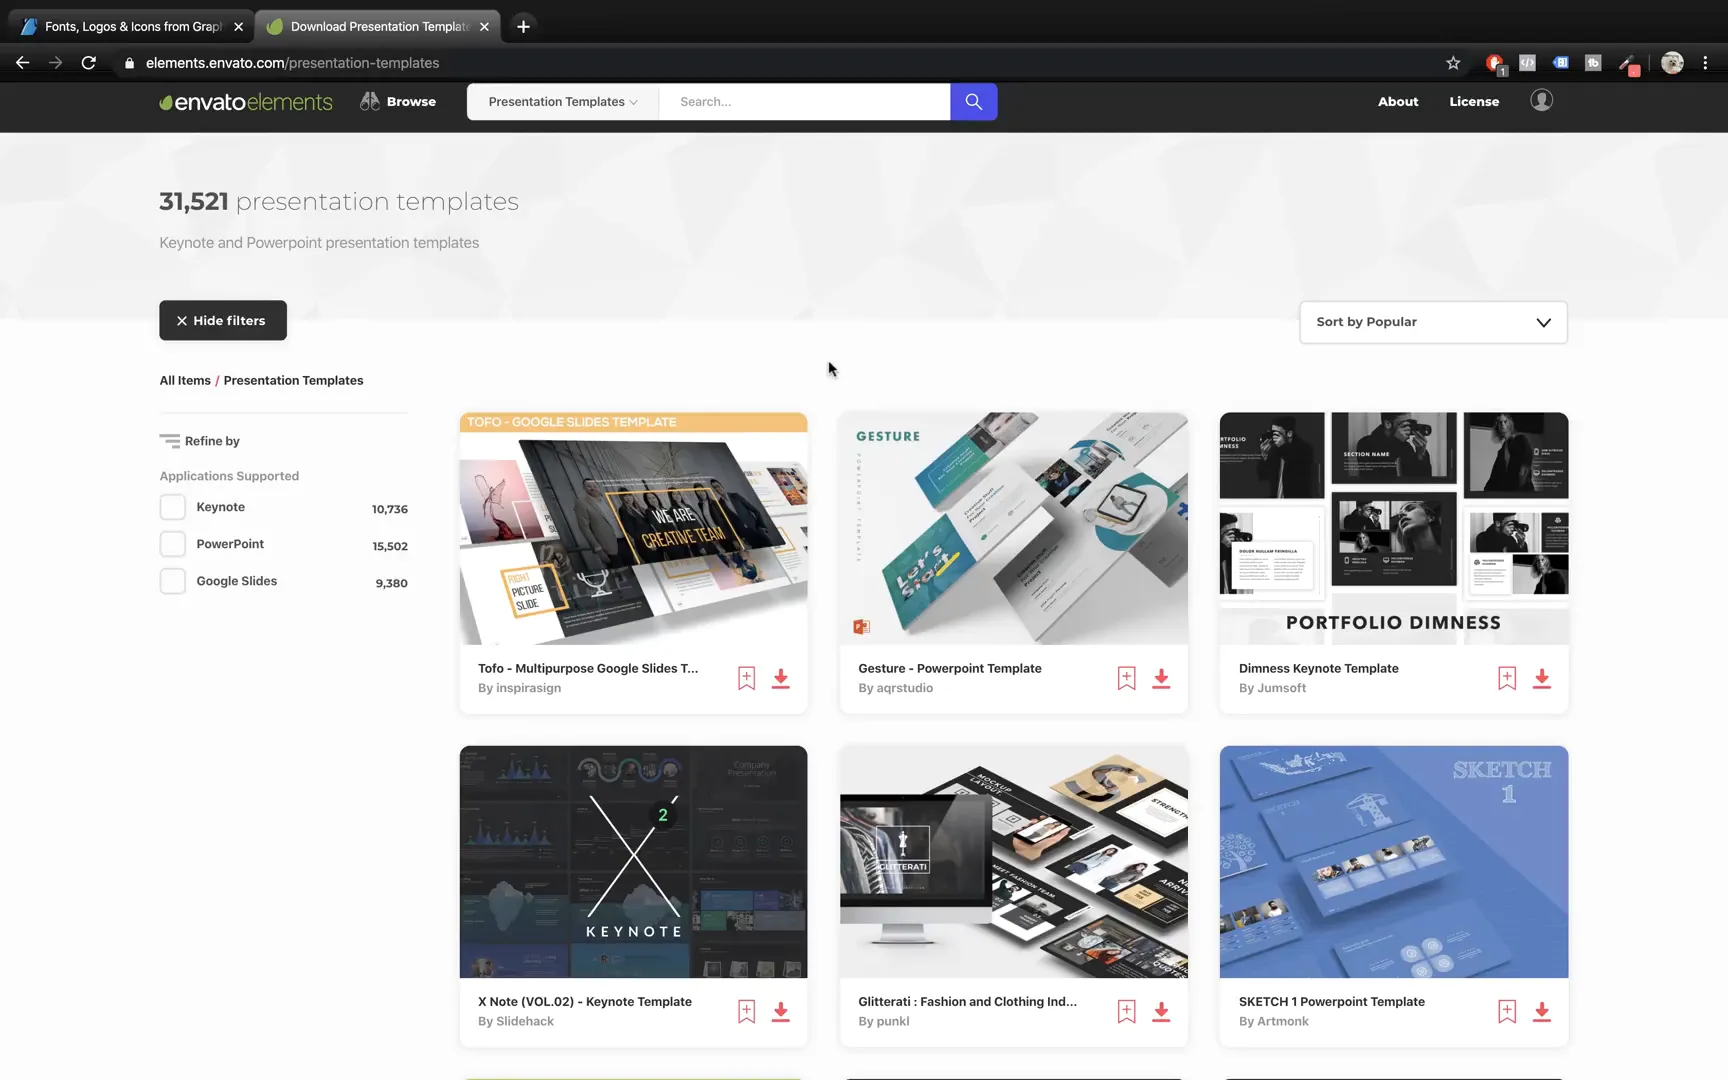
When searching for high-quality PowerPoint templates, many designers and presenters turn to GraphicRiver by Envato. However, Envato also offers a subscription-based platform called Envato Elements, which provides access to an extensive library of presentation templates, including Google Slides, Keynotes, and PowerPoint files.
Envato Elements is a game-changer for anyone who frequently needs professional templates because once subscribed, you can download unlimited assets without worrying about individual purchases. For instance, the platform offers over 31,000 presentation templates, with more than 15,000 dedicated to PowerPoint alone.
To get started, simply subscribe to Envato Elements. Opting for an annual subscription can save you up to 50%, making it an affordable option for freelancers, educators, marketers, and business professionals alike.
After subscribing, you can search for The X Note template directly using the search bar. You’ll find the latest version, XNote Volume Two, which includes updated designs and features. Download the template files to your computer, and you’re ready to begin customizing your presentation.
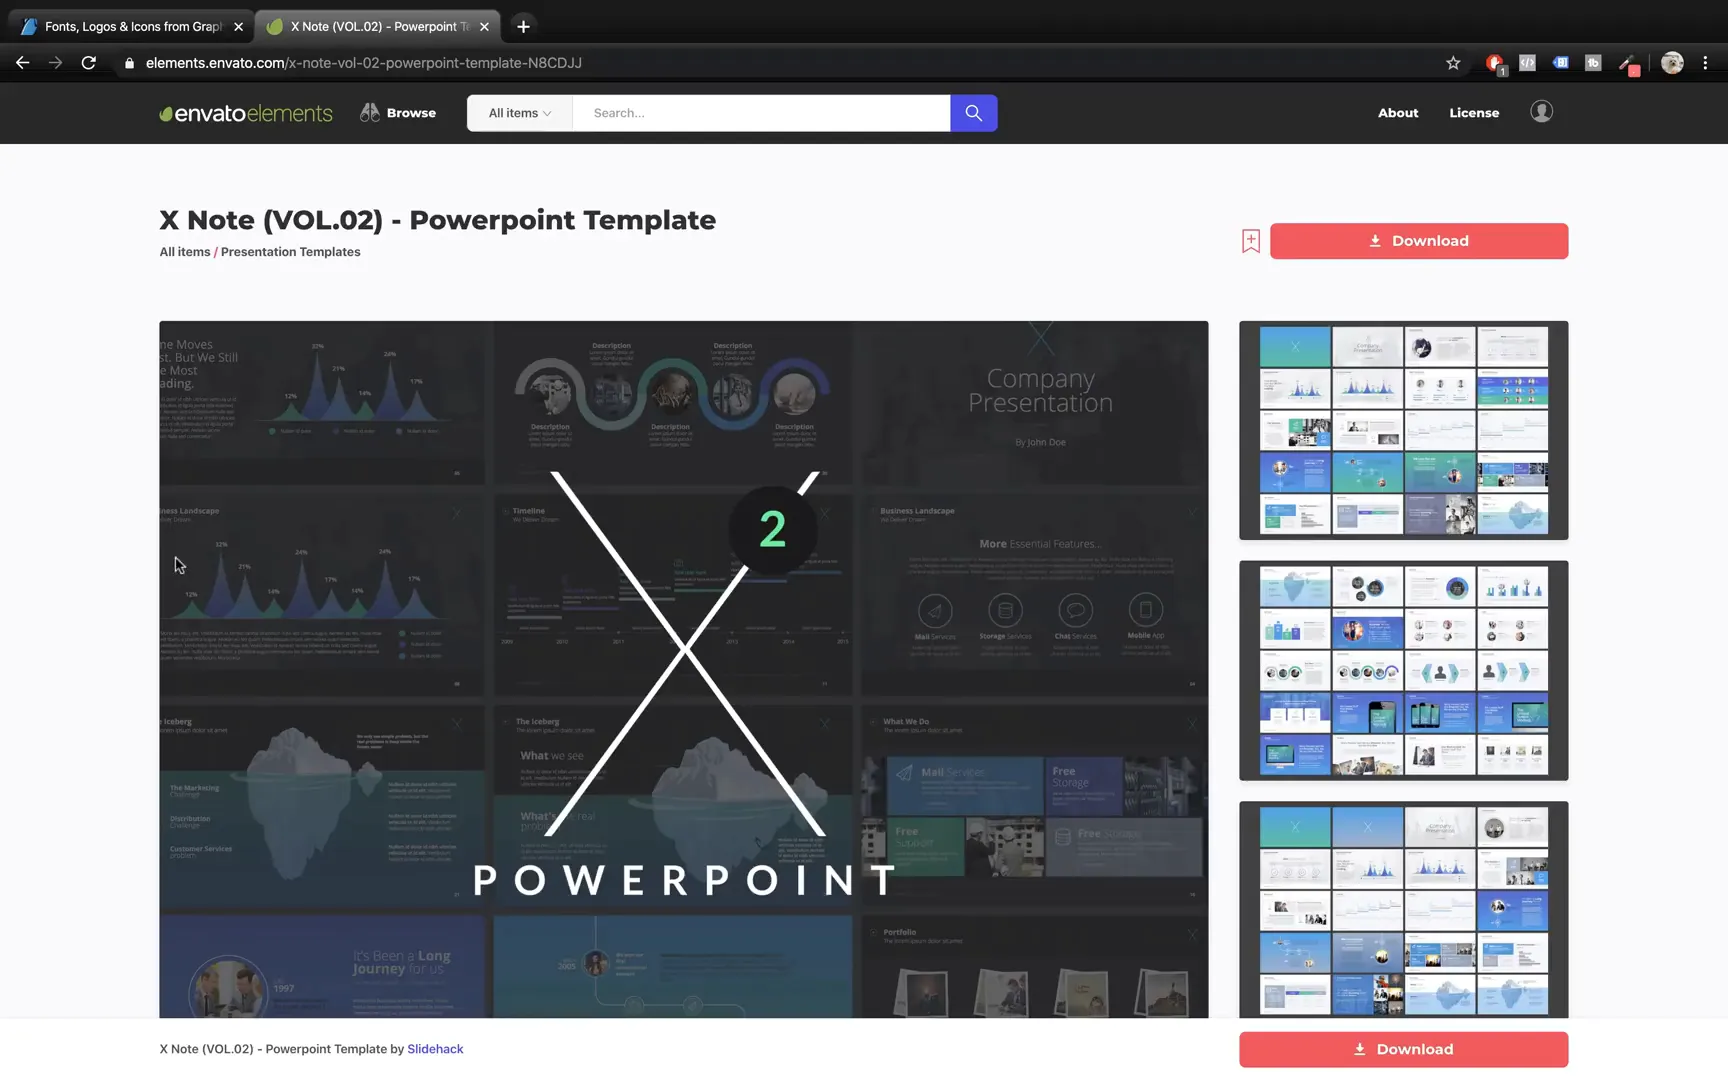
Unpacking and Exploring The X Note PowerPoint Template
The downloaded template usually comes in a compressed ZIP file. Once unzipped, you’ll find various versions of the presentation, such as widescreen (16:9) and standard screen (4:3), as well as light and dark themes. For this guide, we’ll focus on the widescreen dark version, which offers a modern, sleek look suitable for most professional presentations.
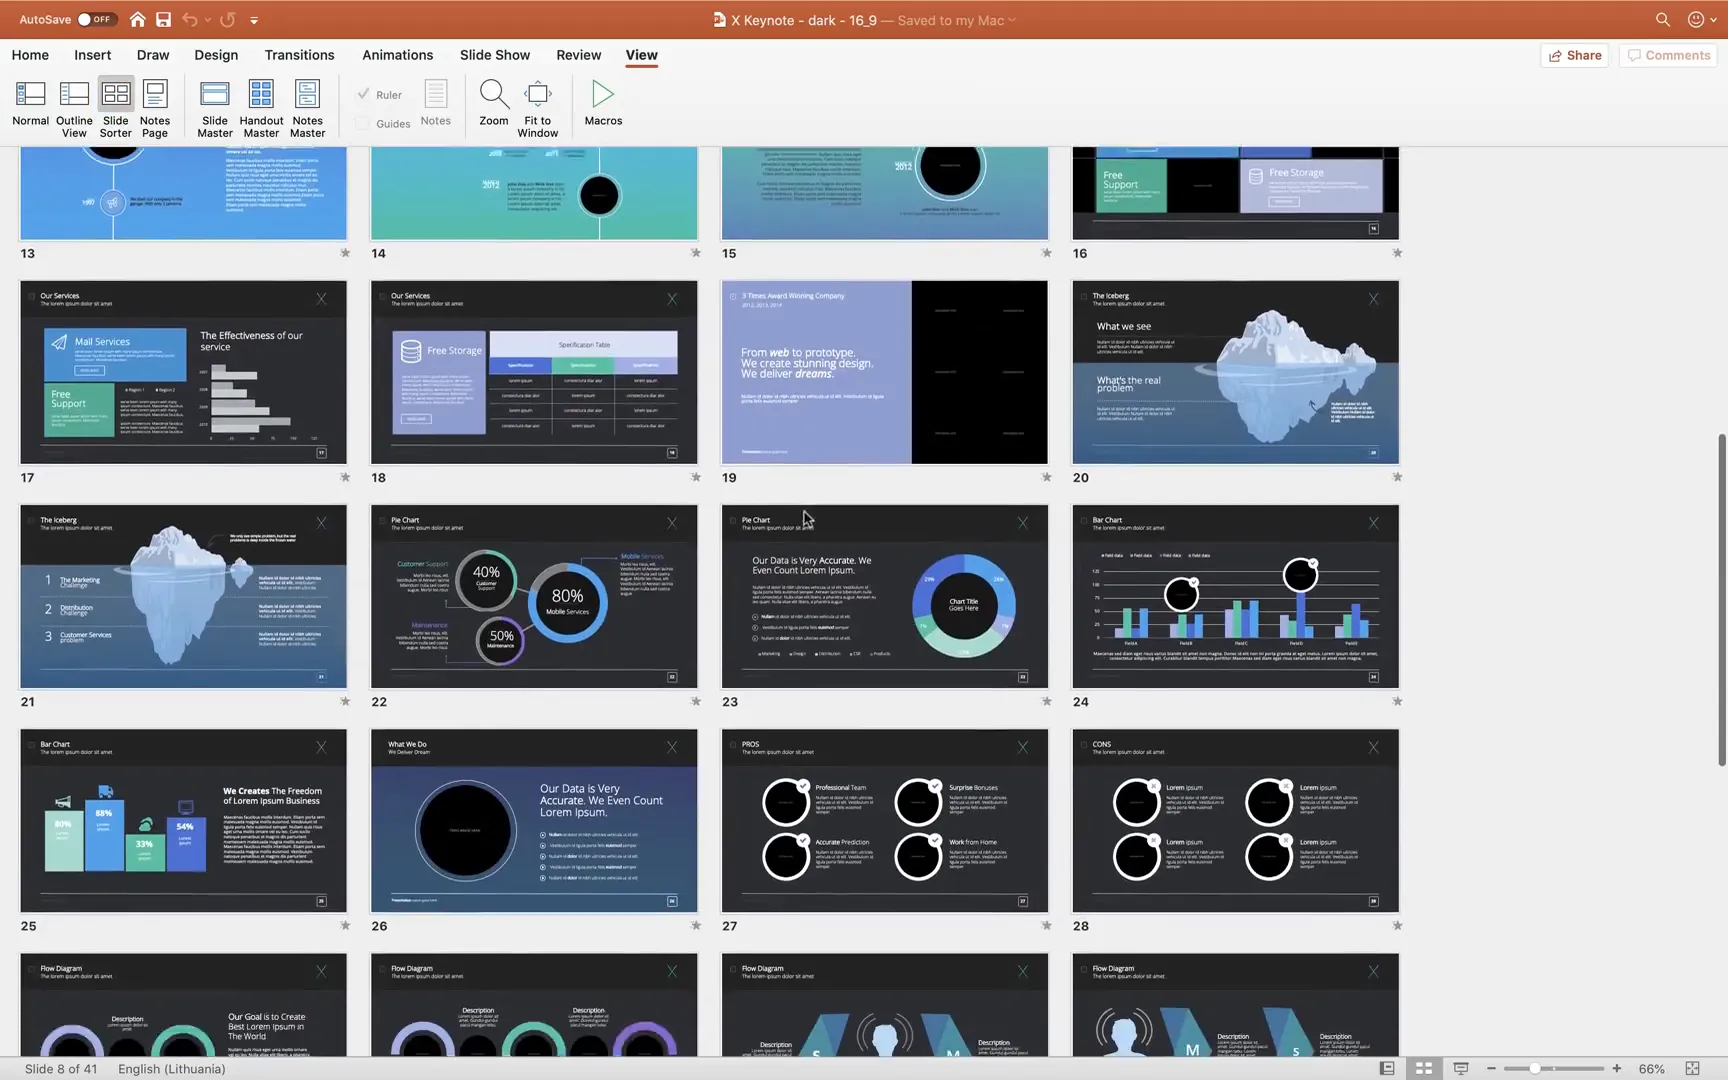
Opening the PowerPoint file reveals a visually appealing dark theme with a cohesive color palette, gradient icons, charts, and plenty of image placeholders. These placeholders make it easy to insert your own pictures without disrupting the slide layout.
To get an overview of the template’s features, switch to Slide Sorter View. This allows you to scan through all slides quickly, showcasing various useful elements such as icons, device mockups, and chart designs. These resources enable you to create visually rich presentations without starting from scratch.
How to Add Background Images and Customize Placeholders
One of the first customization steps is adding background images to your slides. The X Note template includes image placeholders where you can easily insert your own photos to enhance the visual appeal.
For example, if you want to add a beautiful mountain photo, click on the placeholder icon and select your desired image. If the photo appears over other content, simply right-click on it and choose Send to Back to layer it behind text and icons.
This simple step instantly transforms the slide, giving it a professional and polished look that’s easy to achieve even if you’re new to PowerPoint.

Animating Icons and Text for Dynamic Presentations
Animations can significantly enhance your presentation by guiding the audience’s attention and adding a layer of professionalism. Surprisingly, The X Note template comes without preset animations, giving you the creative freedom to add your own effects.
Let me show you how to animate icons so they appear one by one, creating a smooth, engaging flow.
Grouping Elements for Easier Animation
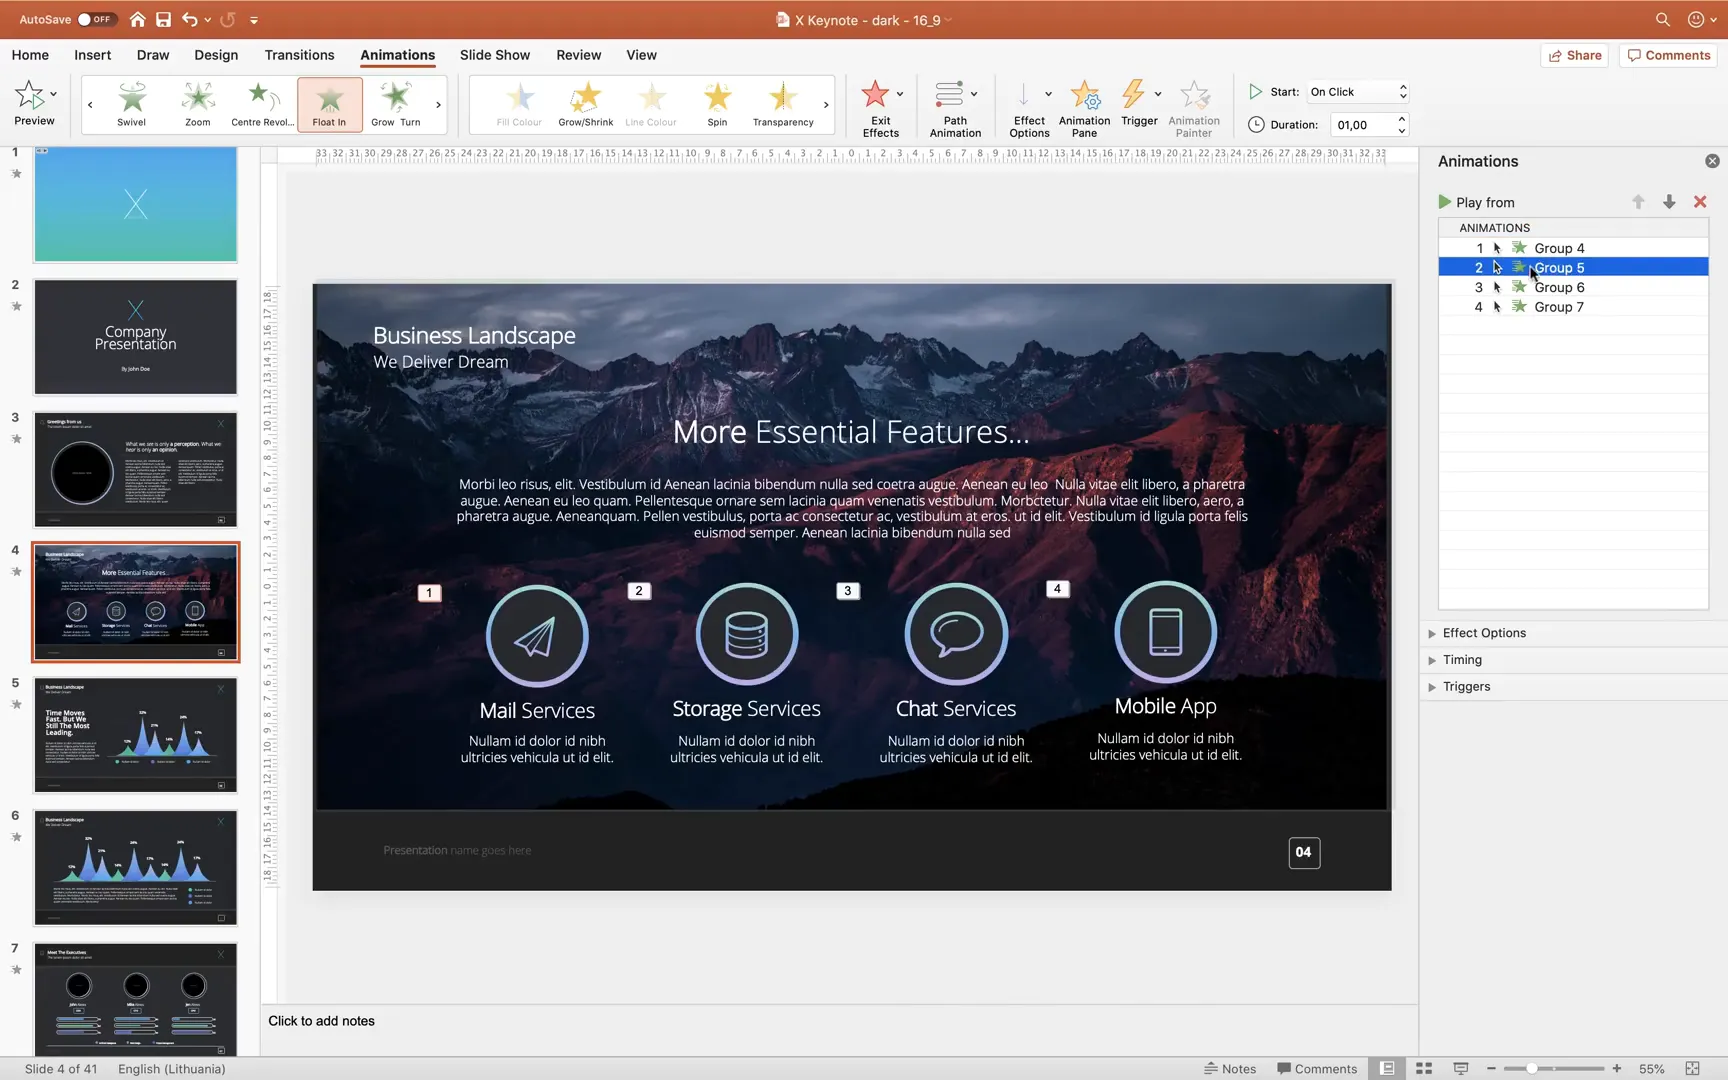
First, select the icons and text boxes you want to animate. Hold down the Shift key to select multiple objects, then right-click and choose Group. Grouping keeps related elements together, making it easier to apply animations uniformly.
In the example, we create four separate groups for different icons and text sets. Grouping ensures the animation applies consistently and saves time when duplicating effects.
Applying the Float-In Animation
With a group selected, navigate to the Animations tab and choose the Float In animation. Set the direction to Float Down to achieve a gentle dropping effect.
Preview the animation to see how the icons gracefully appear. Once satisfied, use the Animation Painter tool to copy this animation to the other groups, ensuring consistency across your slide.
You can control when each animation starts: either on click, after the previous animation, or simultaneously. By default, animations start on click, but you can adjust this to create a seamless sequence where all elements appear one after another with a single click.
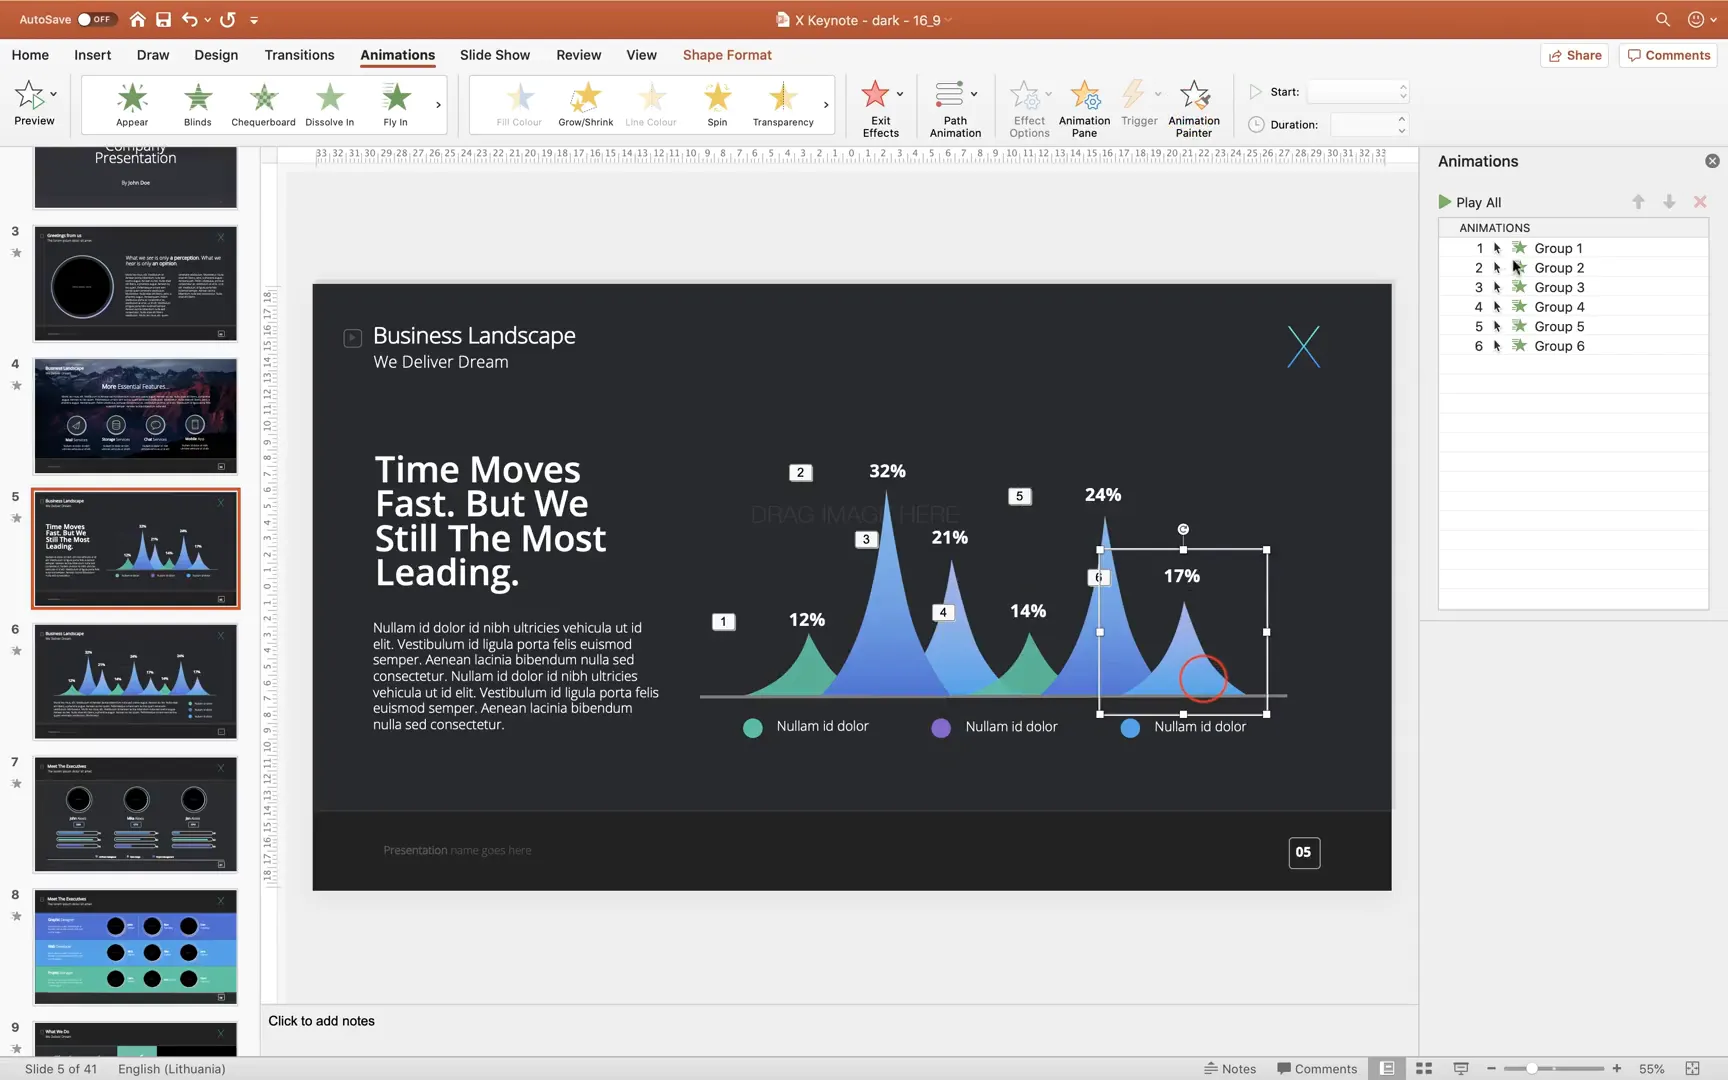
Animating Charts for Visual Impact
The X Note template includes spiky charts that help visualize data effectively. To animate these charts:
- Ungroup the chart elements to separate individual spikes and their corresponding percentages.
- Group each spike with its percentage label to keep them together.
- Select each group and apply the same Float In animation with a downward direction.
- Use the Animation Painter to copy the animation across all chart groups.
This results in a dynamic presentation of data where each part of the chart appears sequentially, grabbing your audience’s attention.

To enhance the slide further, add a background image by copying it from a previous slide and sending it to the back via the Selection Pane. This layering effect makes your data pop while maintaining a cohesive design.
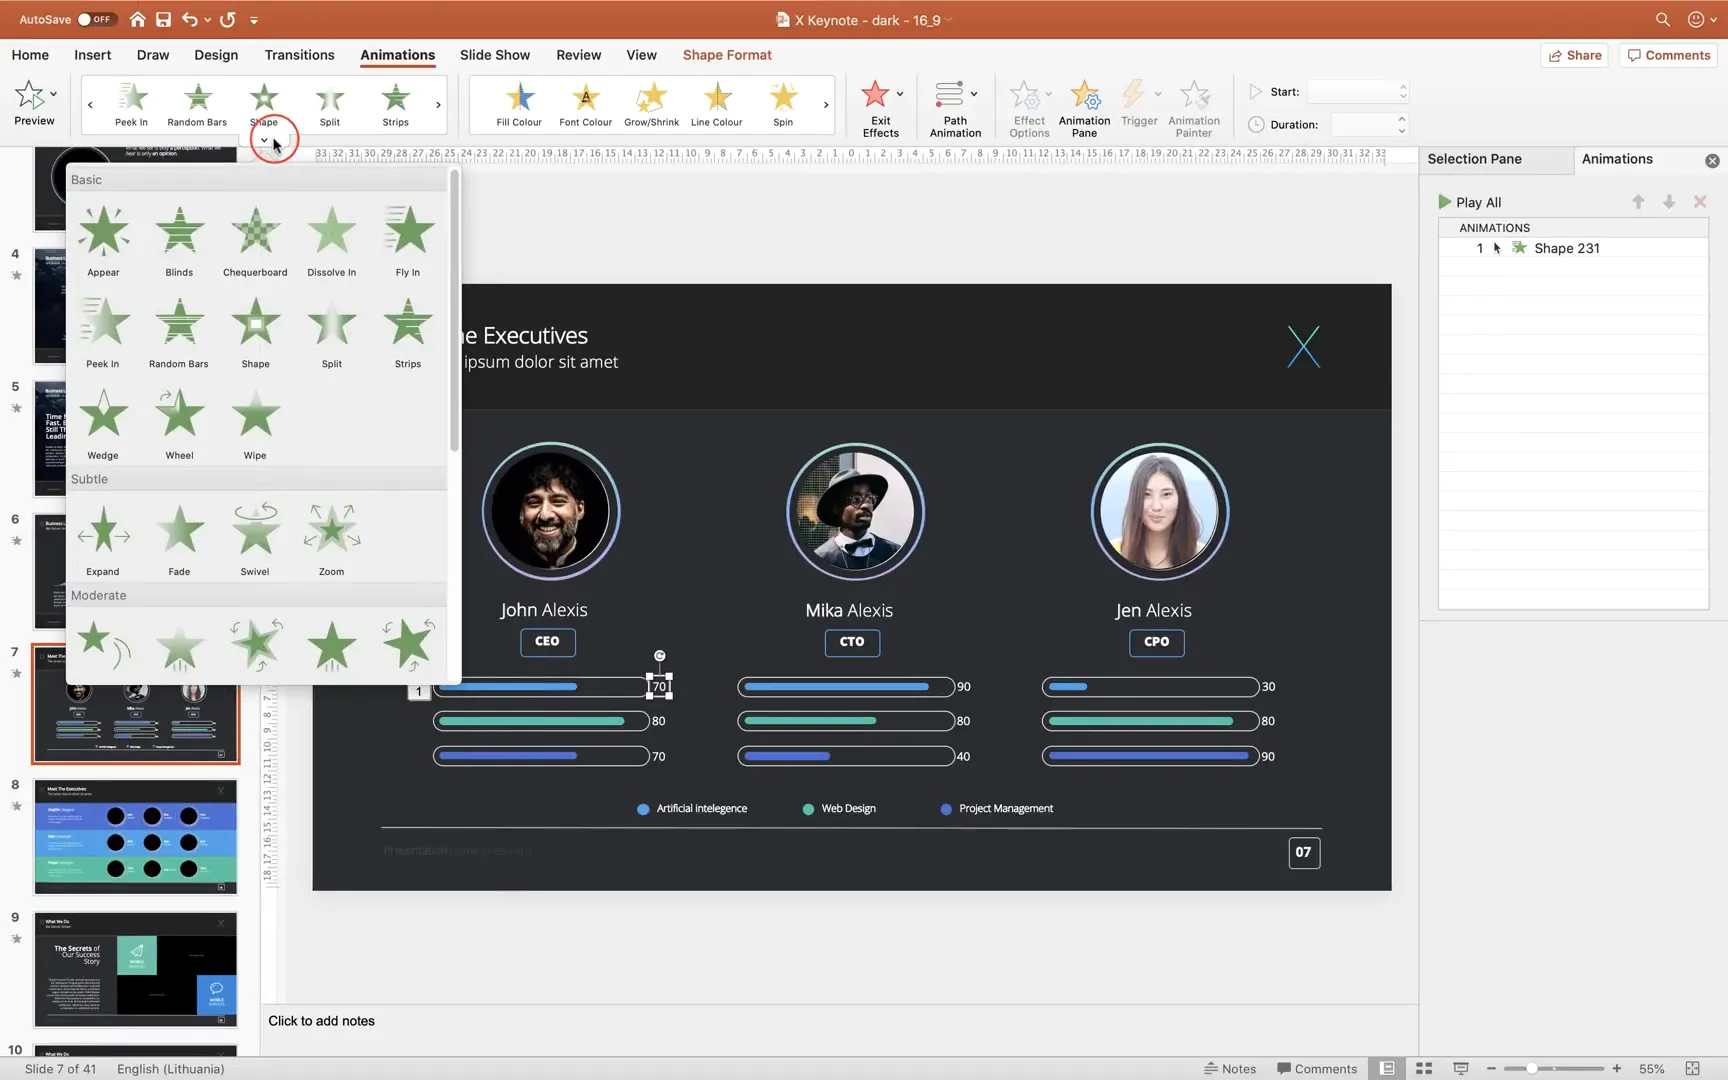
Animating Bars and Text for Team Member Slides
Team member slides often include photos alongside bars representing stats or achievements. Here’s how to animate these elements effectively:
- Insert photos into placeholders and adjust their cropping via the Crop tool to ensure perfect framing.
- Select the colored bar and apply the Wipe animation from left to right. This gives a smooth sliding effect.
- Apply a Fade animation to the corresponding text box and set it to start After Previous, so it appears right after the bar animates.
- Use the Animation Painter to replicate these animations across all bars and text boxes for consistency.
Preview the slide in full screen to see the bars slide in followed by the text fading in, creating a polished and professional look.
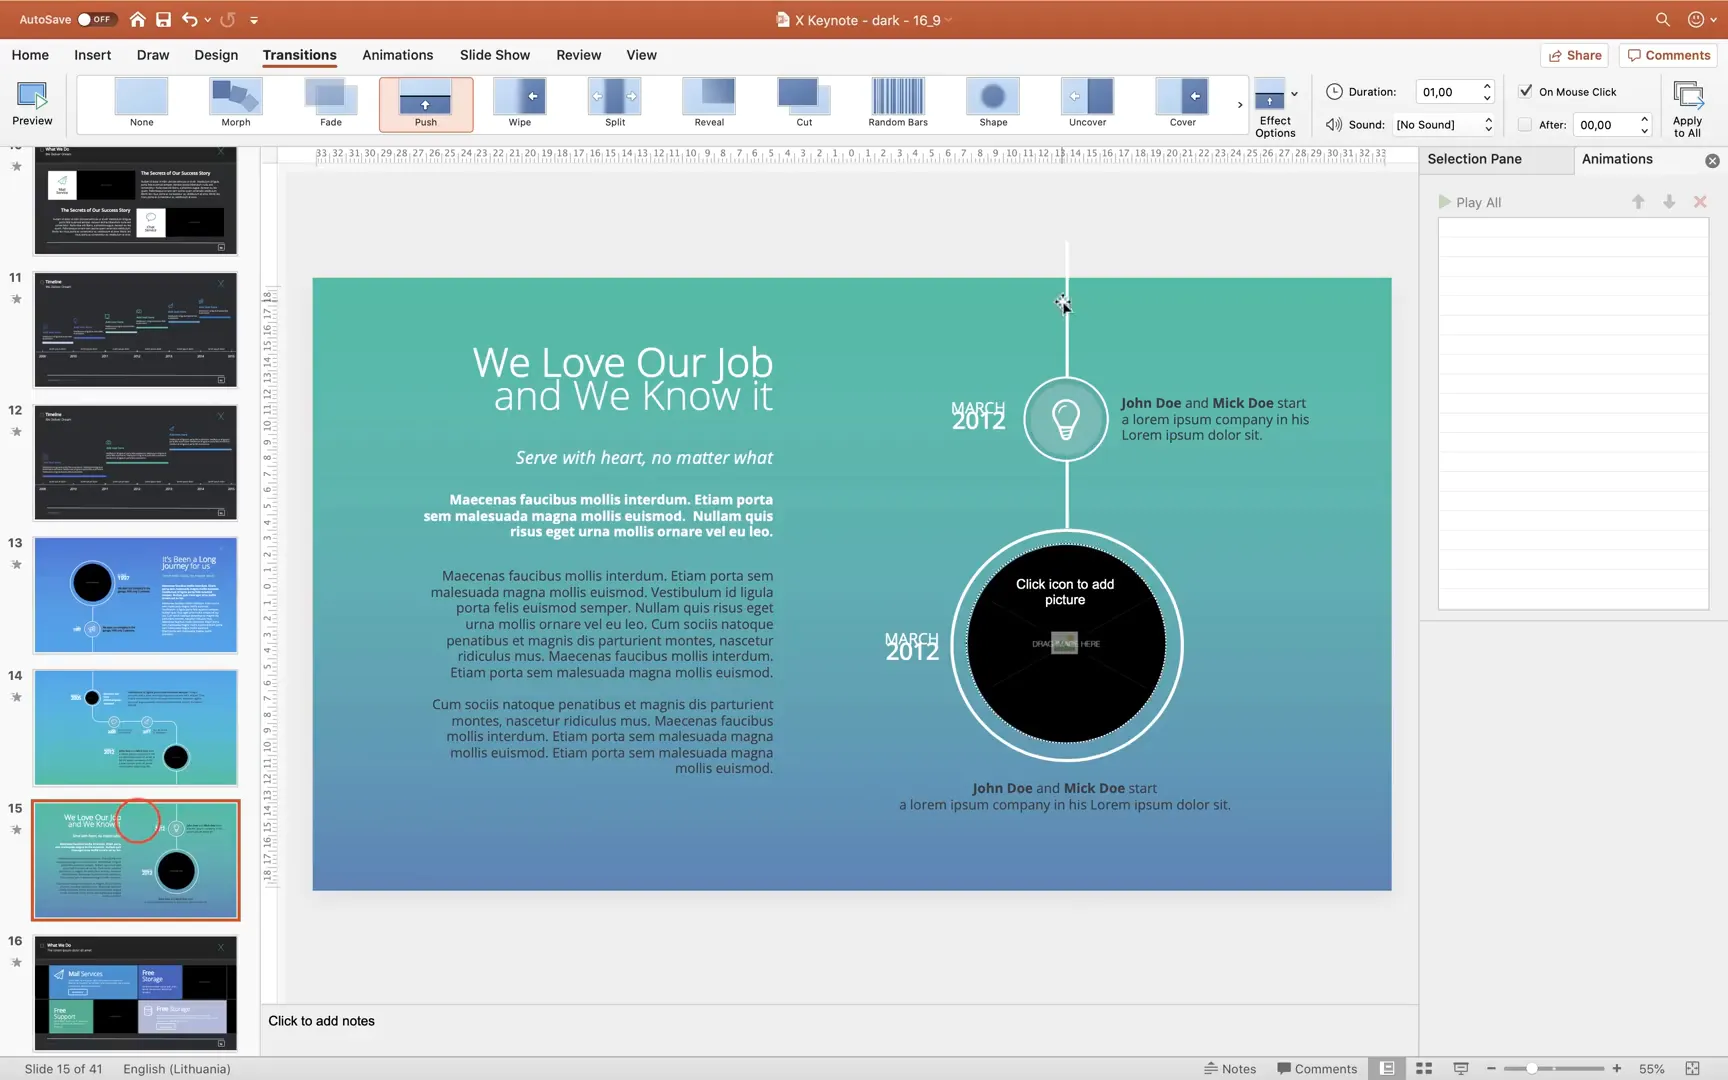
Using Slide Transitions to Create Smooth Flow
Besides animating elements within slides, slide transitions add flair to how your presentation moves from one slide to the next.
The Switch transition is a popular choice that creates a clean and modern effect, making slides switch smoothly.
Another powerful transition is Push, which is ideal for timeline presentations. By designing slides with connecting elements like lines, the push transition makes multiple slides appear as one continuous flow. This is perfect for storytelling or showing project milestones.
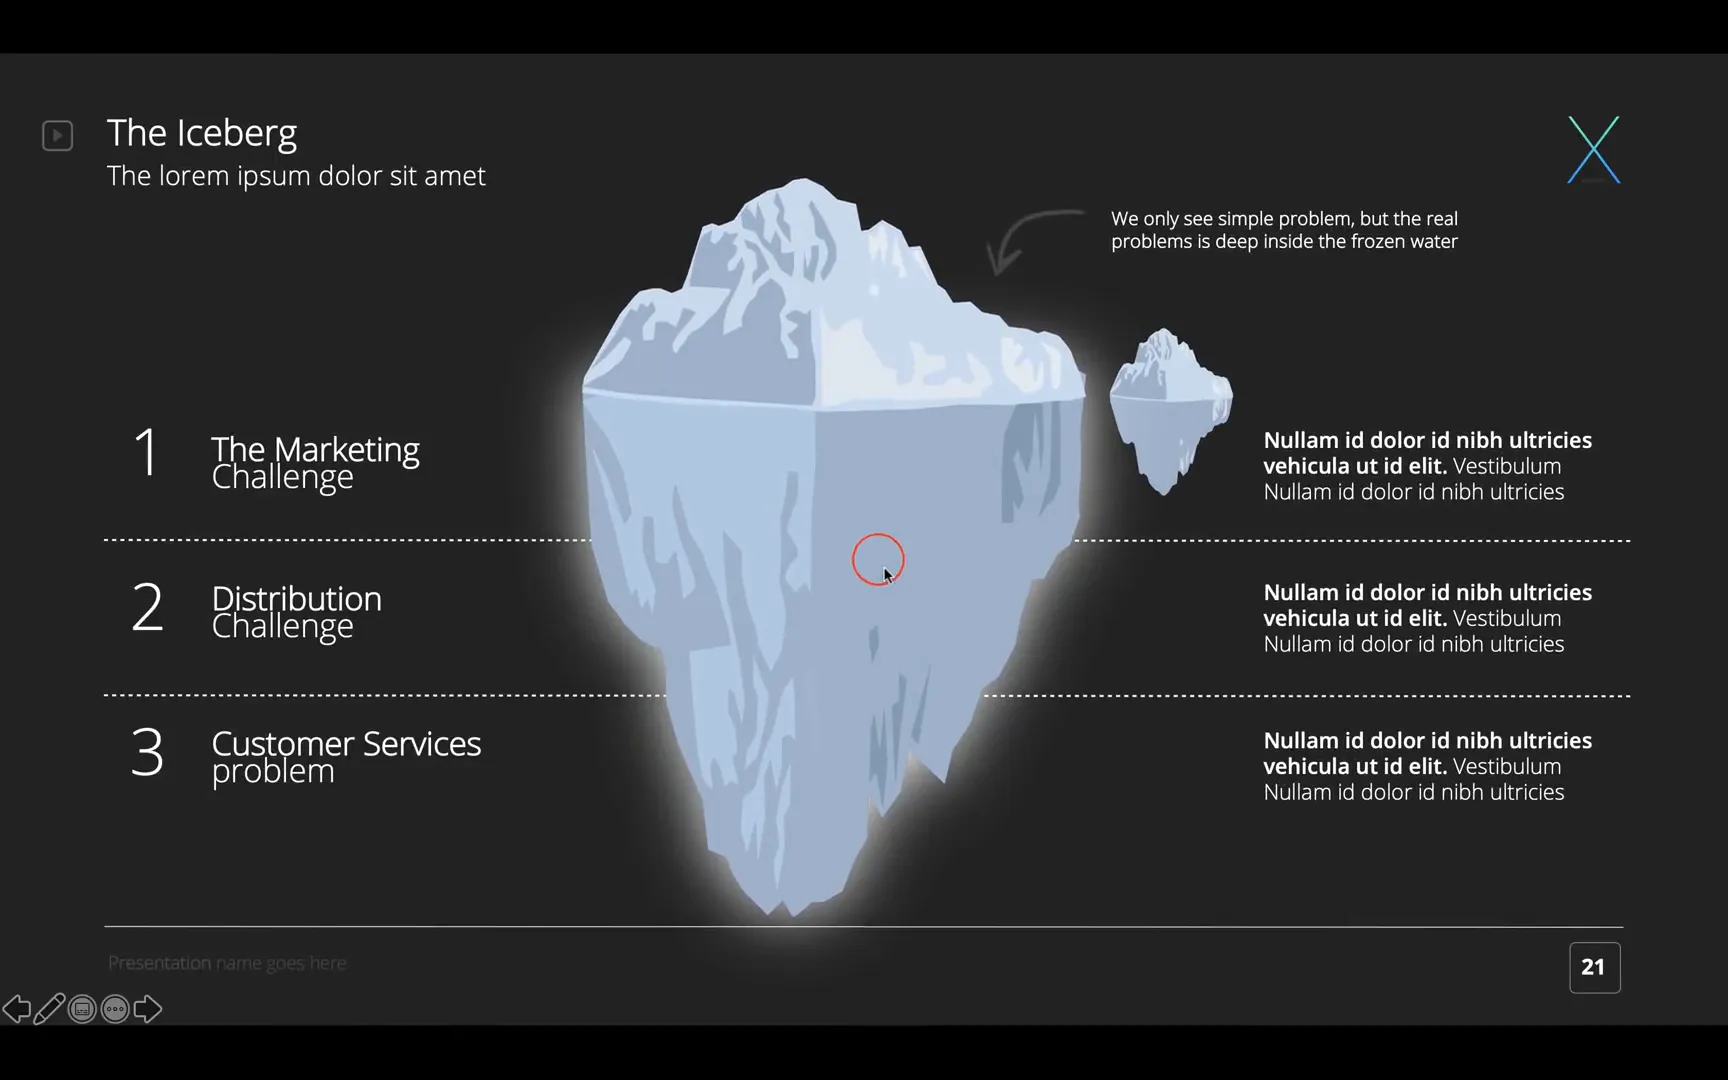
Creating the Floating Iceberg Animation
One of the most captivating animations you can create in PowerPoint is the floating iceberg. This effect adds a touch of creativity and visual interest to your presentation. Here’s a step-by-step guide to animating an iceberg to float gently on water:
Preparing the Iceberg and Background
- Hide unnecessary shapes like the blue water rectangle and ripple shapes in the Selection Pane to focus on the iceberg.
- The iceberg consists of two shapes; select both and group them together to animate as one object.
Applying the Path Animation
- Apply the Motion Path animation and select a Line path.
- Adjust the end point (red bubble) to be close to the start point (green bubble) to create a subtle movement.
- Reverse the direction so the iceberg moves up and down, simulating floating.
- Set the animation to repeat Until End of Slide for continuous motion.
Adding Ripple Effects
- Unhide the ripple shapes and apply the Grow/Shrink animation.
- Set the animation to grow horizontally by 140%, with smooth start and end, auto-reverse, and repeat until the end of the slide.
- Use the Animation Painter to apply the same effect to all ripple shapes for synchronized movement.
Animating Text Boxes
To complete the slide, group the text boxes into three groups and apply Fly In animations from the left side, adding movement and drawing attention to your key messages.
Tips and Best Practices for PowerPoint Animations
Animations can elevate your presentations, but it’s important to use them wisely. Here are some tips to keep in mind:
- Keep it subtle: Avoid overly flashy animations that distract from your message. Gentle float-ins or wipes work well.
- Use grouping: Group related elements to animate them together for a cohesive effect.
- Experiment with timing: Use Start On Click, After Previous, and With Previous settings to control the flow.
- Leverage transitions: Slide transitions like Push can create seamless storytelling effects.
- Preview often: Regularly preview your animations in full screen to ensure smoothness and impact.
Why Choose Envato Elements for PowerPoint Templates?
Envato Elements offers a vast library of templates and design assets that cater to different presentation needs. Here’s why it stands out:
- Unlimited Downloads: With a subscription, you can download as many templates as you want without extra costs.
- Diverse Selection: From minimalistic to highly creative templates, you can find styles that fit your brand or project.
- Regular Updates: Templates like The X Note receive updates, ensuring you have access to the latest designs.
- Additional Assets: Besides presentations, Envato Elements offers photos, fonts, graphics, and more to enhance your projects.
Frequently Asked Questions (FAQ)
Q: Is Envato Elements subscription worth it for PowerPoint users?
A: Absolutely. If you frequently create presentations or design projects, the unlimited downloads and variety of templates make it a cost-effective solution.
Q: Can I customize The X Note template easily?
A: Yes. The template includes image placeholders, editable charts, icons, and color palettes that make customization straightforward, even for beginners.
Q: What are some beginner-friendly PowerPoint animations?
A: Float In, Wipe, Fade, and Fly In are simple animations that add professionalism without overwhelming your audience.
Q: How do I make animations appear automatically without clicking?
A: In the Animations pane, set the animation start option to After Previous or With Previous to have them run automatically.
Q: Can I create continuous animations like the floating iceberg?
A: Yes, by using motion path animations combined with the repeat option set to Until End of Slide, you can simulate continuous movement.
Conclusion
The X Note PowerPoint template is a fantastic resource for anyone looking to create polished, professional presentations with ease. Paired with Envato Elements’ expansive library, you have everything needed to elevate your slides from ordinary to extraordinary.
By mastering animations such as floating icons, animated charts, smooth bar reveals, slide transitions, and even creative effects like a floating iceberg, you can captivate your audience and communicate your message effectively.
Remember, the key to great presentations lies in thoughtful design and subtle animation. Use the tips and techniques shared here to experiment and find your unique style. Happy presenting!
For more tutorials and resources, stay connected and keep enhancing your PowerPoint skills.
Check out the full video: Most Popular PowerPoint Templates 🔥The X Note 🔥


