
Mastering Microsoft PowerPoint has never been more essential for creating engaging, professional presentations. Whether you’re a beginner or looking to sharpen your skills, this comprehensive guide will walk you through 30 essential tips and tricks updated for 2020 that will elevate your PowerPoint game. These techniques combine time-tested methods with the latest features introduced in recent versions of PowerPoint, especially for Office 365 users. Let’s dive in and transform your presentations into captivating visual stories.
Table of Contents
- 1. Utilize Stock Images for Stunning Visuals
- 2. Remove Backgrounds to Focus on Key Elements
- 3. Edit Shapes for Unique Customizations
- 4. Create Smooth Transitions with Morph
- 5. Enhanced Morph for Shape Transformations
- 6. Quickly Copy Objects with Ctrl + Drag
- 7. Transform Slides with Design Ideas
- 8. Add QR Codes Instantly with QR for Office
- 9. Visualize Data with Filled Maps
- 10. Dictate Text and Translate Instantly
- 11. Align Objects Perfectly with Quick Alignment
- 12. Convert Ink to Text, Shapes, and Math
- 13. Use the Eyedropper to Match Colors Easily
- 14. Bring Charts to Life with Animation
- 15. Quickly Reorder List Items with Alt + Shift + Arrow Keys
- 16. Customize the Quick Access Toolbar for Efficiency
- 17. Use Smart Lookup to Research Without Leaving PowerPoint
- 18. Master Slideshow Shortcuts for a Smooth Presentation
- 19. Animate Images with Custom Paths
- 20. Create Instant Photo Albums
- 21. Reuse Slides from Other Presentations
- 22. Link Excel Charts for Dynamic Data Updates
- 23. Create Animated GIFs from Slides
- 24. Use Layered Images for Advanced Animations
- 25. Set Up a Slideshow Loop for Continuous Playback
- 26. Embed Fonts to Preserve Presentation Appearance
- 27. Compress Media to Reduce File Size
- 28. Export Presentations as HD Videos
- 29. Use Shape Intersect to Create Custom Image Cutouts
- 30. Fill Shapes with Pictures for Creative Effects
- Conclusion
- Frequently Asked Questions (FAQ)
1. Utilize Stock Images for Stunning Visuals
One of the most visually impactful ways to enhance your presentation is by incorporating high-quality images. In 2020, Microsoft added a treasure trove of stock images directly accessible within PowerPoint for Office 365 users.
To access these, simply navigate to the Insert tab, click on Pictures, then select Stock Images. Here, you’ll find thousands of royalty-free images including categories like stock photos, cutout people, icons, and stickers. These images can be inserted and then resized or moved to suit your slide layout perfectly.
Using stock images not only saves time searching for appropriate visuals but also ensures your presentation looks polished and professional.

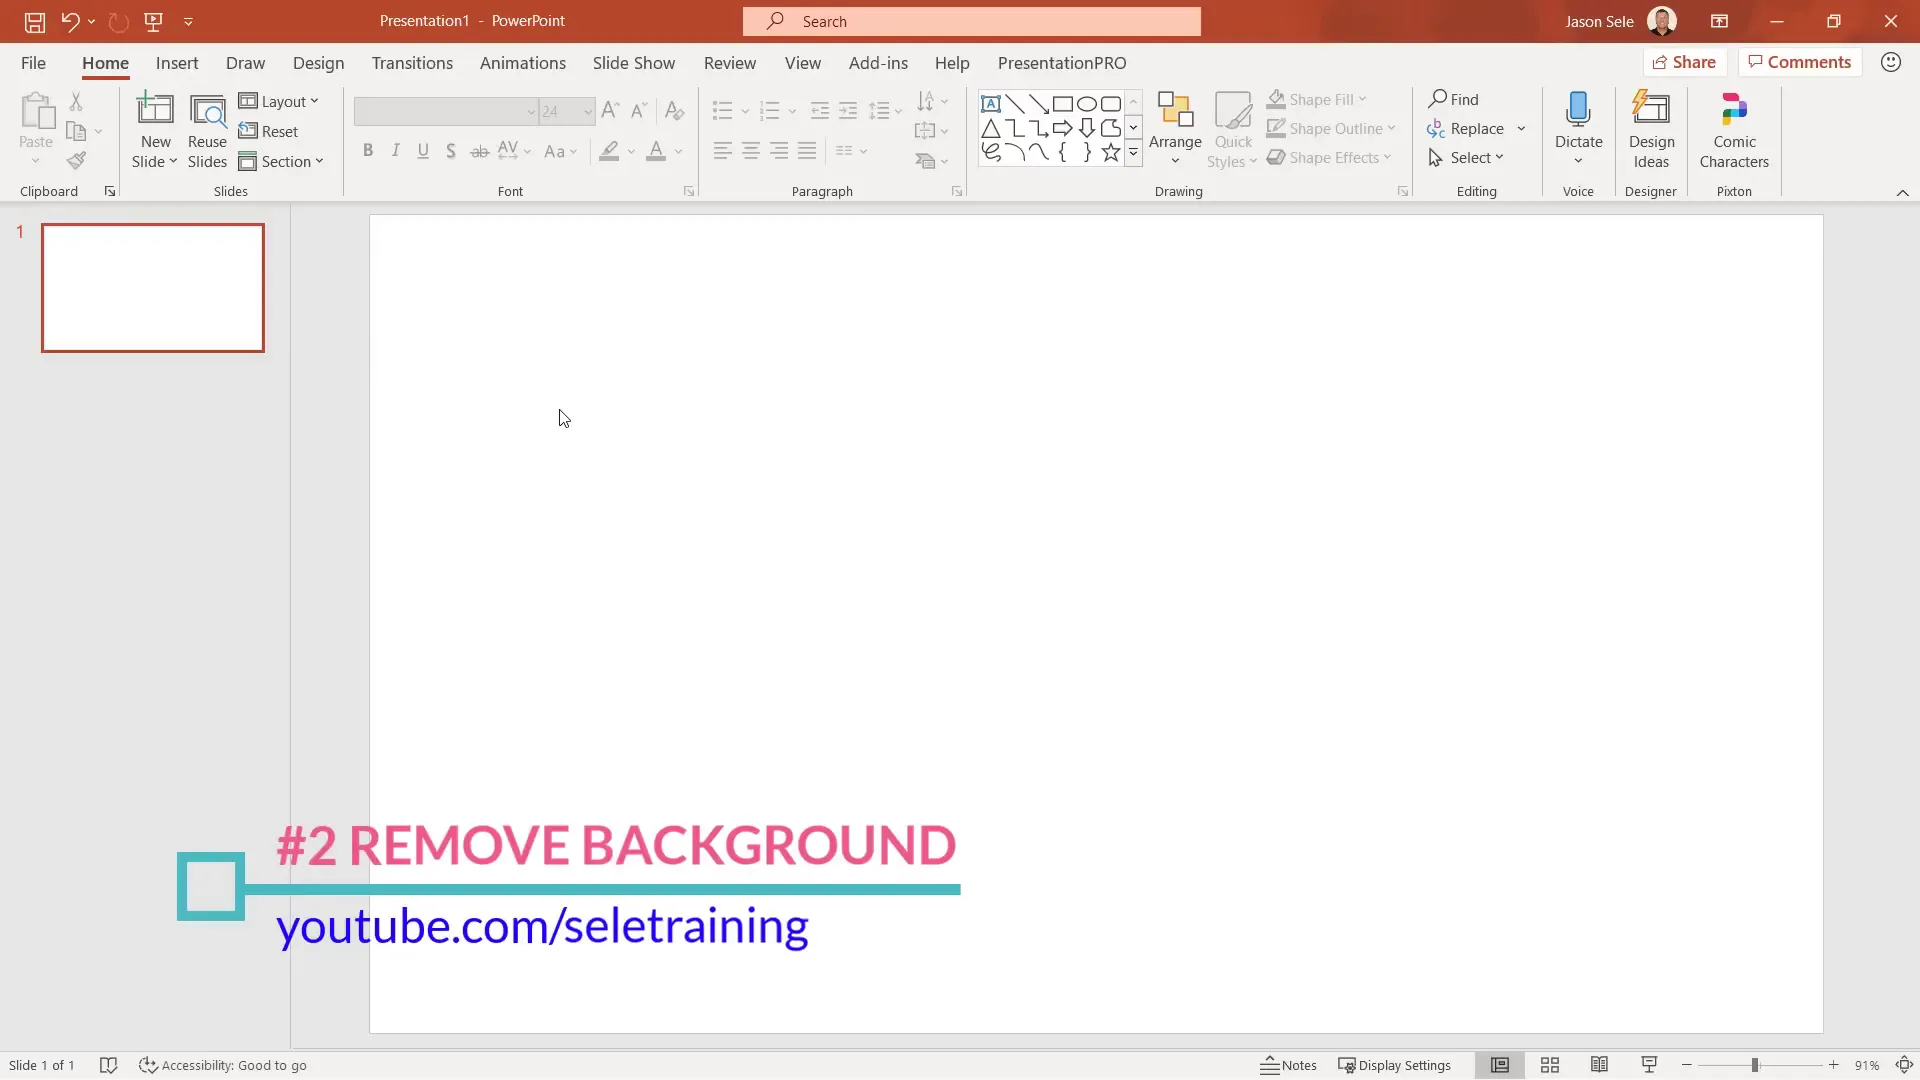
2. Remove Backgrounds to Focus on Key Elements
PowerPoint’s built-in background removal tool is a game-changer for customizing images. After inserting an image, such as a bird from the stock images, select it and go to the Picture Format tab. Click on Remove Background, and PowerPoint will highlight the areas it intends to remove.
This feature isn’t always perfect, so you can manually mark areas to keep or remove to fine-tune the result. The outcome is a clean image with the background removed, allowing you to integrate visuals seamlessly into your slides.
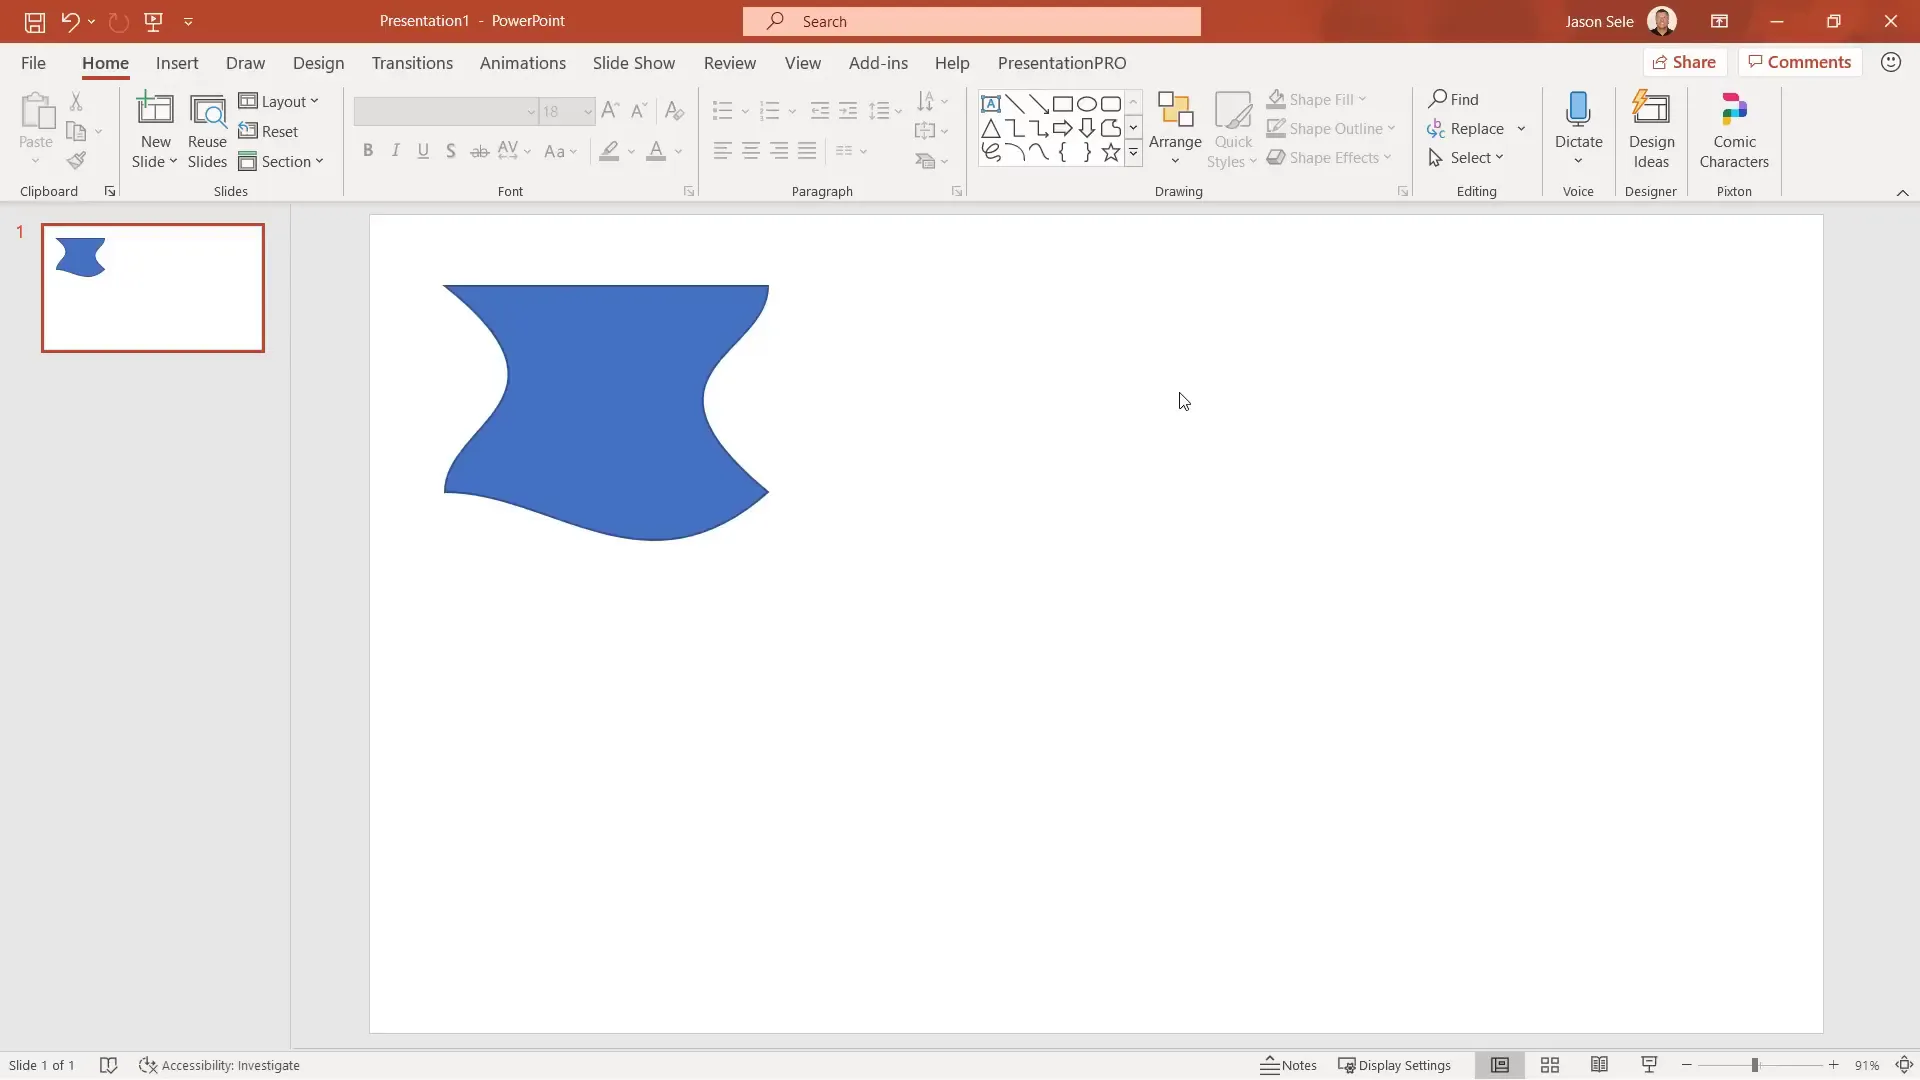
3. Edit Shapes for Unique Customizations
Shapes are foundational elements in PowerPoint, but did you know you can customize them beyond simple resizing and coloring? Select a shape, then click Edit Shape followed by Edit Points. This allows you to drag individual points on the shape’s outline, reshaping it to fit your specific design needs.
This flexibility lets you create custom shapes tailored to your presentation’s theme or data visualization requirements.

4. Create Smooth Transitions with Morph
The Morph transition is a powerful tool to create fluid movement between slides. For example, duplicate a slide, then reposition objects on the second slide. Apply the Morph transition, and PowerPoint animates the objects moving smoothly from their original to new positions during the slideshow.
This technique is excellent for demonstrating changes, progressions, or comparisons without complex animations.
5. Enhanced Morph for Shape Transformations
While Morph works well for moving objects, transitioning between different shapes (like a square morphing into a circle) requires an additional step. PowerPoint’s Morph transition needs objects to have the same name to morph smoothly.
Here’s how to do it:
- Select the first shape and open the Selection Pane under the Home tab in the Arrange menu.
- Rename the object by prefixing it with two exclamation points (!!) followed by a name (e.g., !!Shape1).
- Rename the corresponding shape on the next slide with the exact same name.
- Apply the Morph transition, and PowerPoint will animate the transformation smoothly between the two shapes.
This technique allows for creative transitions that include changes in shape, size, and position.

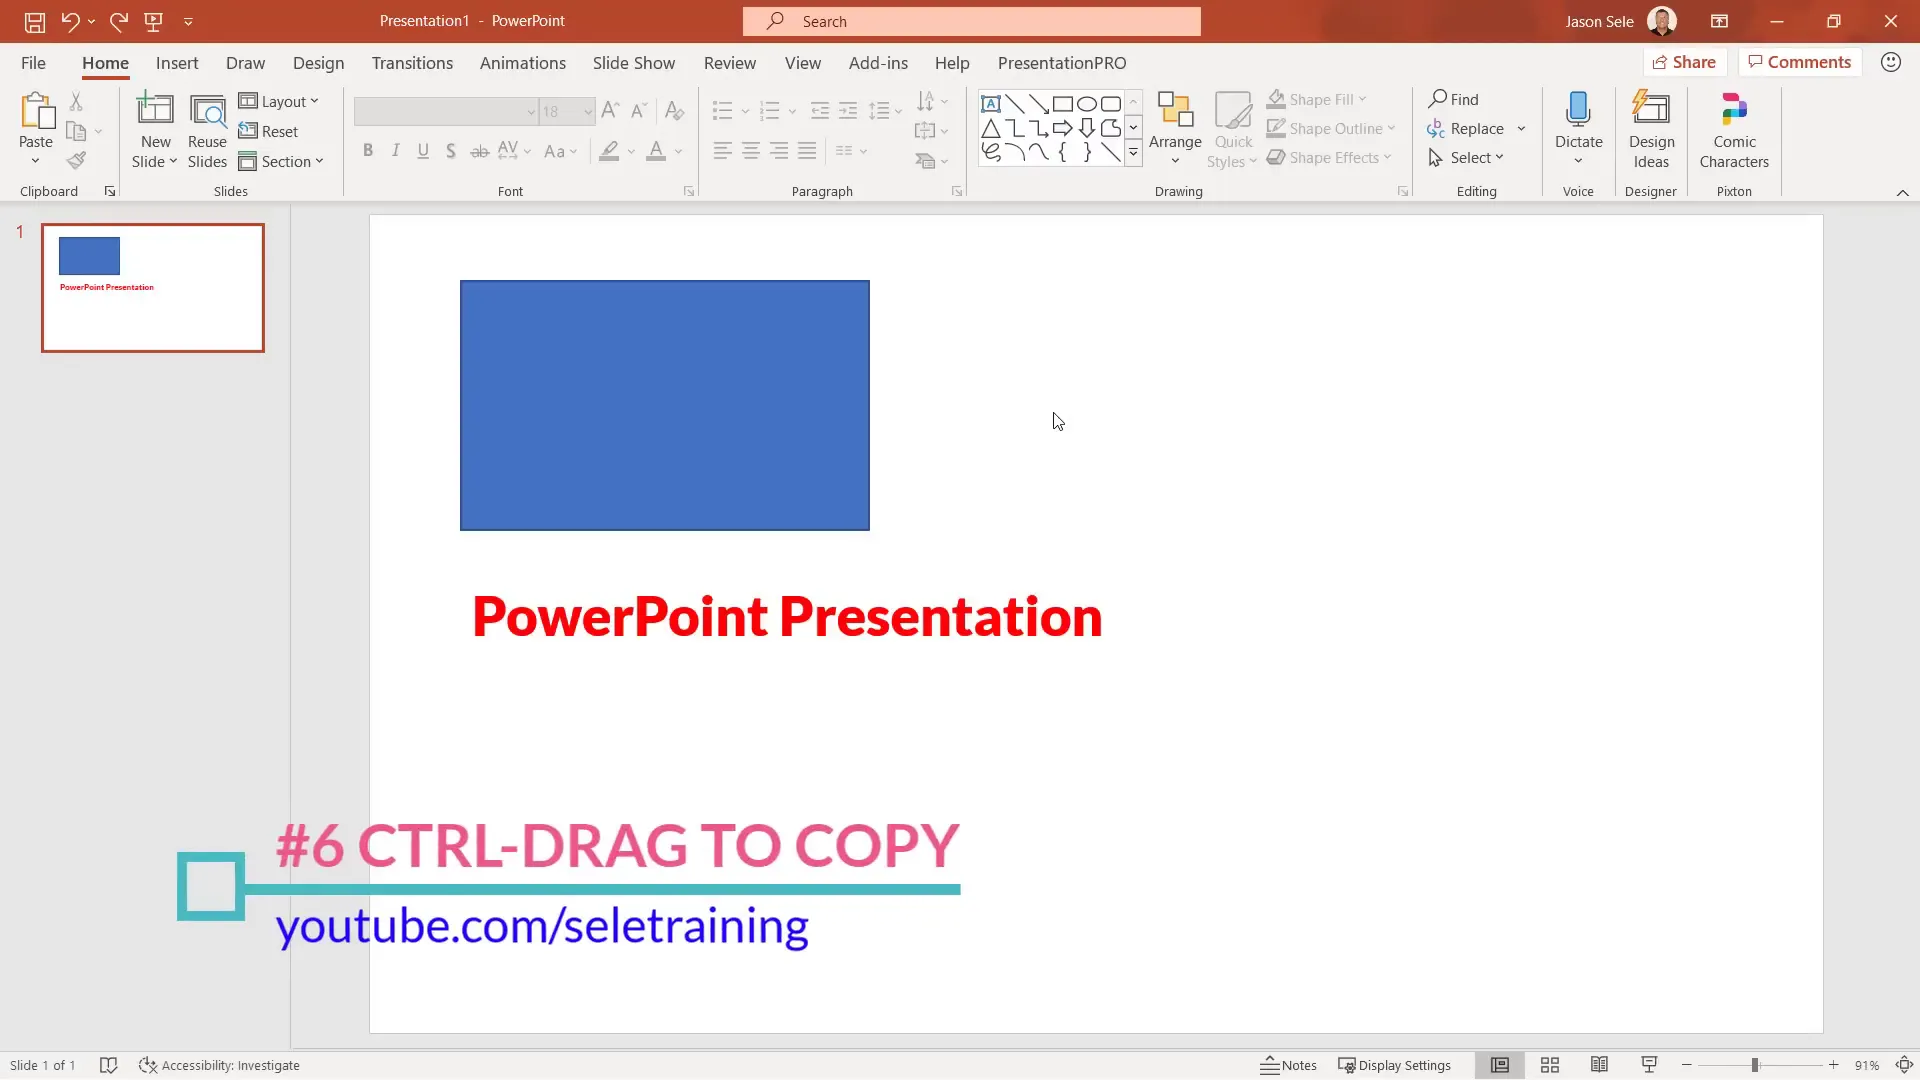
6. Quickly Copy Objects with Ctrl + Drag
Duplicating objects in PowerPoint is straightforward with the simple keyboard shortcut: hold down the Ctrl key while dragging an object. This action instantly creates a copy of the selected object, whether it’s an image, shape, or text box.
It’s a quick way to replicate elements without going through copy-paste commands.
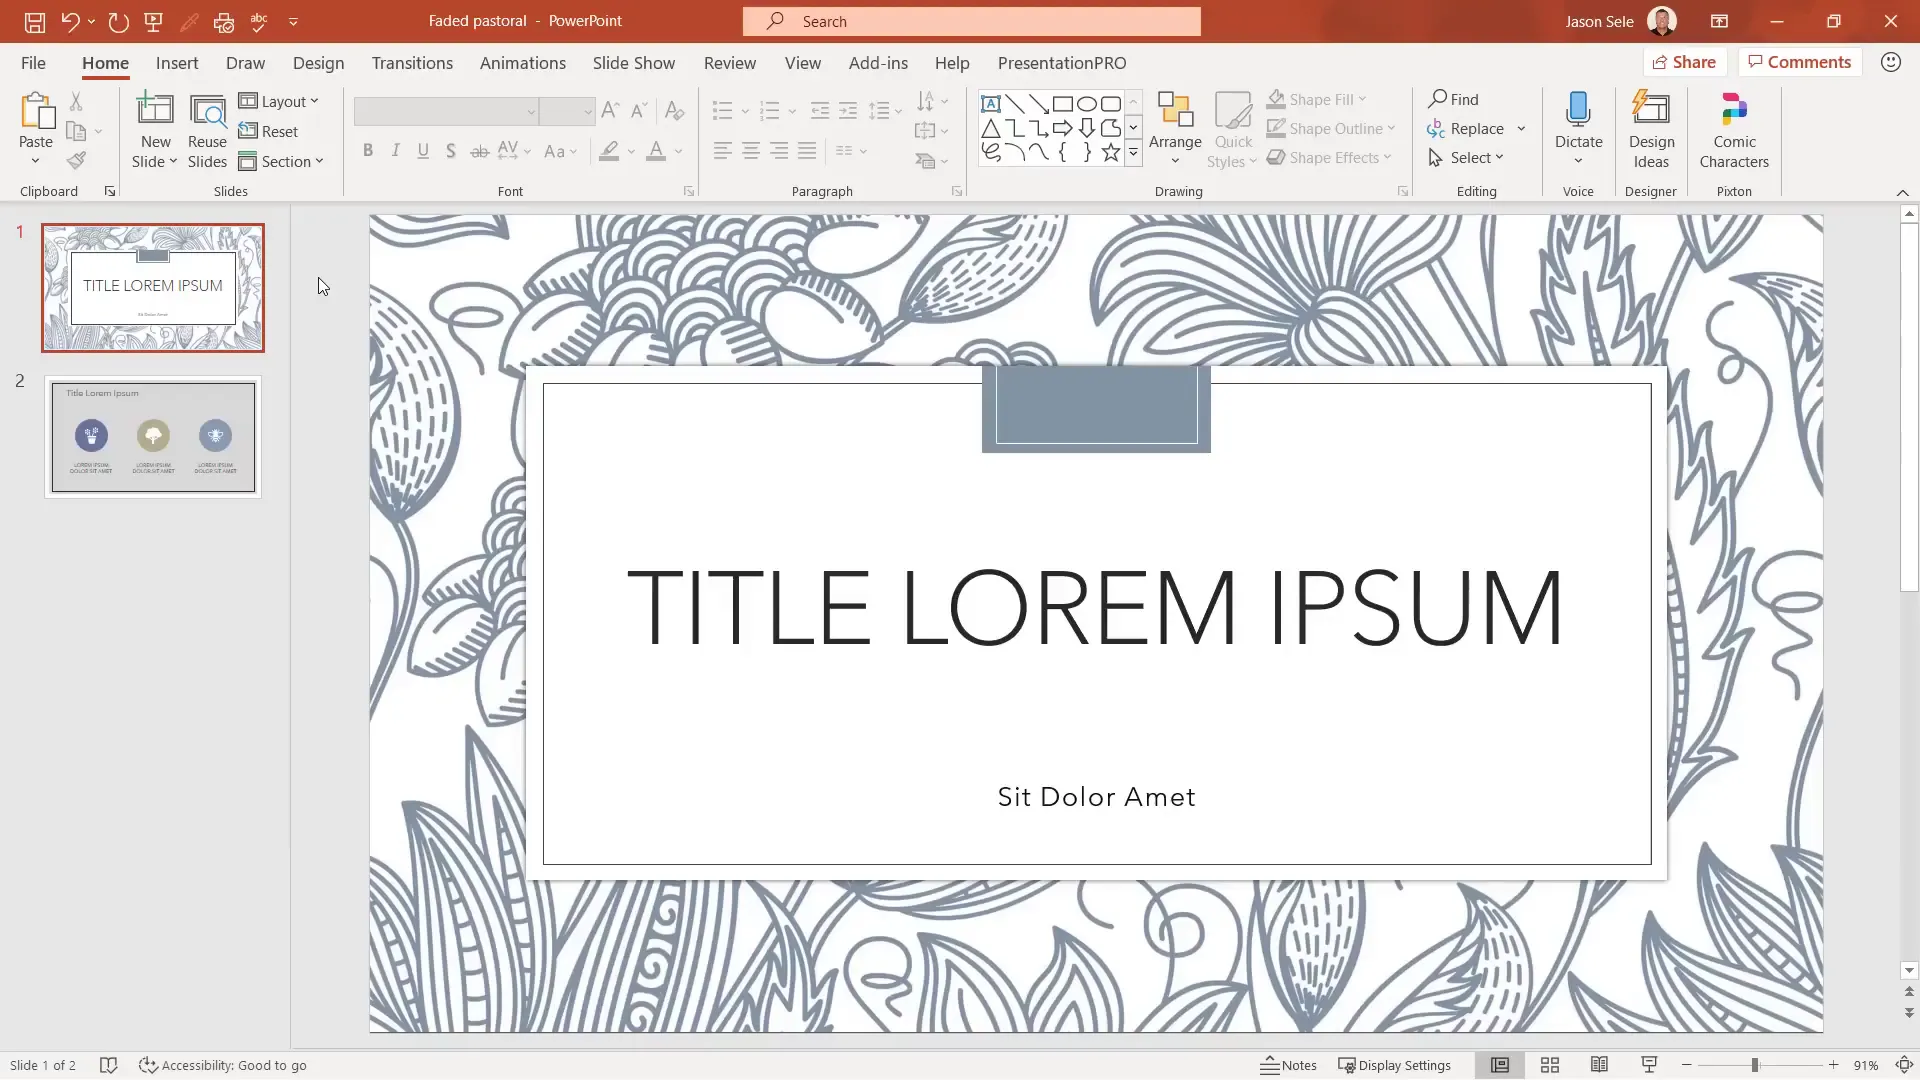
7. Transform Slides with Design Ideas
If you want to instantly enhance the look of a dull slide, PowerPoint’s Design Ideas feature is your best friend. Located on the Home tab, clicking Design Ideas analyzes your slide content and offers professional layout suggestions.
This feature works well with text and images alike, generating creative slide designs that you can apply with a single click, saving you hours of manual formatting.

8. Add QR Codes Instantly with QR for Office
Integrate scannable QR codes directly into your presentation by installing the QR for Office add-in:
- Go to the Insert tab and click Get Add-ins.
- Search for “QR for Office” and add it to PowerPoint.
- Once added, you can generate QR codes for URLs, emails, phone numbers, text messages, geolocations, or custom codes.
- Customize the size, color, and background, then insert the QR code into your slide.
This is perfect for interactive presentations, allowing your audience to quickly access additional resources.

9. Visualize Data with Filled Maps
PowerPoint now supports creating filled maps directly from data tables. To insert a map:
- Go to Insert > Chart.
- Select Map from the chart options.
- Input location-specific data like countries, states, cities, or zip codes.
- The map updates dynamically to reflect your data.
- Choose from various chart styles to customize the look.
This feature is ideal for geographical data presentations, making complex data easy to understand visually.
10. Dictate Text and Translate Instantly
PowerPoint’s Dictate feature lets you speak directly into a text box, converting your voice to text. To use it:
- Insert a text box.
- Click on the Dictate button and start speaking.
You can also select from multiple languages for dictation.
Additionally, the Translate tool under the Review tab allows you to translate selected text into various languages and replace the original text with the translation, facilitating multilingual presentations.

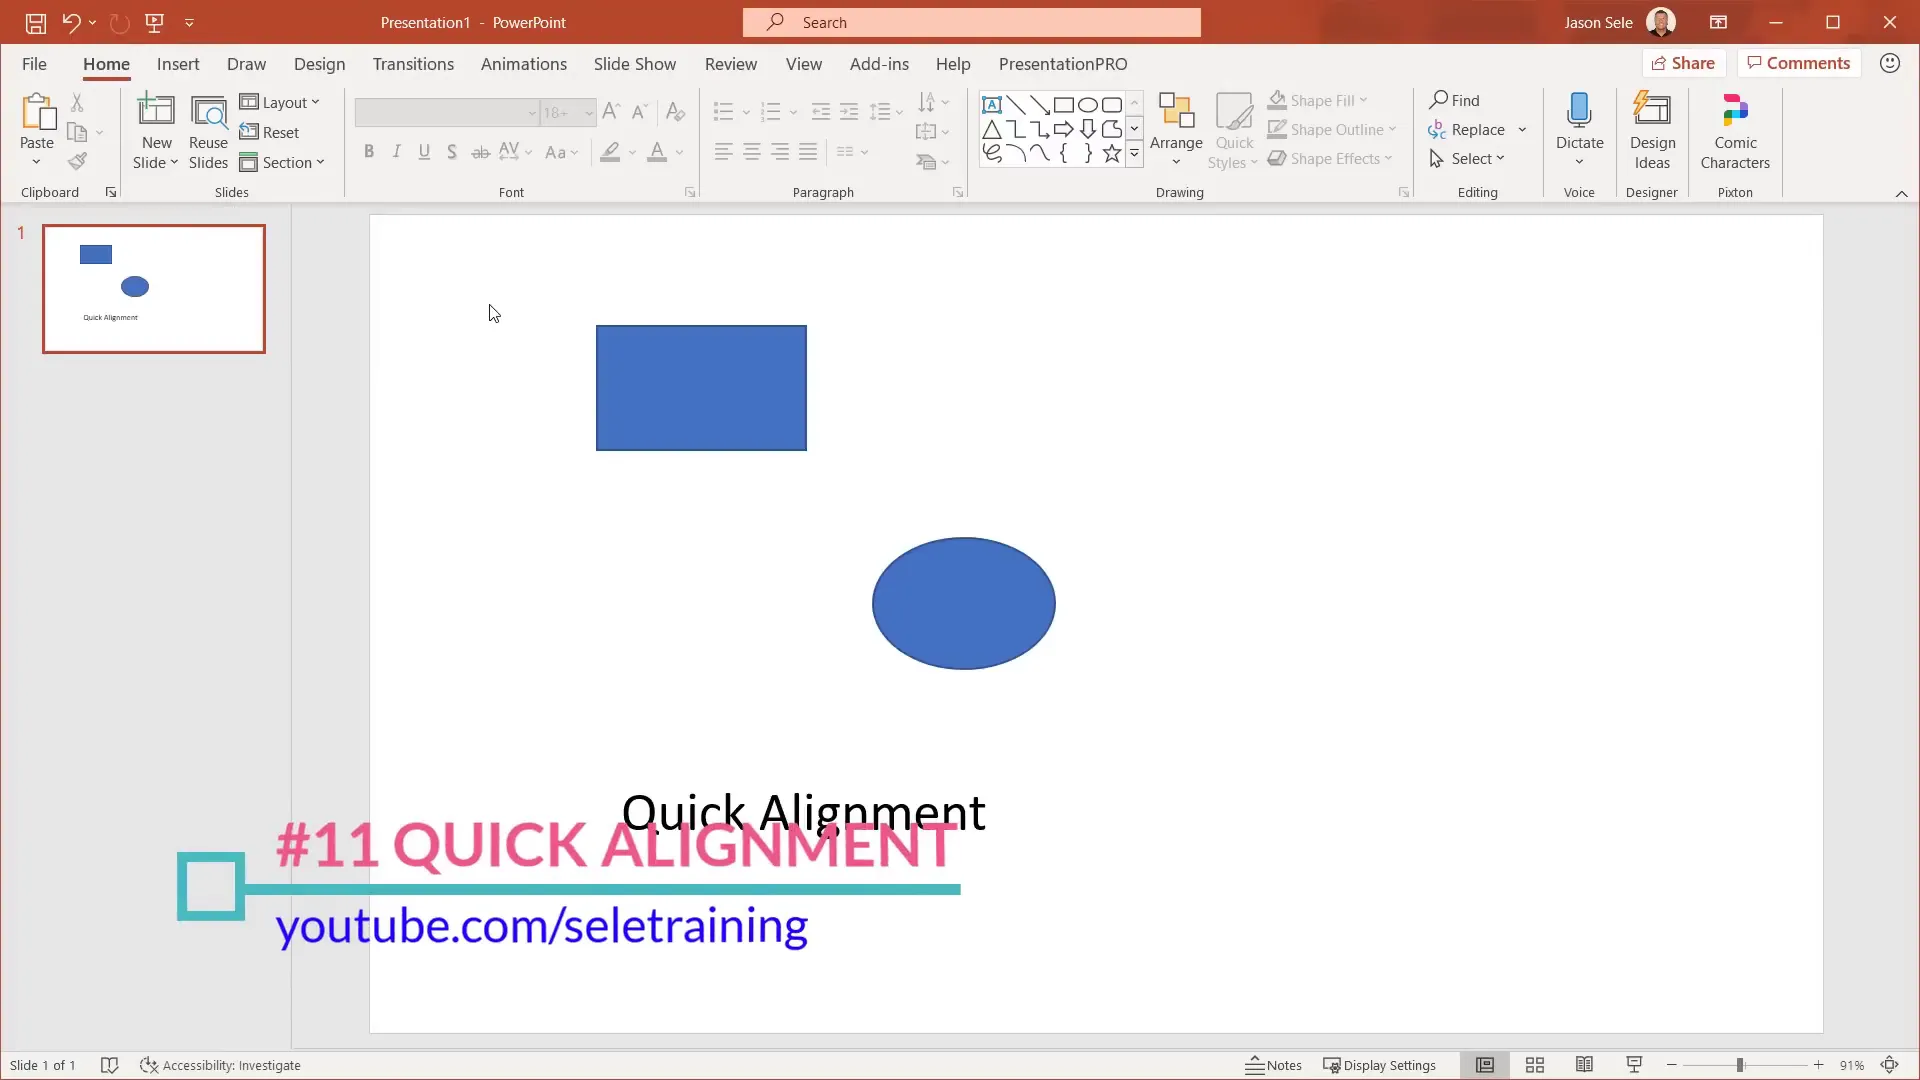
11. Align Objects Perfectly with Quick Alignment
Aligning objects on a slide is effortless using the Arrange menu under the Home tab:
- Select all objects you want to align.
- Click Arrange > Align and choose left, center, or right alignment.
- Use Distribute Horizontally or Distribute Vertically to evenly space objects.
You can also manage layering order (bring to front/back) and group multiple objects to move them as one.
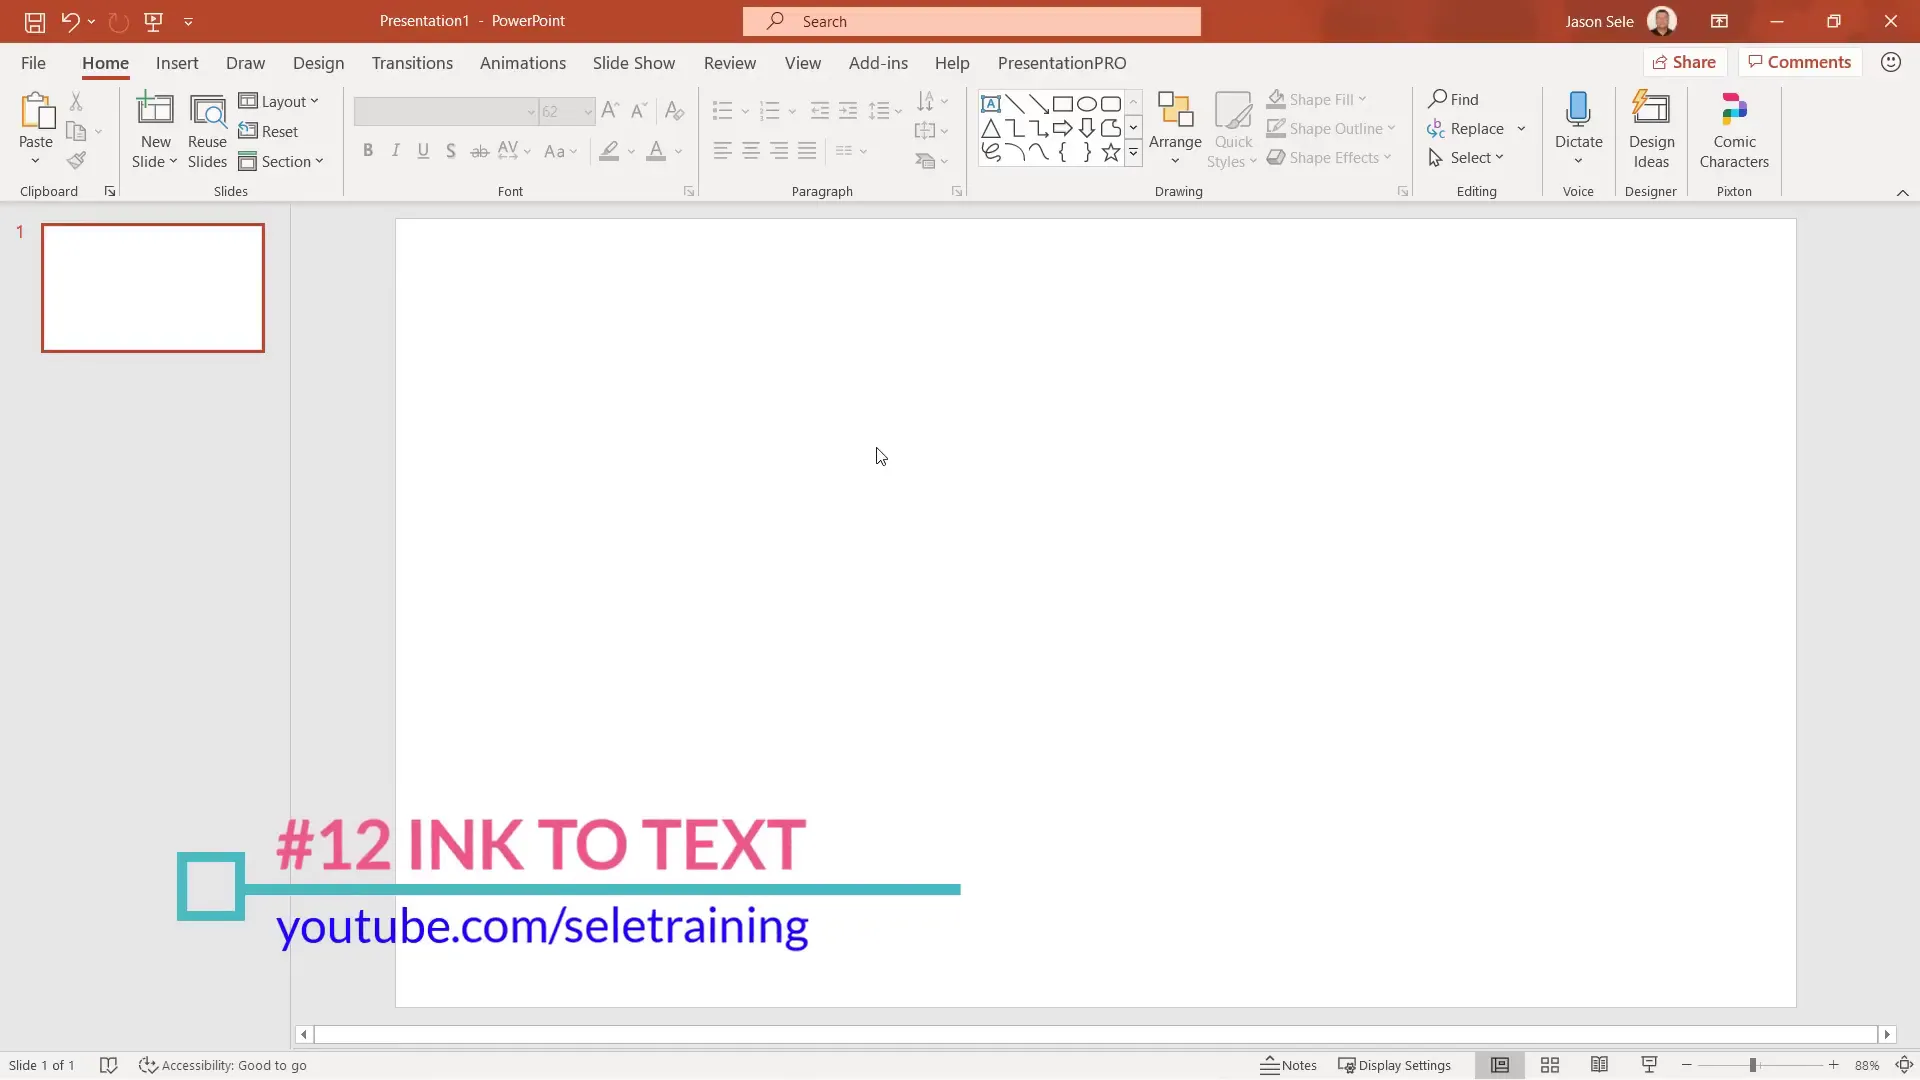
12. Convert Ink to Text, Shapes, and Math
PowerPoint’s Draw tab lets you write or sketch directly on slides using a pen or mouse. You can then convert your ink drawings into editable text, shapes, or mathematical equations:
- Ink to Text: Write text, select with the lasso tool, then convert to editable text boxes.
- Ink to Shapes: Draw shapes like squares, circles, and triangles, select them, and convert to clean shapes.
- Ink to Math: Write equations by hand and convert them to formatted math expressions. The built-in equation editor also allows inserting formulas.
The Ink Replay feature animates your handwritten drawings, adding dynamic visual interest.
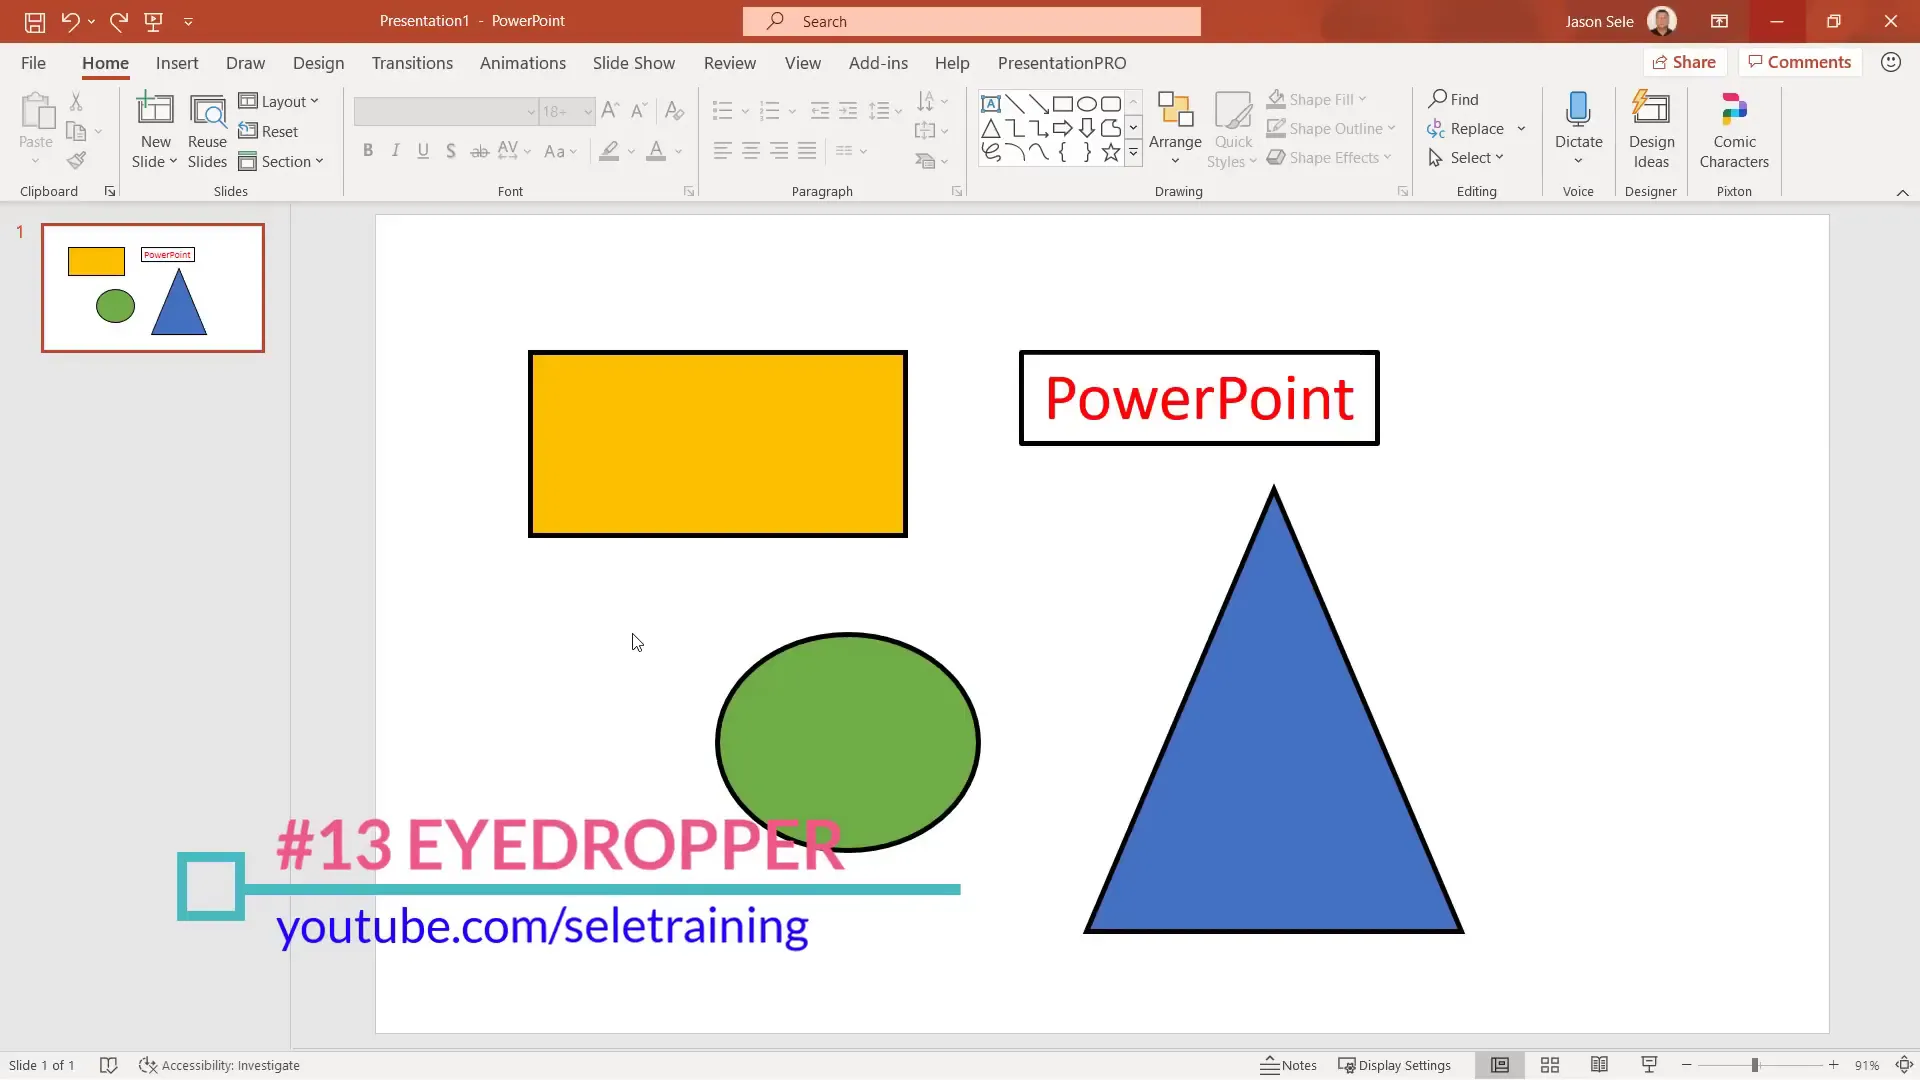
13. Use the Eyedropper to Match Colors Easily
The Eyedropper tool helps you pick colors from anywhere on your screen and apply them to shapes, text, outlines, or effects:
- Select multiple objects.
- Go to Shape Format > Shape Fill and choose Eyedropper.
- Click the color you want to apply.
This ensures color consistency across your presentation with minimal effort.
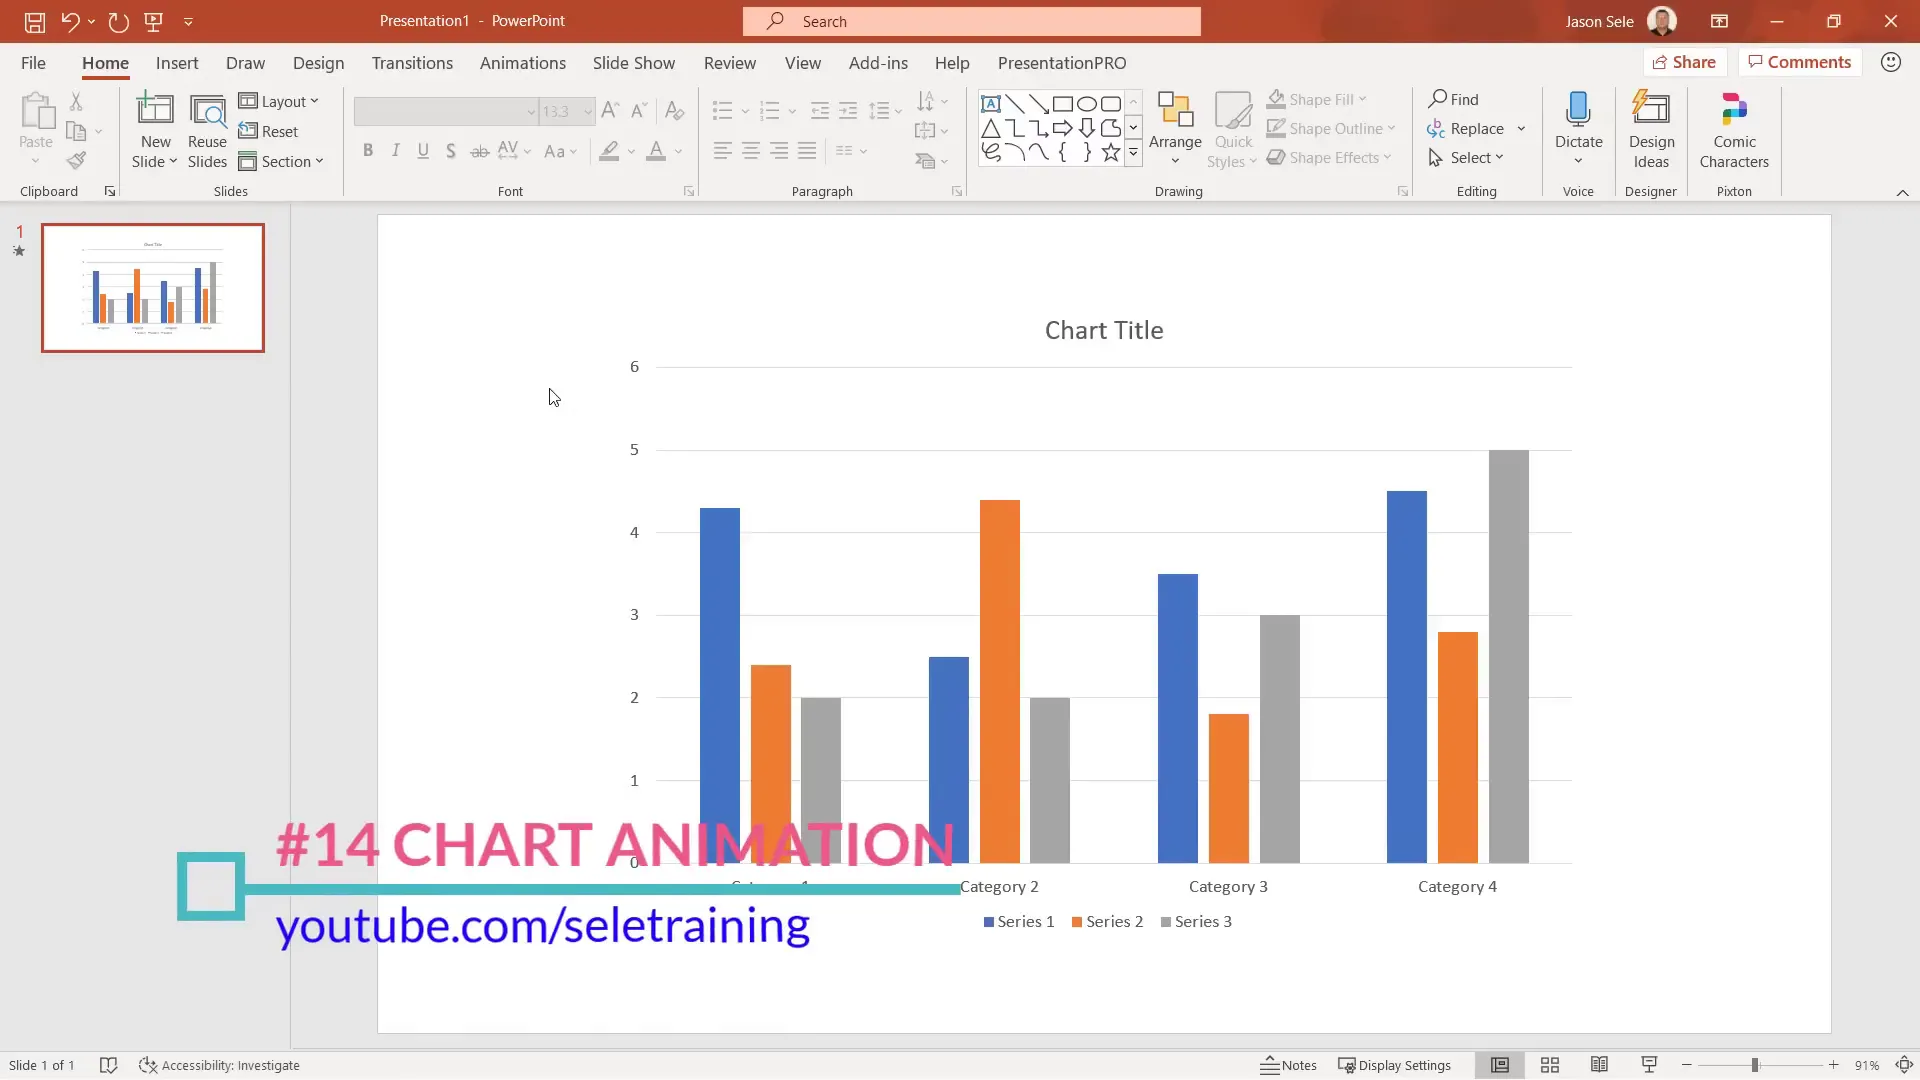
14. Bring Charts to Life with Animation
Make your data presentations more engaging by animating charts:
- Select a chart and go to the Animations tab.
- Choose an animation effect like Float In.
- Open the Animation Pane to fine-tune animations.
- Use Effect Options to animate by series, category, or individual elements.
- Adjust the duration to control animation speed.
Animated charts help emphasize trends and data points effectively.
15. Quickly Reorder List Items with Alt + Shift + Arrow Keys
Rearranging list items is simple:
- Select the item you want to move.
- Hold Alt + Shift and press the up or down arrow keys to move the item accordingly.
This keyboard shortcut saves time editing bullet points or numbered lists.
16. Customize the Quick Access Toolbar for Efficiency
The Quick Access Toolbar in the upper-left corner of PowerPoint provides instant access to frequently used commands.
You can customize it by clicking the dropdown arrow and adding popular commands like Eyedropper, Quick Print, or Spelling Check. This toolbar is consistent across Office apps, streamlining your workflow.
17. Use Smart Lookup to Research Without Leaving PowerPoint
Highlight any text and use the Smart Lookup feature under the Review tab to find definitions, web results, and images related to the selected text. This tool taps into online resources directly inside PowerPoint, eliminating the need to switch to a browser.
18. Master Slideshow Shortcuts for a Smooth Presentation
During your presentation, use these handy keyboard shortcuts to better control your slideshow:
- F1: Display all shortcuts.
- W: White out the screen (press again to resume).
- B: Black out the screen (press again to resume).
- Ctrl + P: Activate the pen tool for drawing.
- E: Erase pen marks.
- Ctrl + I: Activate highlighter.
- + and –: Zoom in and out.
- Type a slide number and press Enter to jump directly to that slide.
- Ctrl + L: Activate laser pointer.
These shortcuts help you emphasize points and navigate your presentation seamlessly.

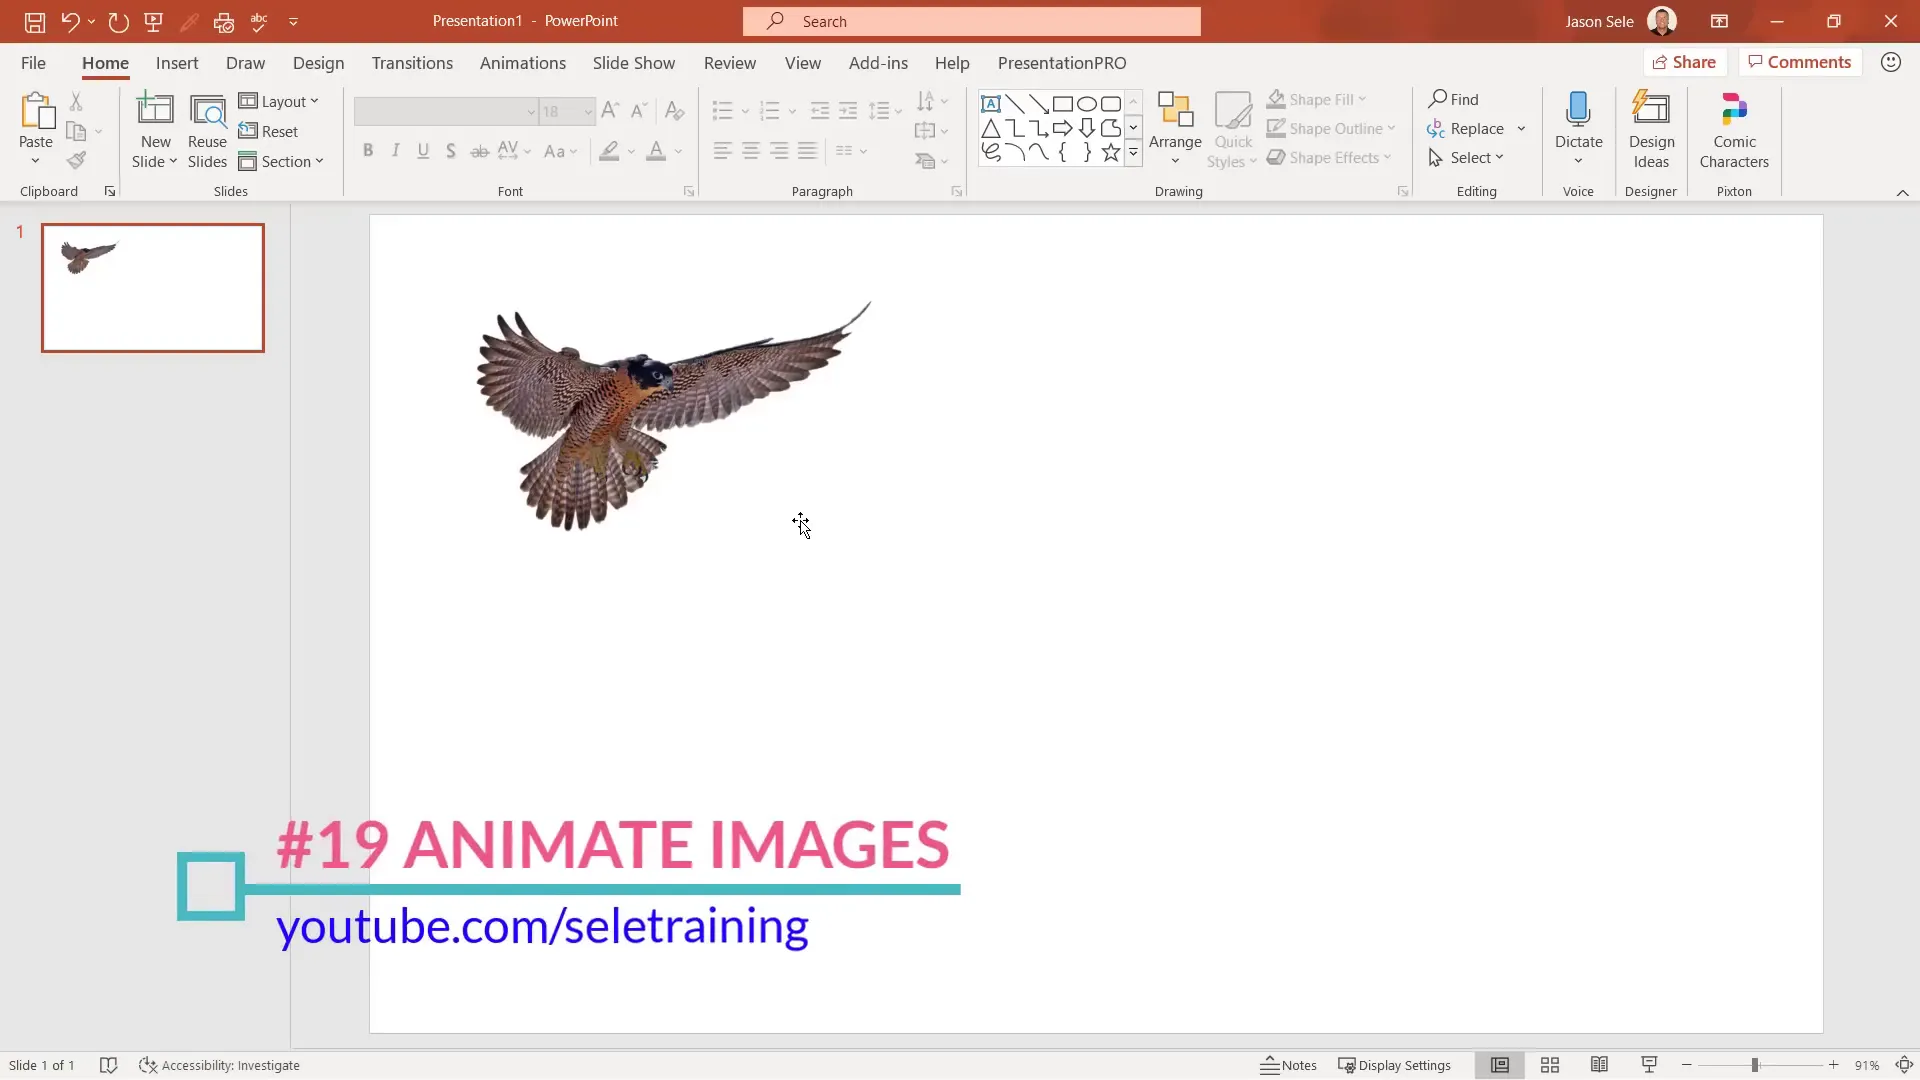
19. Animate Images with Custom Paths
Animating images adds dynamic movement to your slides. To create motion:
- Select the image.
- Go to the Animations tab and select Custom Path.
- Draw the path you want the image to follow.
- Double-click to finish and adjust settings such as auto-reverse, sound effects, and timing.
This technique is perfect for storytelling or emphasizing a visual element.
20. Create Instant Photo Albums
Compiling a photo album is quick and easy:
- Go to Insert > Photo Album > New Photo Album.
- Select images from your device.
- Choose options like black and white or fit to slide.
- Click Create to generate slides for each photo.
Enhance the album by applying Design Ideas for a professional look.
21. Reuse Slides from Other Presentations
Save time by importing slides from other presentations directly:
- Go to the Home tab and click Reuse Slides.
- Browse recent PowerPoint files or shared team presentations.
- Select slides to insert.
- Uncheck Use Source Formatting to match your presentation’s style.
This feature promotes collaboration and consistency across projects.
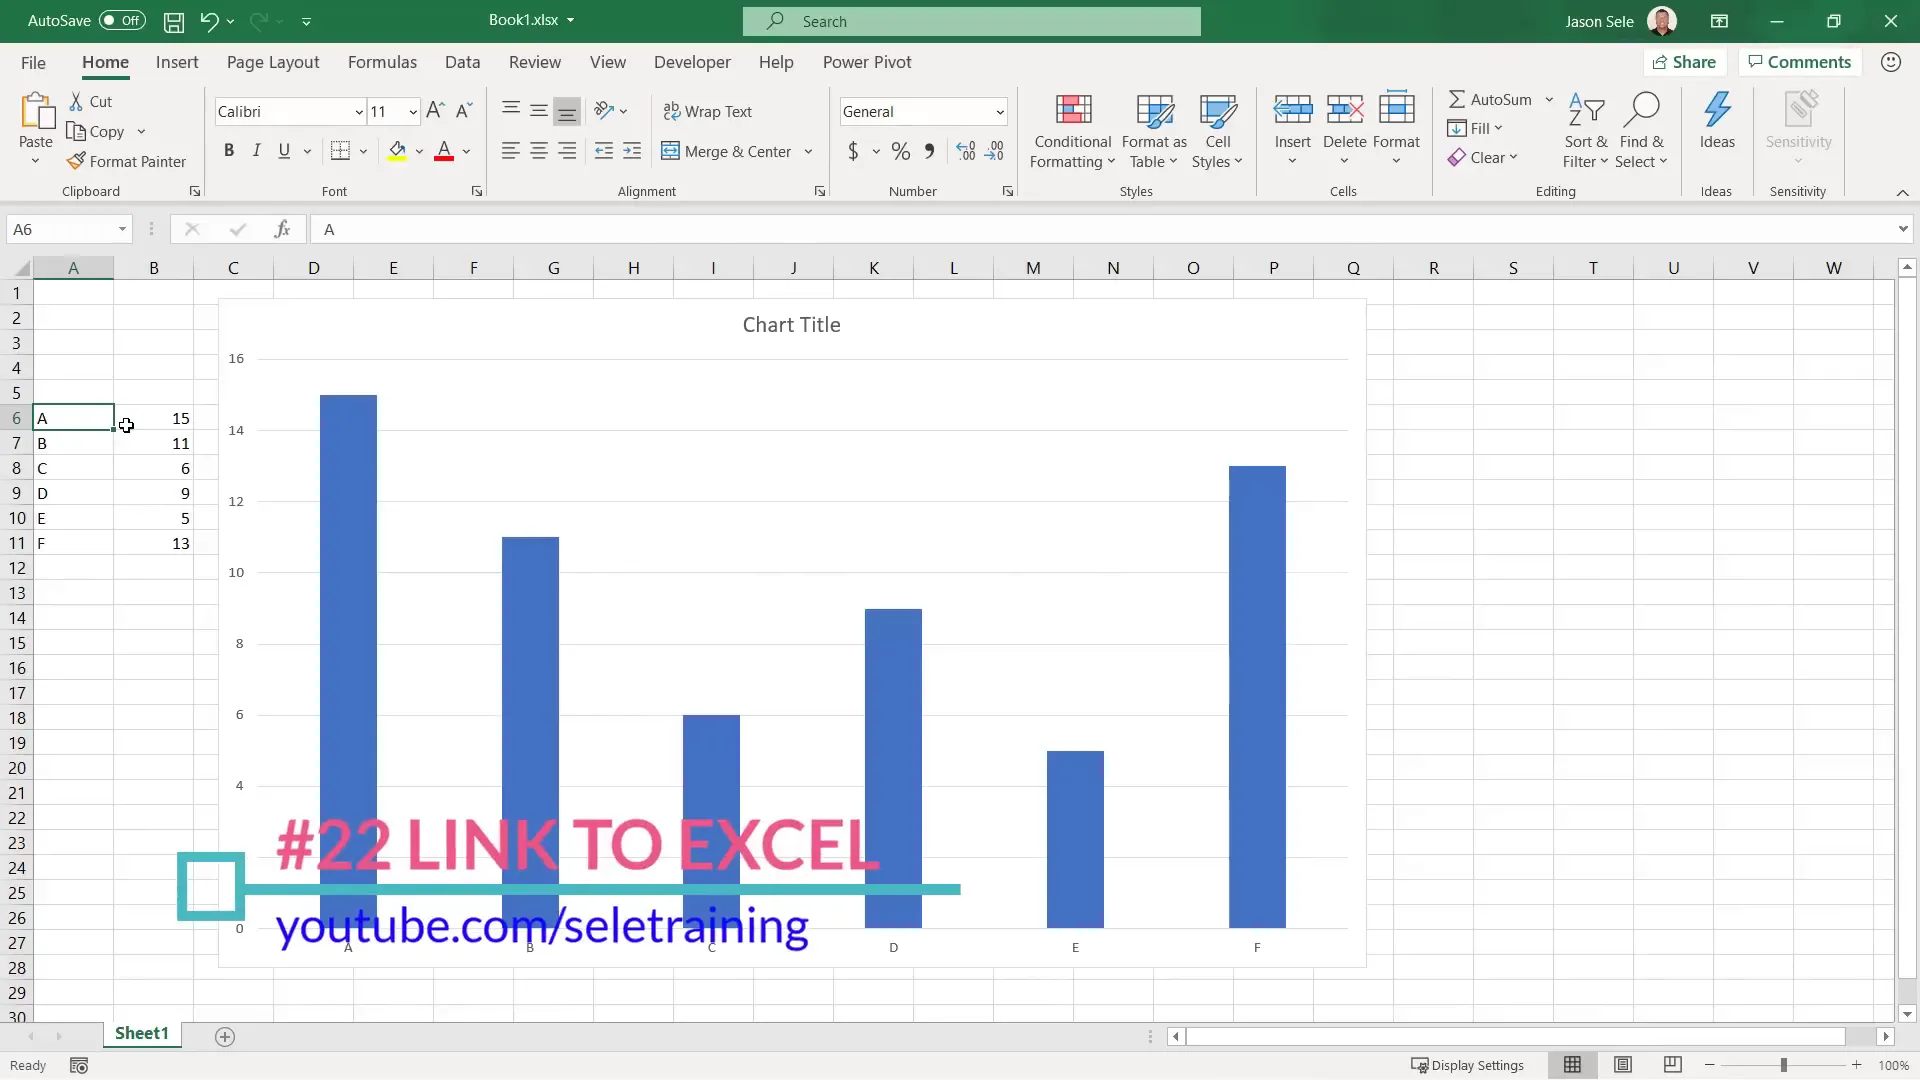
22. Link Excel Charts for Dynamic Data Updates
Integrate Excel charts into PowerPoint with live data linking:
- Copy the chart in Excel with Ctrl + C.
- Paste into PowerPoint using Ctrl + V.
- Choose a paste option that maintains the link (chain icon).
- Edit data by right-clicking the chart and selecting Edit Data to open Excel.
- Update Excel data to reflect changes automatically in PowerPoint.
This keeps your presentations current without manual updates.
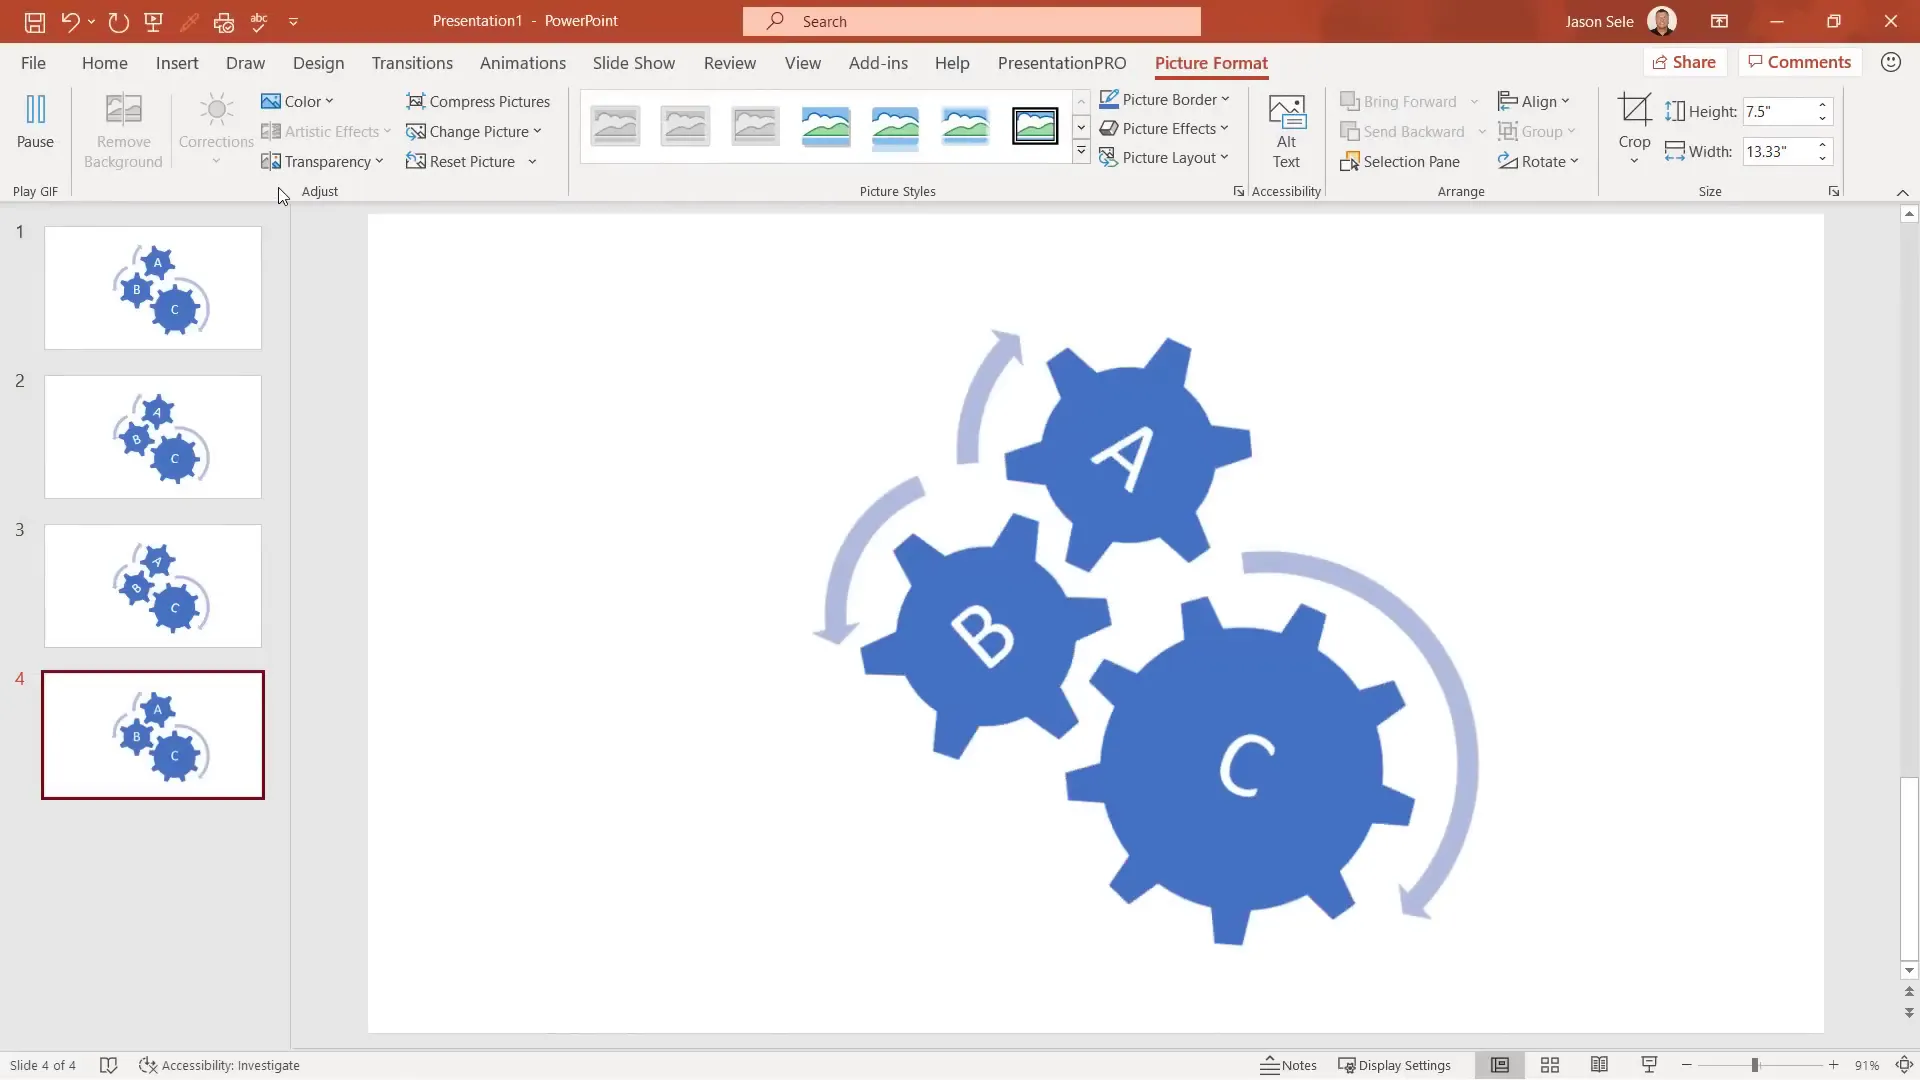
23. Create Animated GIFs from Slides
You can generate animated GIFs to use inside or outside PowerPoint:
- Create a series of slides with incremental changes (e.g., rotating gears).
- Go to File > Export > Create an Animated GIF.
- Set resolution and seconds spent per slide.
- Save the GIF and insert it into any slide or external platform.
Animated GIFs add engaging, looping animations without complex setup.
24. Use Layered Images for Advanced Animations
Layering images with background removal and animation creates professional effects:
- Insert a background image and crop to fit.
- Duplicate the slide and remove the background on parts of the image.
- Copy the edited image back onto the original slide, aligning perfectly.
- Add additional images (e.g., moon), remove their backgrounds, and position layers using the Selection Pane.
- Apply animations like Motion Paths to layered images for dynamic effects.
- Adjust animation timing and smoothness for polished results.
This technique is excellent for storytelling or emphasizing visual elements with motion.
25. Set Up a Slideshow Loop for Continuous Playback
To create a looping presentation:
- Go to the Slideshow tab and click Set Up Slideshow.
- Select Browsed at a kiosk (full screen).
- Under the Transitions tab, check After and set the time each slide displays.
- Click Apply to All.
- Start the slideshow, which will now loop indefinitely.
This is ideal for kiosks, trade shows, or unattended presentations.
26. Embed Fonts to Preserve Presentation Appearance
If you plan to share presentations or present on different machines, embedding fonts ensures your text looks consistent:
- Go to File > Options > Save.
- Check Embed fonts in the file.
- Save your presentation.
Embedded fonts travel with the file, preventing font substitution issues.
27. Compress Media to Reduce File Size
Videos can bloat your presentation size. To compress media:
- Go to File > Info.
- Click Compress Media (available if video is inserted).
- Choose resolution options like HD 720p to reduce file size.
- Review new file size and save.
This makes sharing presentations easier without sacrificing too much quality.
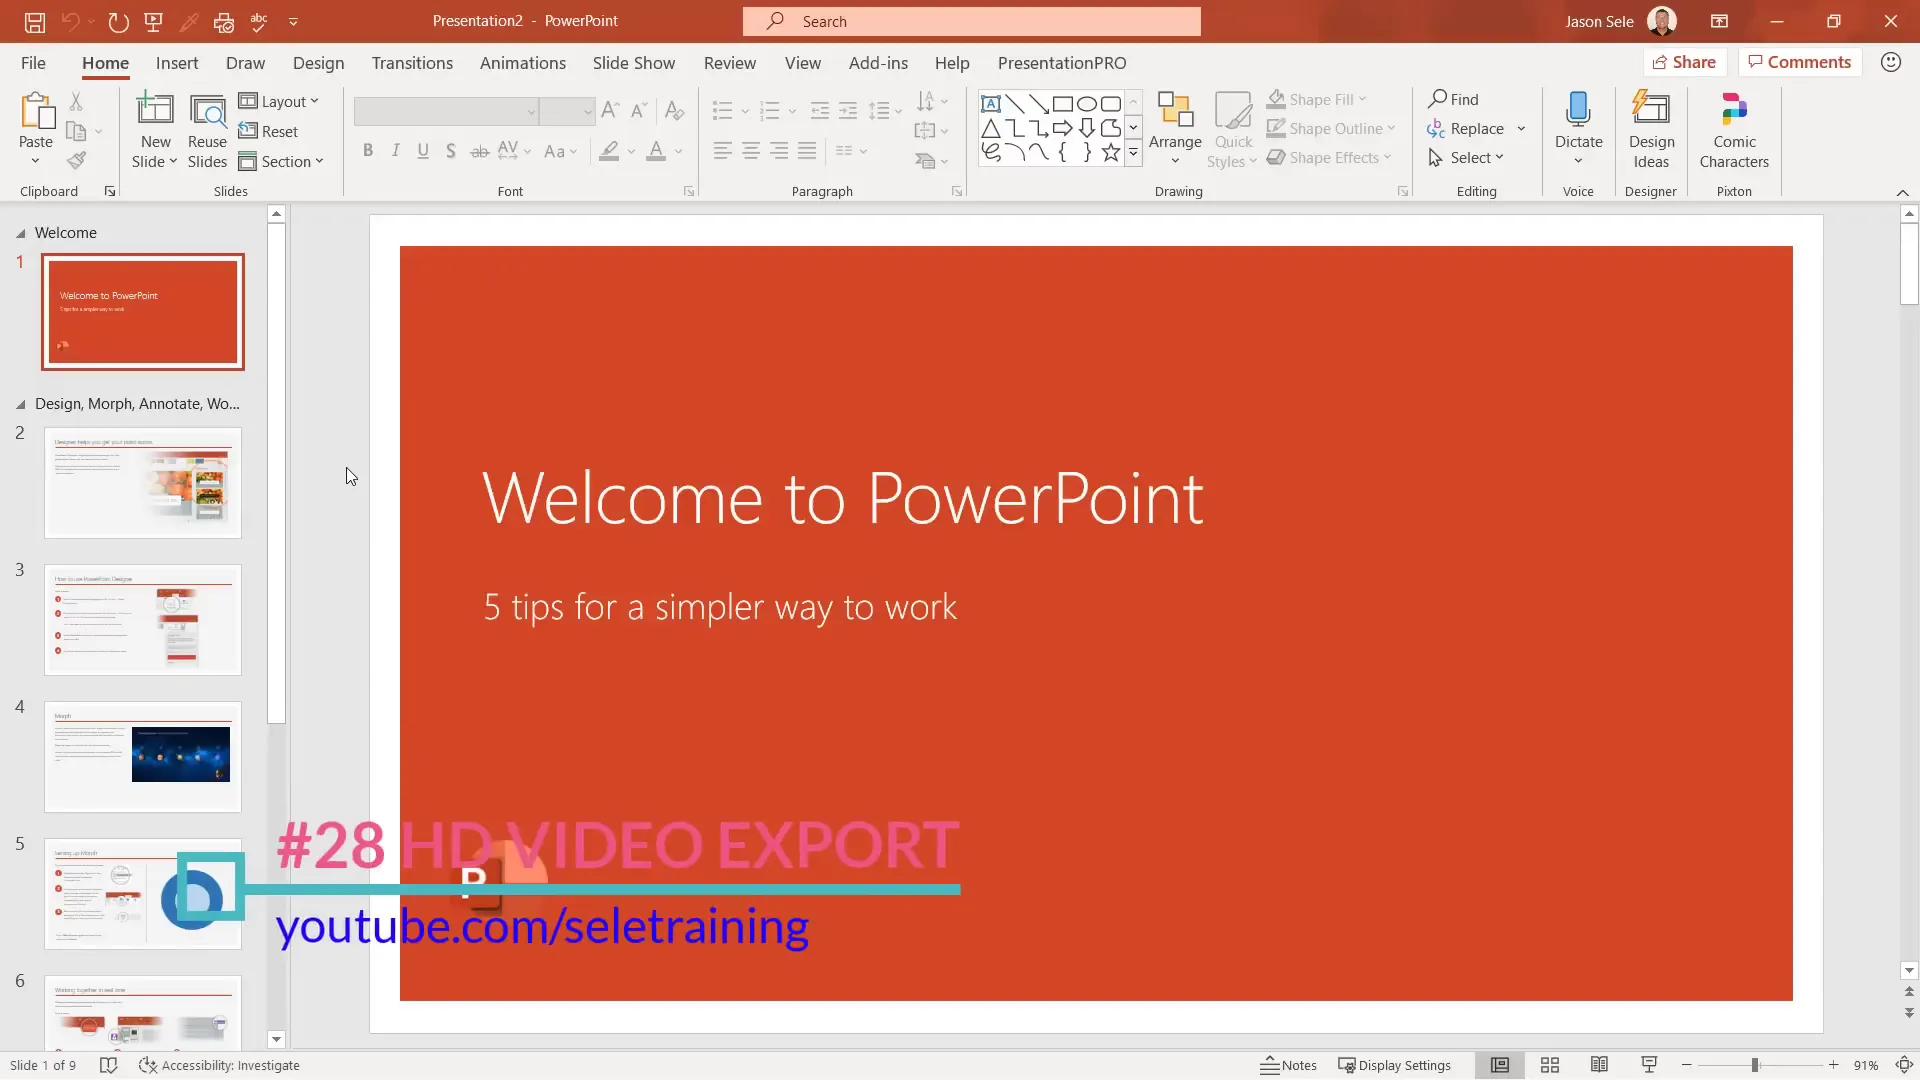
28. Export Presentations as HD Videos
PowerPoint allows you to record and export your presentation as a high-definition video:
- Go to File > Export > Create a Video.
- Select resolution (Ultra HD, Full HD, Standard).
- Optionally record timings and narrations with built-in tools.
- Use laser pointer and highlighter tools during recording.
- Save the video file for sharing or uploading.
This is perfect for creating self-running presentations or online courses.
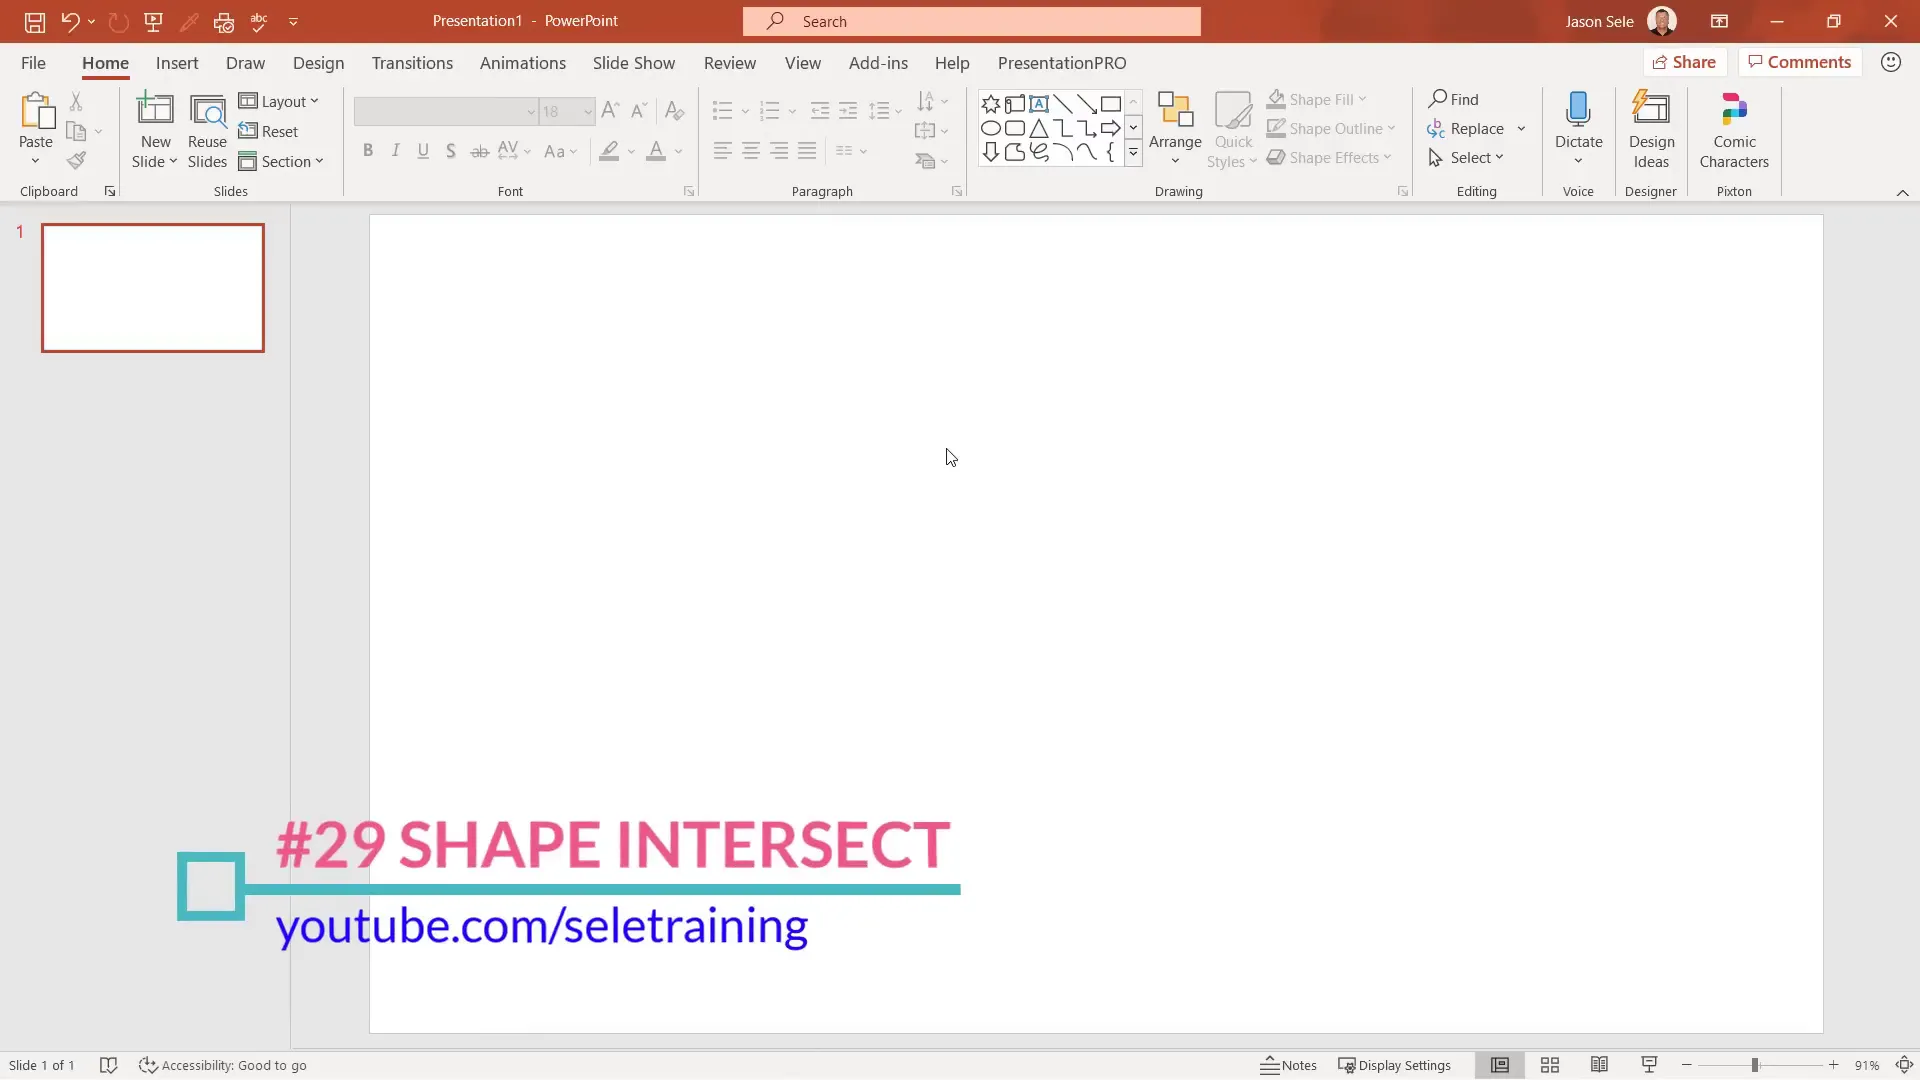
29. Use Shape Intersect to Create Custom Image Cutouts
Combine shapes and images creatively:
- Insert an image and a shape overlapping the desired area.
- Select the image first, then hold Ctrl and select the shape.
- Go to Shape Format > Merge Shapes > Intersect.
- The result is a cropped image shaped exactly like your shape.
This technique can be used to create unique visual effects or custom masks.
30. Fill Shapes with Pictures for Creative Effects
Instead of using plain color fills, you can fill shapes with pictures:
- Insert a shape and select it.
- Go to Shape Fill > Picture.
- Choose an image from stock images or your device.
- Adjust the picture within the shape using the Picture Format > Crop tool.
This combines the advantages of shapes (like resizing and outline control) with rich imagery.

Conclusion
These 30 PowerPoint tips and tricks cover a wide range of features designed to help you create compelling, professional presentations with ease. From incorporating stunning stock images and dynamic animations to efficient slide management and advanced tools like ink conversion and video exports, mastering these techniques will significantly enhance your productivity and creativity.
Remember, PowerPoint is not just about slides; it’s about storytelling. Use these tips to captivate your audience, communicate your message clearly, and leave a lasting impression.
Keep exploring and practicing these features, and you’ll find yourself crafting presentations that stand out in any setting.
Frequently Asked Questions (FAQ)
Q1: How can I quickly remove backgrounds from images in PowerPoint?
A: Select the image, go to the Picture Format tab, and click Remove Background. Use the options to mark areas to keep or remove for a clean cutout.
Q2: Is it possible to animate charts in PowerPoint?
A: Yes! Select your chart, go to the Animations tab, choose an animation effect, and use Effect Options to animate by series, category, or elements.
Q3: Can I link Excel data to PowerPoint so it updates automatically?
A: Absolutely. Copy the chart in Excel, paste it into PowerPoint using a linked paste option, and updates in Excel will reflect in PowerPoint.
Q4: What is the best way to ensure fonts look consistent on different computers?
A: Embed fonts by going to File > Options > Save and checking Embed fonts in the file before saving your presentation.
Q5: How do I create an animated GIF from my PowerPoint slides?
A: Design your slides with incremental changes, then export the presentation as an animated GIF via File > Export > Create an Animated GIF.
Q6: What shortcuts can help me control my slideshow smoothly?
A: Use shortcuts like W (white screen), B (black screen), Ctrl + P (pen tool), Ctrl + L (laser pointer), and typing slide numbers followed by Enter to jump to specific slides.
Q7: How do I use Design Ideas to improve slide layouts?
A: Click Design Ideas on the Home tab, and PowerPoint will suggest professional layouts based on your slide content and images.
Q8: Can I add interactive QR codes to my presentation?
A: Yes, by installing the QR for Office add-in from the Insert > Get Add-ins menu, you can generate and customize QR codes.
For more tips and tutorials, continue exploring PowerPoint’s powerful features and keep your presentations engaging and effective.
Check out the full video: 30 Ultimate PowerPoint Tips and Tricks for 2020


