
If you want to elevate your PowerPoint presentation skills and create stunning, professional animations with ease, mastering the morph transition is a game changer. Morph transition is one of the most powerful tools available in Microsoft PowerPoint, enabling you to seamlessly animate objects as they move, resize, rotate, flip, and even change color or transparency between slides. Whether you are using PowerPoint 2019, Microsoft 365, or later versions, this feature is readily available and can transform your presentations from static to dynamic with minimal effort.
In this comprehensive guide, we’ll dive deep into how to use the morph transition effectively, covering everything from basic moves to advanced photo cropping techniques. We’ll also share practical tips to troubleshoot common issues and ensure your morph animations work perfectly every time. This post is inspired by a detailed tutorial from One Skill PPT, a leading PowerPoint animation expert, and is designed to help you harness the full potential of morph transition to wow your audience.
Table of Contents
- Introduction to Morph Transition
- Basic Animations with Morph: Move, Resize, Rotate, Flip
- Advanced Morph Effects: Color, Transparency, and Photo Cropping
- Tips and Tricks for Perfect Morph Animations
- Frequently Asked Questions
- Conclusion
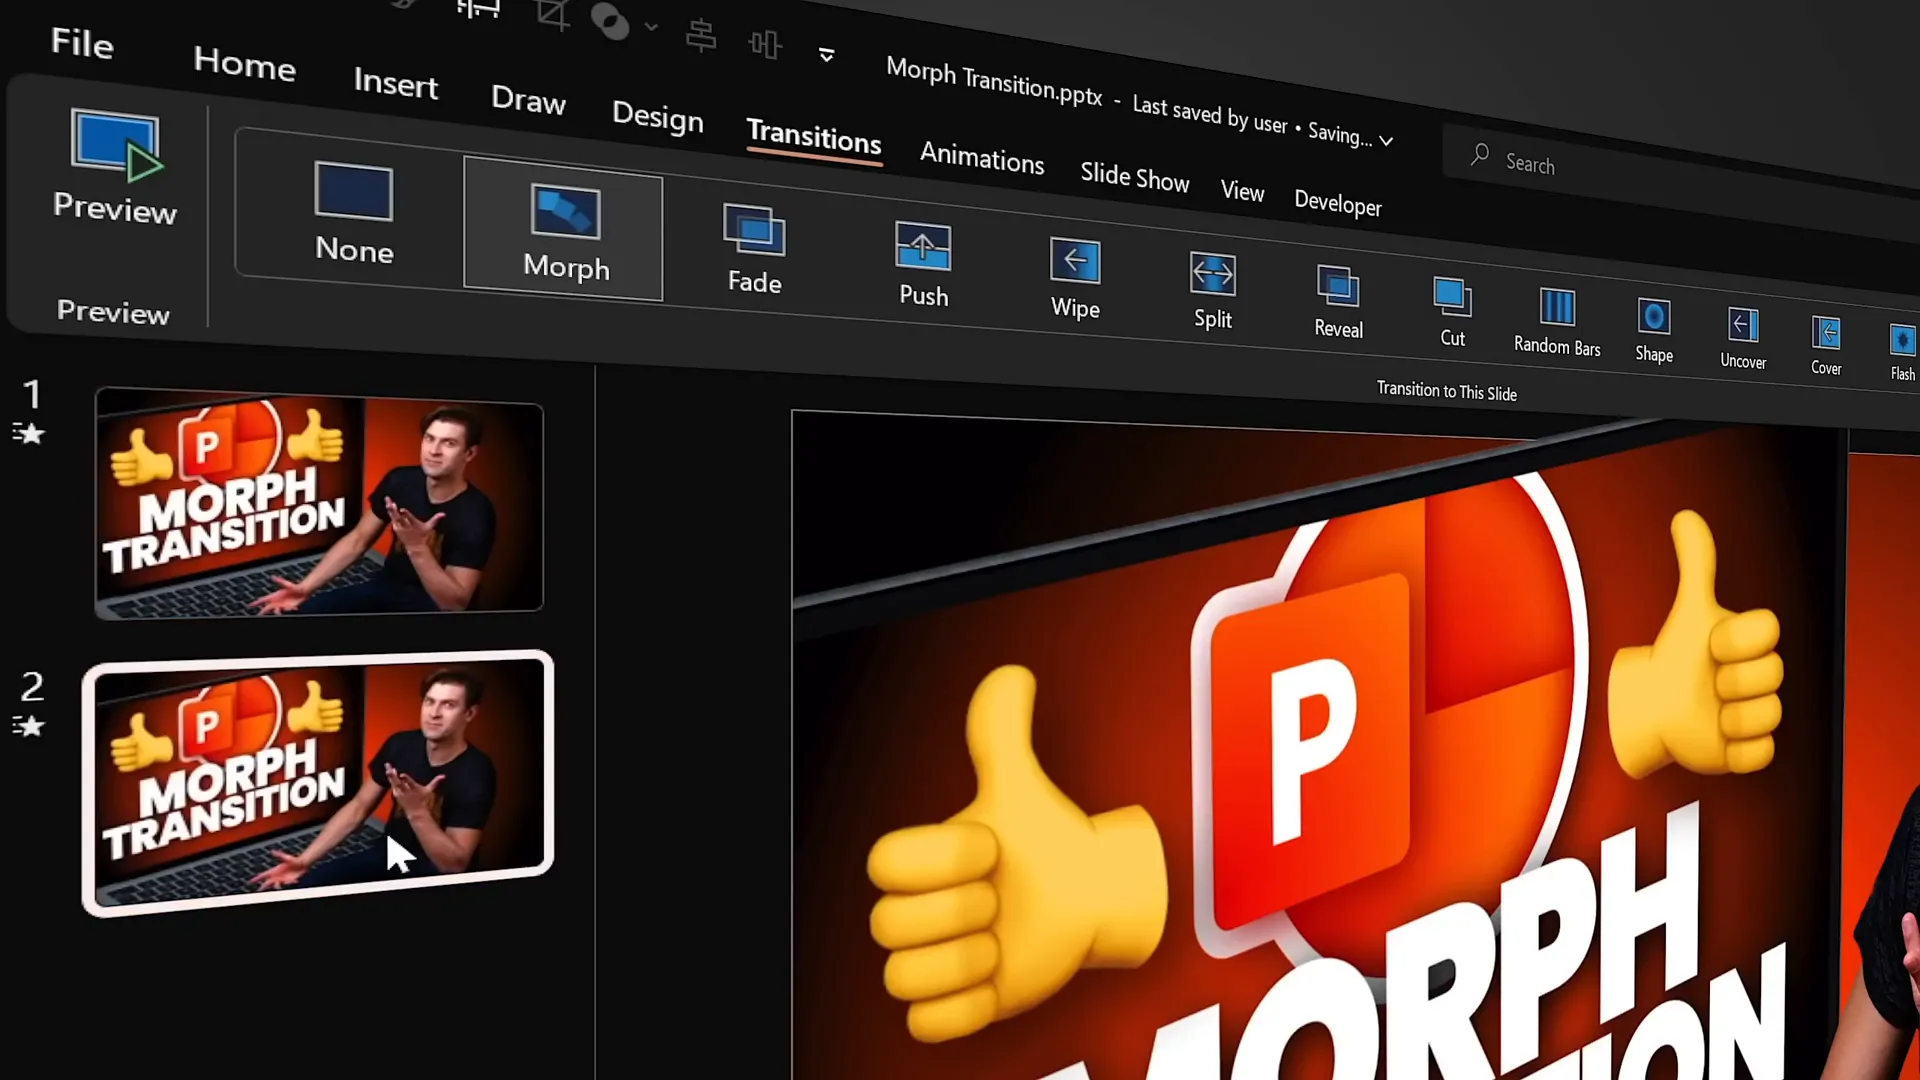
Introduction to Morph Transition
The morph transition in PowerPoint is designed to create smooth, visually appealing animations by transitioning objects from one slide to the next. Unlike traditional animations where you have to manually set motion paths or effects, morph transition automatically animates objects based on their changes in position, size, rotation, and other properties between duplicated slides.
To get started with morph, the workflow is simple:
- Duplicate your slide.
- Make changes to objects on the duplicated slide (move, resize, rotate, etc.).
- Apply the morph transition to the duplicated slide.
PowerPoint then animates the transition between the two slides, making the objects appear to morph from their original state to the new one.
This approach is intuitive and powerful, allowing you to create complex animations without the need for intricate motion path setups.
Who Can Use Morph Transition?
If you have PowerPoint 2019, Microsoft 365, or later versions, morph transition is already built-in. This means you can start experimenting right away without any additional plugins or software.
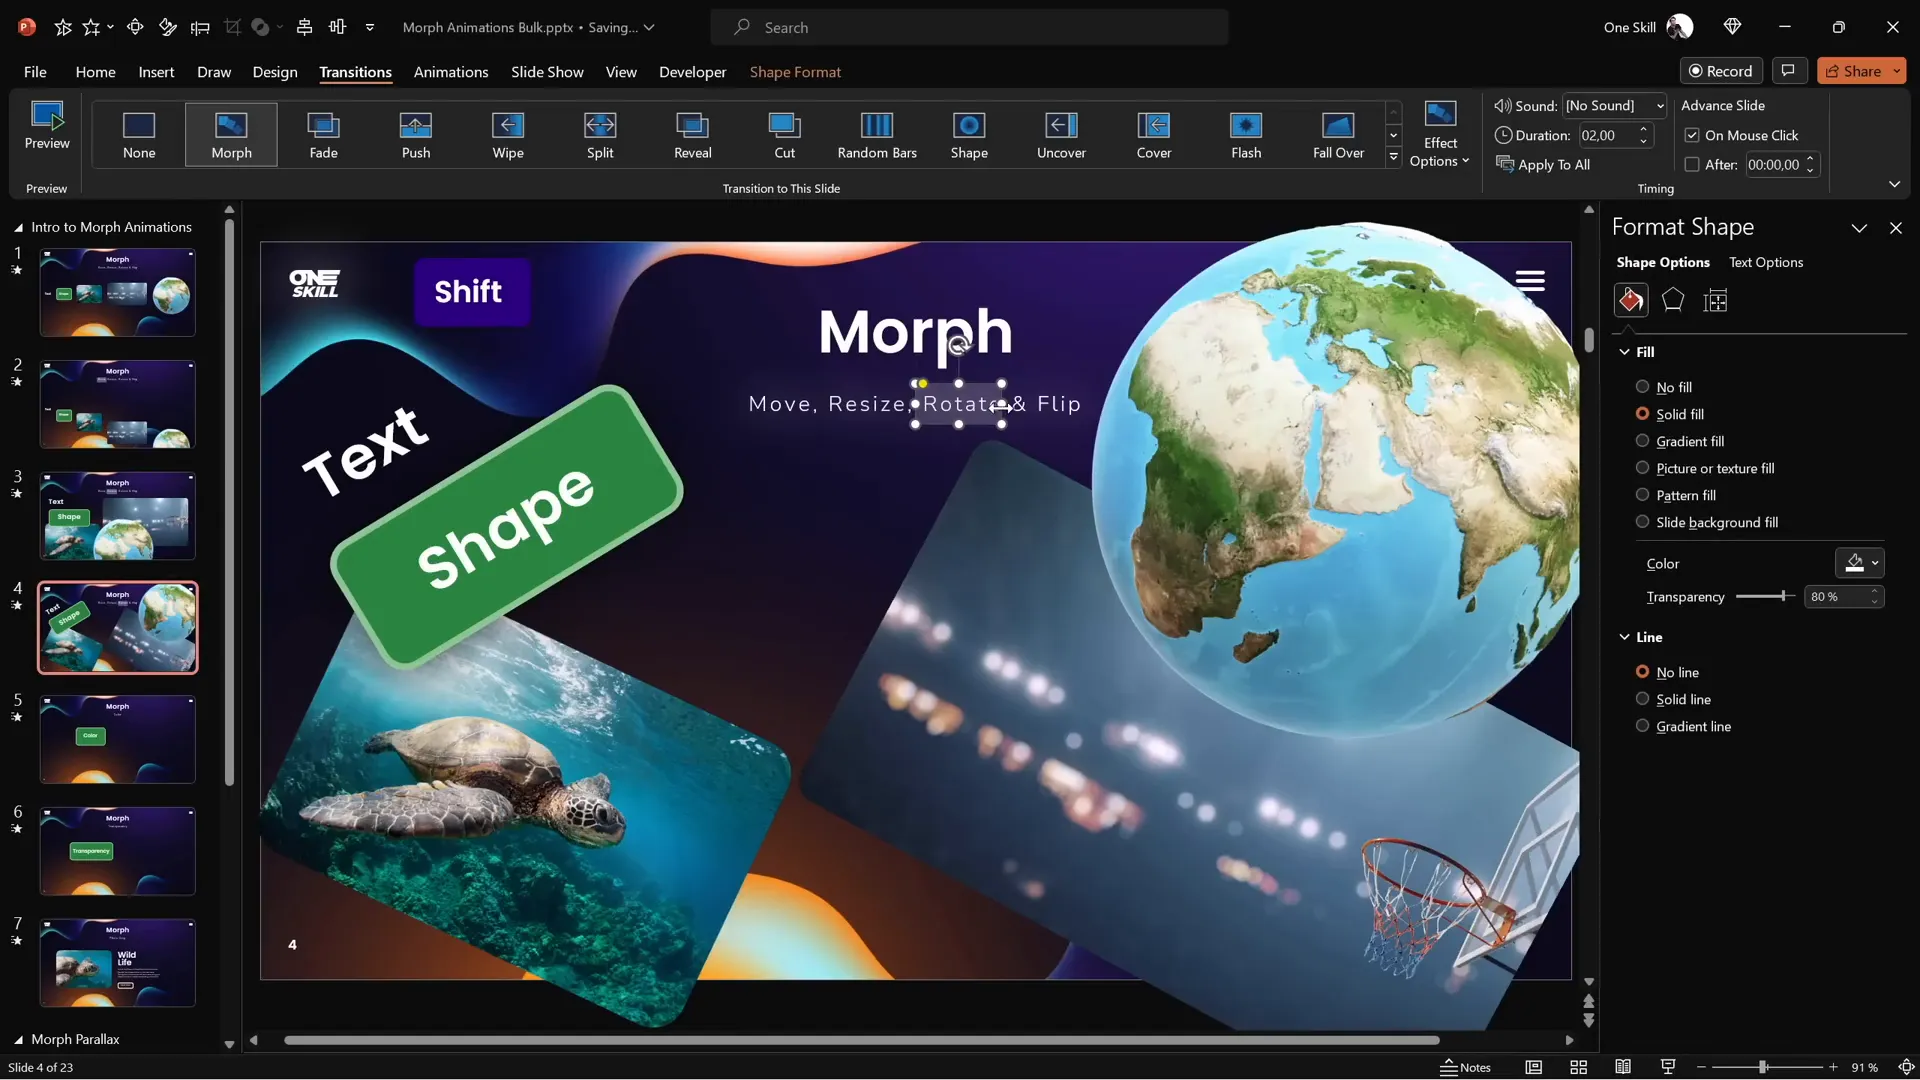
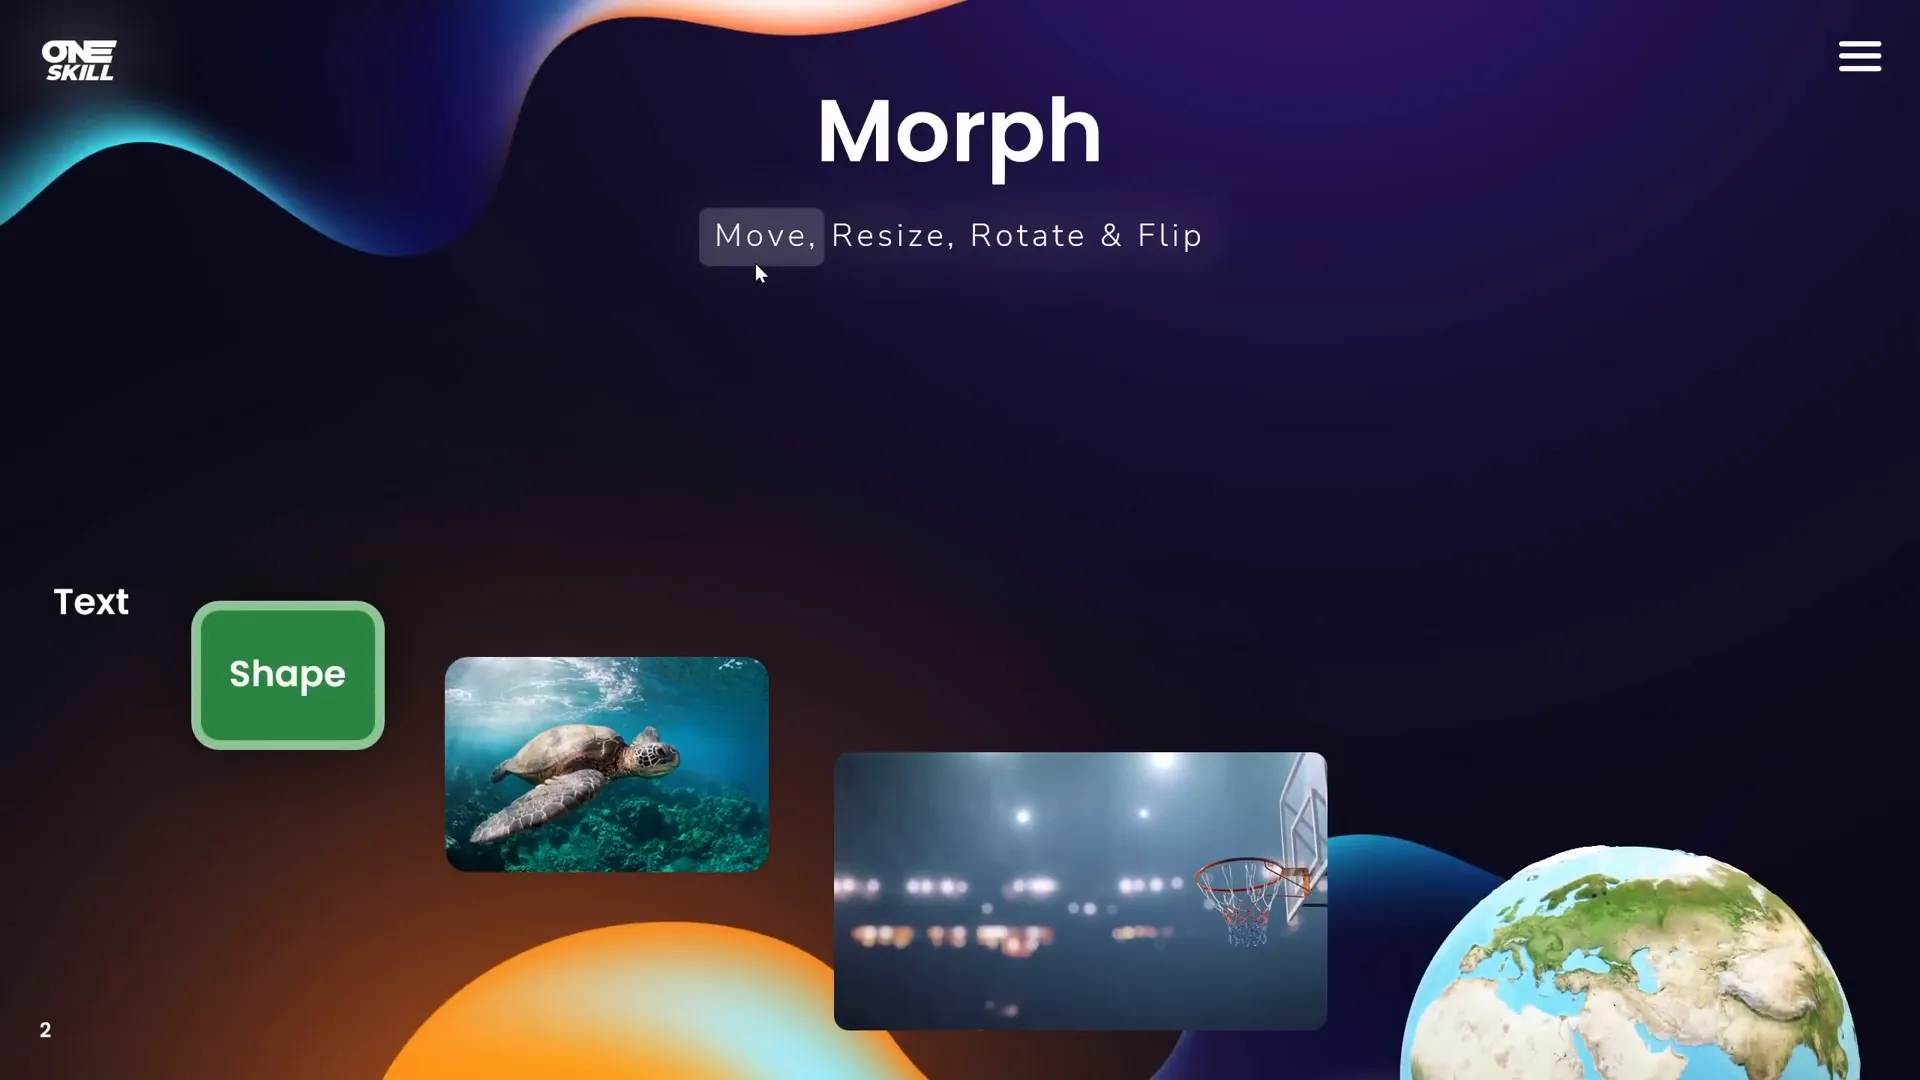
Basic Animations with Morph: Move, Resize, Rotate, Flip
Let’s explore the fundamental ways you can animate objects with morph transition. The beauty of morph is that it can handle multiple objects simultaneously, making your slides dynamic and engaging.
1. Moving Objects
One of the simplest yet most effective uses of morph is moving objects around the slide.
- Start with a slide containing various objects like text boxes, shapes, pictures, videos, and even 3D models.
- Duplicate the slide.
- On the duplicated slide, move the objects to new positions.
- Apply the morph transition to the duplicated slide.
When you play the slide show, all objects will smoothly animate to their new positions without manually setting any motion paths.

Interestingly, morph also allows you to play the animation backwards by navigating to the previous slide, giving you flexible control over your slide animations.
Note about Videos: If you have a video playing on a slide, morph transition will pause the video during the transition and resume it afterward. Videos set to loop and start automatically will behave accordingly.
2. Resizing Objects
Morph transition can animate objects growing or shrinking smoothly.
- Duplicate your slide with the objects you want to resize.
- On the duplicated slide, resize text boxes, shapes, images, videos, and 3D models.
- Apply morph transition to the duplicated slide.
The transition between slides will animate the resizing, creating an elegant effect that draws attention to the changes.

3. Rotating Objects
Rotation is another powerful effect that morph transition supports.
- Duplicate your slide.
- Rotate the objects on the duplicated slide using the rotation handles.
- Apply morph transition.
Objects will animate rotating from their original orientation to the new angle during the morph transition.
4. Flipping Objects
Morph transition can also flip objects horizontally or vertically.
- Duplicate the slide you want to flip objects on.
- Select the objects and use the rotate options to flip horizontally or vertically.
- Apply morph transition.
Most objects, including shapes, pictures, videos, and 3D models, flip beautifully. However, text boxes flip by rotating from one side to the other instead of flipping perfectly. A workaround is to convert your text to a picture before flipping for a smooth effect.
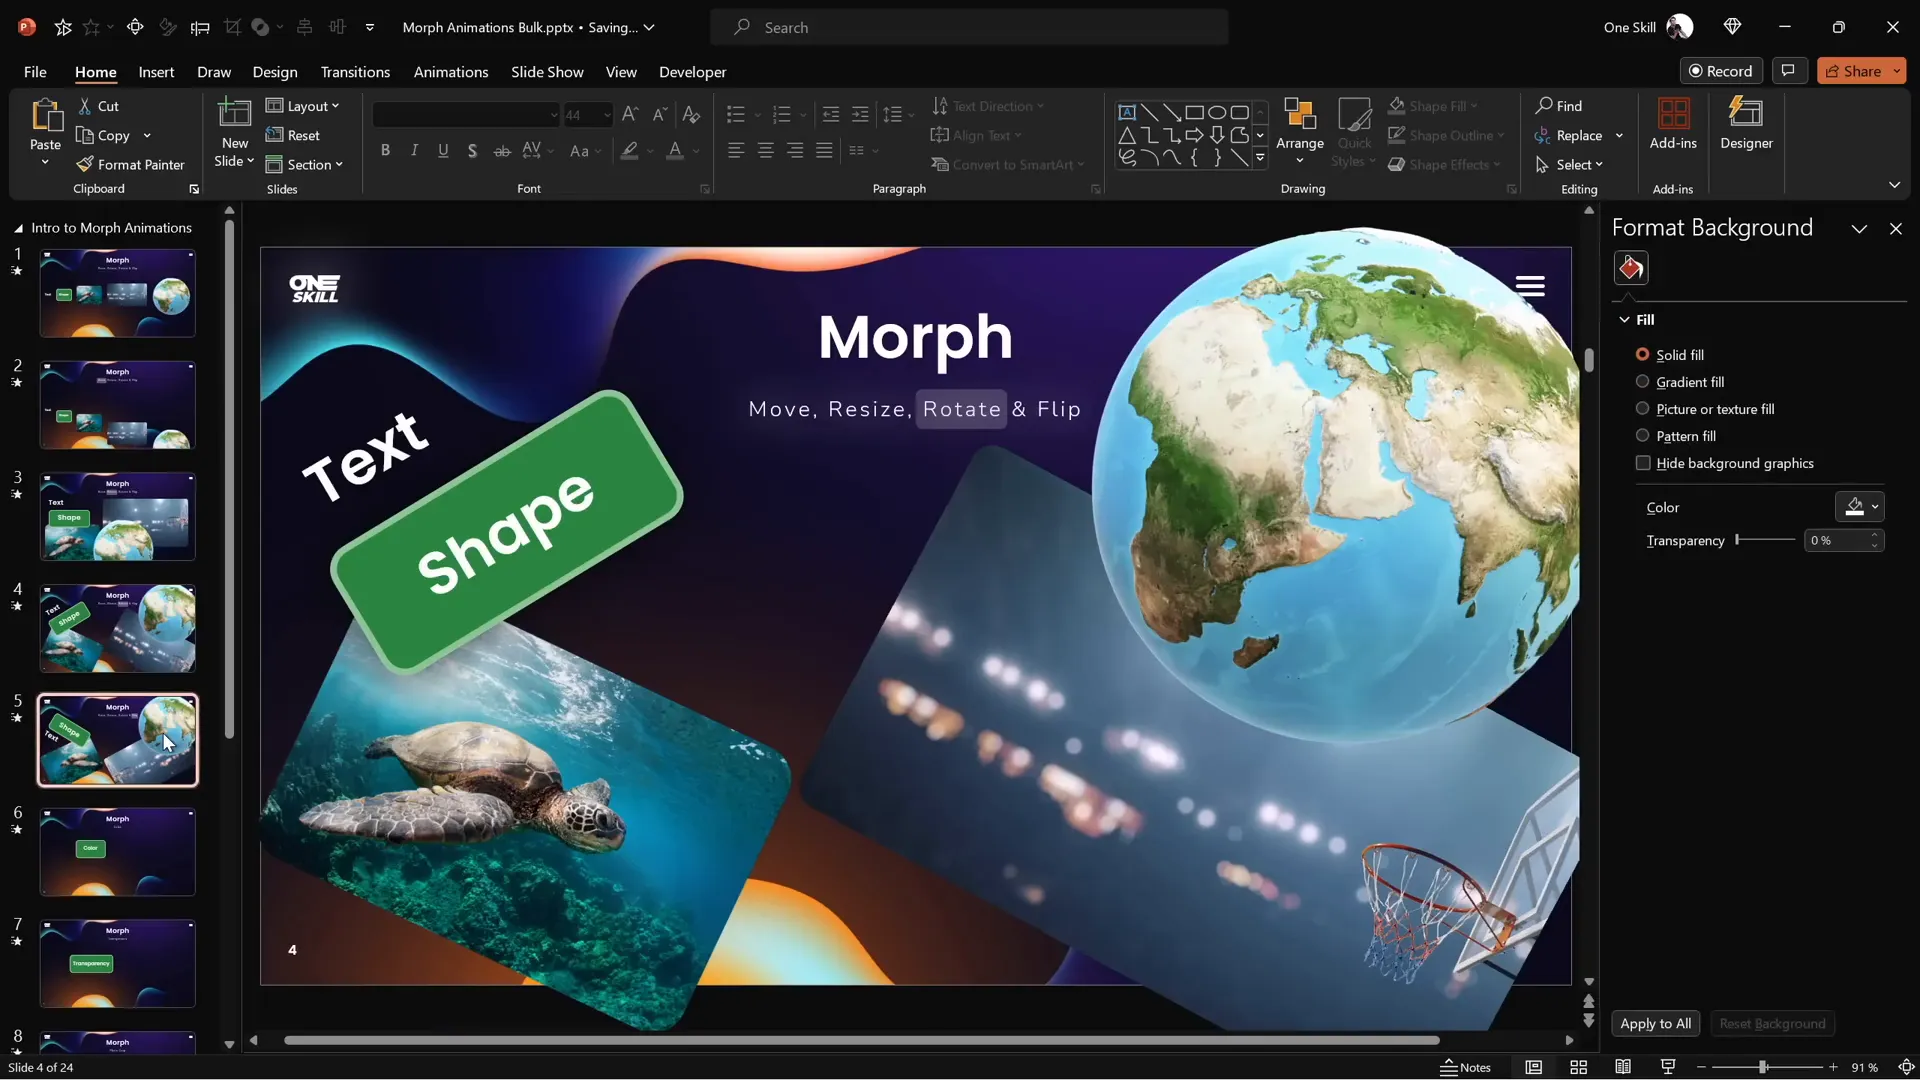
Advanced Morph Effects: Color, Transparency, and Photo Cropping
Beyond basic transformations, morph transition can animate changes in color, transparency, and even photo cropping, unlocking new creative possibilities.
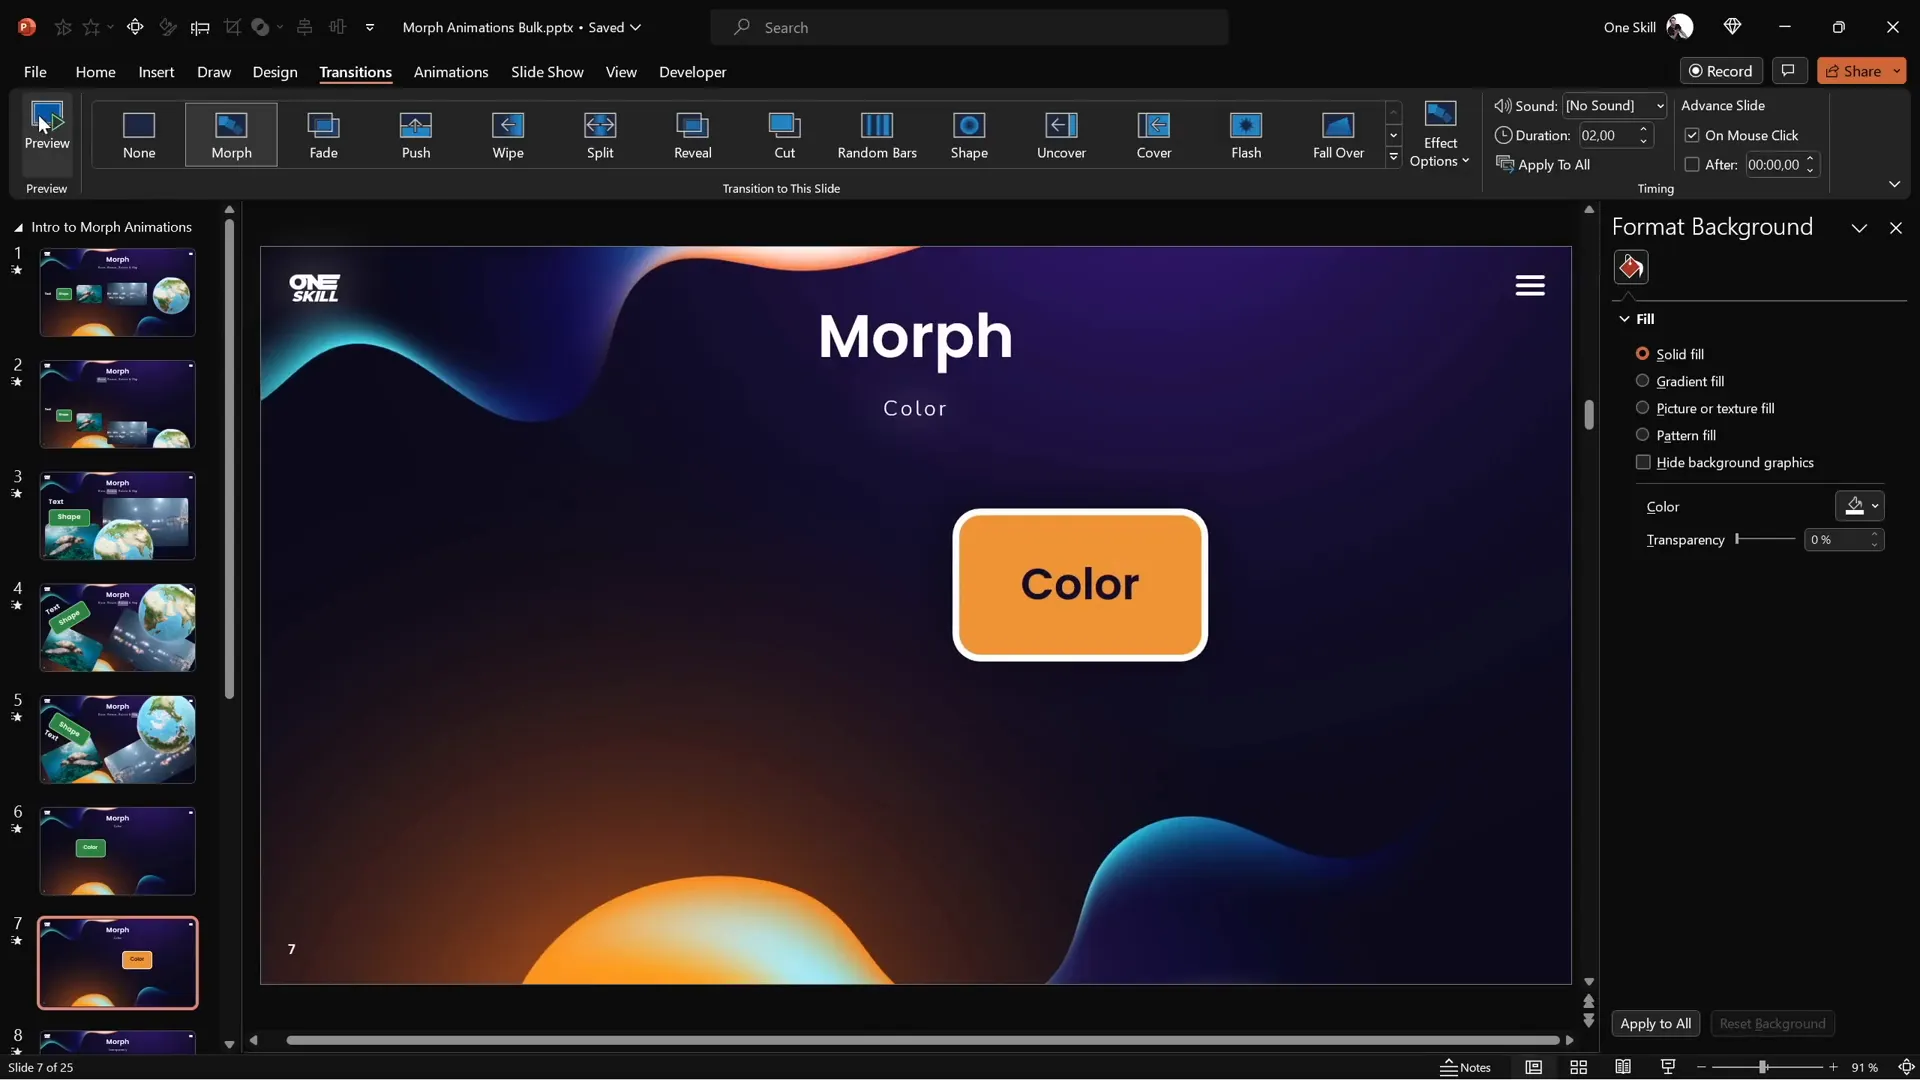
1. Animating Color Changes
Morph transition can smoothly animate color changes of shapes and their outlines, as well as text color.
- Duplicate your slide.
- Change the fill color, outline color, or text color of objects on the duplicated slide.
- Apply morph transition.
Watch as the colors morph seamlessly, adding vibrancy and emphasis to your slides.
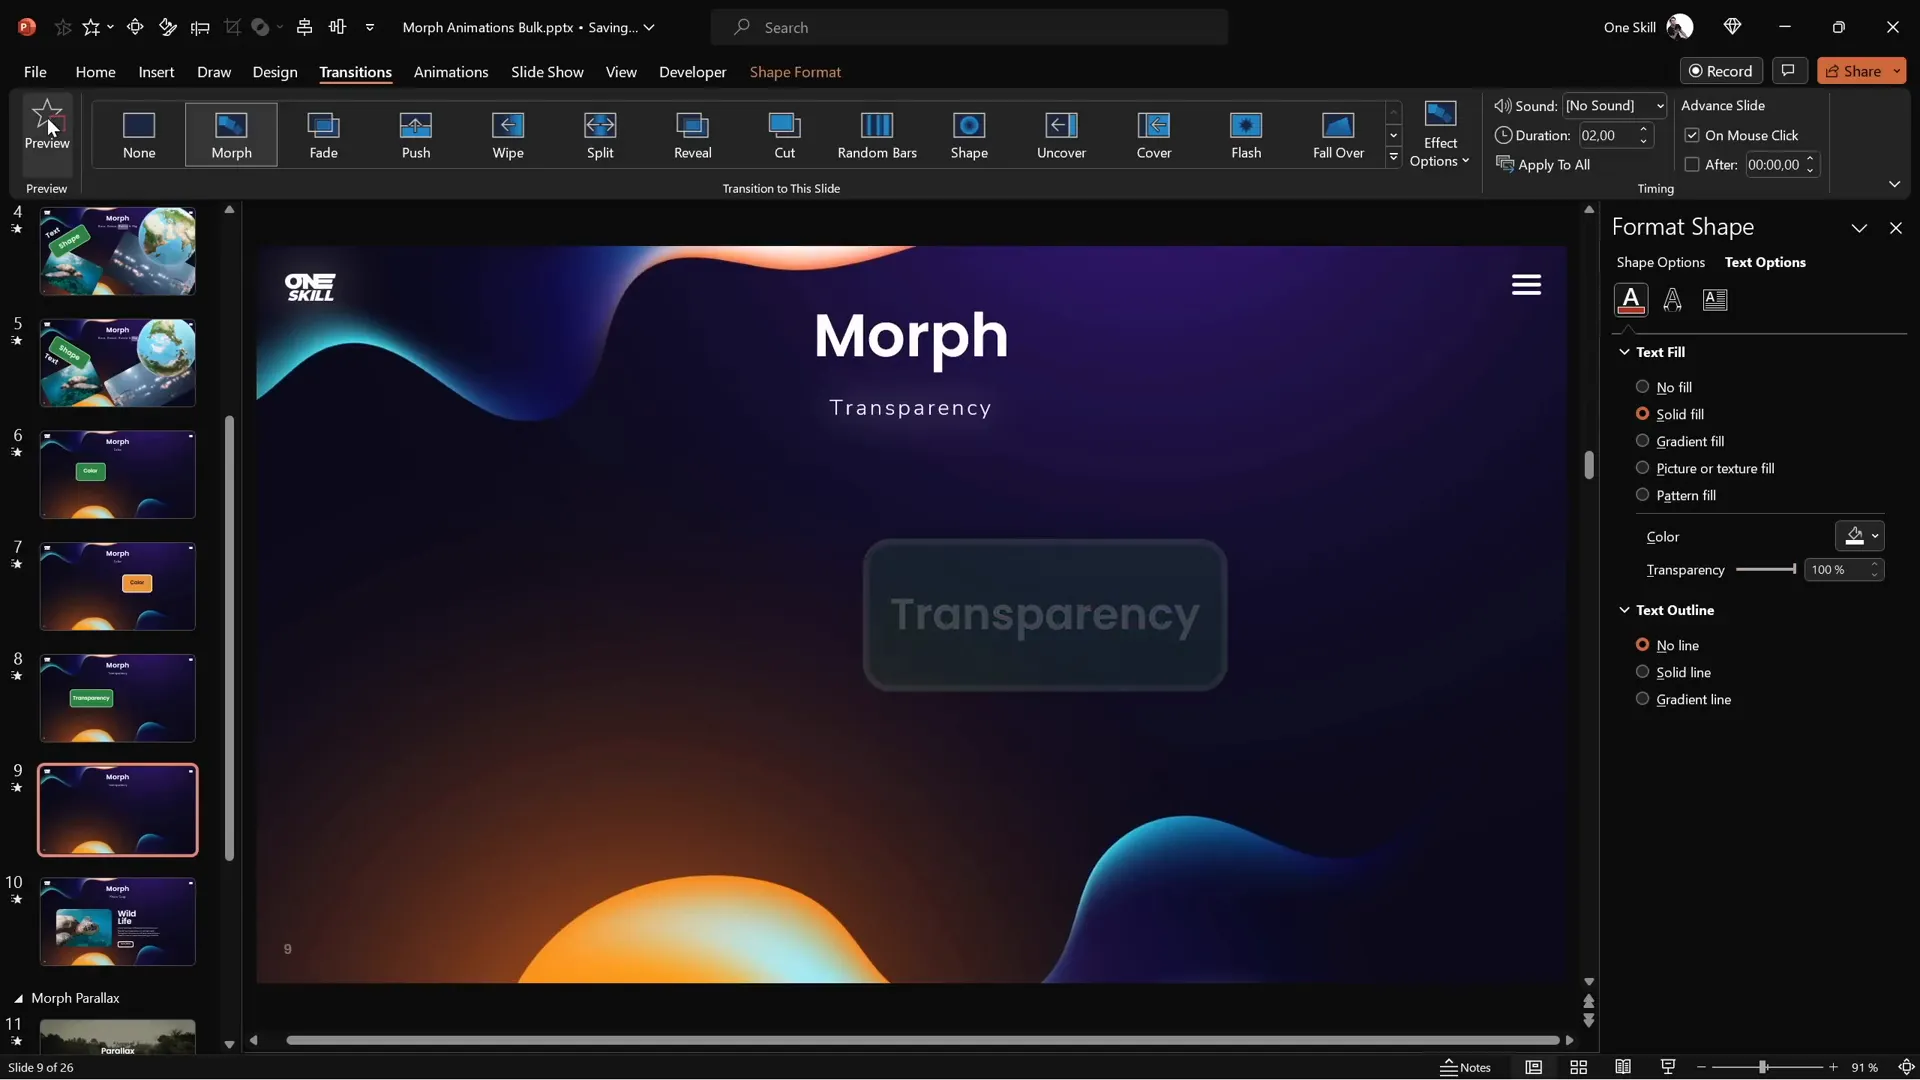
2. Transparency Effects
You can also animate transparency changes with morph.
- Duplicate your slide.
- Adjust the transparency of fills, lines, and fonts on objects.
- Apply morph transition.
The objects will fade in or out while moving or resizing, creating sophisticated fade effects without traditional fade animations.
3. Photo Cropping Animation
One of the most powerful and unique features of morph transition is animating photo cropping.
- Insert a photo on your slide.
- Duplicate the slide.
- On the duplicate, use the crop tool to adjust the cropping area — either resize the crop box using black handles or adjust the photo’s position inside the crop area using white handles.
- Apply morph transition.
This technique creates stunning zoom or pan effects on images, making your photos come alive.
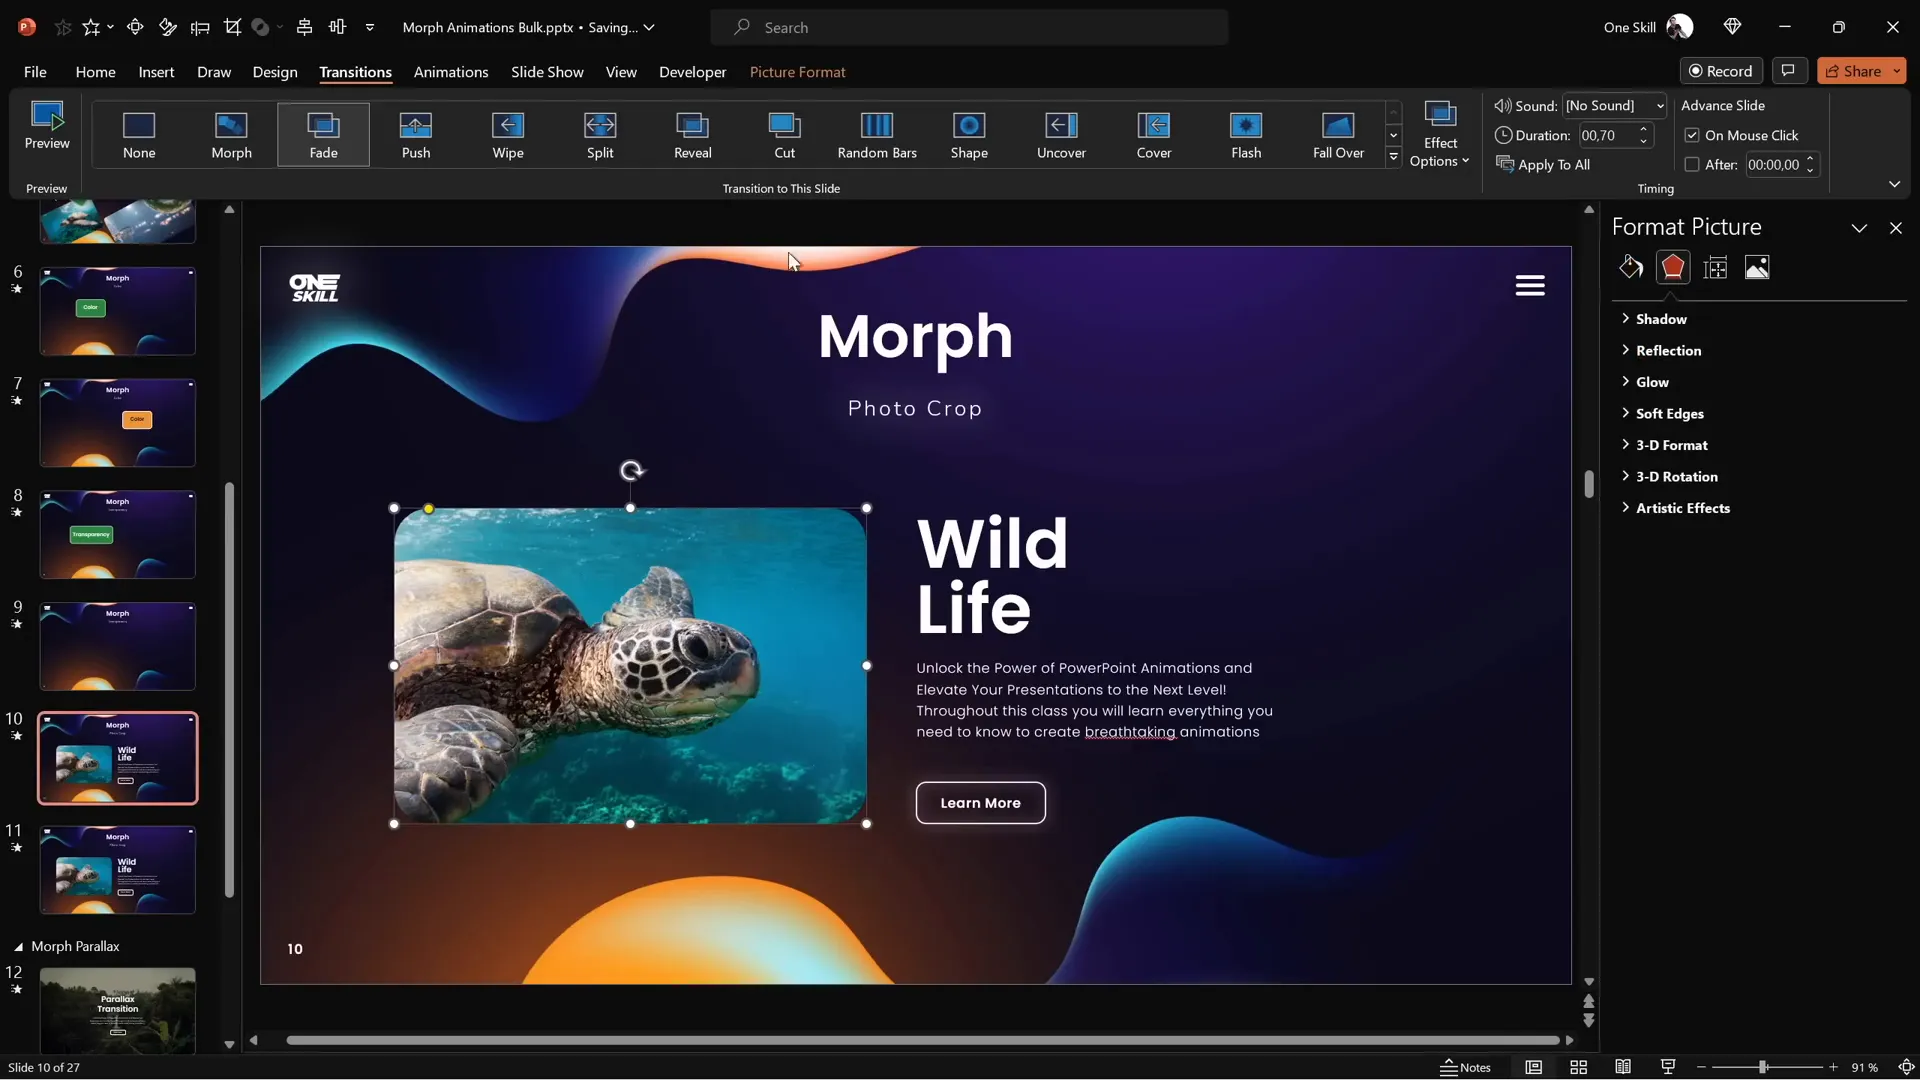
Additionally, moving the photo completely outside the cropping area on the first slide and into the visible crop area on the second slide creates a smooth sliding photo reveal.
4. Text Sliding Animation
You can also animate text sliding in by moving text boxes off-slide on the first slide and positioning them on-slide on the second slide.
Tips and Tricks for Perfect Morph Animations
To ensure your morph transition animations work flawlessly, here are some essential tips and best practices:
1. Use Consistent Object Names to Morph Different Shapes or Photos
If you want morph to transform one object into a completely different shape or photo (e.g., morph a rectangle into a circle, or morph one photo into another), you must use the same object name on both slides. This is how PowerPoint knows to morph one object into another instead of fading one out and fading the other in.
To rename objects:
- Open the Selection Pane (Home > Select > Selection Pane).
- Rename the object with a name starting with double exclamation marks (e.g.,
!!shapeor!!photo). - Ensure the corresponding object on the next slide shares the exact same name.
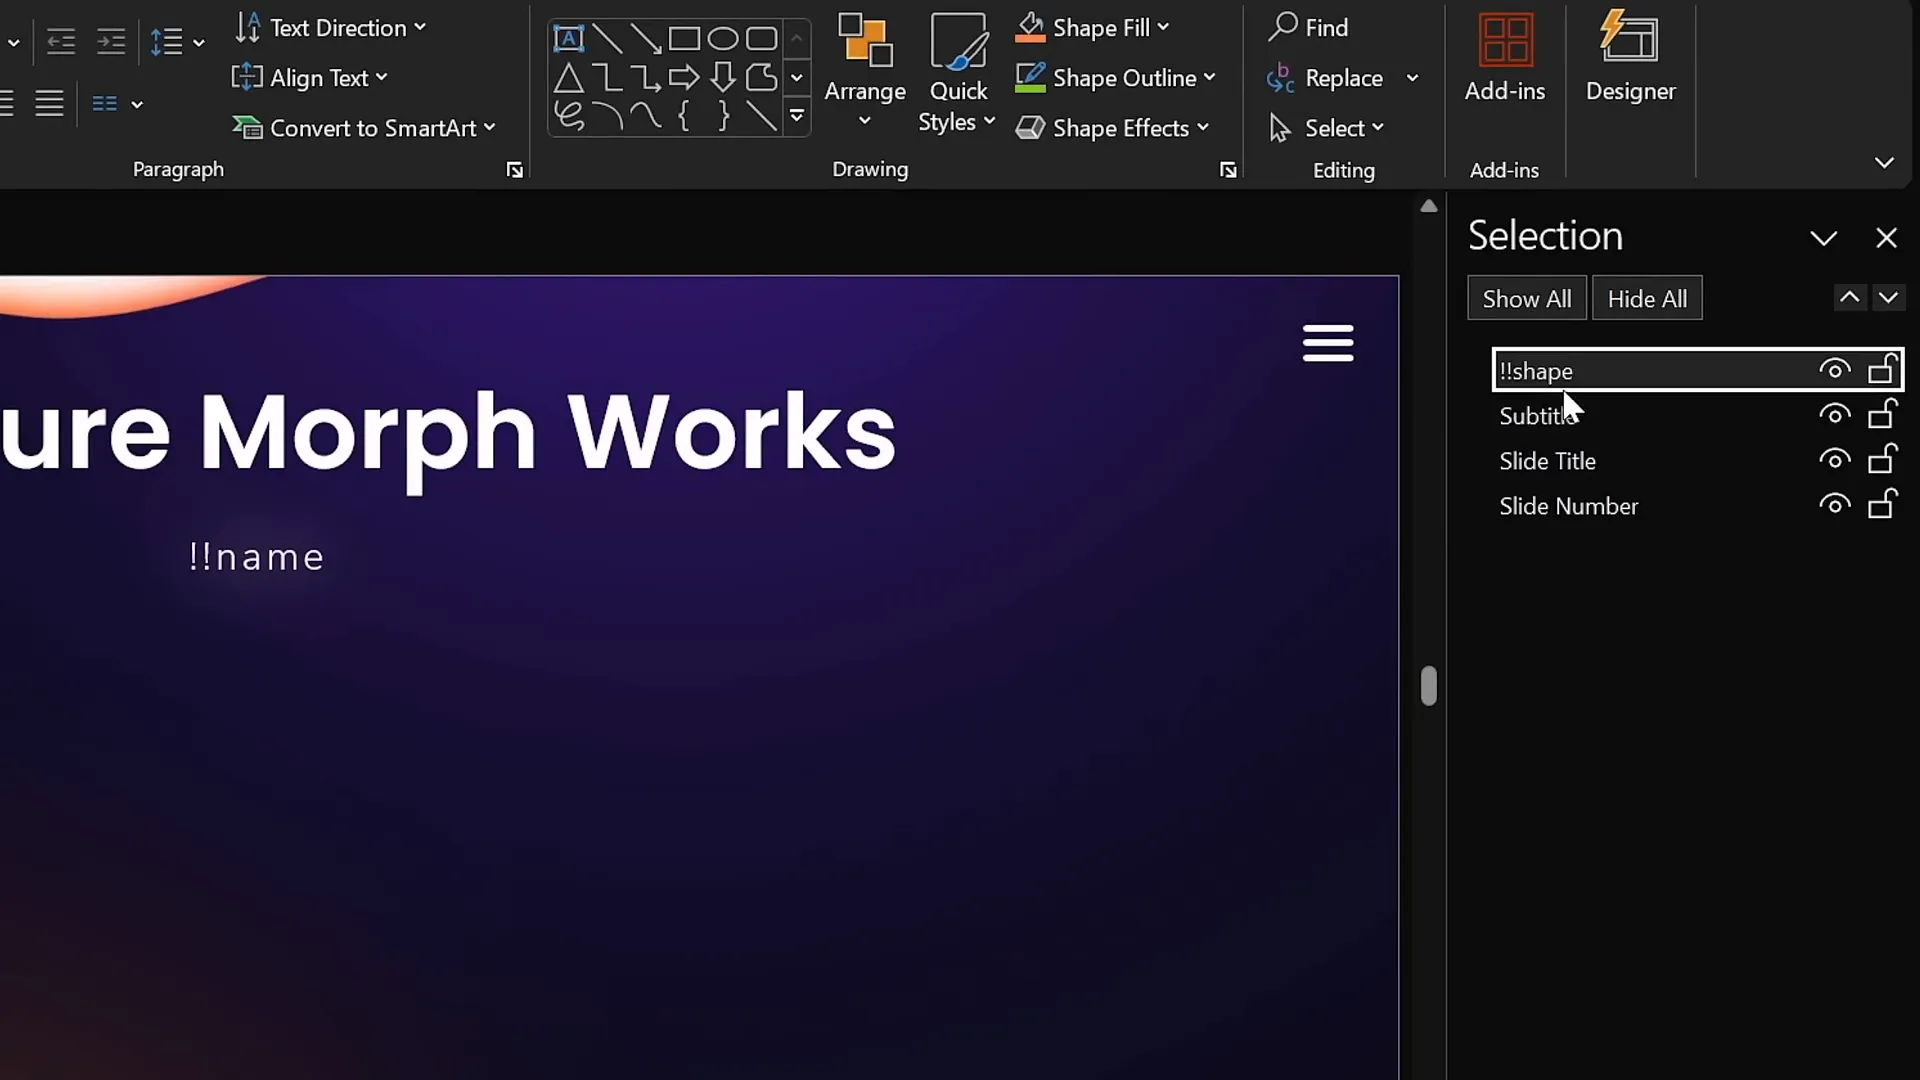
This will enable morph to smoothly transition the first object into the second.
2. Ensure the Same Object Exists on Both Slides
If an object exists on one slide but not the next, morph will fade it out or fade it in instead of morphing it. To avoid unwanted fade effects, make sure every object you want to morph is present on both slides, even if it’s just hidden or transparent.
3. Convert Text to Pictures for Flipping
Because morph flips text by rotating it instead of flipping, you may want to convert text to pictures if you want a true flip effect.
To do this:
- Select the text box.
- Copy it.
- Paste as picture (Home > Paste > Paste Special > Picture).
4. Adjust Morph Transition Duration
You can control the speed of the morph transition by adjusting its duration in the Transitions tab. Longer durations slow down the animation for more dramatic effects; shorter durations speed it up for quick transitions.
5. Use Semi-Transparent Shapes for Highlighting
Creating semi-transparent shapes like rounded rectangles with white fill and 80% transparency can help you highlight parts of text or objects dynamically as they move across slides with morph transition.
6. Practice with Different Object Types
Morph works with text boxes, shapes, pictures, videos, and even 3D models, allowing for versatile animations. Experiment with all these to understand their behavior under morph.
Frequently Asked Questions
What versions of PowerPoint support morph transition?
Morph transition is available in PowerPoint 2019, Microsoft 365, and later versions. It is not available in earlier versions such as PowerPoint 2016 or 2013.
Can I morph different shapes or photos into each other?
Yes, but to do this effectively, you must assign the same name to the objects you want to morph between slides, starting the name with double exclamation marks (e.g., !!shape, !!photo).
Does morph transition work with videos?
Morph transition can move, resize, and flip videos. However, when transitioning, the video pauses and resumes after the transition completes. Videos set to loop and start automatically will behave accordingly.
How do I create a photo zoom effect with morph?
Use the crop tool to adjust the crop area or the photo’s position inside the crop area between duplicated slides. Morph transition will animate the zoom smoothly.
Why am I seeing fade animations instead of morph?
This usually happens if the object is missing on one slide or if the objects you want to morph do not share the same name. Ensure consistent object presence and naming to enable morph.
Can morph animate text flipping?
Text boxes flip by rotating side to side, which might not be the desired flip effect. Converting text to pictures before flipping solves this issue.
Conclusion
Mastering the morph transition is a powerful way to enhance your PowerPoint presentation skills and create professional, engaging animations with minimal effort. From moving and resizing objects to animating color changes and photo cropping, morph opens up a world of creative possibilities for your slides.
Remember these key takeaways:
- Duplicate your slides to set up morph animations.
- Make changes to object position, size, rotation, flip, or color on the duplicated slide.
- Apply morph transition to the duplicated slide and adjust the duration as needed.
- Use consistent object names starting with double exclamation marks to morph different objects.
- Experiment with photo cropping and transparency for advanced effects.
- Convert text to pictures for smoother flipping animations.
With practice, you’ll be able to create seamless, dynamic presentations that captivate your audience and elevate your storytelling. For more in-depth learning, consider exploring courses like the PowerPoint Animation Mastery course by One Skill PPT, which offers detailed chapters on morph transition and other animation techniques.
Here’s to your next stunning presentation!
Ready to take your PowerPoint skills further? Check out the full course and save with coupon code ONESKILL100 before November 1st!


